
This now brings us up to January 1, 2019!
Well, this update is long overdue! I spent last winter (2018-2019) busting my ass working on the truck, vs posting, so there was no posts but as I am sure most are aware, the truck DID get finished, and launched at the Cummins 100th Anniversary party in Columbus Indiana in June 2019. I went to start this update during the winter but a very ill family member kept me from having free time. As such, I will tackle this now in June 2020. (EDIT: Now in December 2020) I hope to have all my hosting bugs sorted out. That has prevented me from posting this for the last few months.
So we left off with the wheels and tires done, and the electrical panel being built. That’s where we shall start.
Over the months from January – June 2019, the truck went through major hours of work! I had friends, family, and way too much of my time go into this thing. But this was year 13 of the resto. It had to get done! I am already to laughing stock of the Gen 1 world for having taken almost a DECADE AND A HALF to get this truck done! LOL
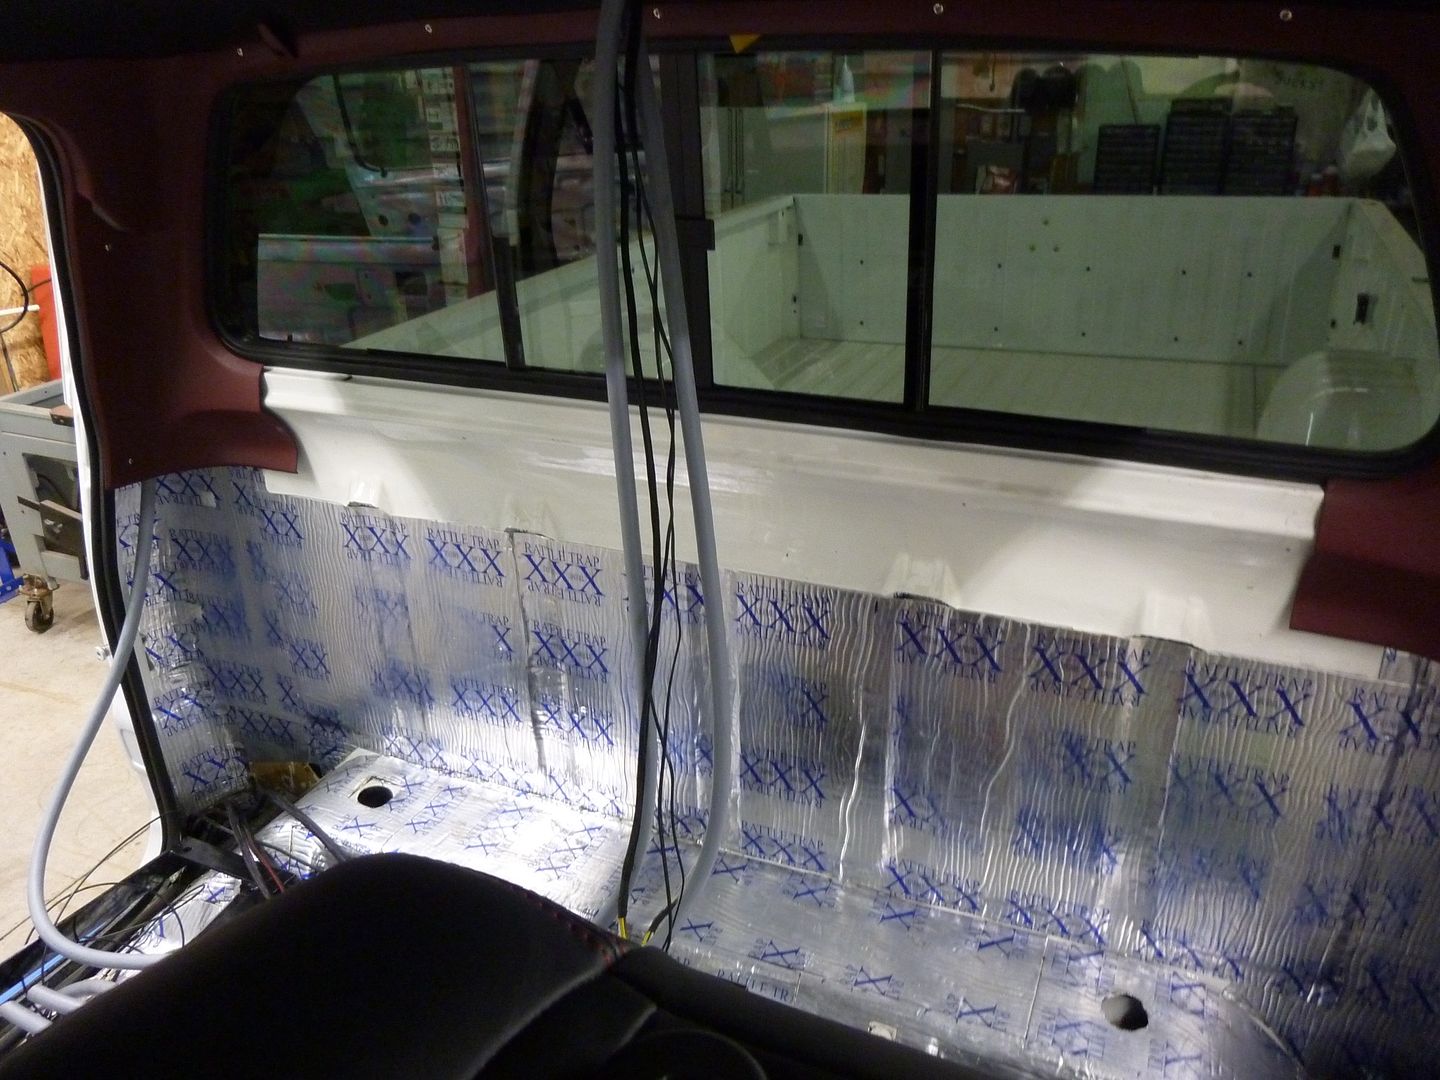
The first key was to fully install the electrical panels as the entire trucks wiring had been run from each accessory throughout the truck, with the wire termination at the rear seat. This left a disaster of wires to clean up before the interior could go in. So although I gave a sneak peak of the panels installed, there was actually a lot more than had to happen for them to be permanently mounted.
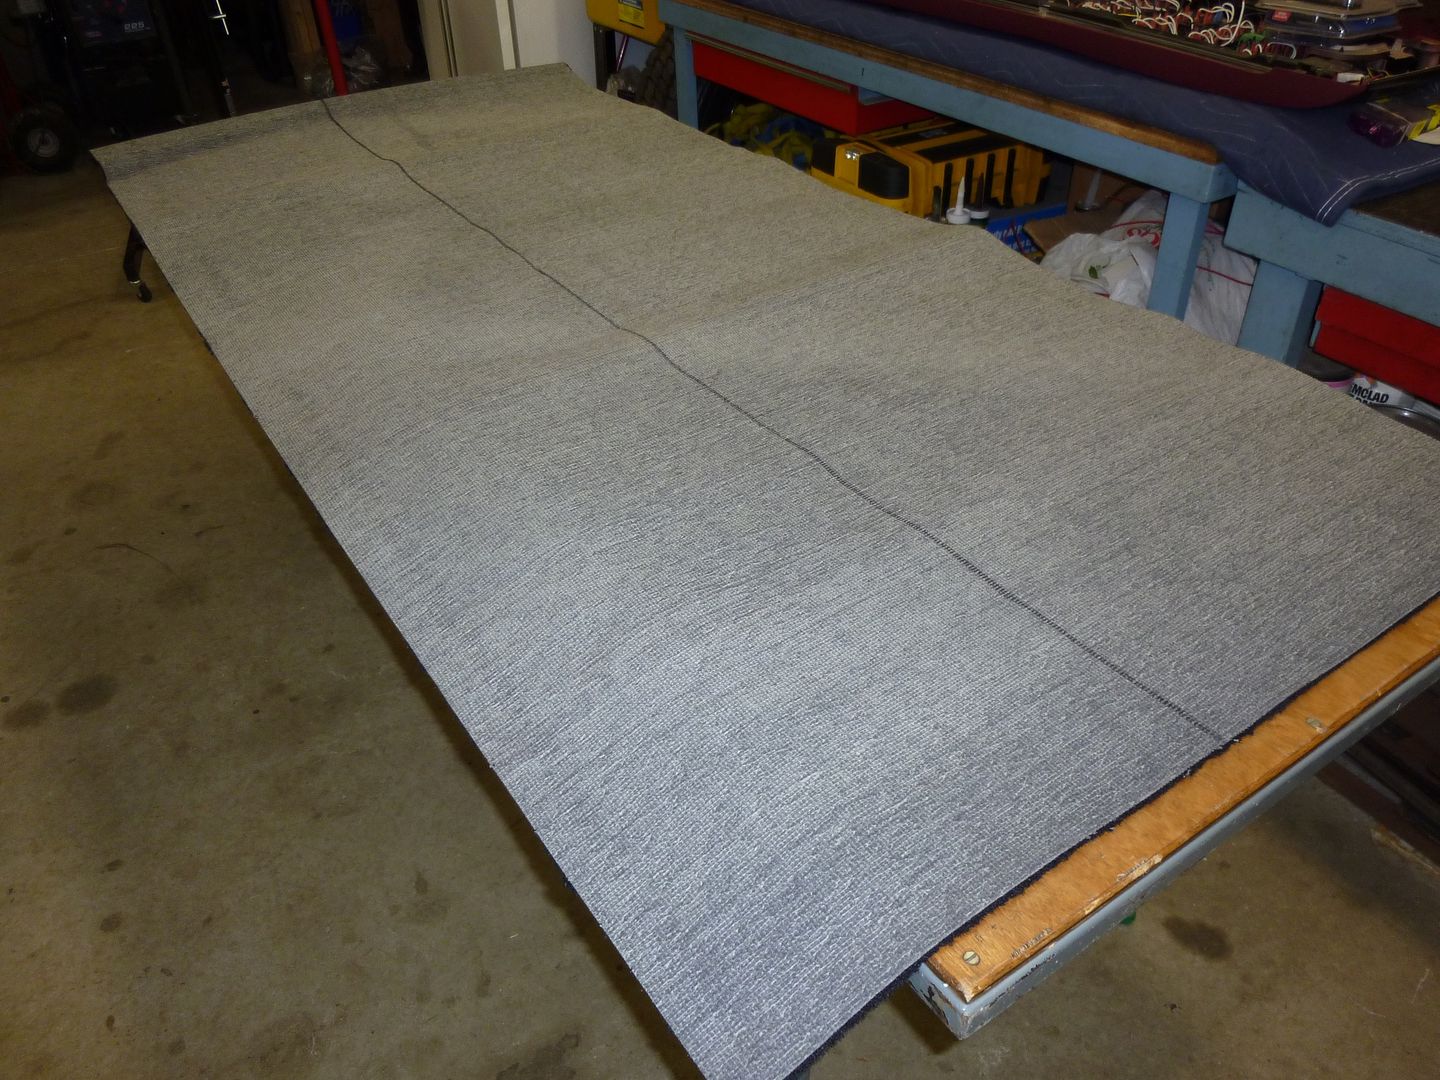
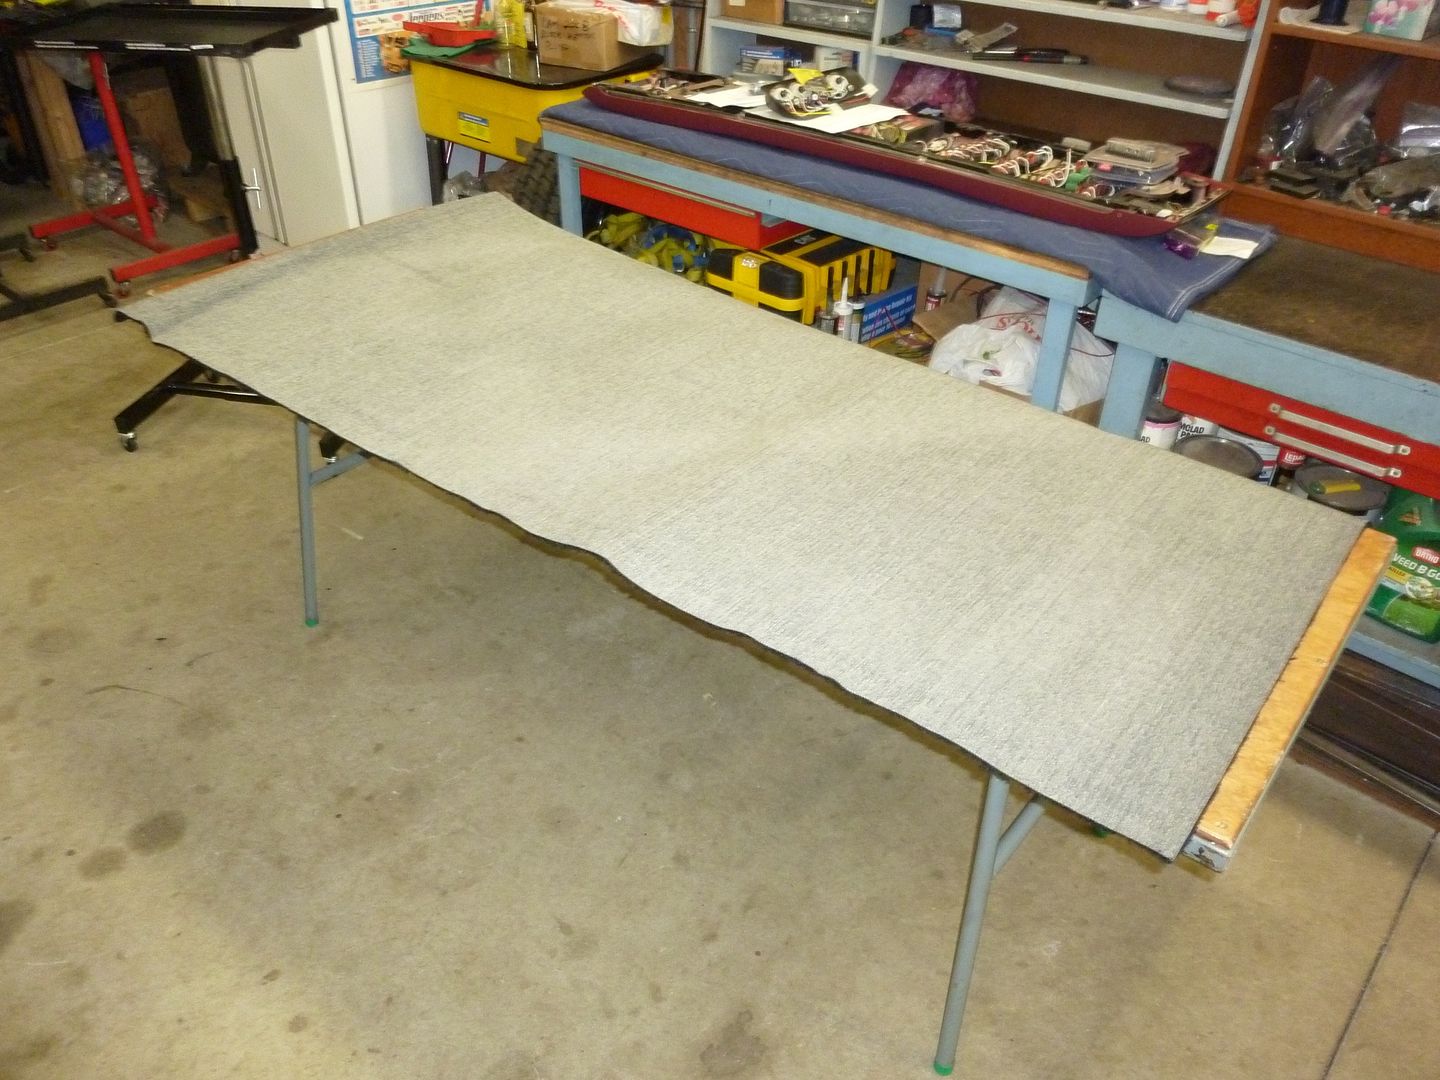
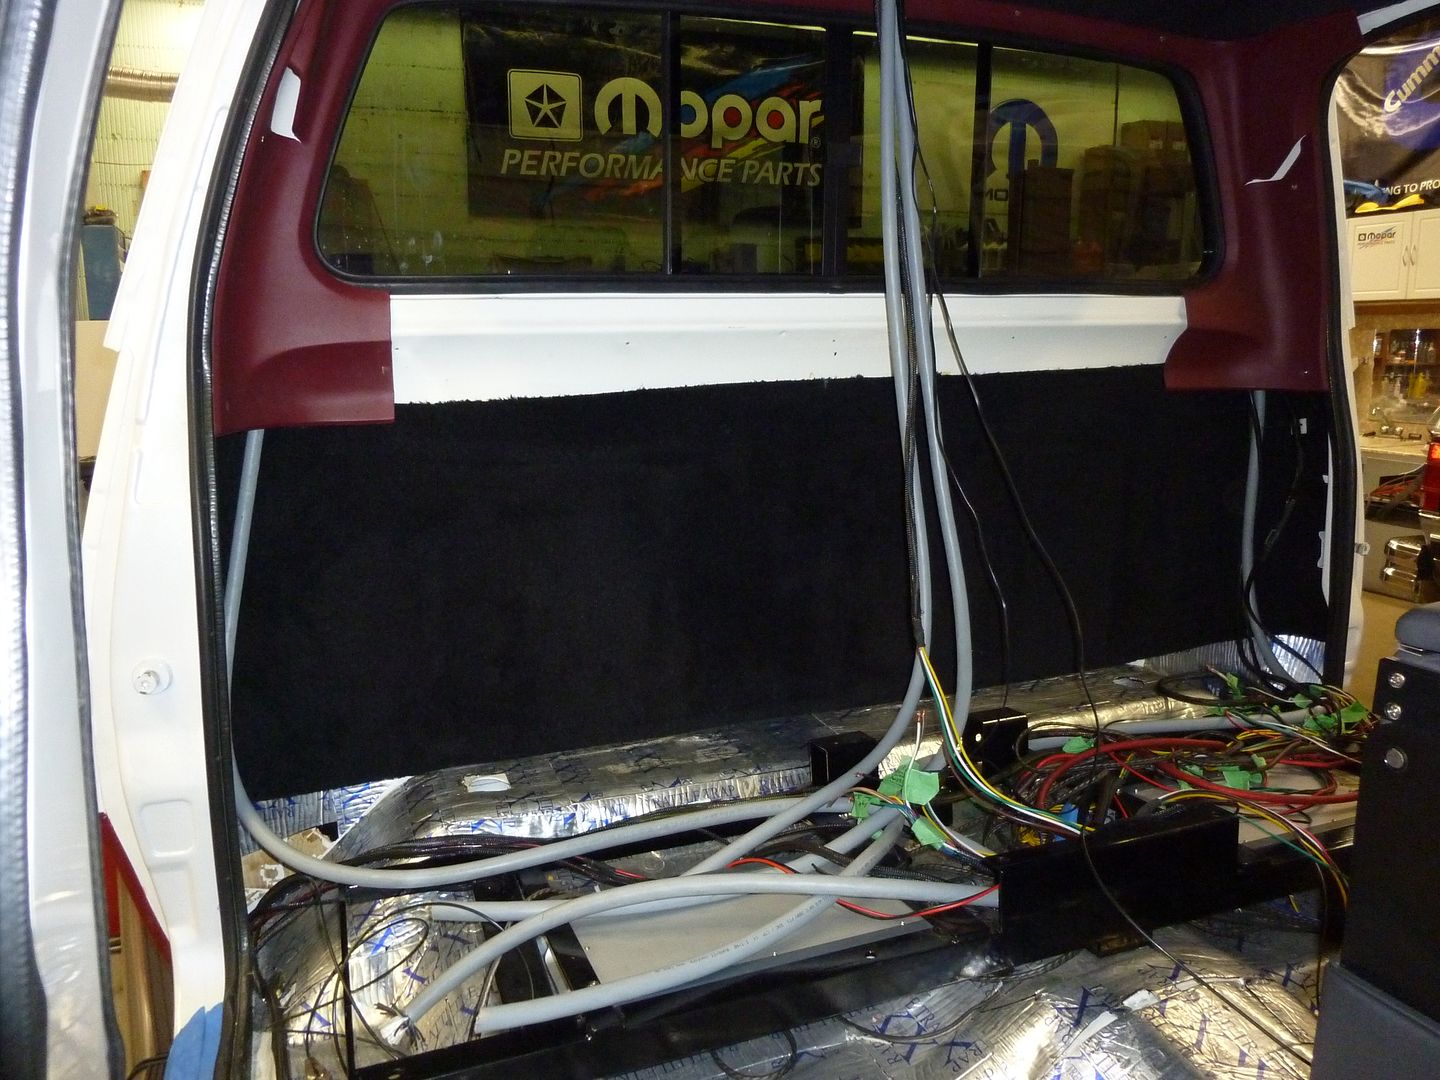
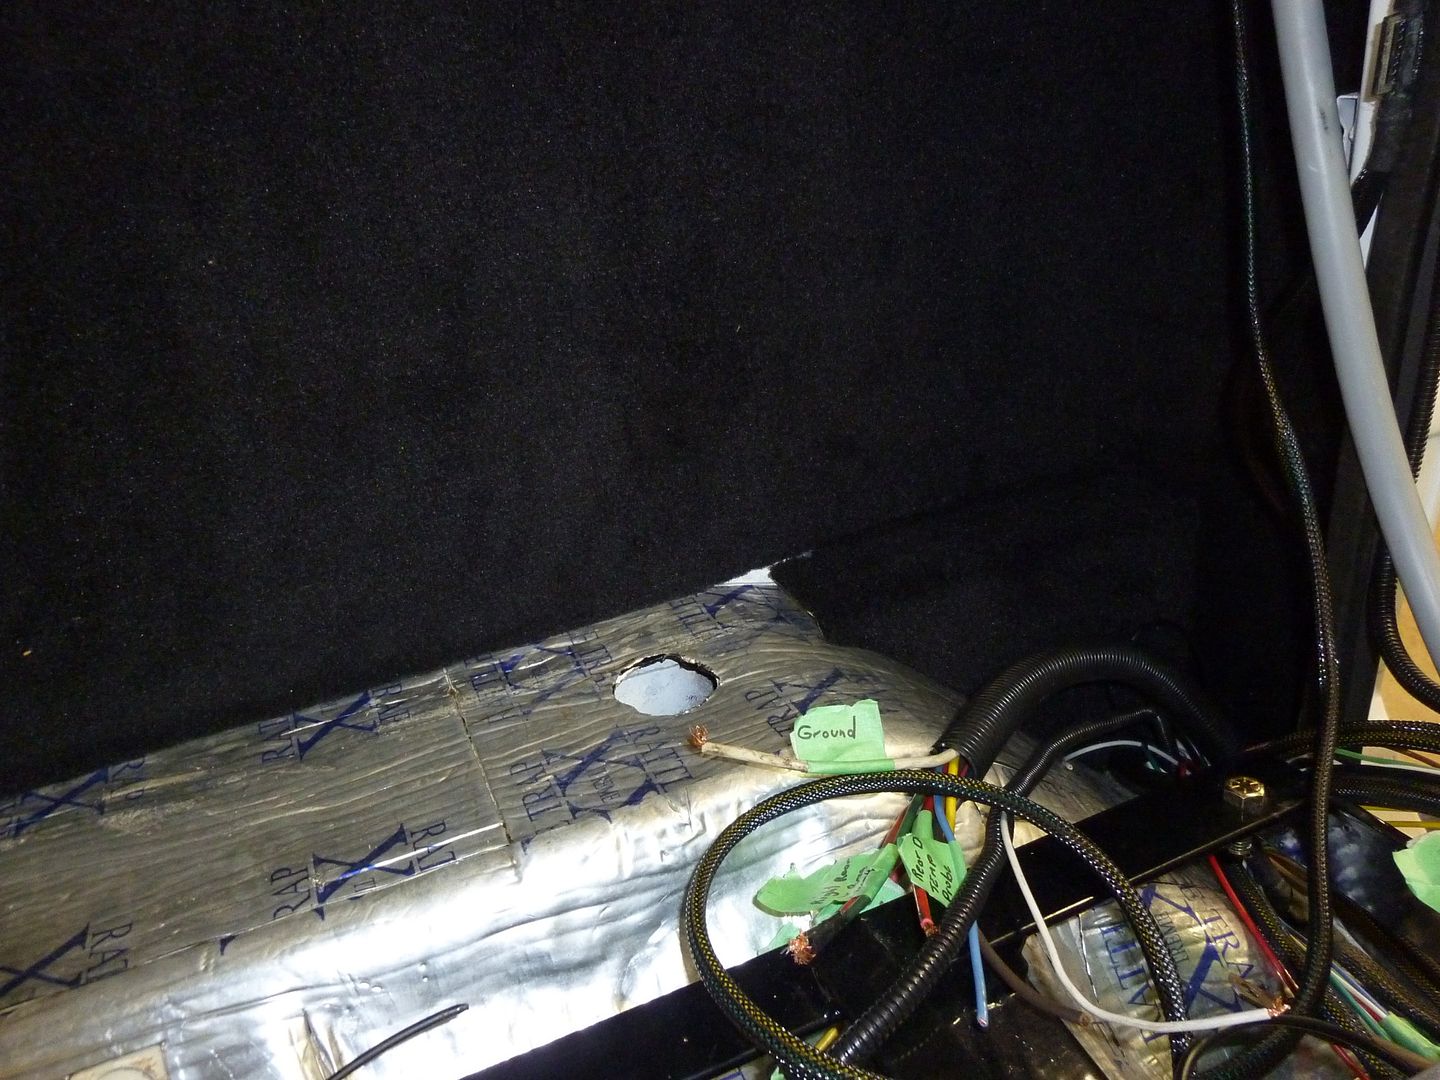
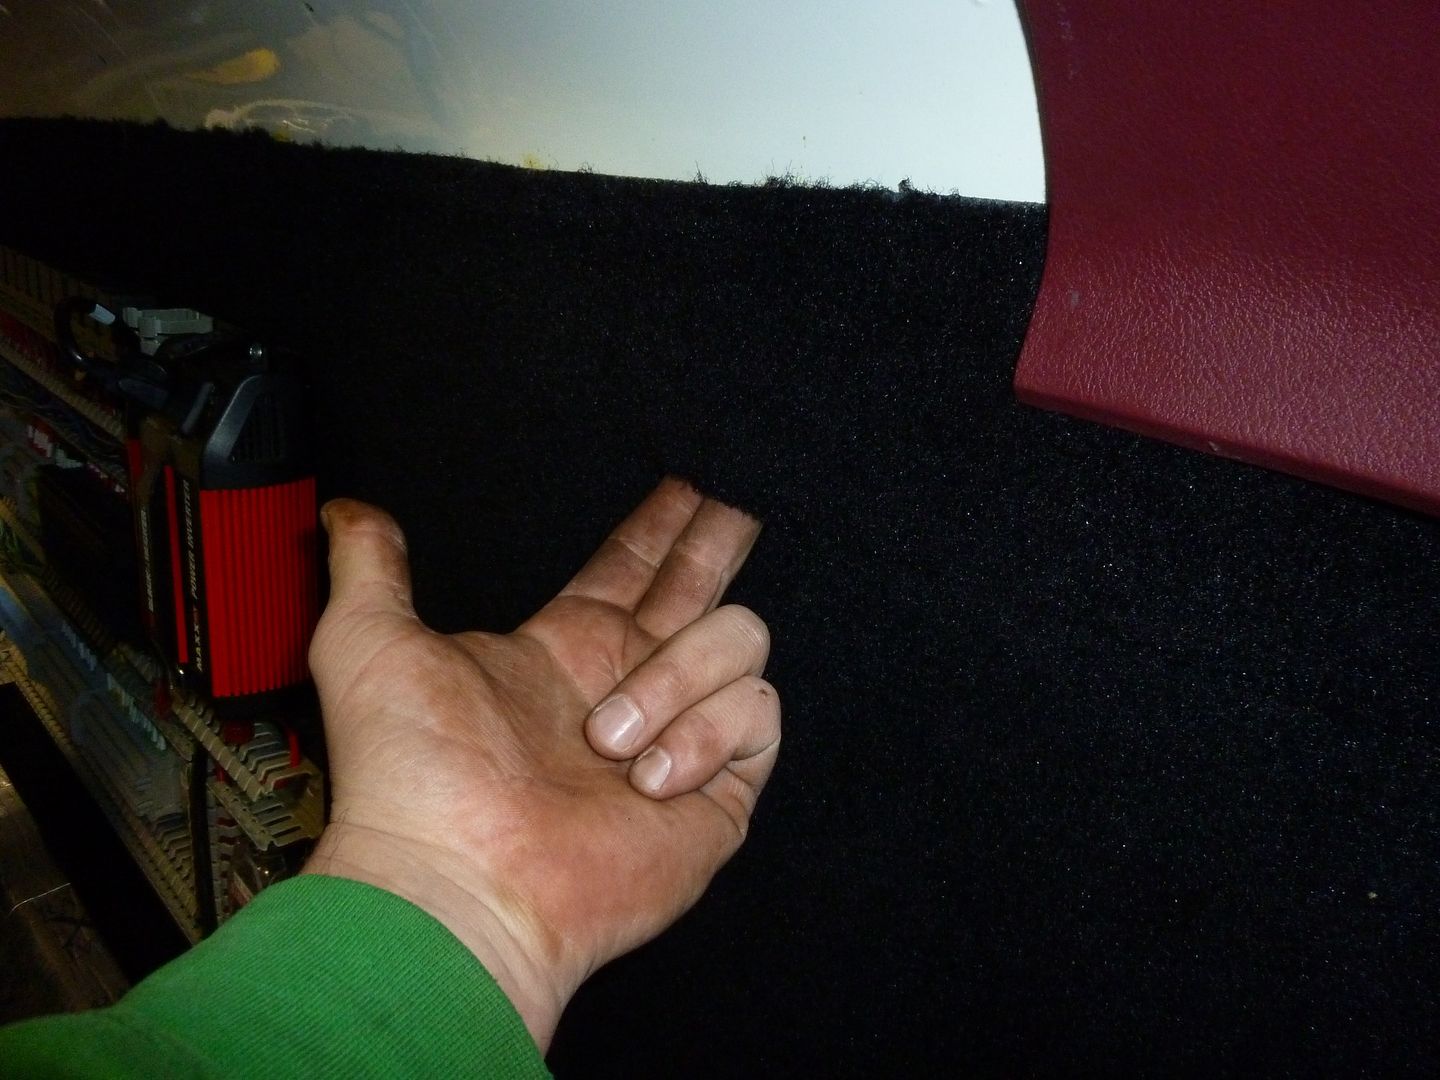
Step one was to put the carpet on the back wall on top of the sound deadener. I had ordered extra carpet when I ordered the floor carpet so I could do the back wall and into the C pillars. So step one was to cut the carpet:
 '
'
 '
'
 '
'
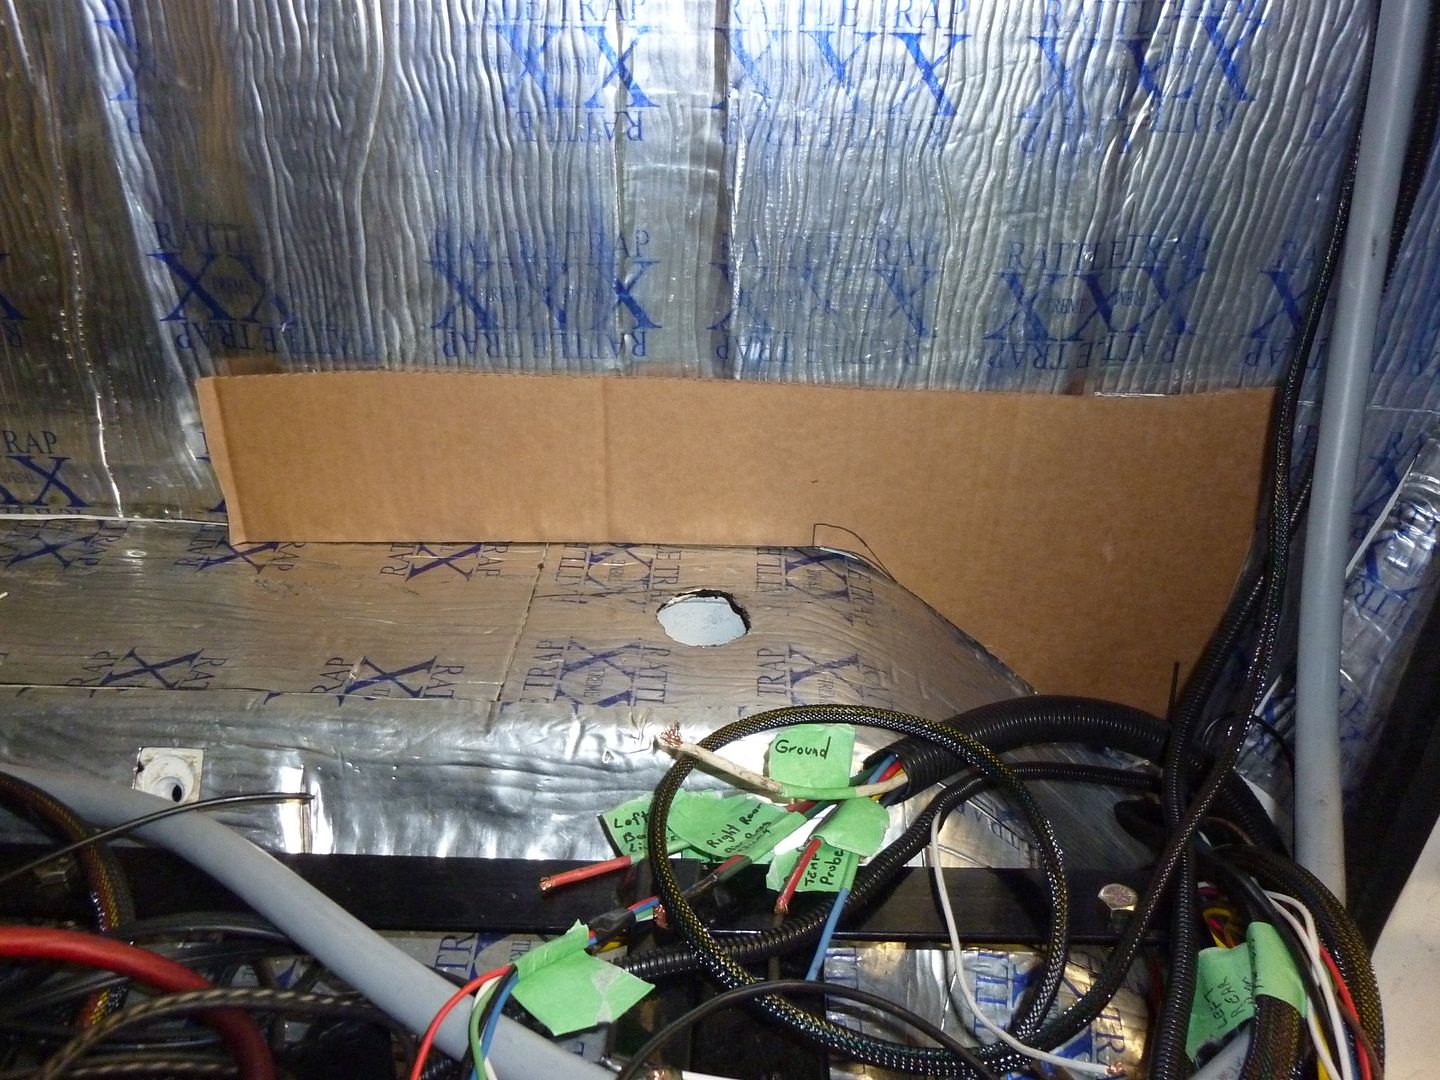
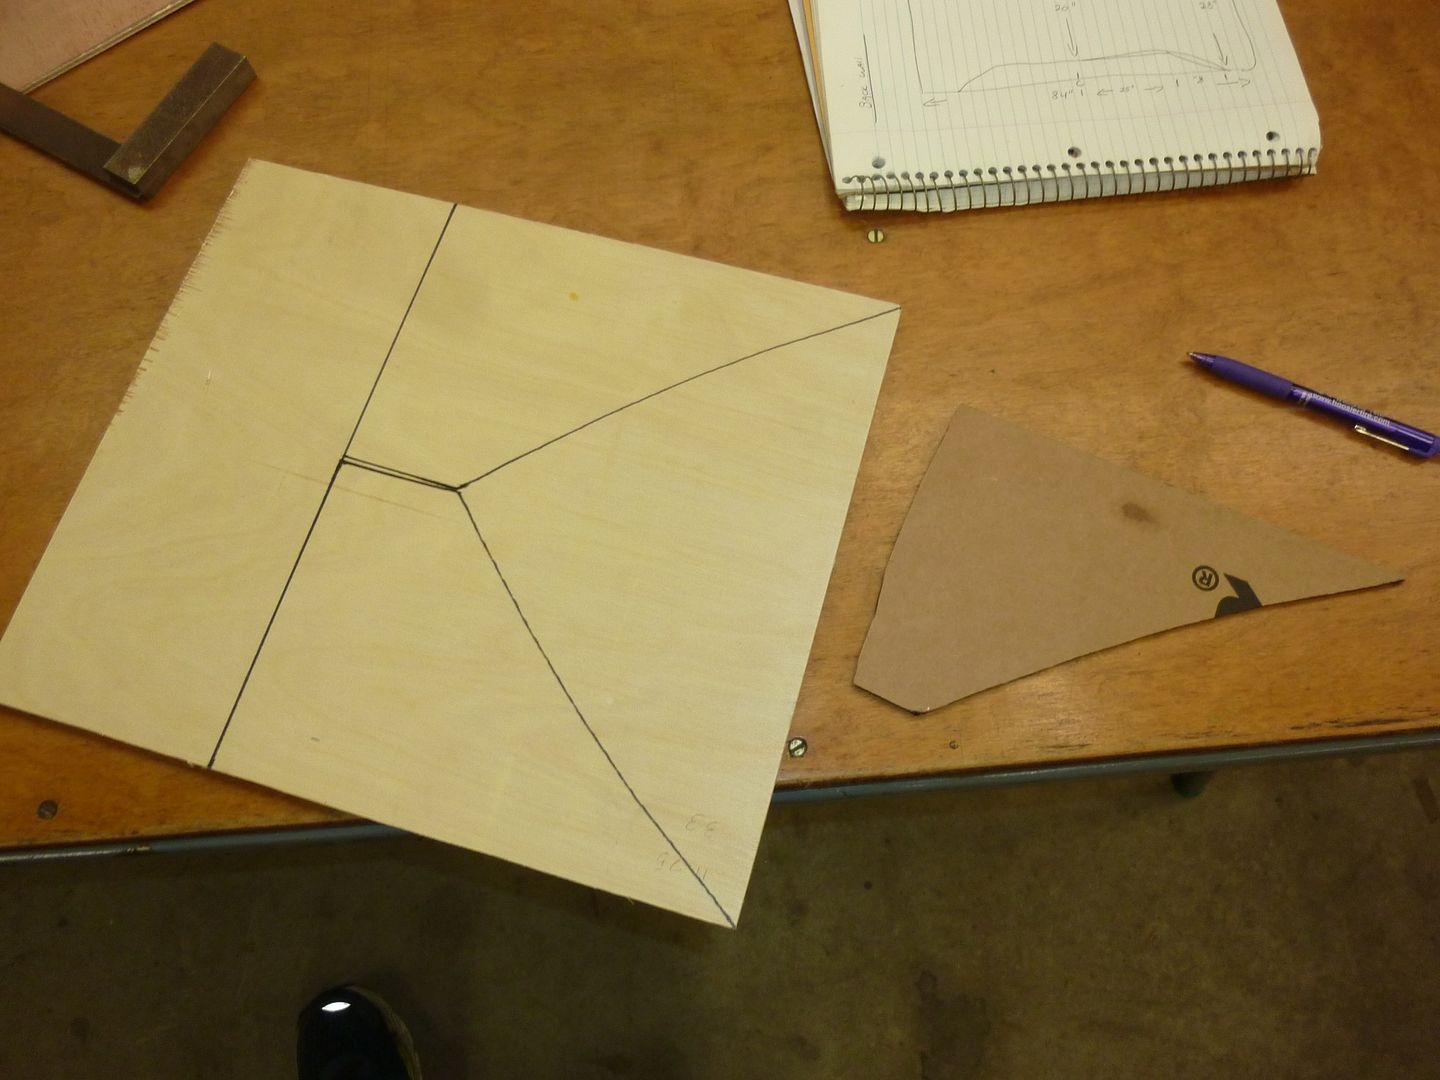
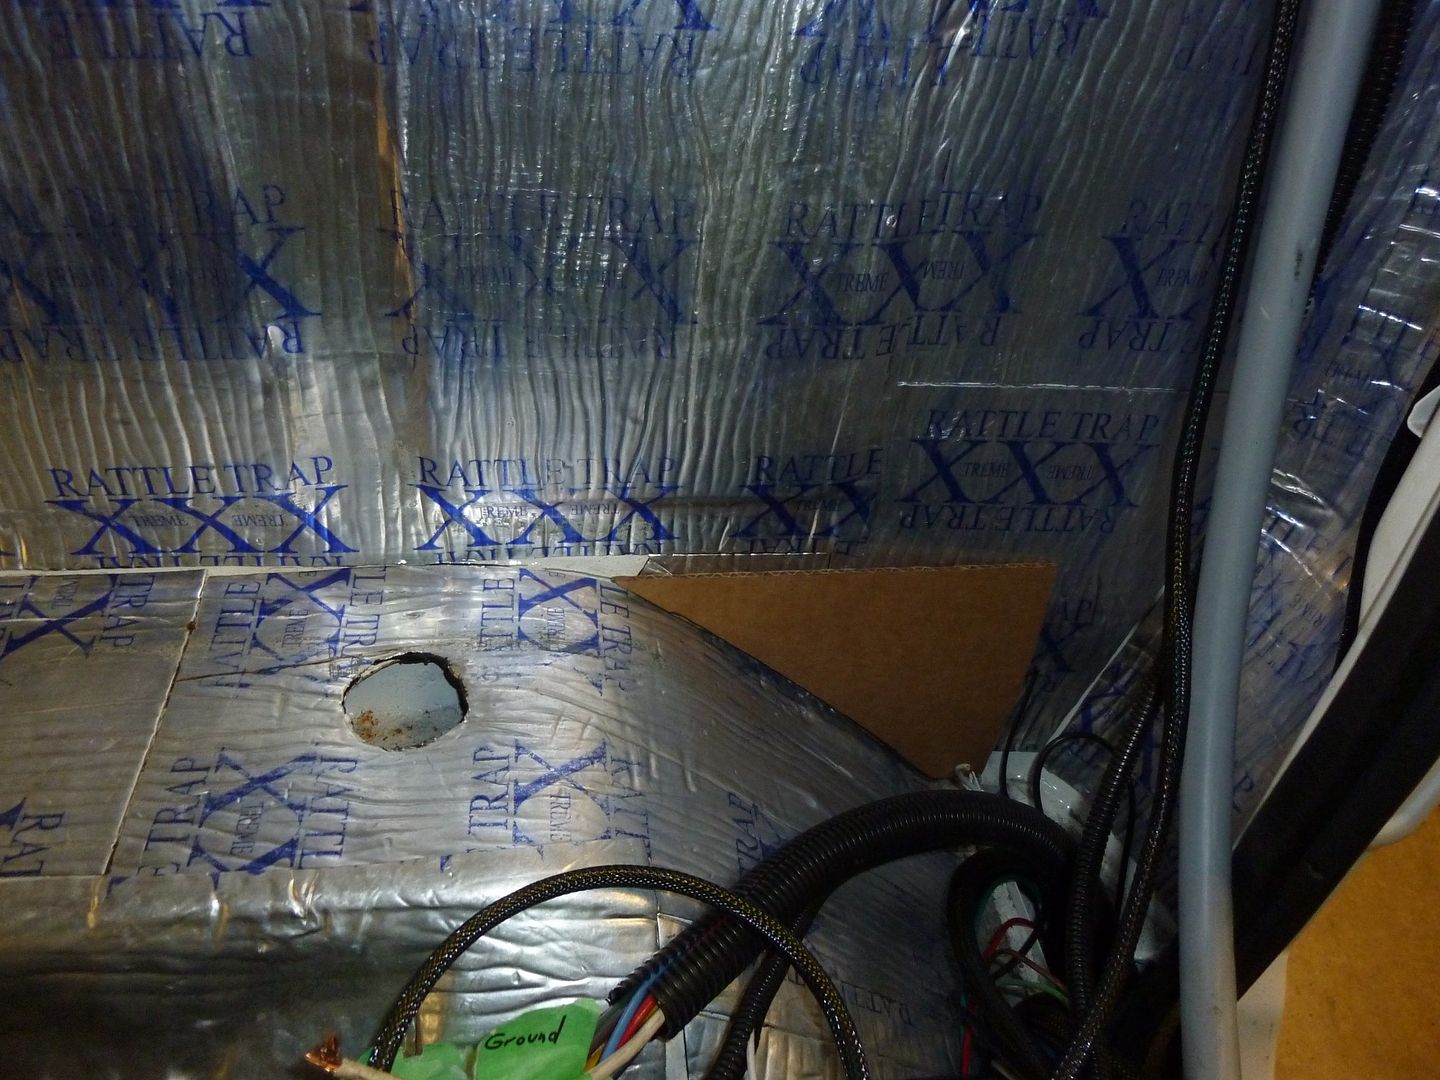
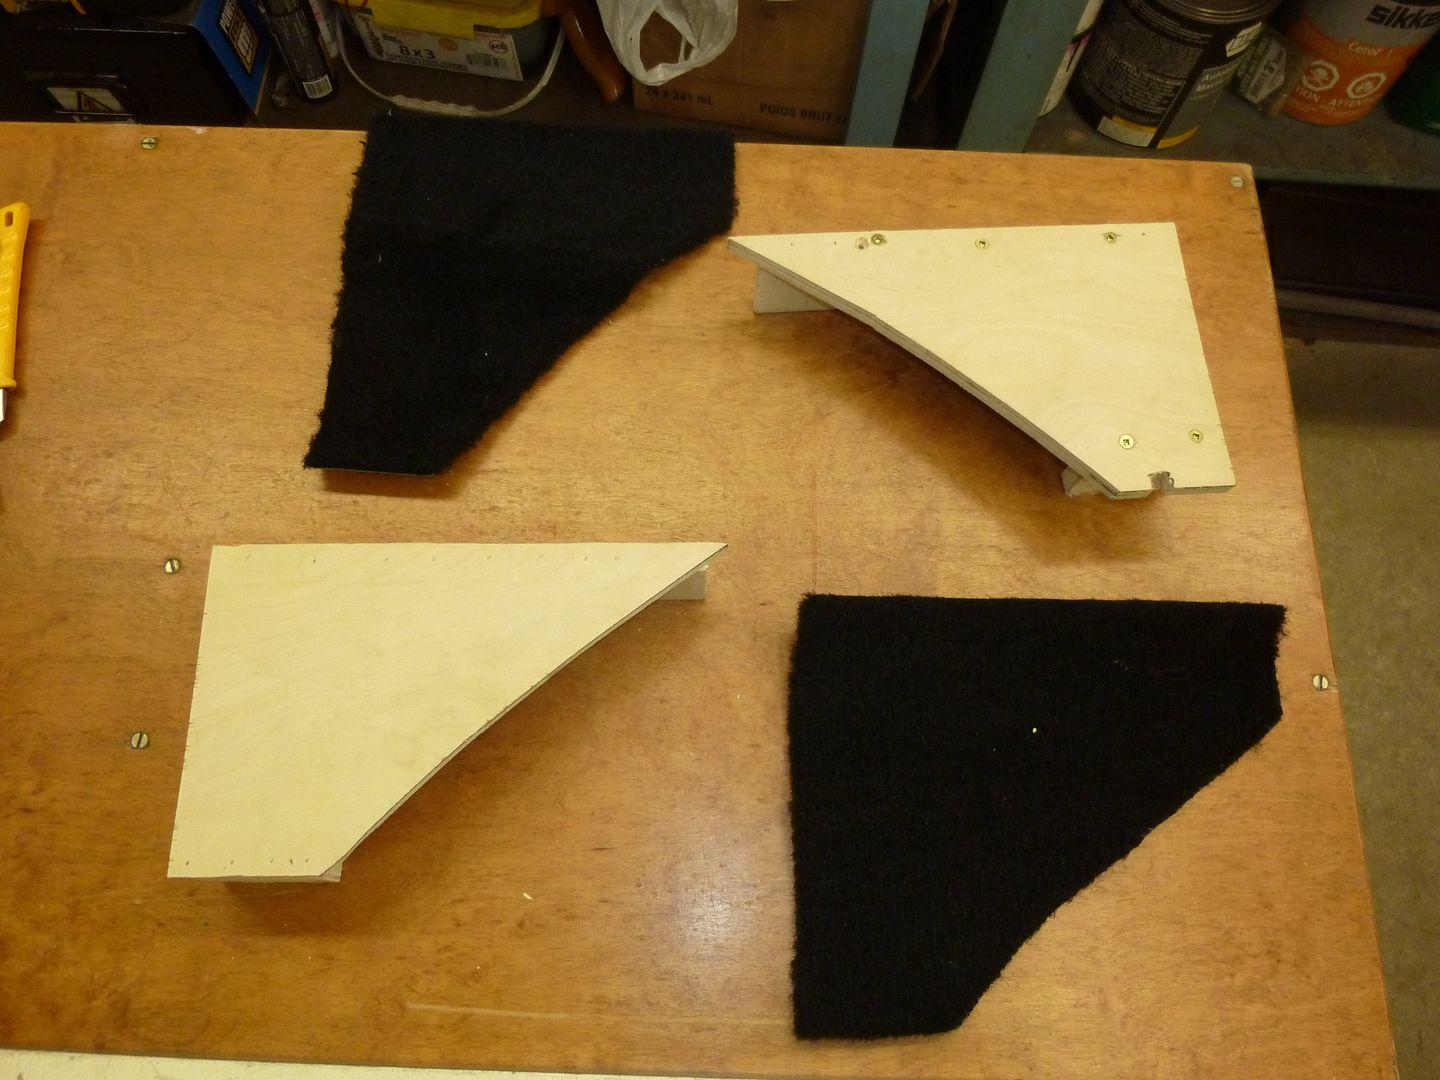
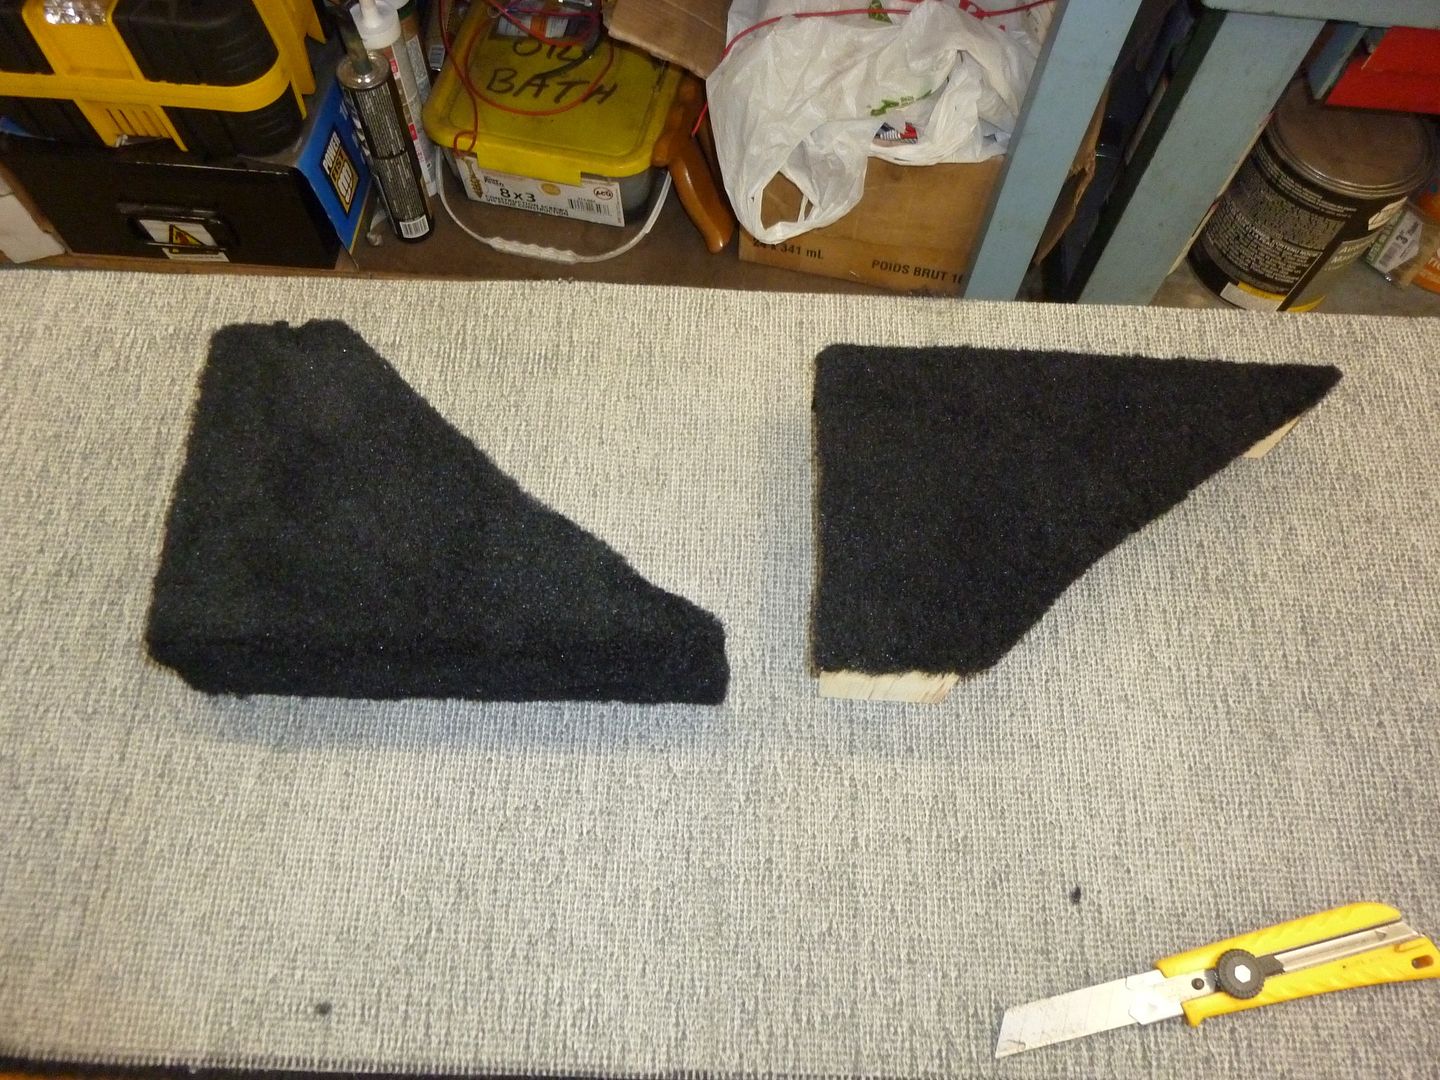
Step two, was the fill the areas below the carpet. But the challenge was, the electrical panel still needed support there as the panels are actually very heavy. So I made a cardboard template, and then transferred the shape to wood, so I could make a support. Lastly, I covered it with carpet to match. Now I had my ledge.
 '
'
 '
'
 '
'
 '
'
 '
'
 '
'
 '
'
 '
'
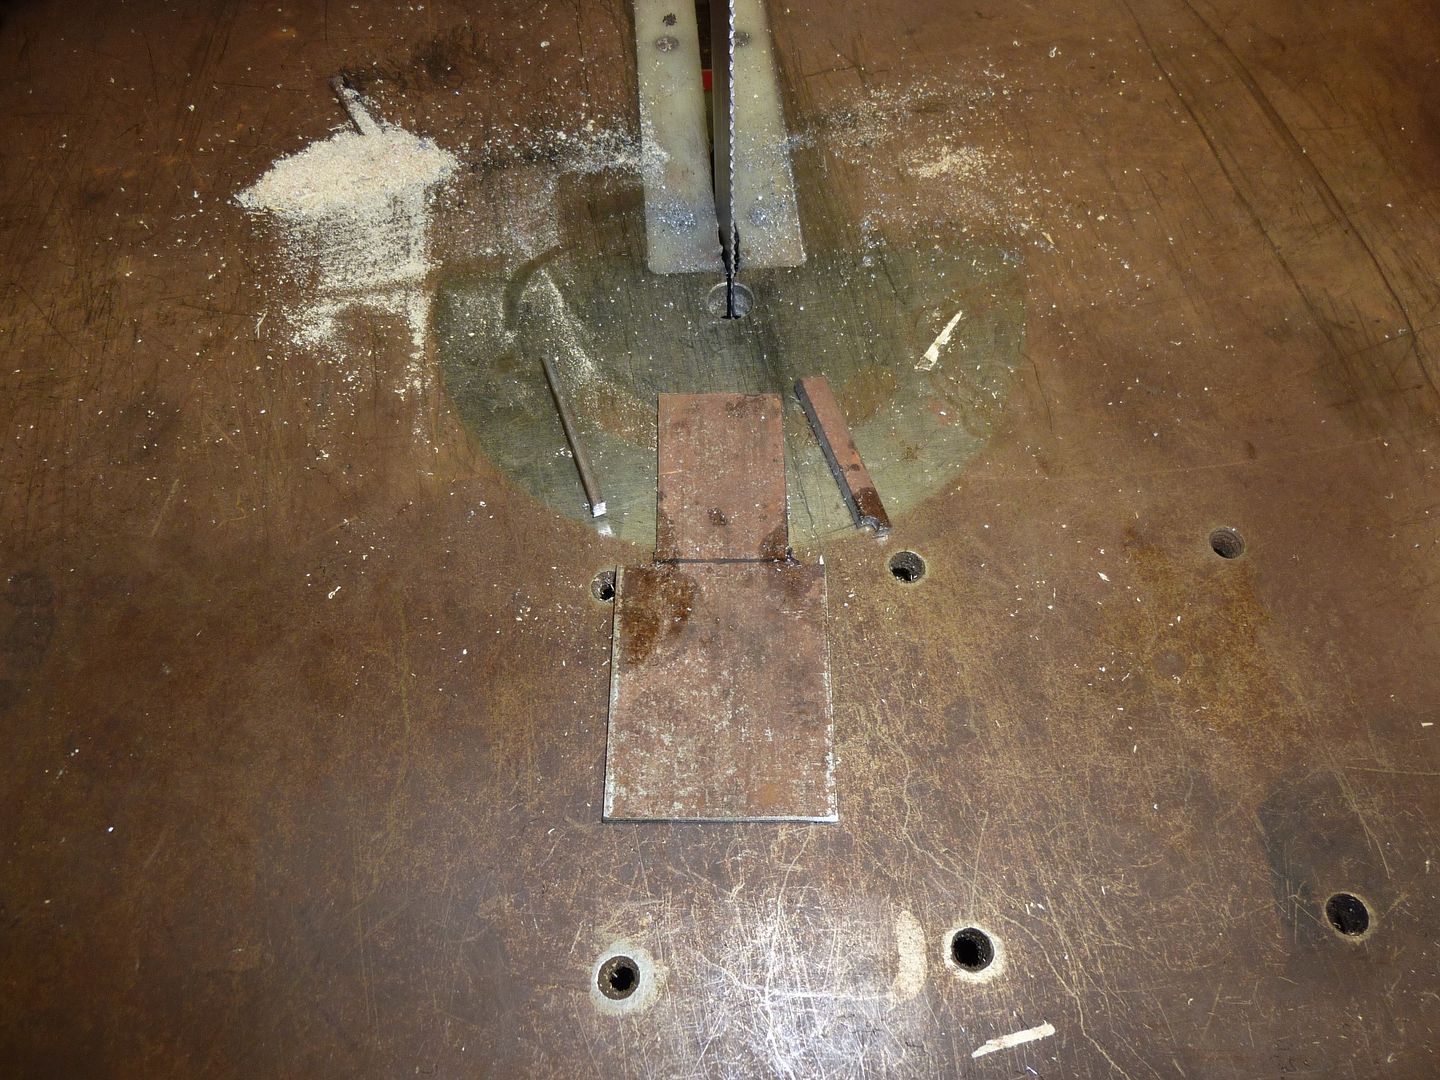
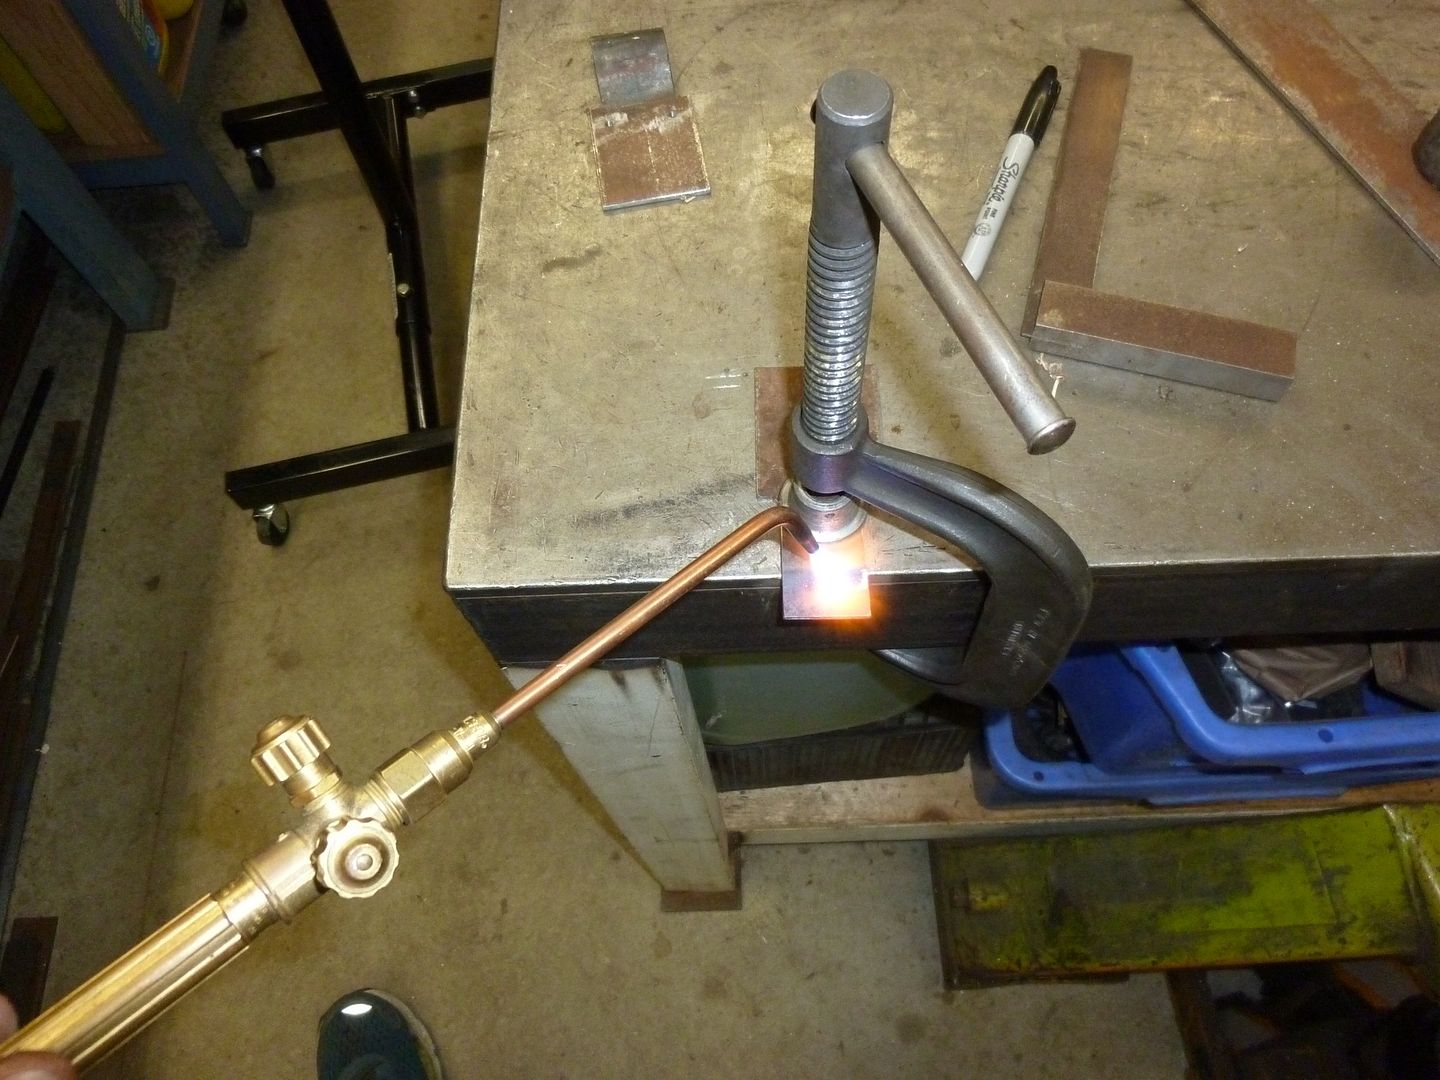
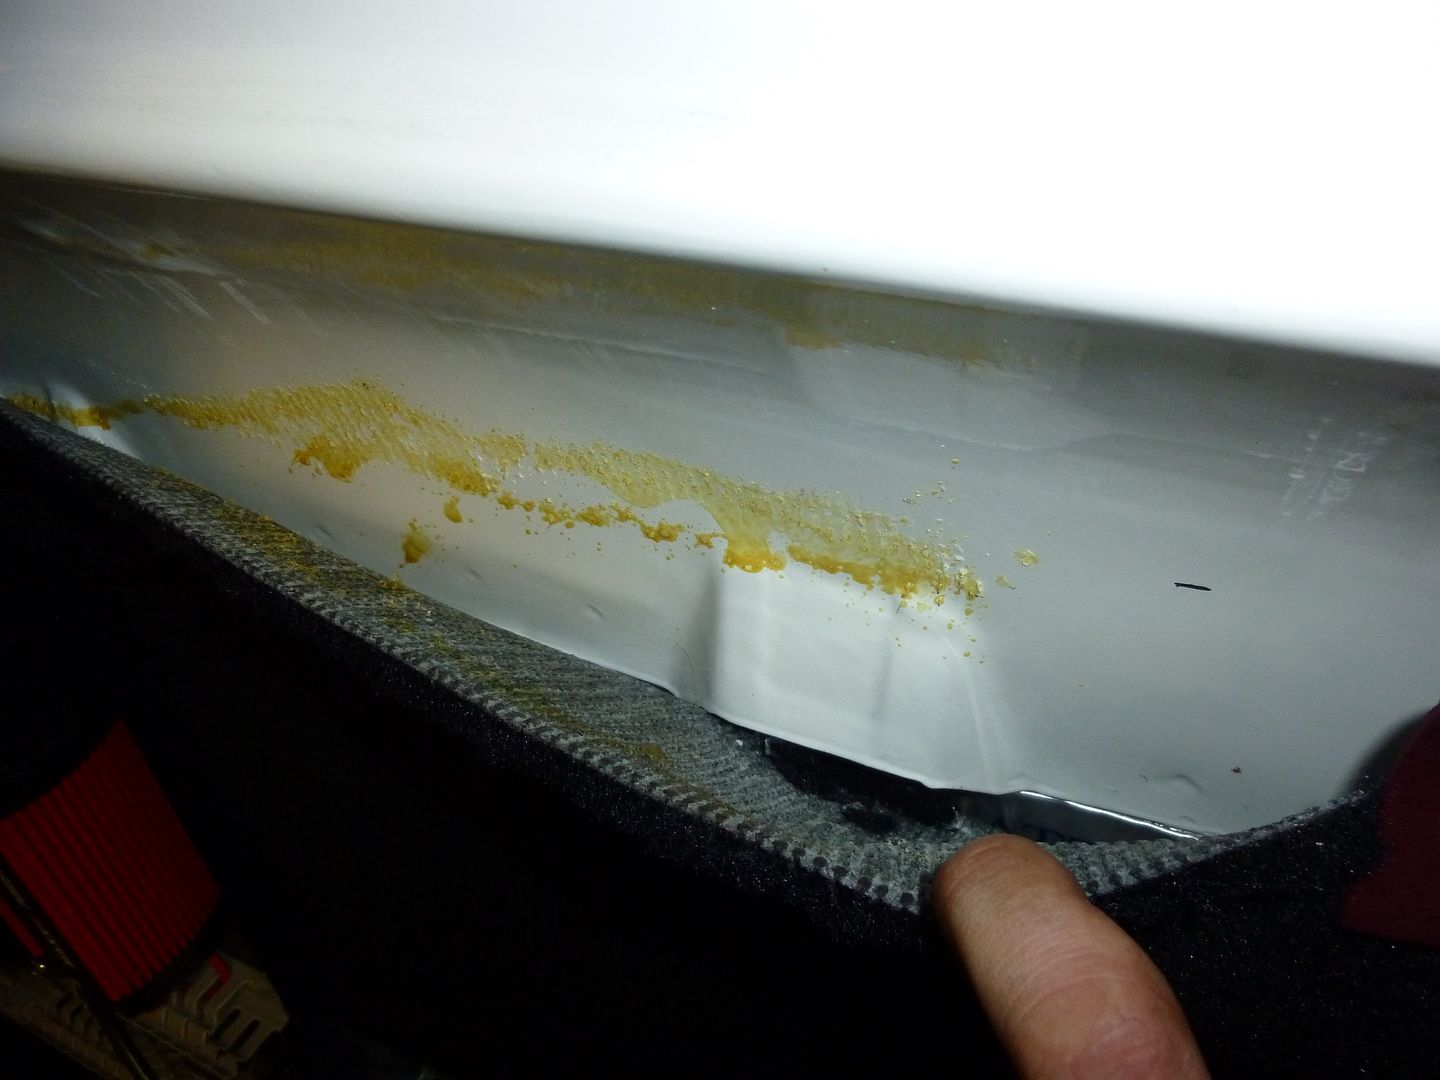
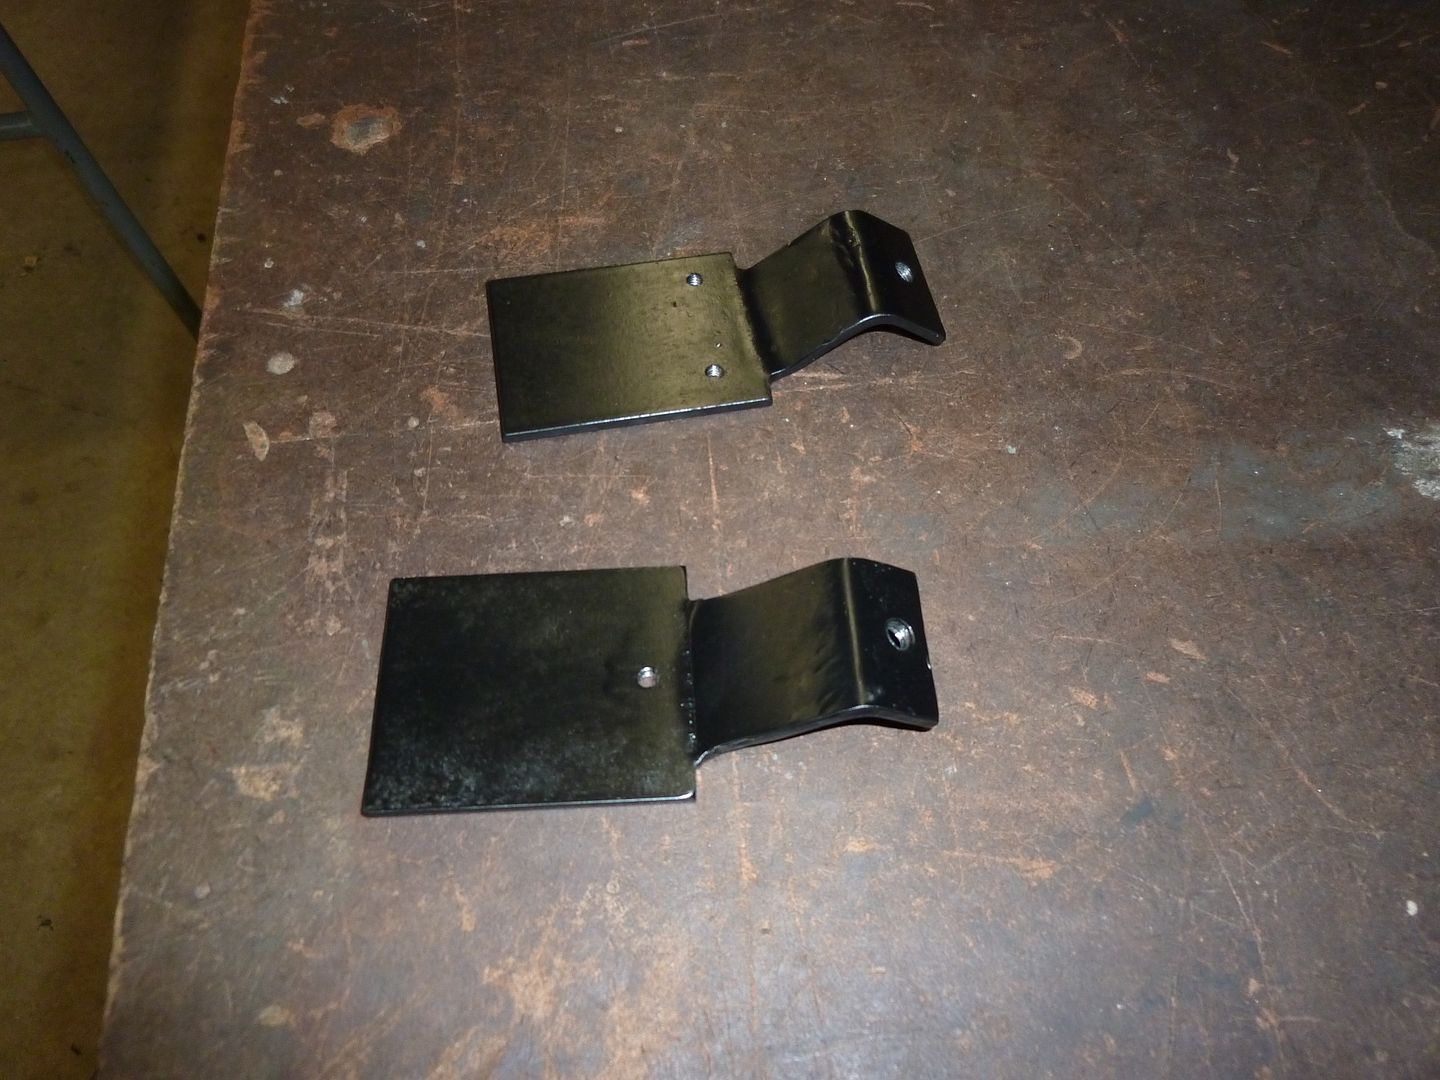
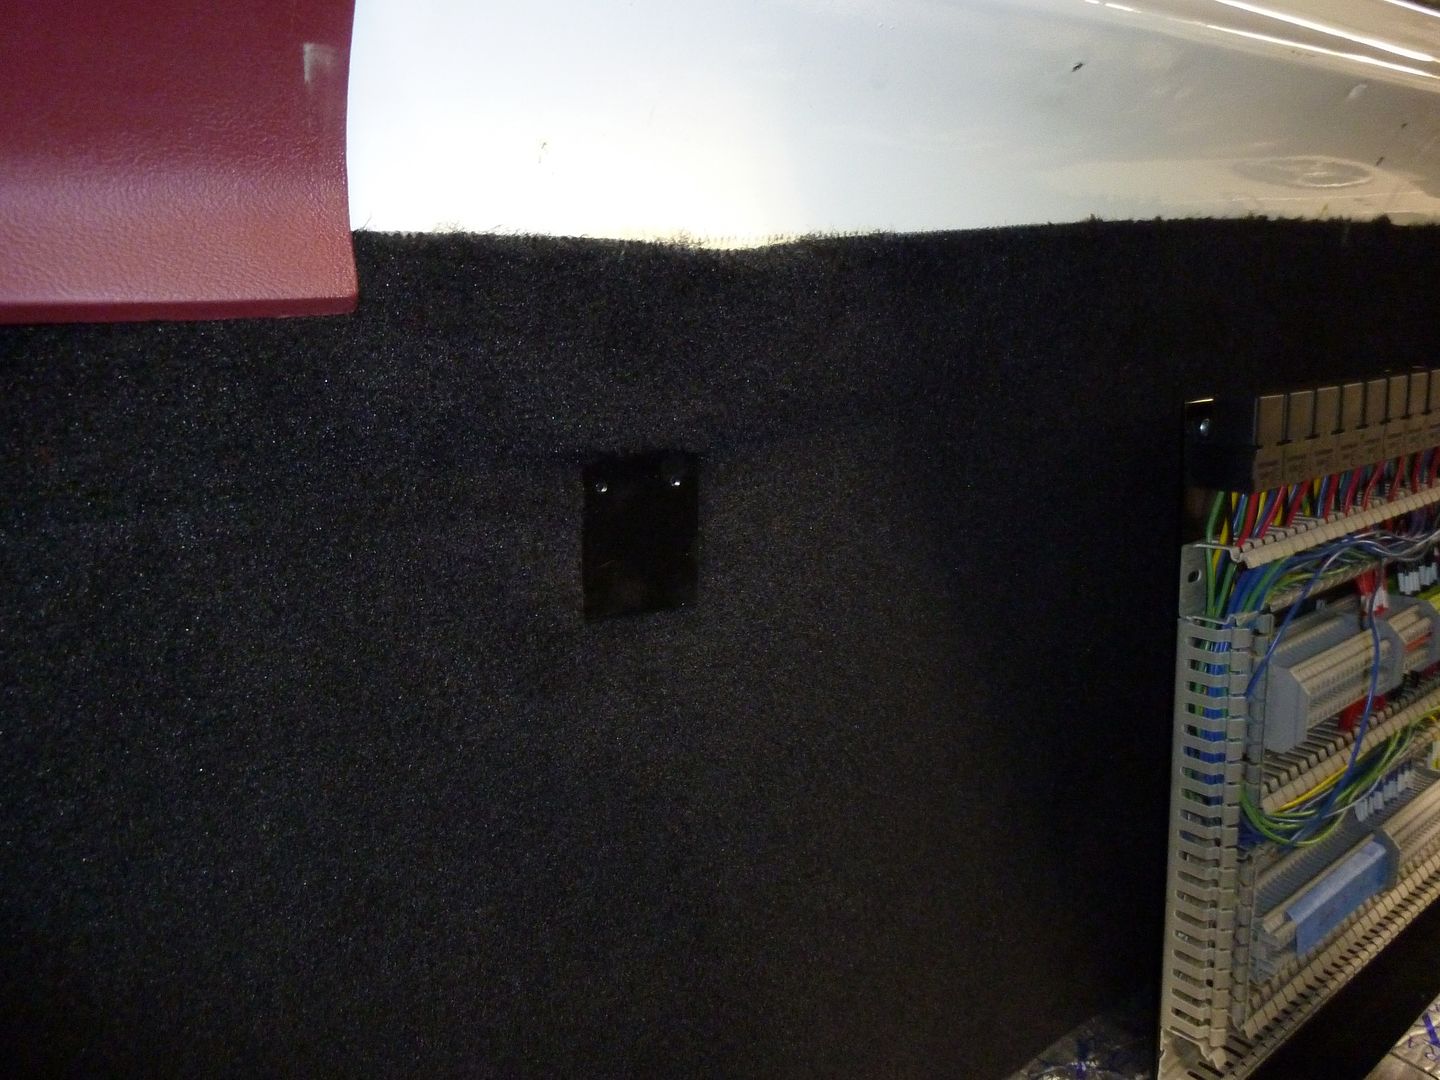
The other item that needed to be tackled was the electrical panels top side support. Now that the bottom was supported, the top still would want to tip over if I stopped hard. So I needed a retaining finger. Issue is, the back wall is single thickness unlike the roof. So I got creative with using a strength rib to be the mount. So I made a finger out of 2” stock, cut, tapped, and formed to shape. I then sliced the carpet to insert the finger, so the mount would be hidden. Sadly I did have to peel back some of the already glued in carpet. Boo.
.jpg?width=1920&height=1080&fit=bounds) '
'
 '
'
 '
'
 '
'
 '
'
 '
'
 '
'
 '
'
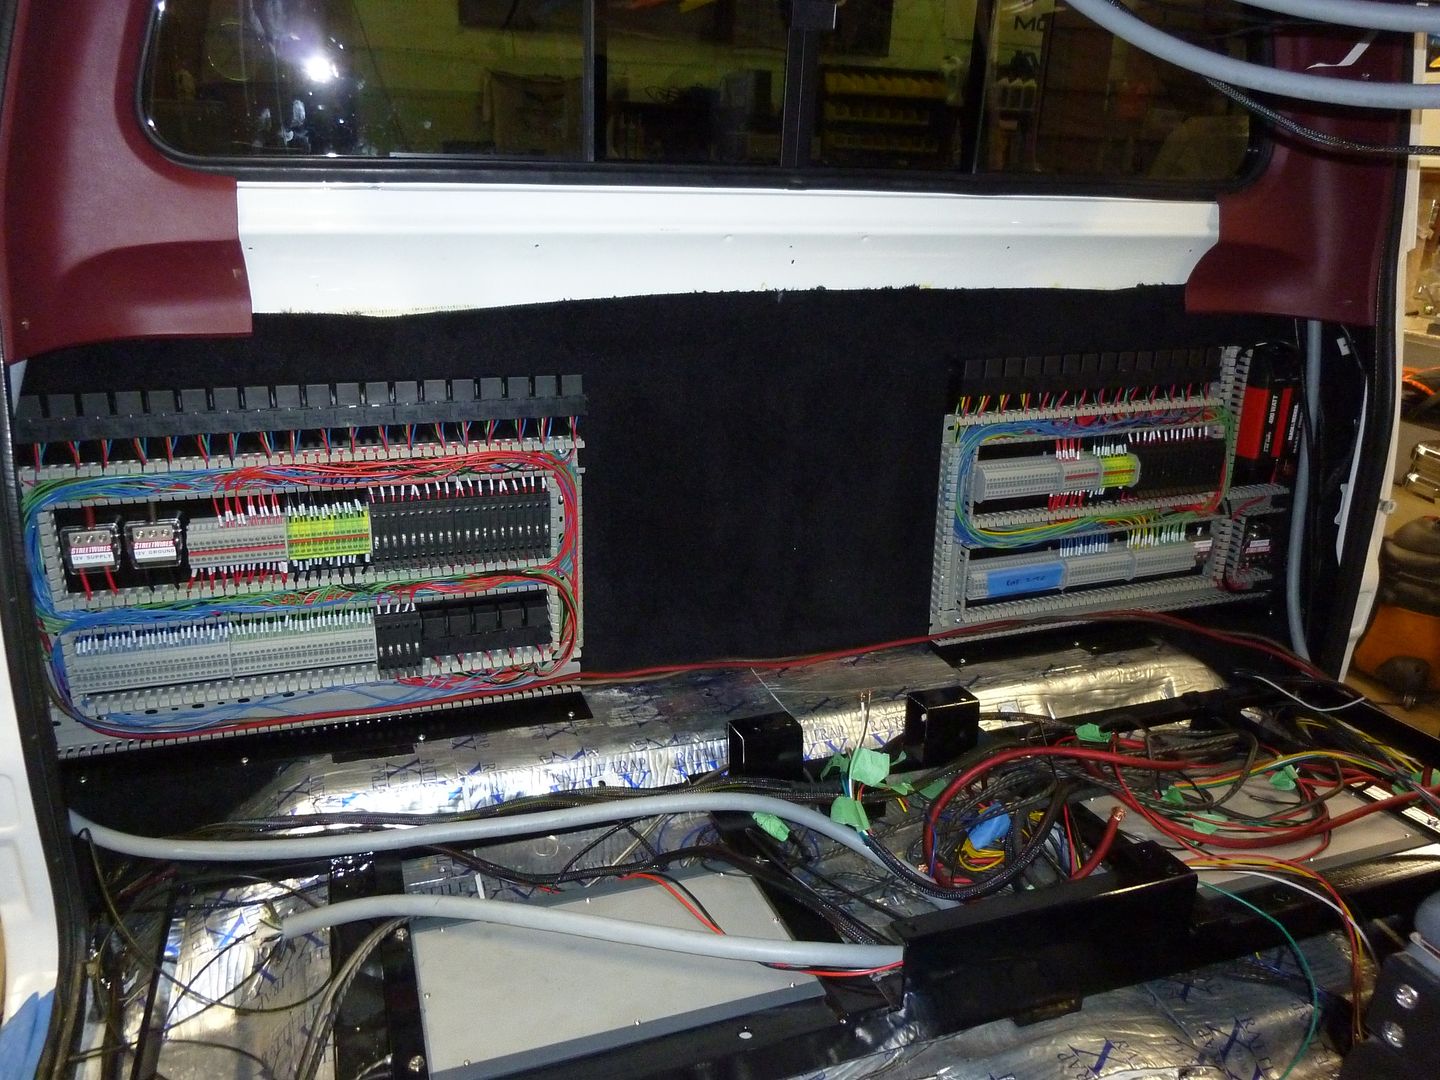
So with the supports in, carpet in, retaining finger in, and wiring all already pulled into the area, final install of the panels went in.
 '
'