
Rear Door Panels:
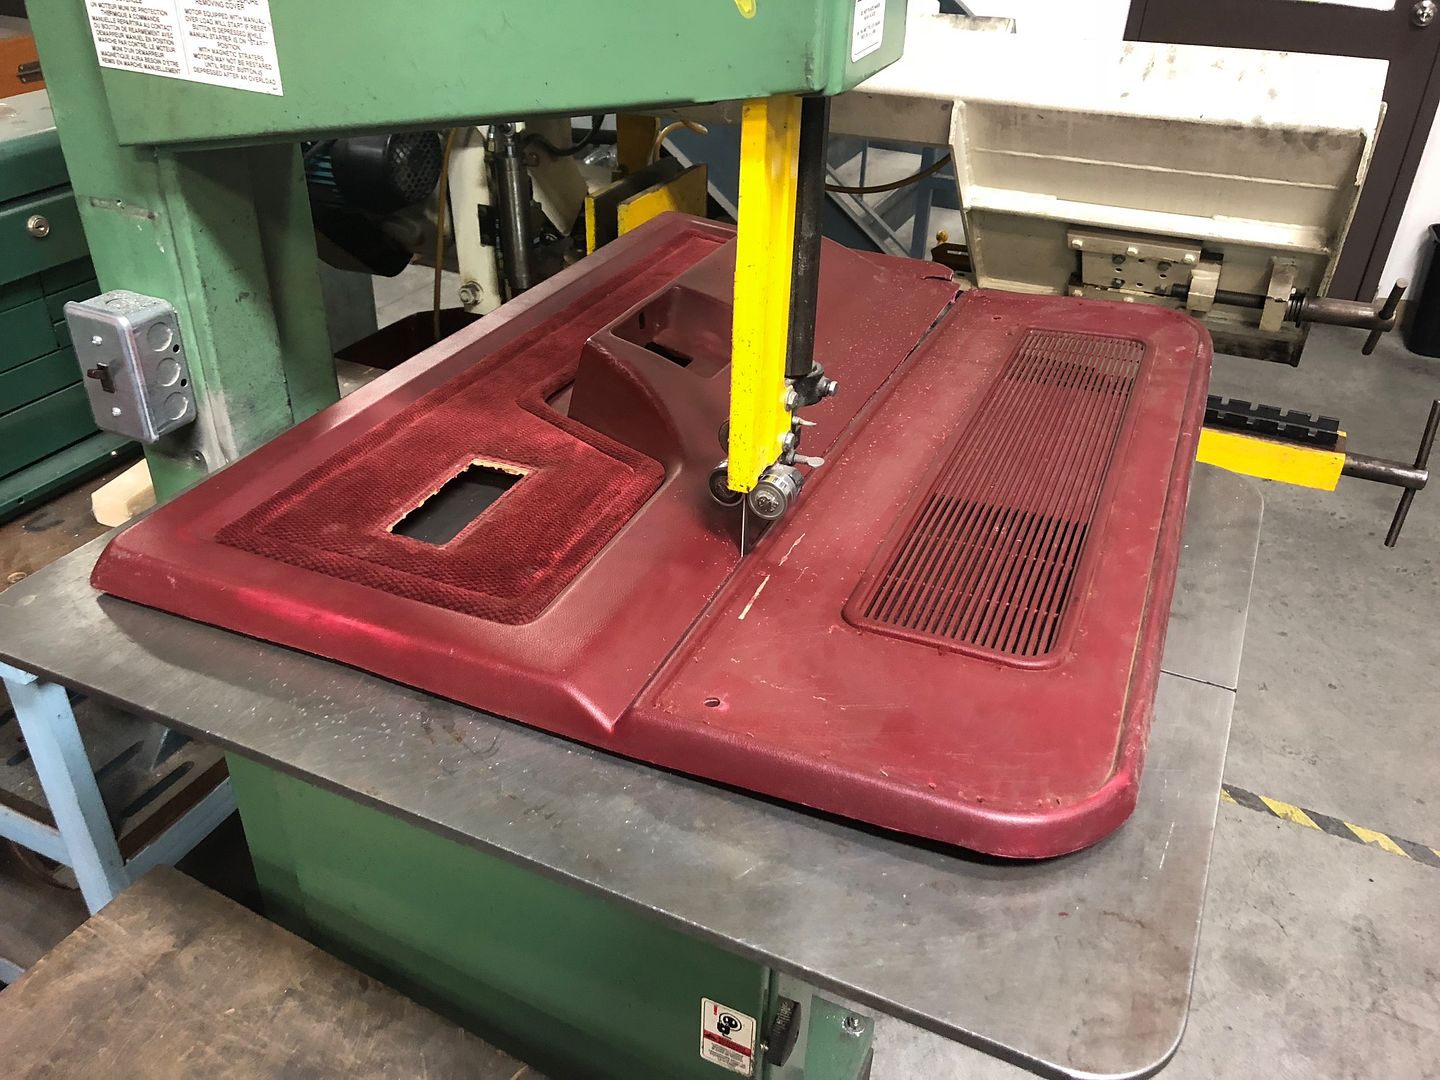
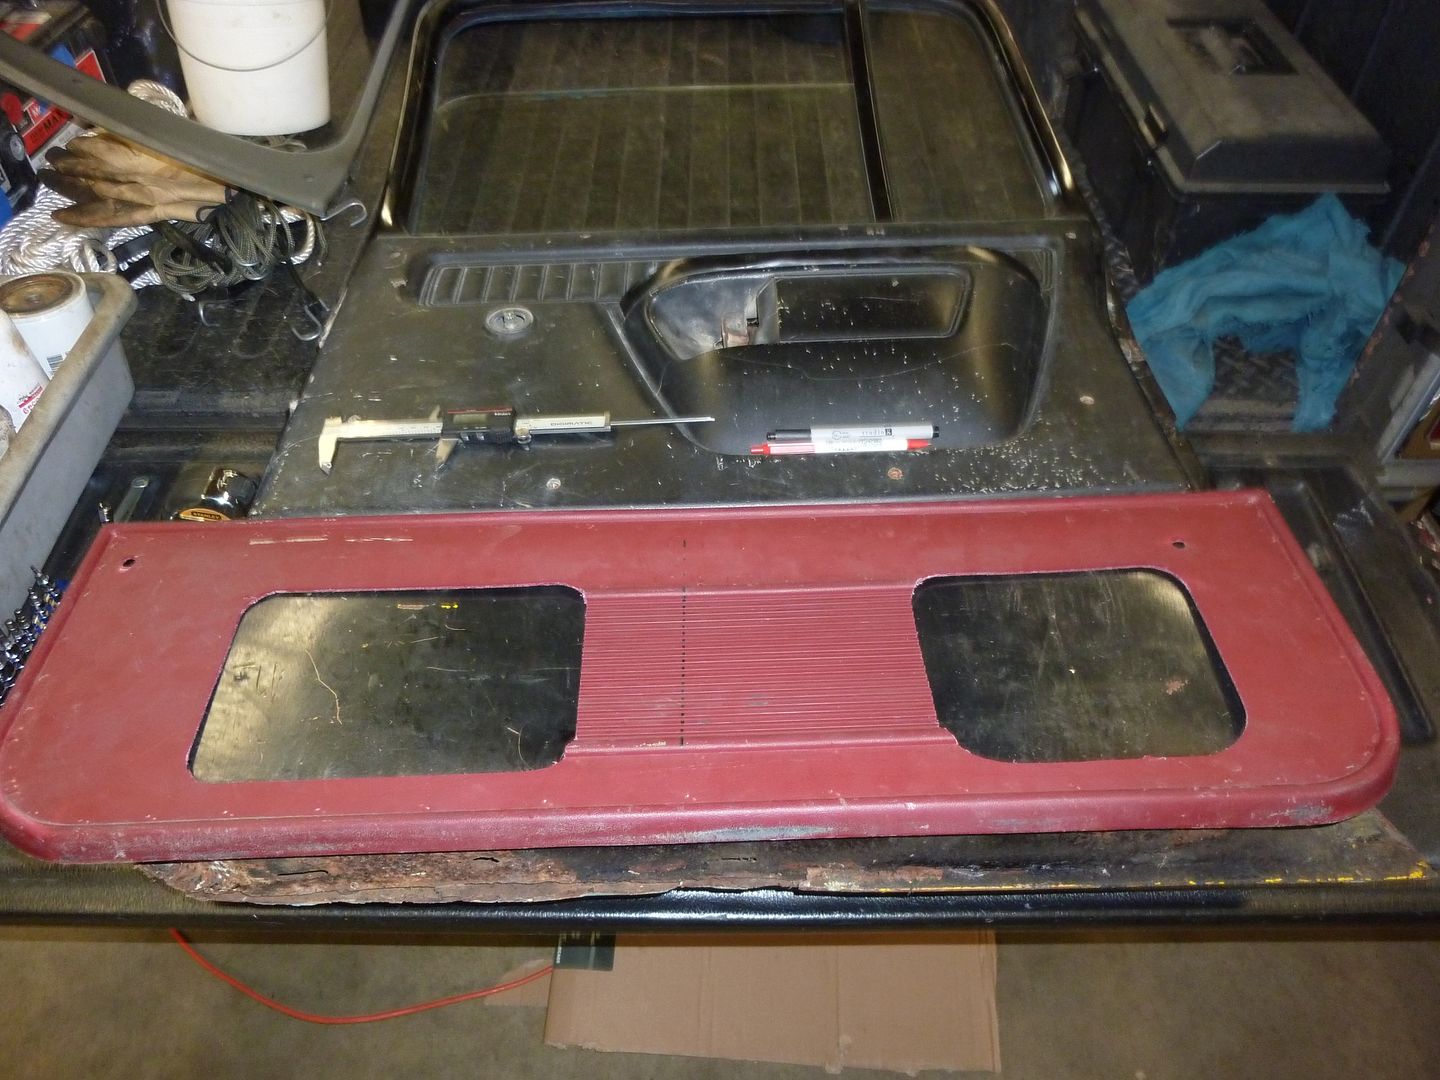
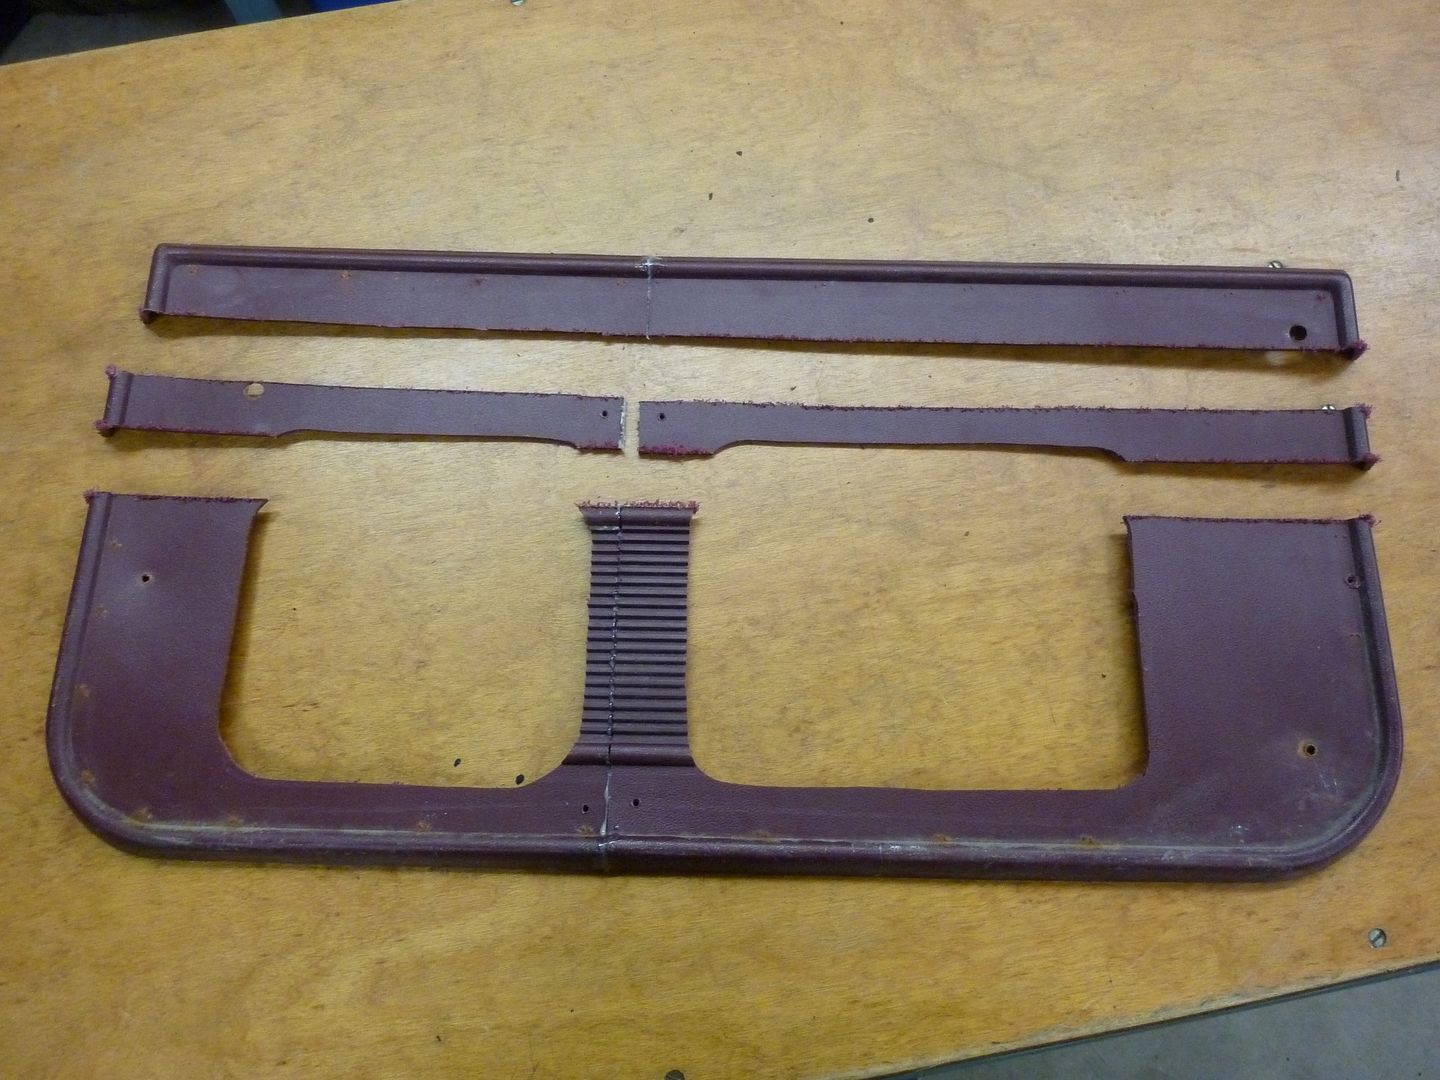
For the rear door panels, I decided after years of debate, to make them look identical to the fronts. So I took a spare cracked front door panel, and chopped the bottom off.
 '
'
 '
'
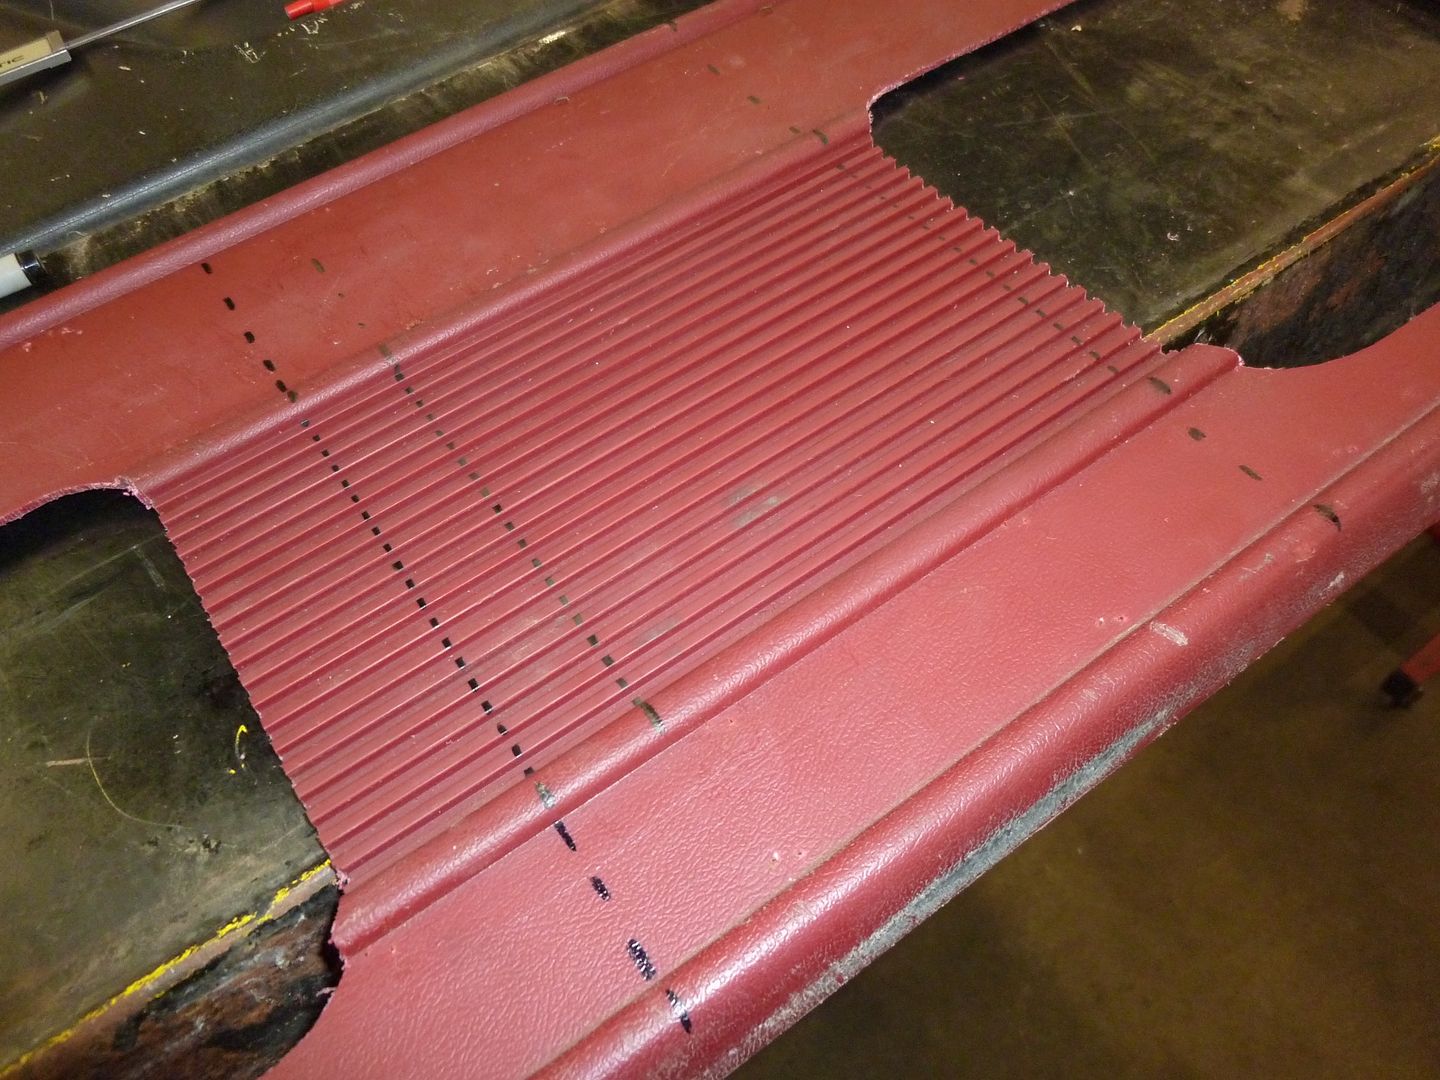
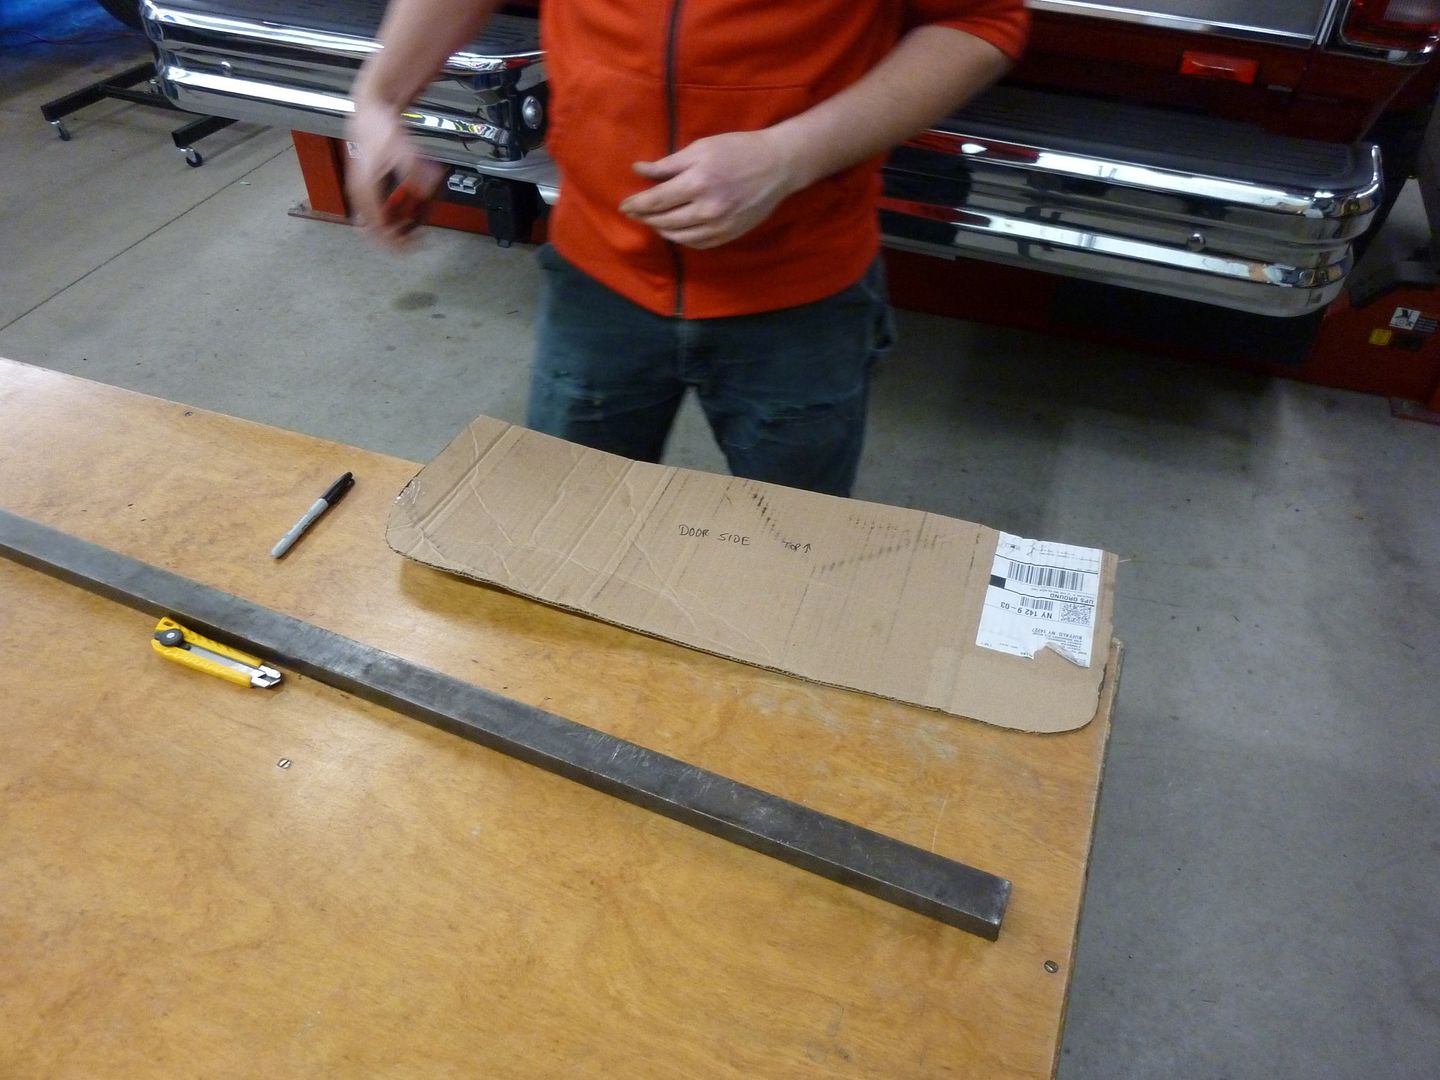
Then did some measuring, and chopped the center out:
 '
'
 '
'
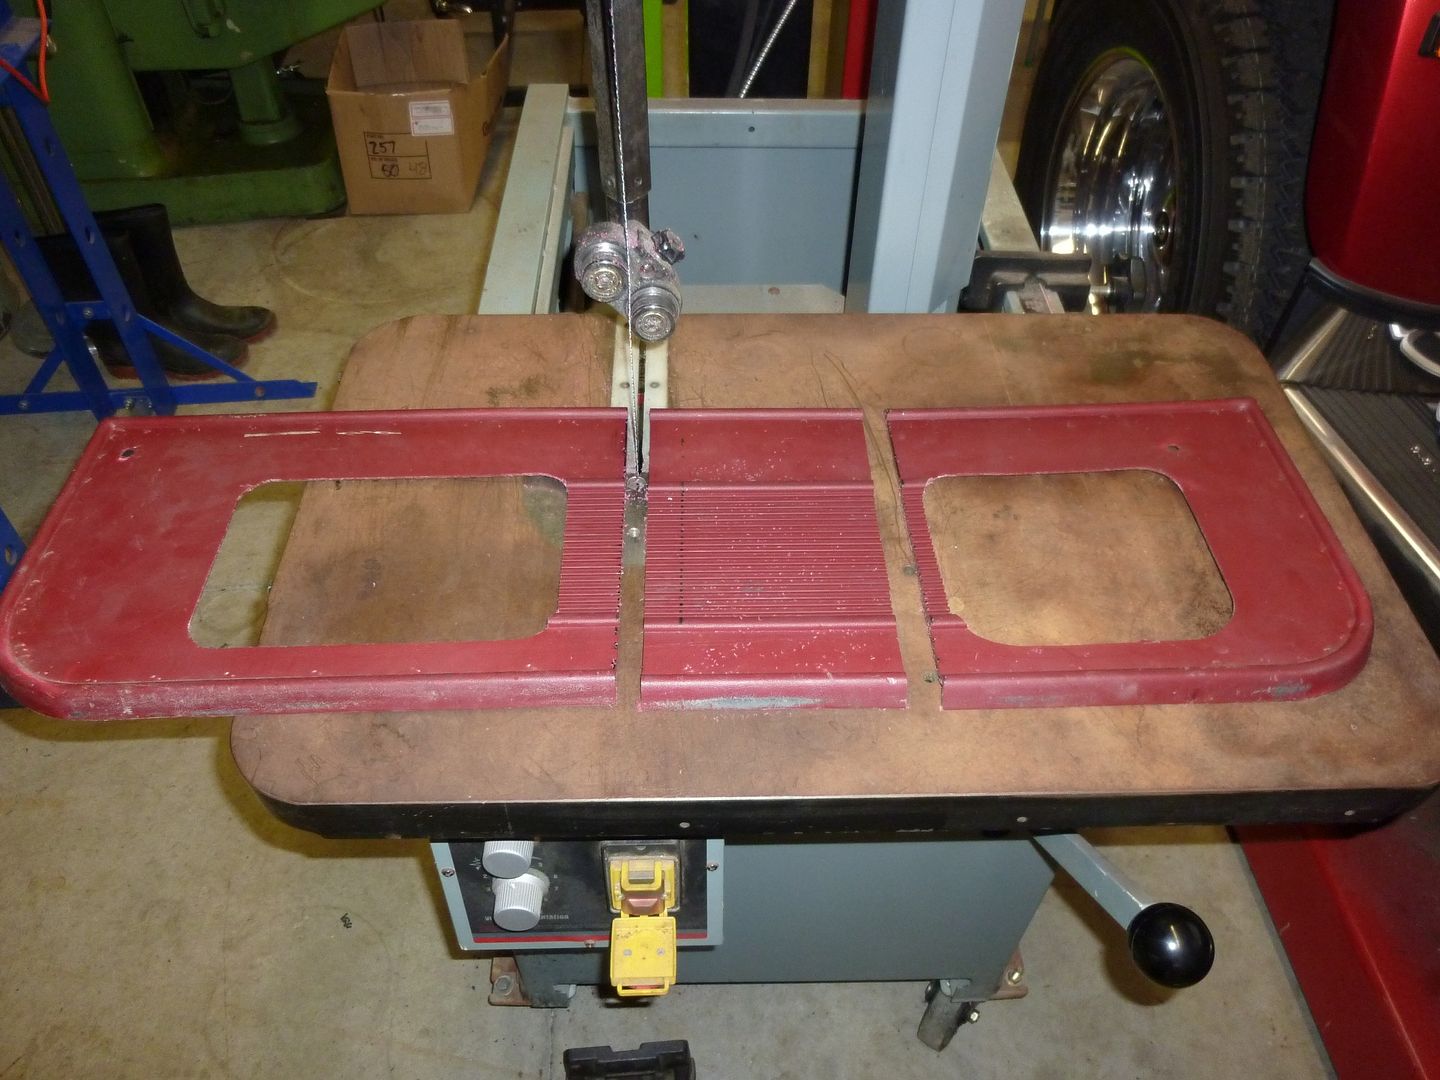
Aaaaand again chopped the center out to make it shorter:
 '
'
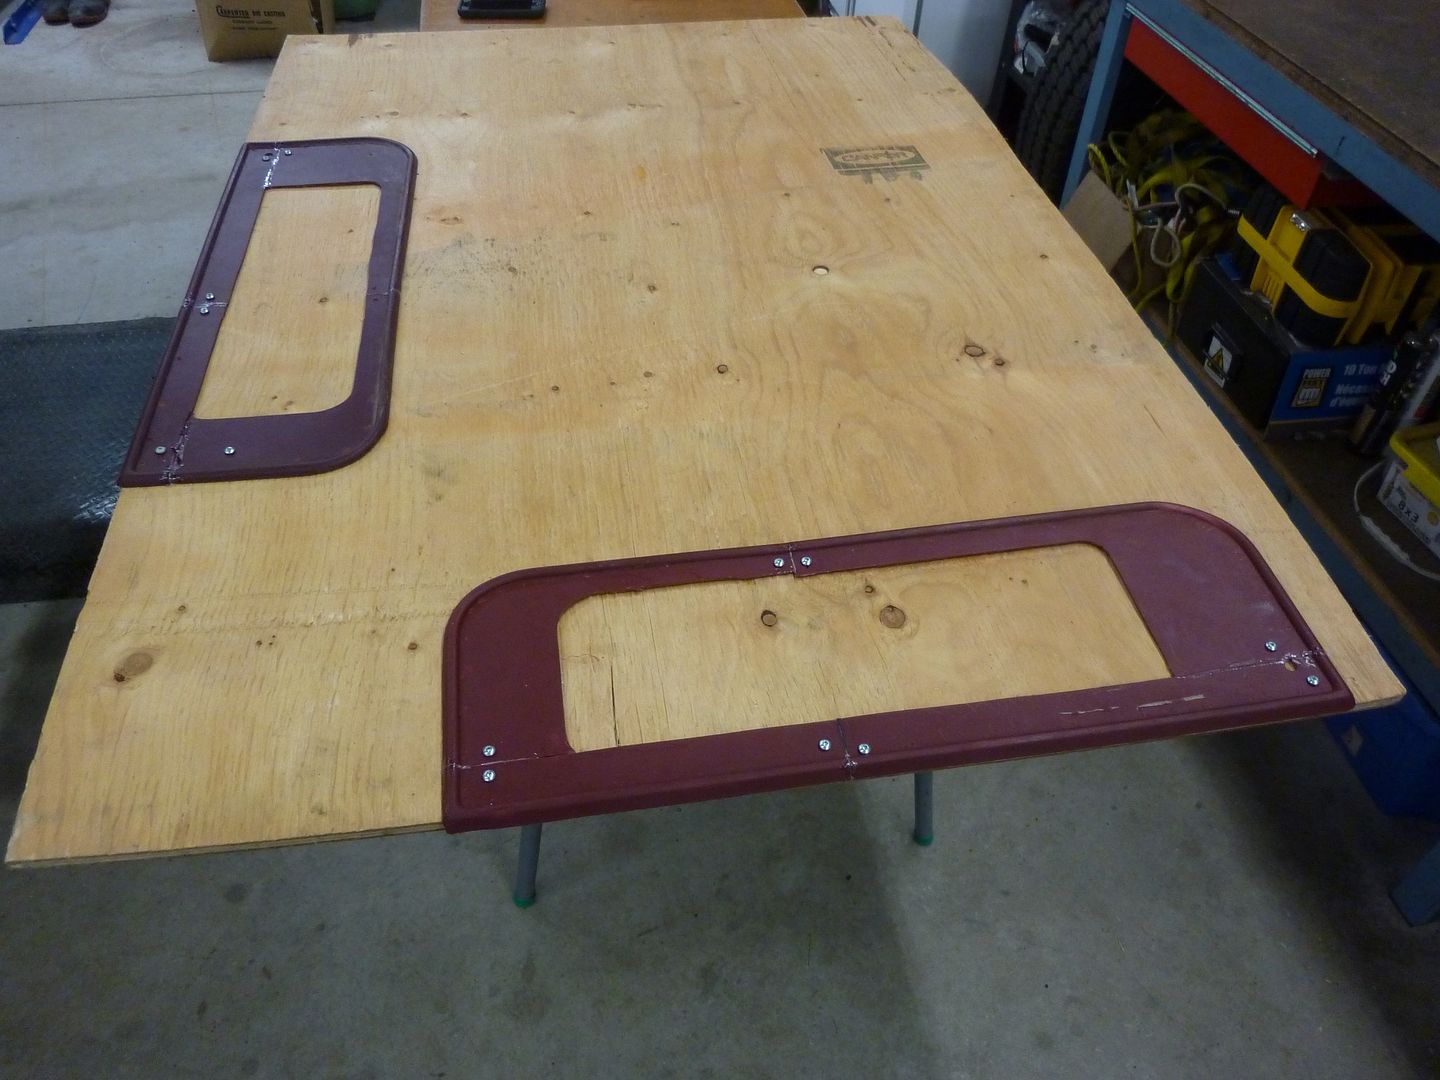
Next, to hold all the parts still, I screed them to a plywood sheet so they couldn’t move, then began gluing them:
 '
'
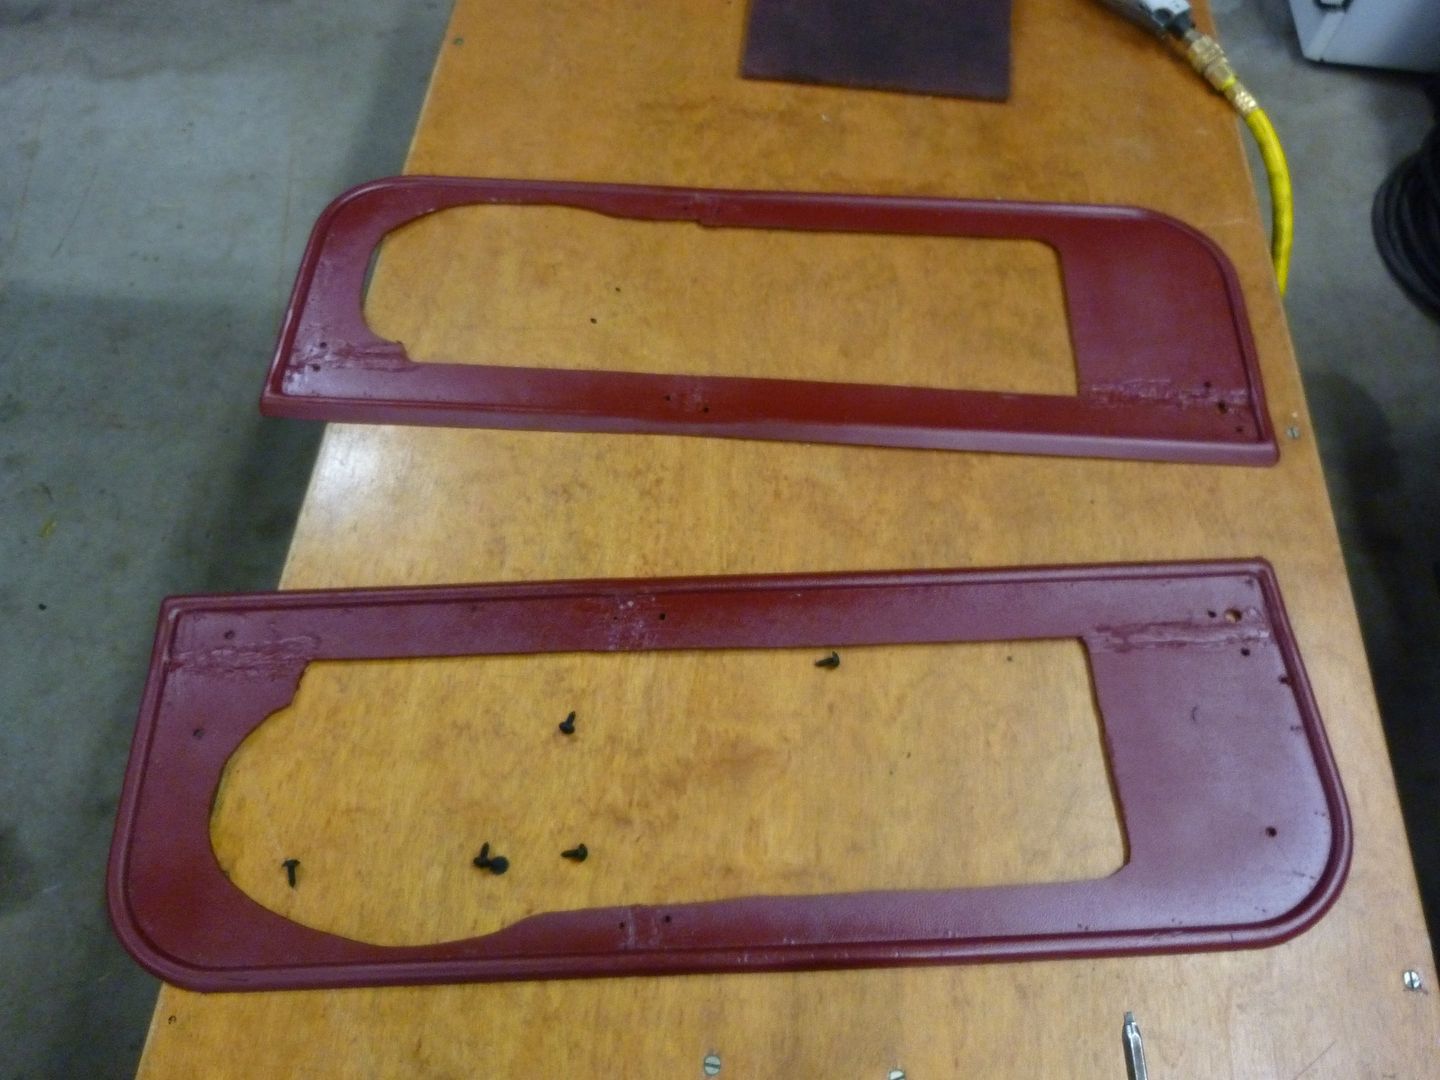
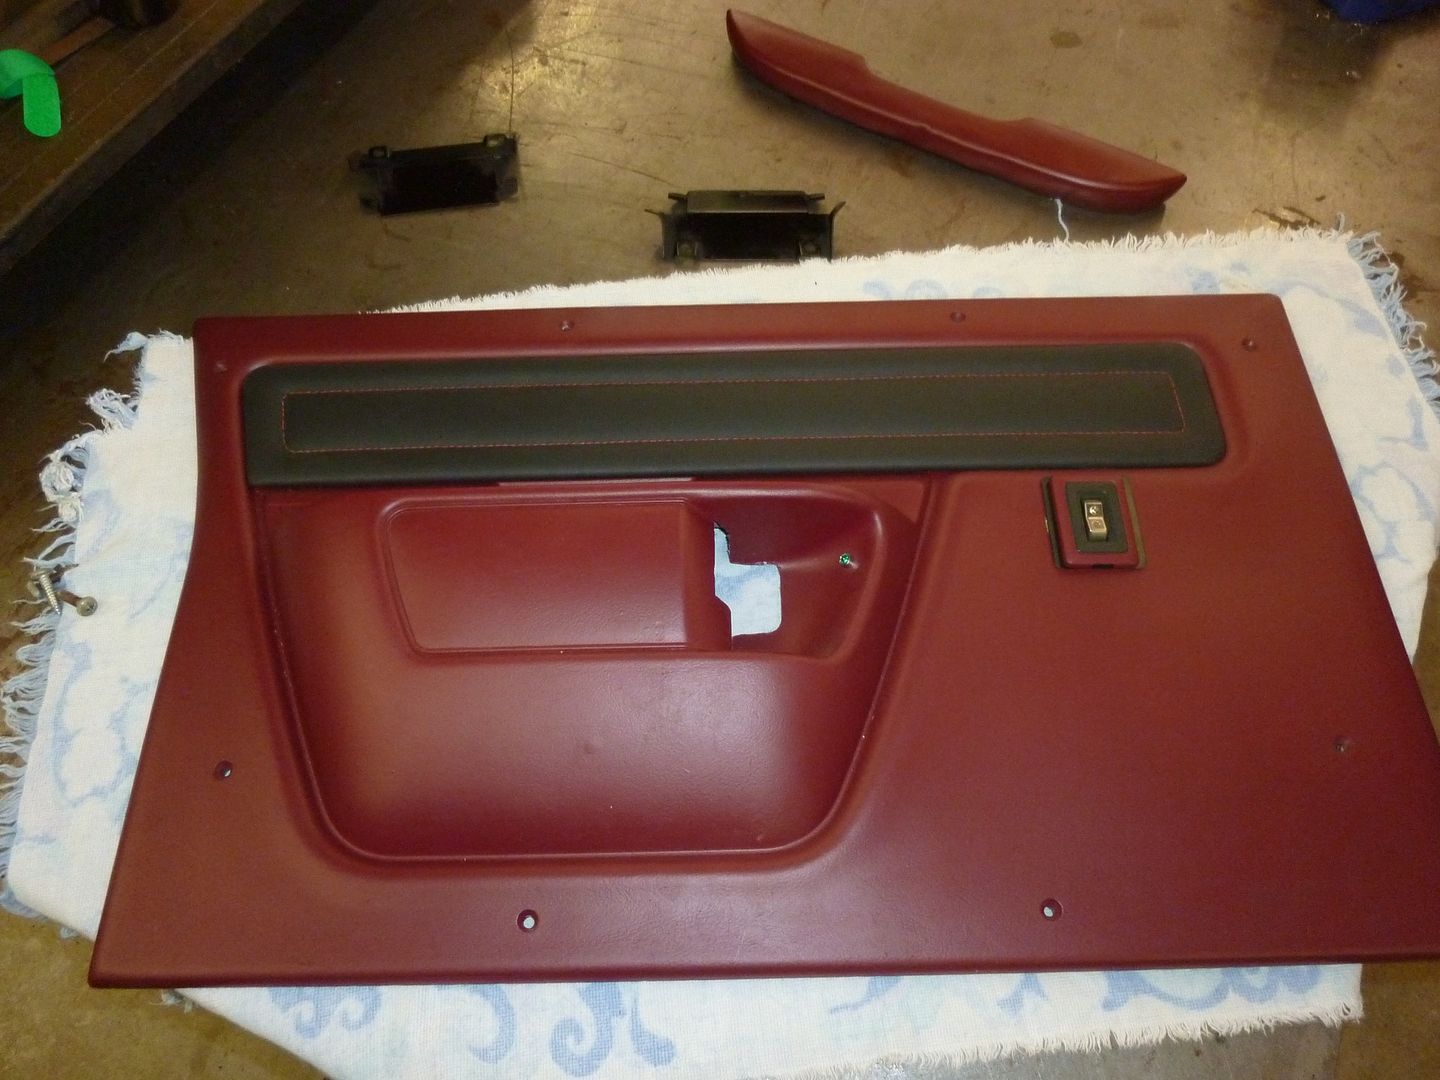
Sadly, the glue wouldn’t hold. I went through this procedure 9 times trying every kind of glue I could find! It just wouldn’t hold worth a dam! So I eventually plastic welded them and that worked! Once welded, I then painted them:
 '
'
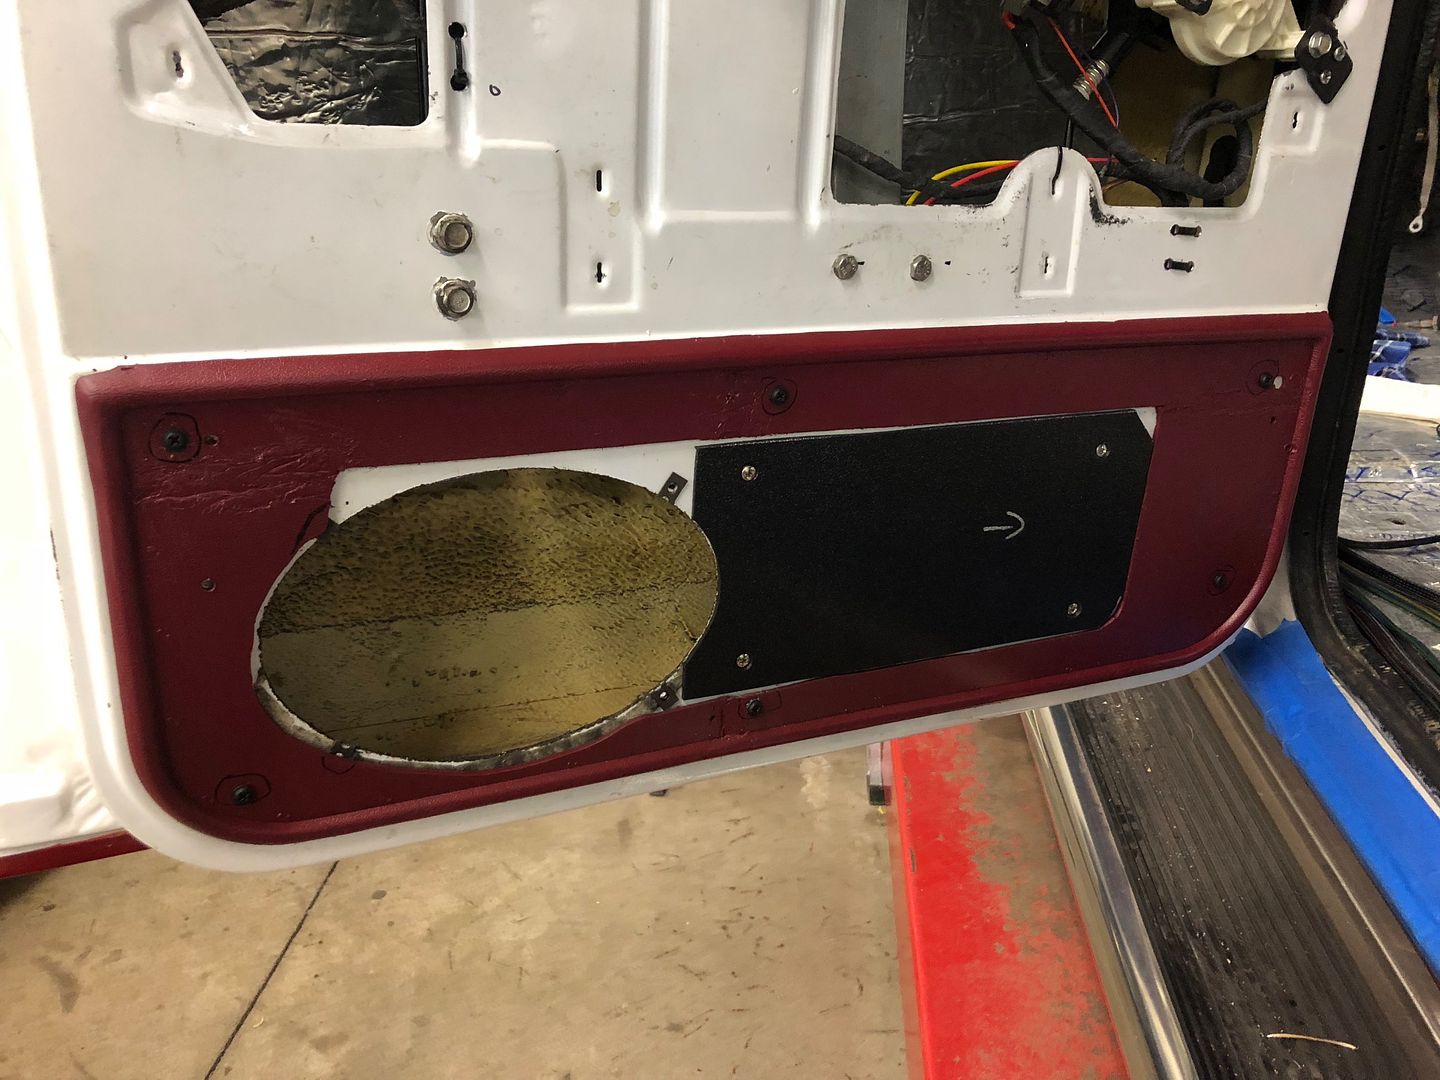
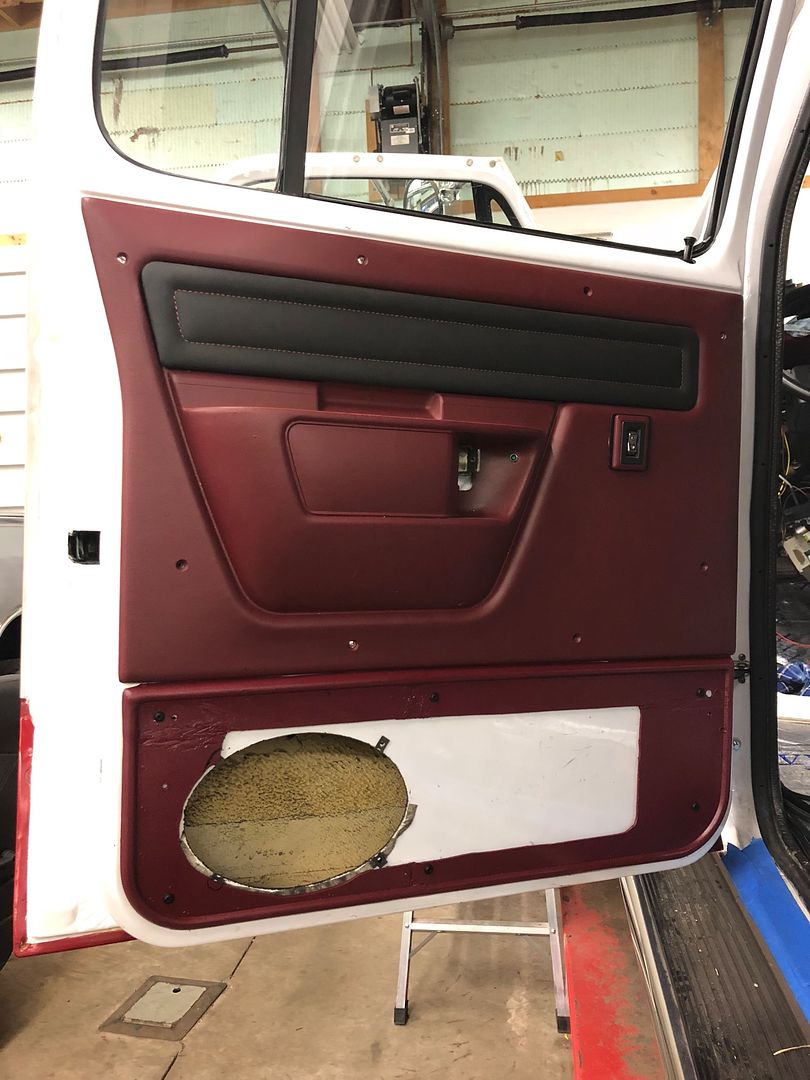
And installed….
 '
'
 '
'
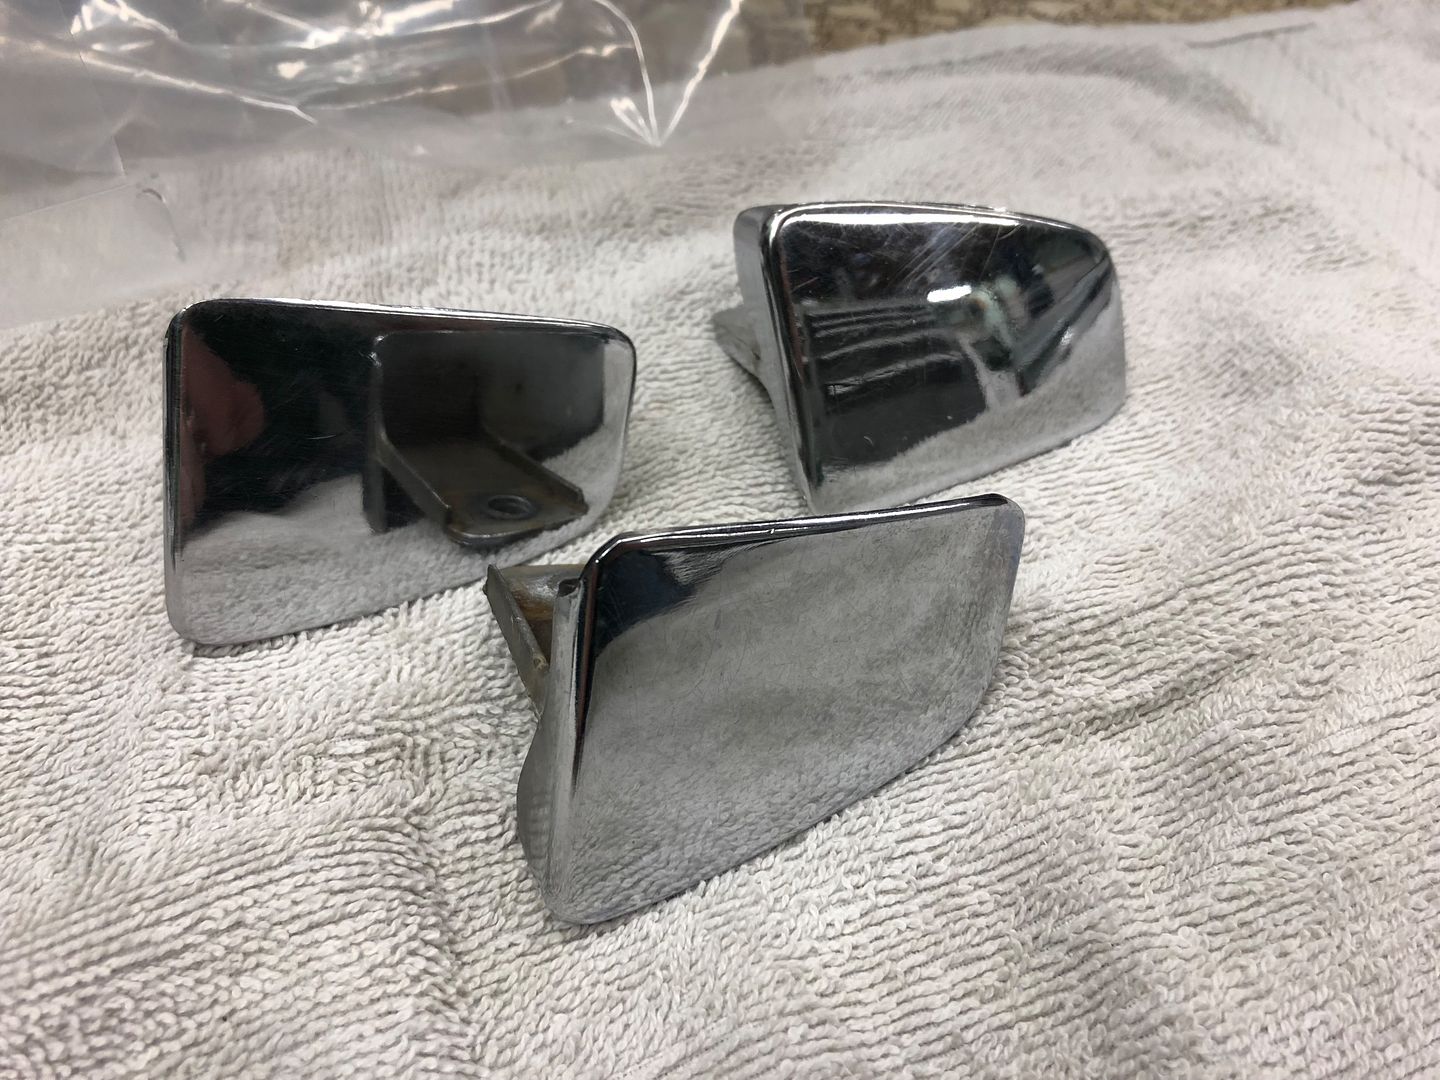
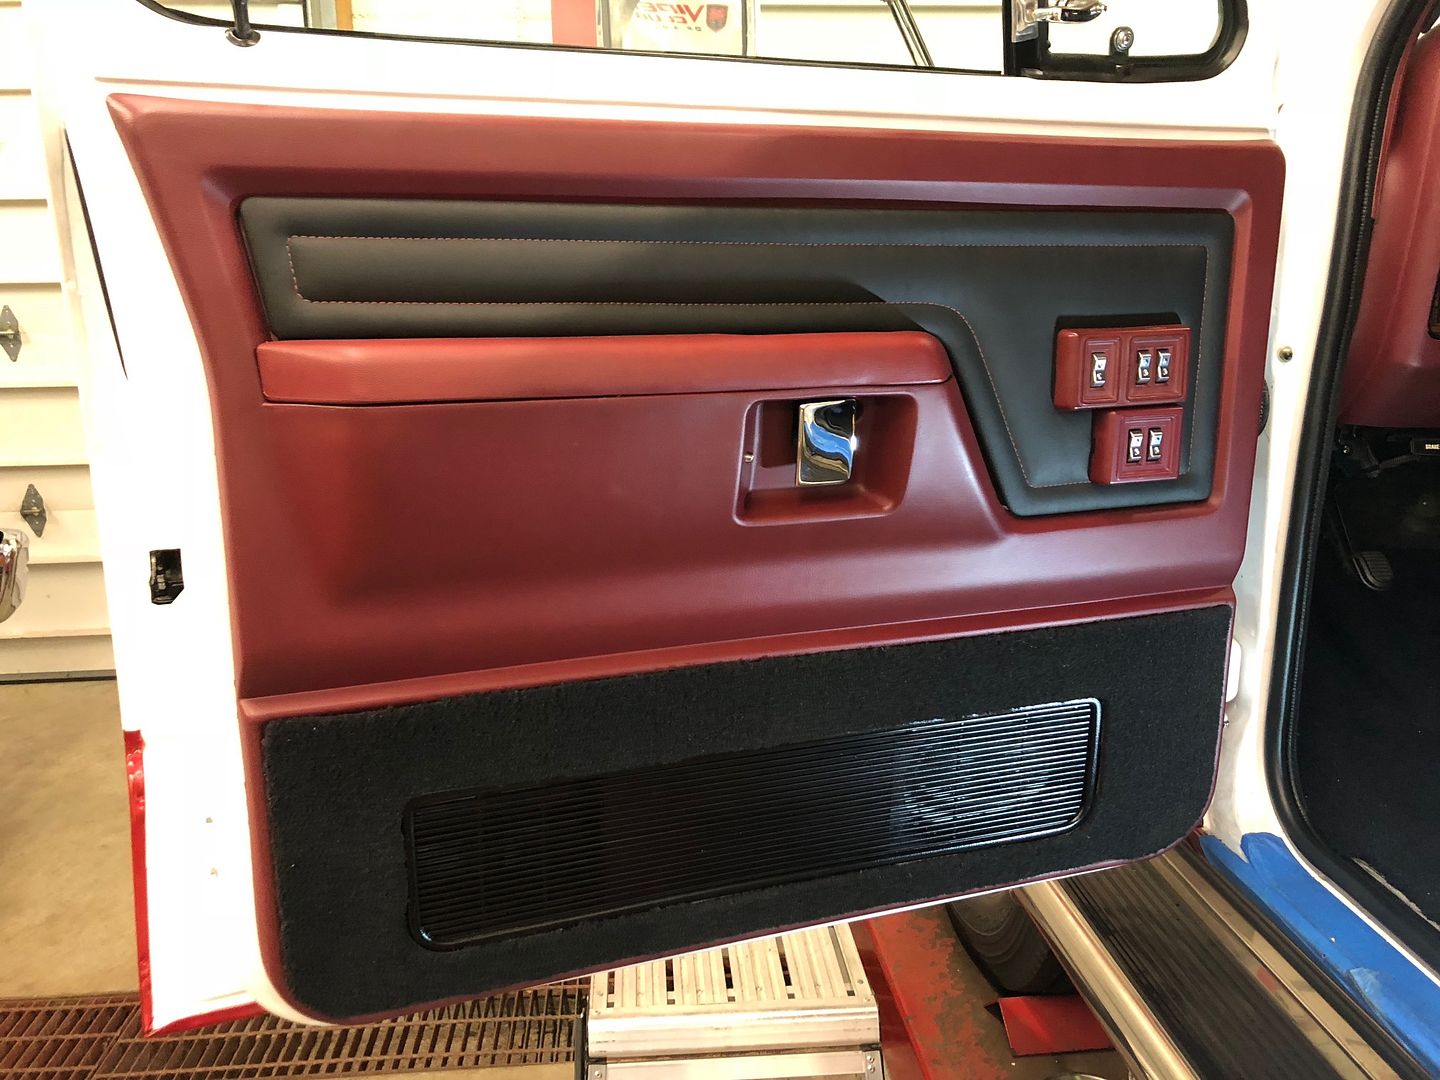
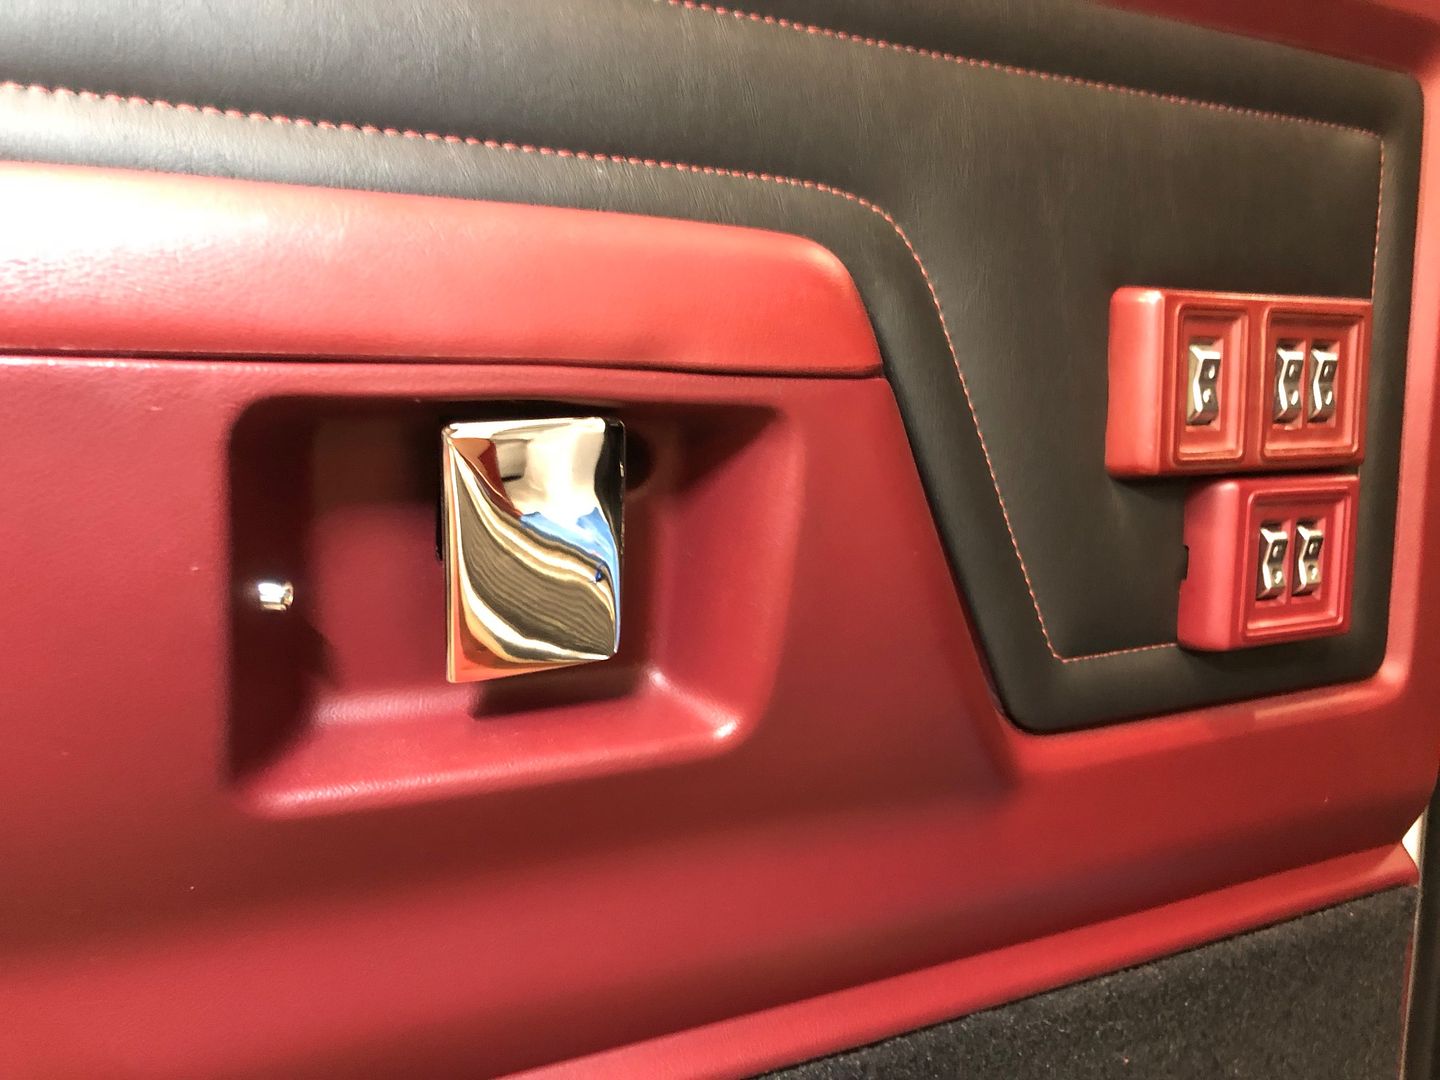
And the nice rechromed handles as the ones I had were horrible!
 '
'
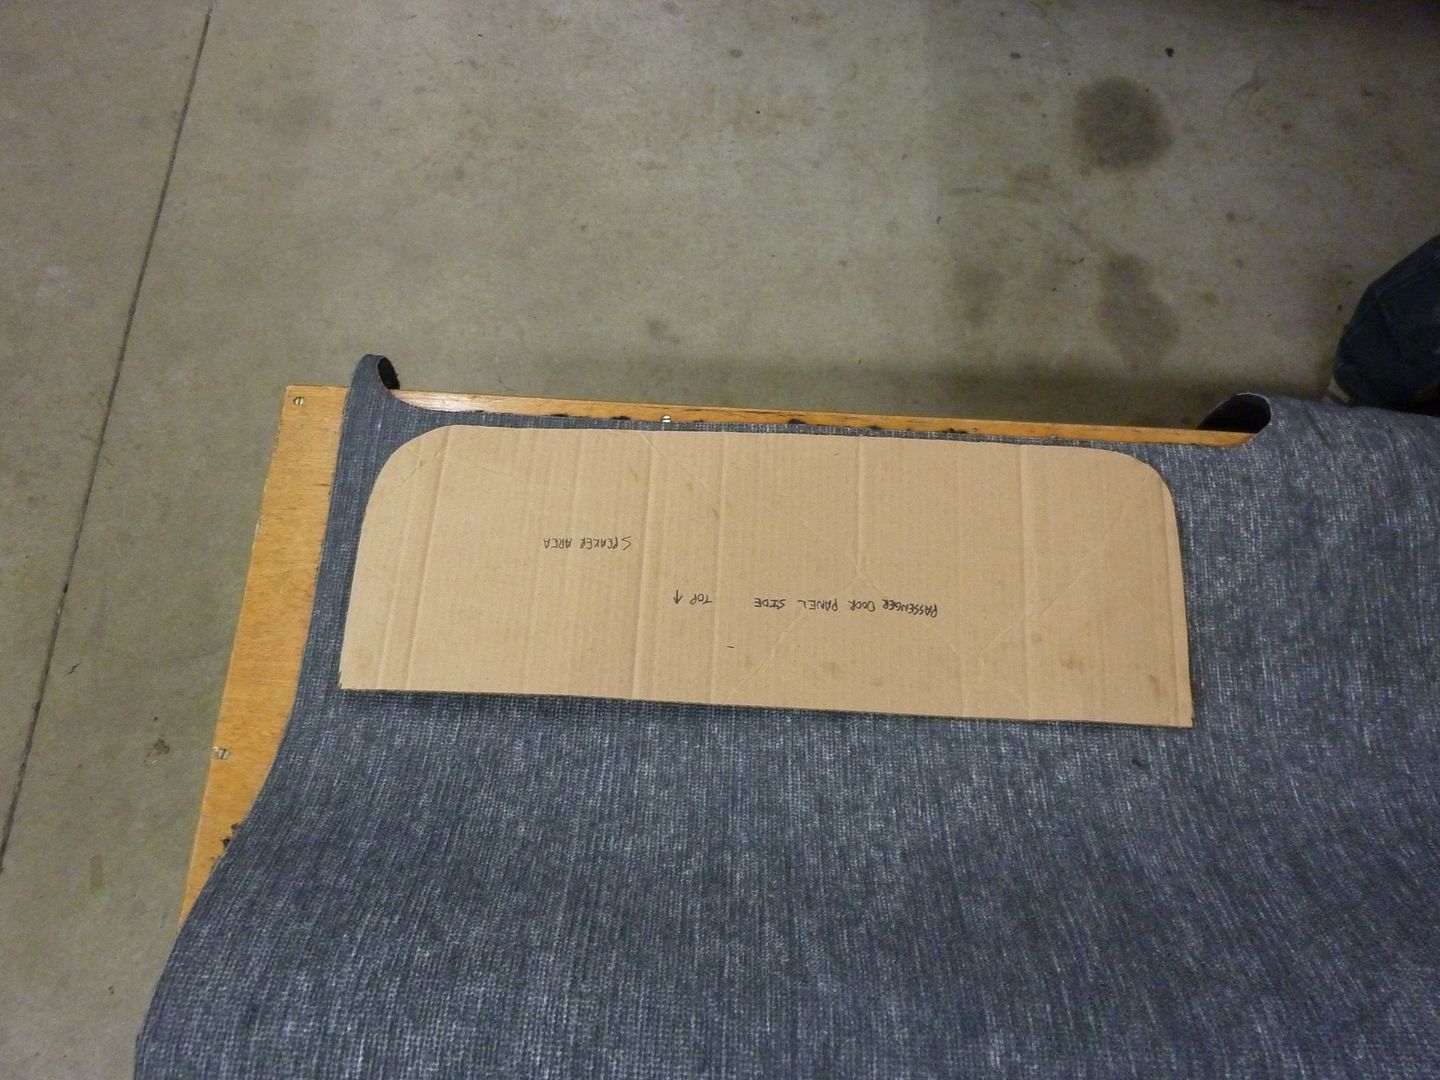
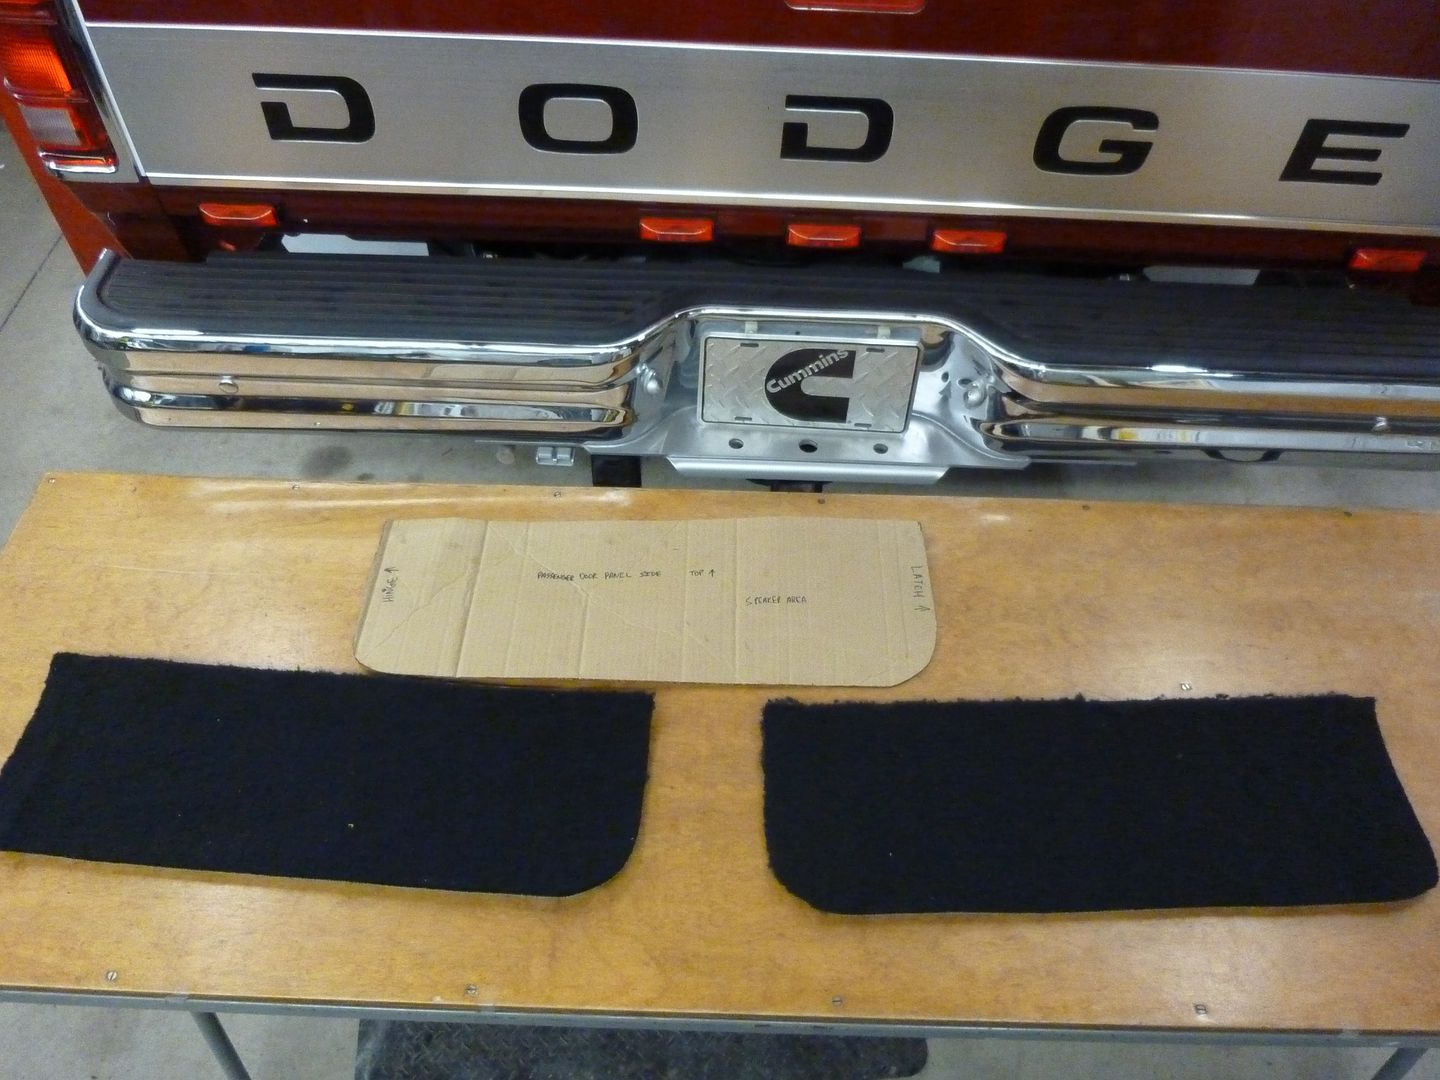
Andy was again over so he tackled making the carpet to match the fronts:
 '
'
 '
'
 '
'
And the result:
 '
'
.jpg?width=1920&height=1080&fit=bounds) '
'
 '
'
 '
'
Front doors also got rechromed handles:
 '
'
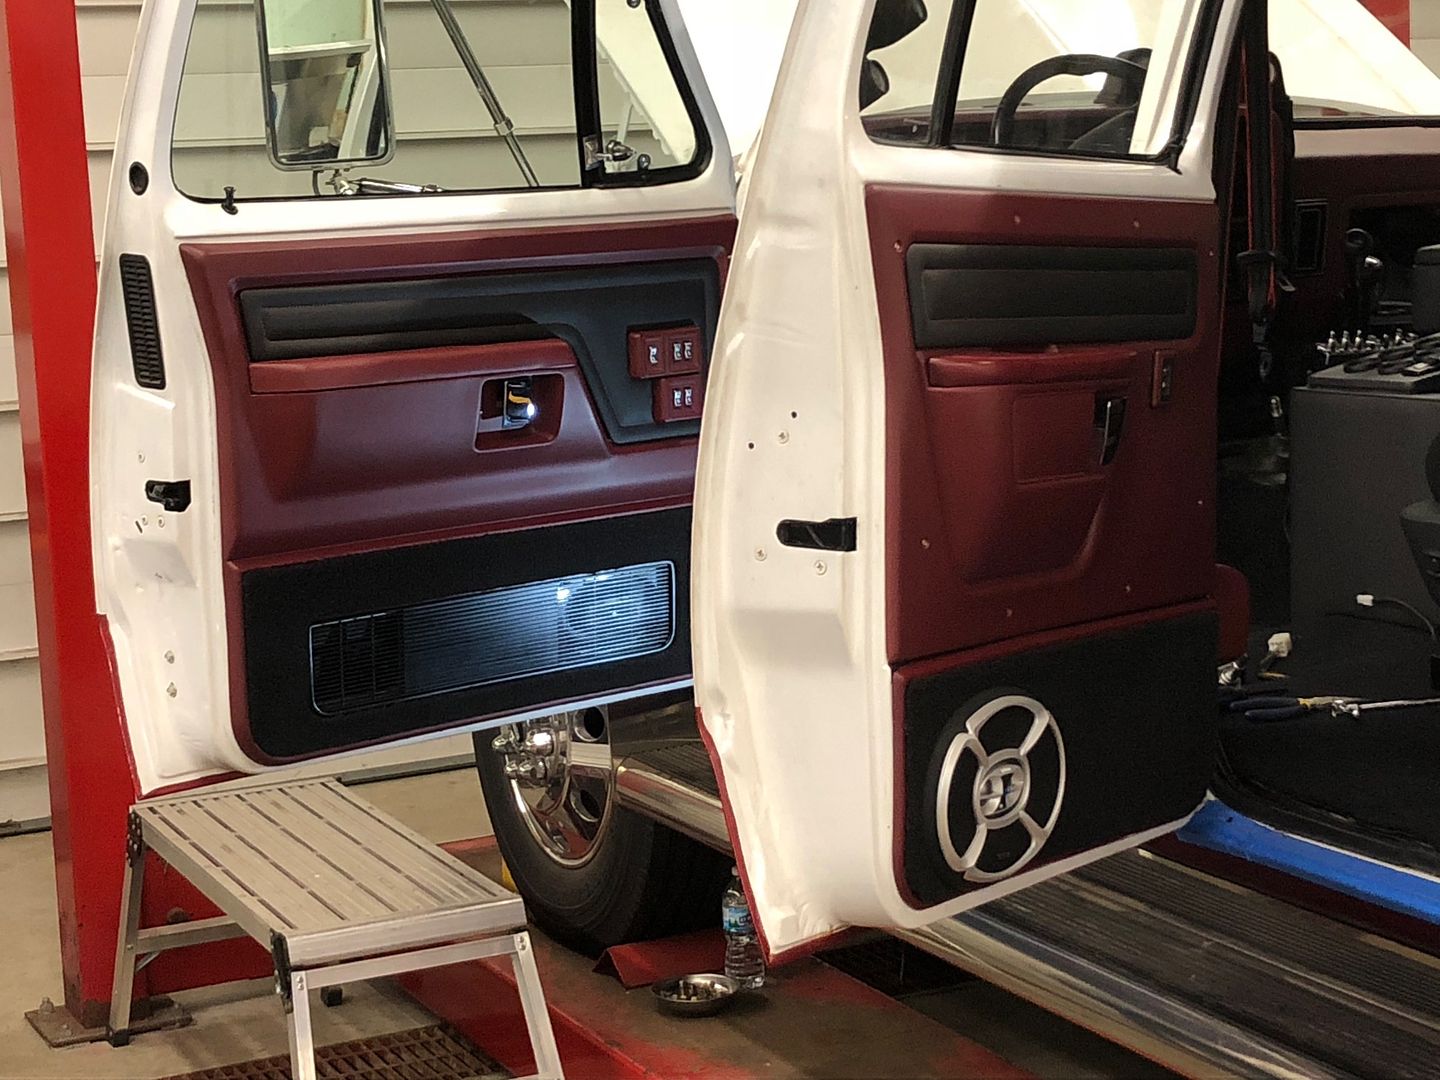
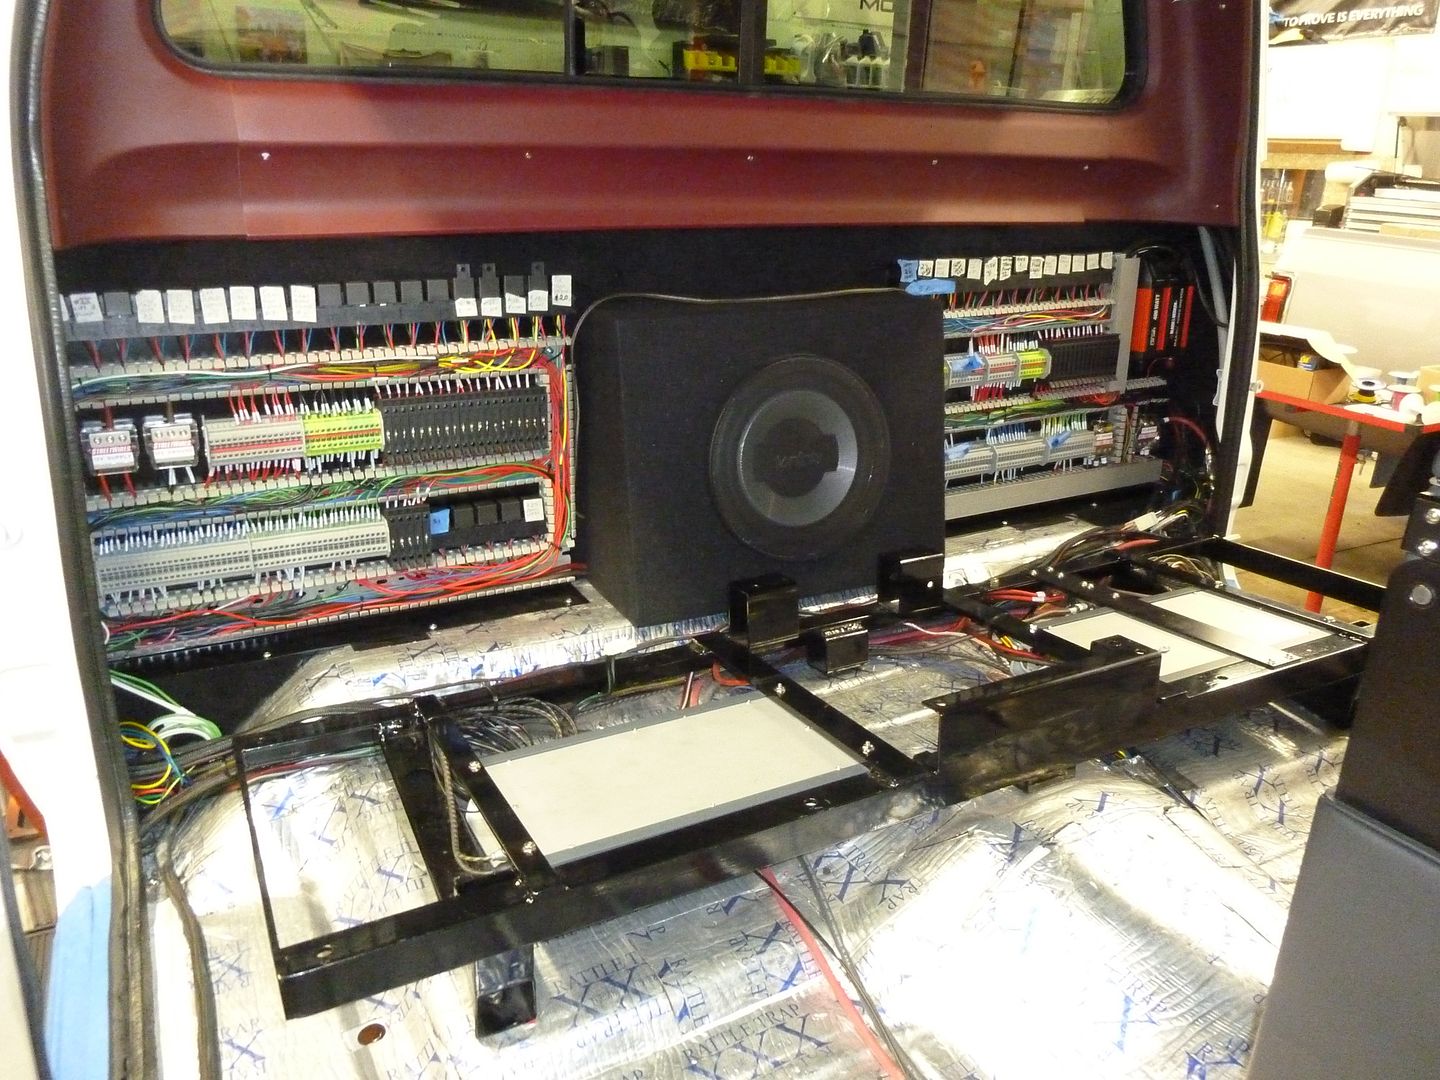
As I was installing speakers in the rear door, the subwoofer got assembled and a custom grill went on too. I am not a fan of the waffle grills so it took a while to track down this generic cover that would actually fit the Infinity 10” and I felt it had a classy look:
.jpg?width=1920&height=1080&fit=bounds) '
'
Carpet Install:
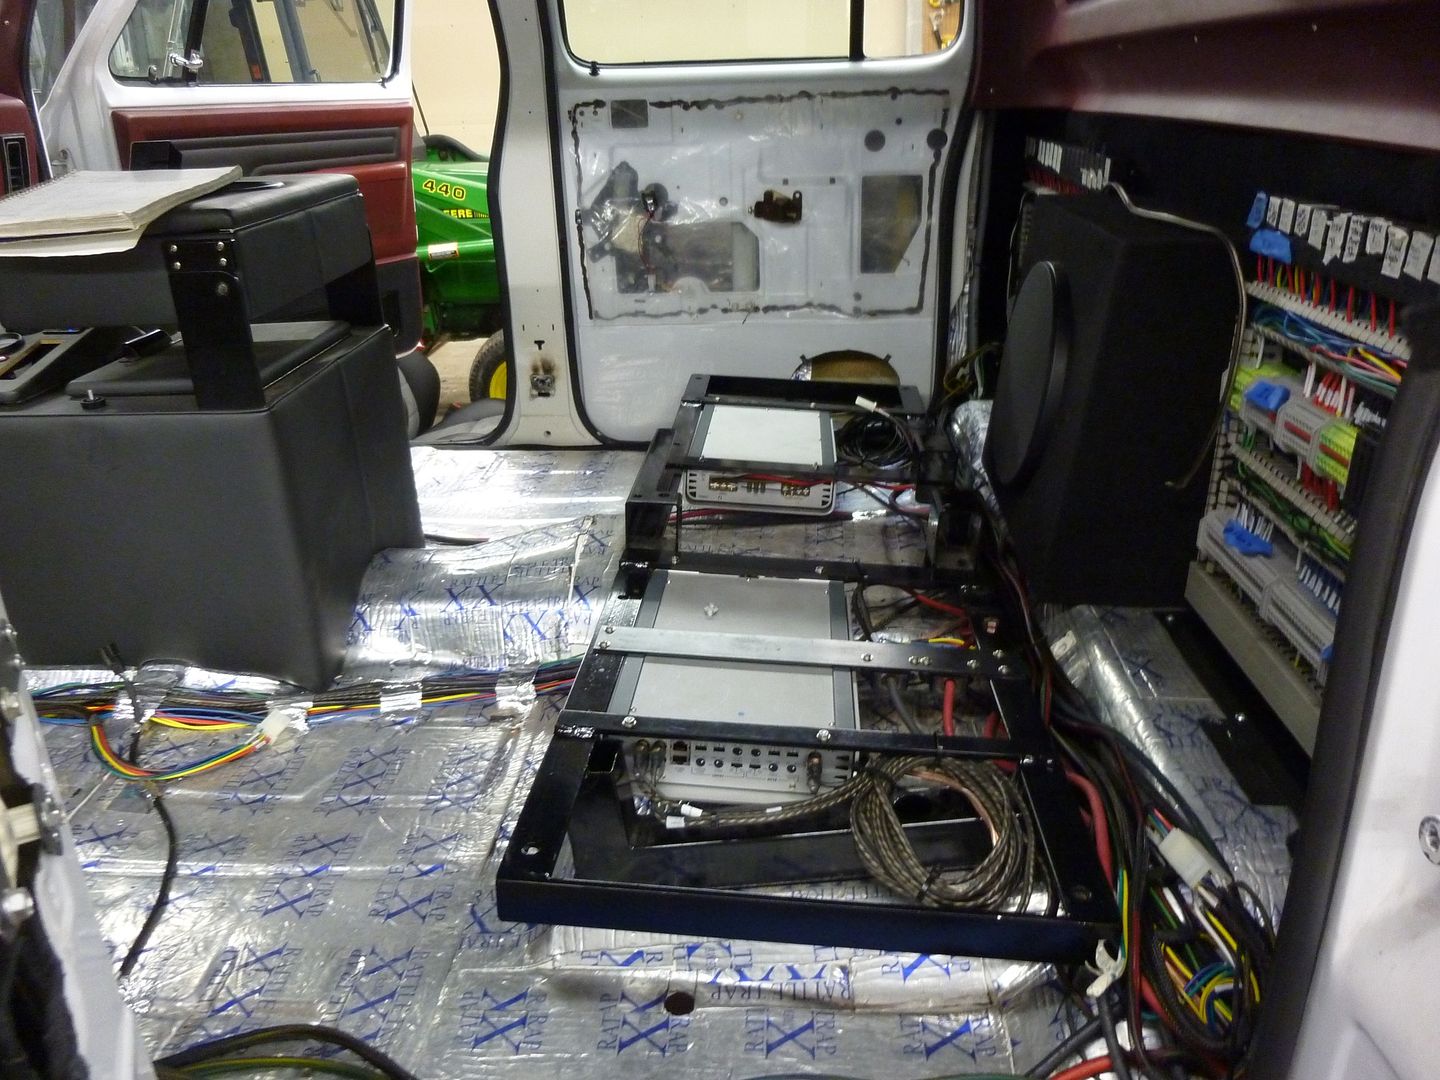
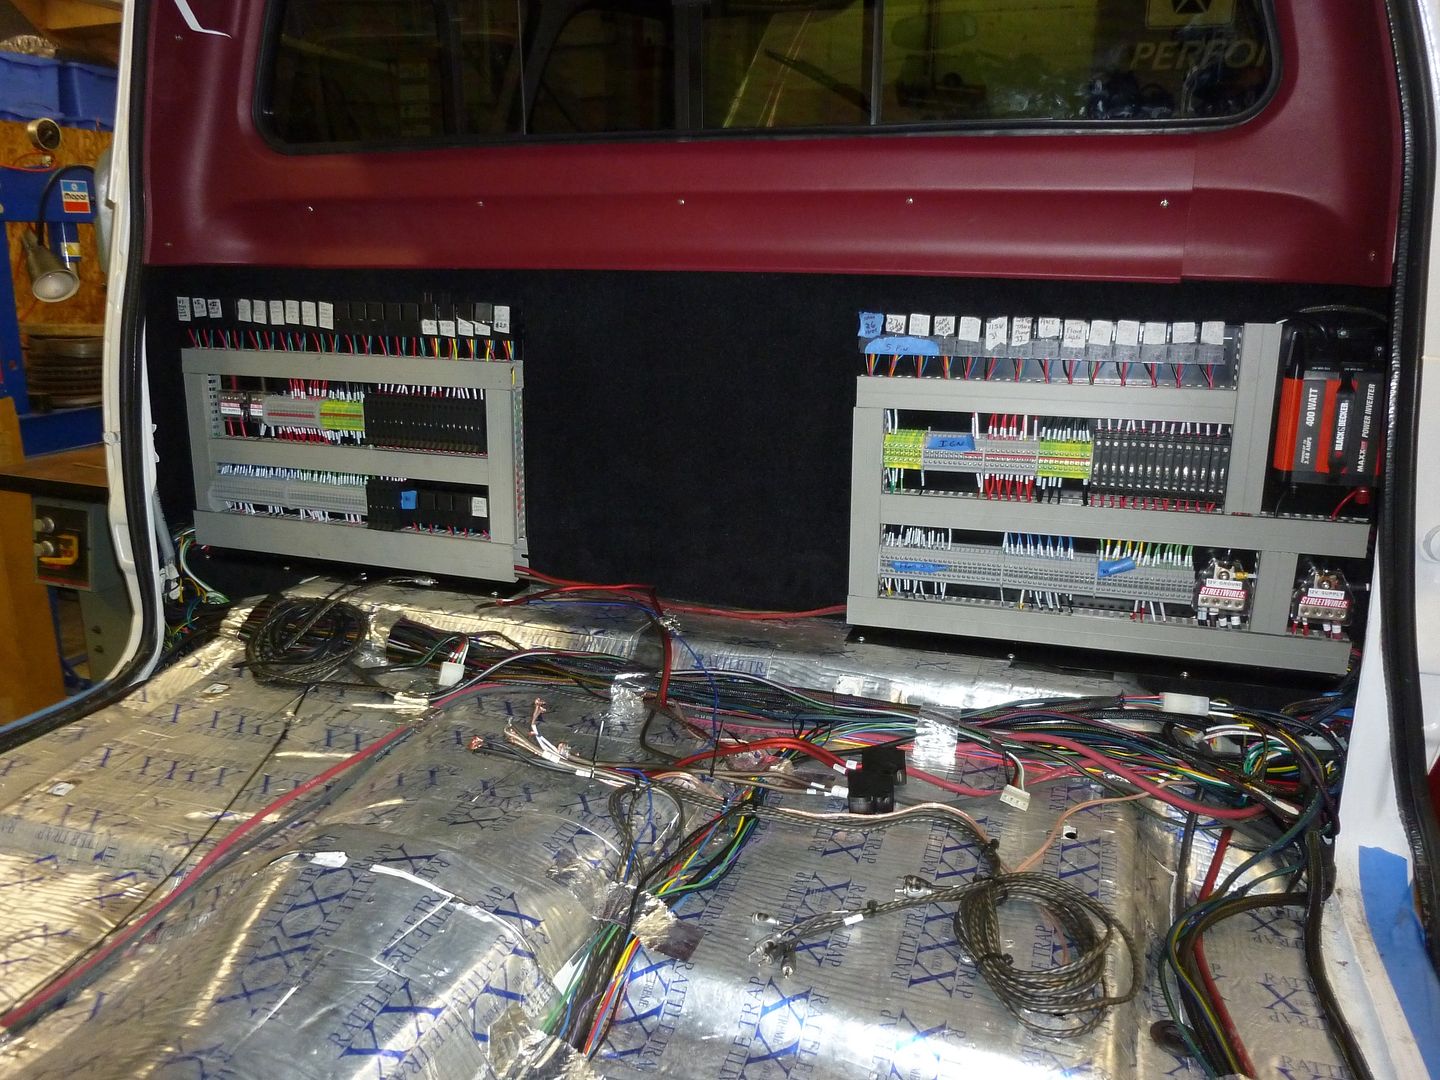
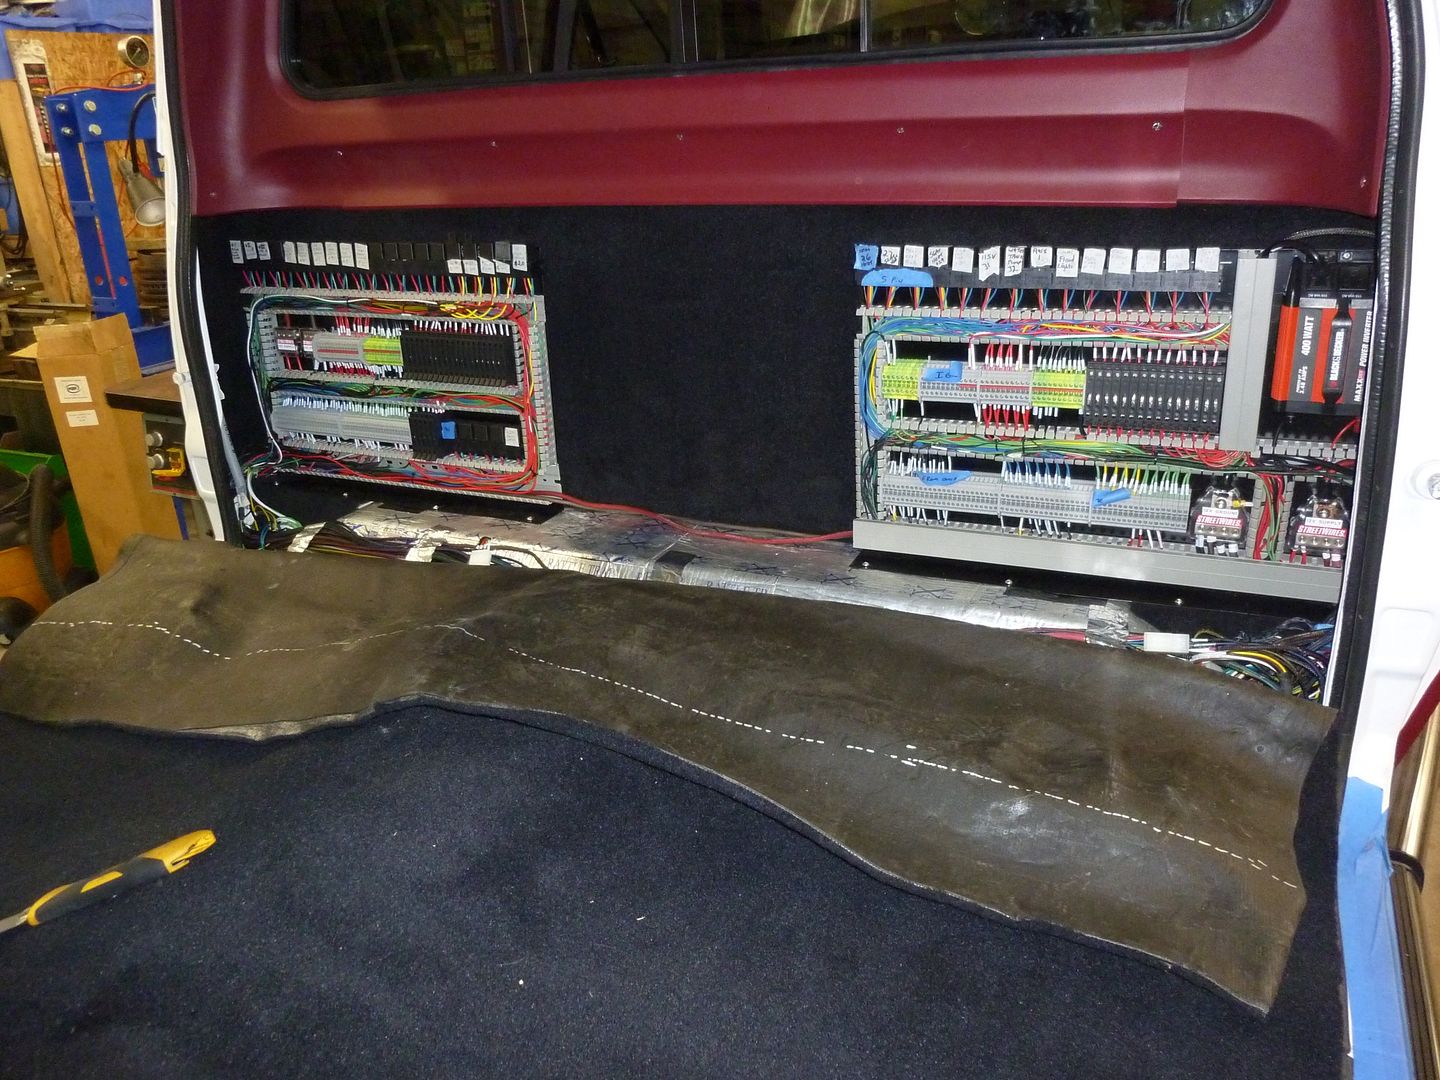
With wiring now all run on the floor, now came the biggest feeling of accomplishment step: the carpet. There is something about carpet for me that feels like you’re getting somewhere. The install of new carpet is never much more than an hour or two by the time you fit it, but the difference to the vehicle before to after is always a huge OH WOW! Also in this case, it seemed like we spent months (well, we did) just doing wiring and nothing visually looked like it changed that much. But that was all prepping for the interior install as now everything is quick as it is on connectors.
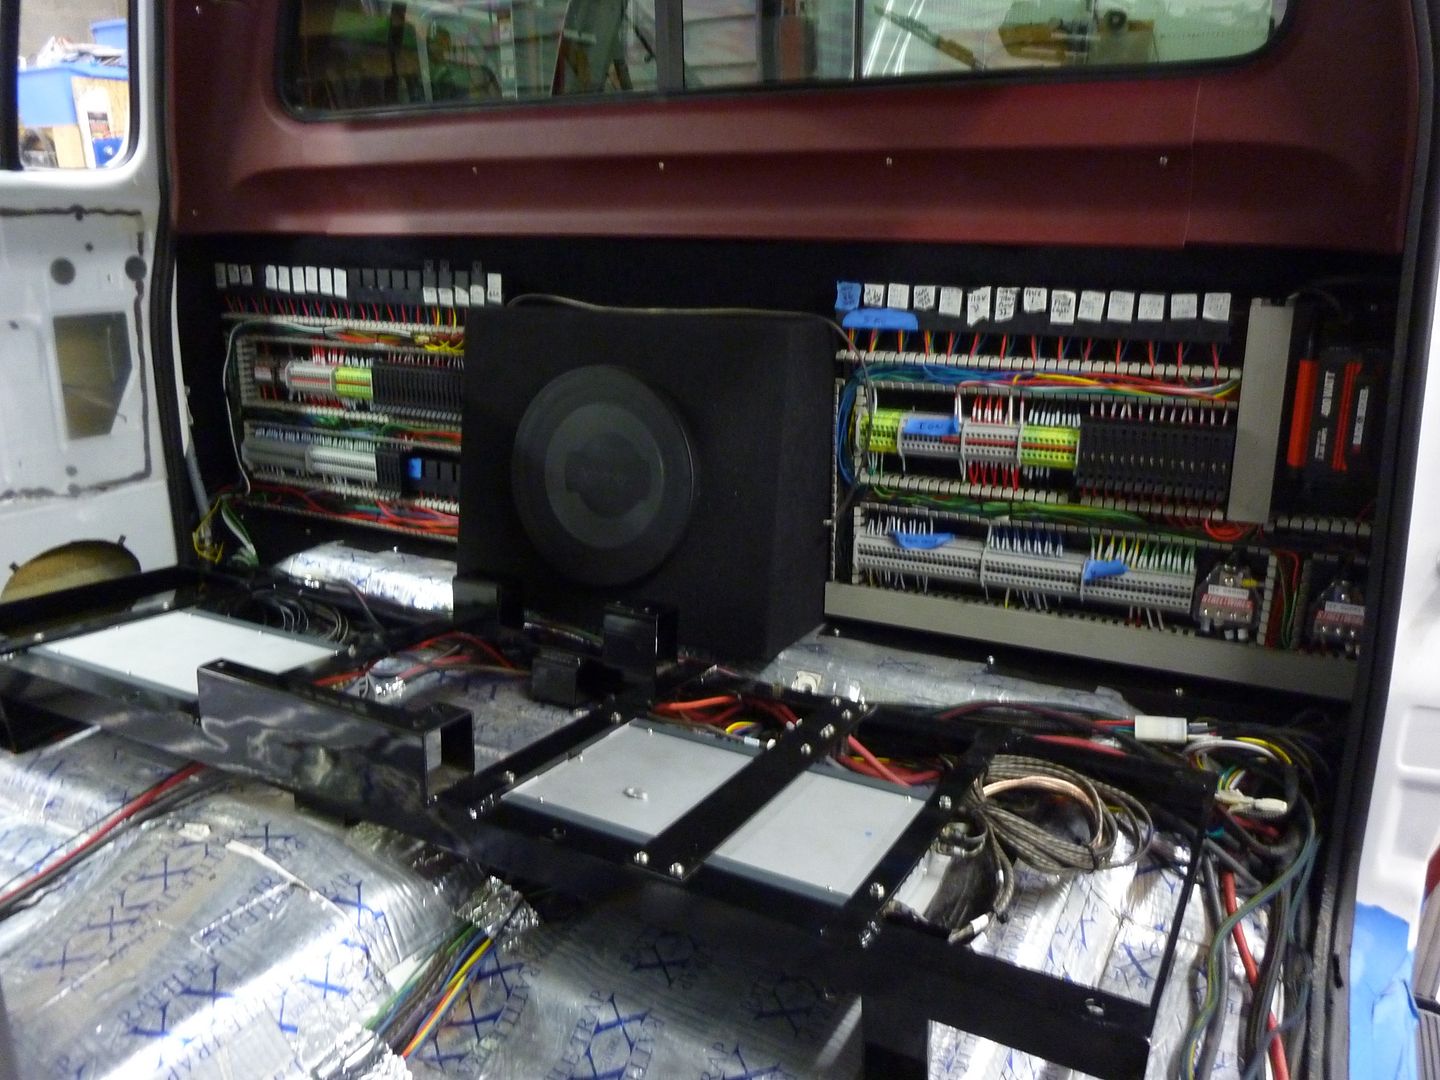
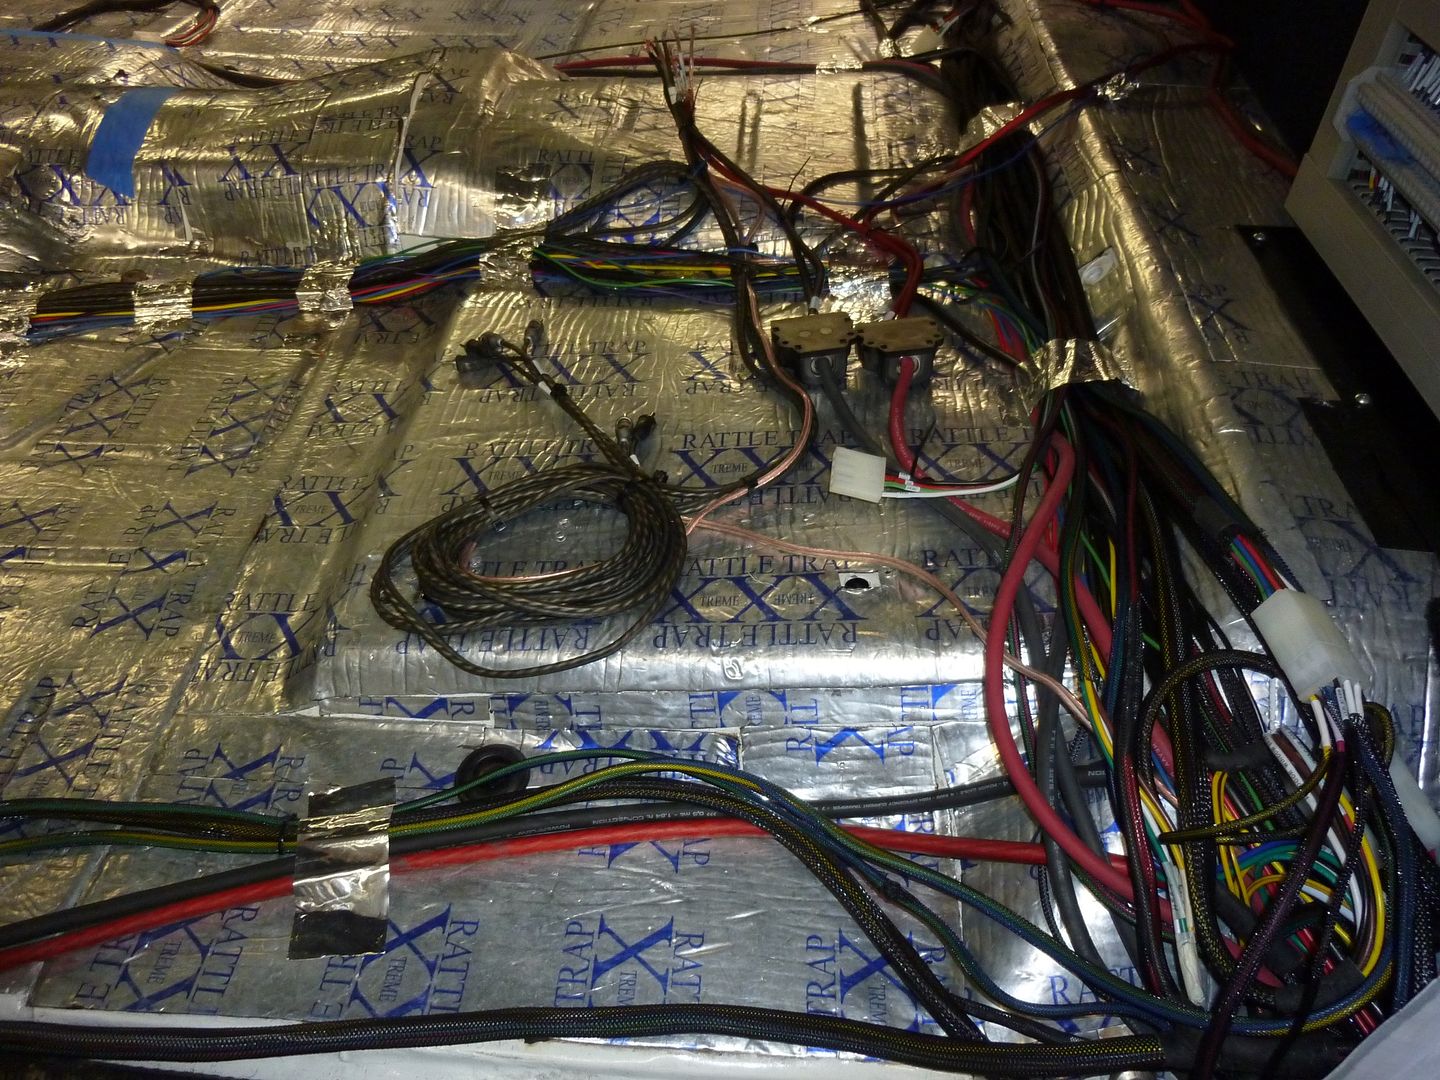
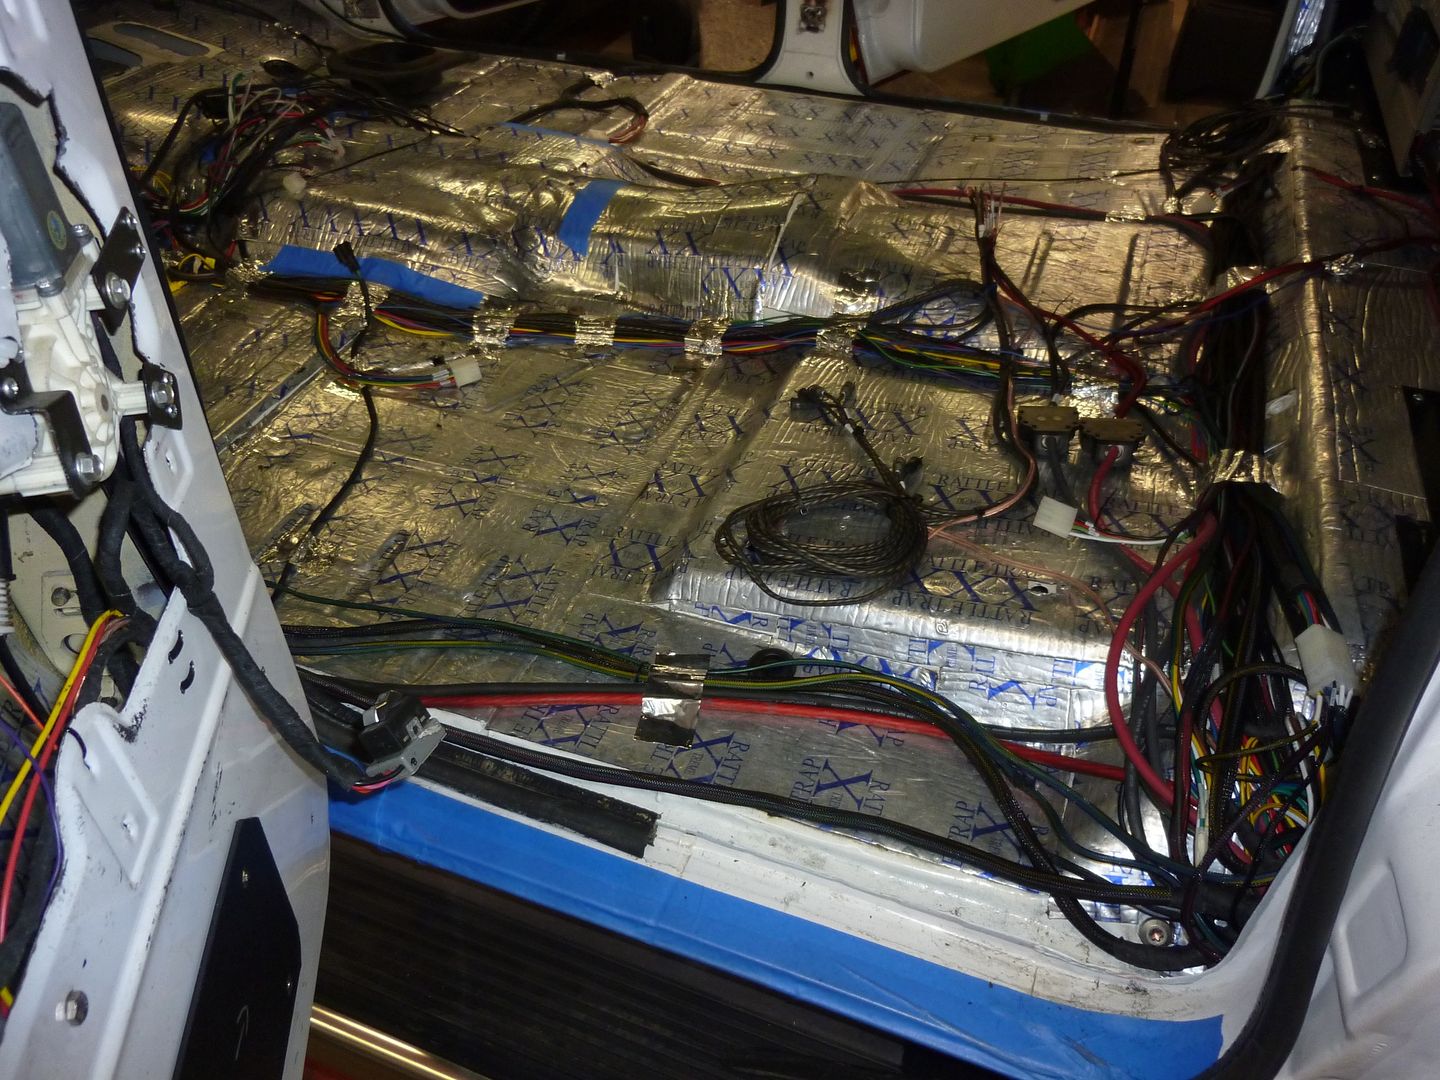
This is how the wiring now looked after literally weeks of wiring:
 '
'
 '
'
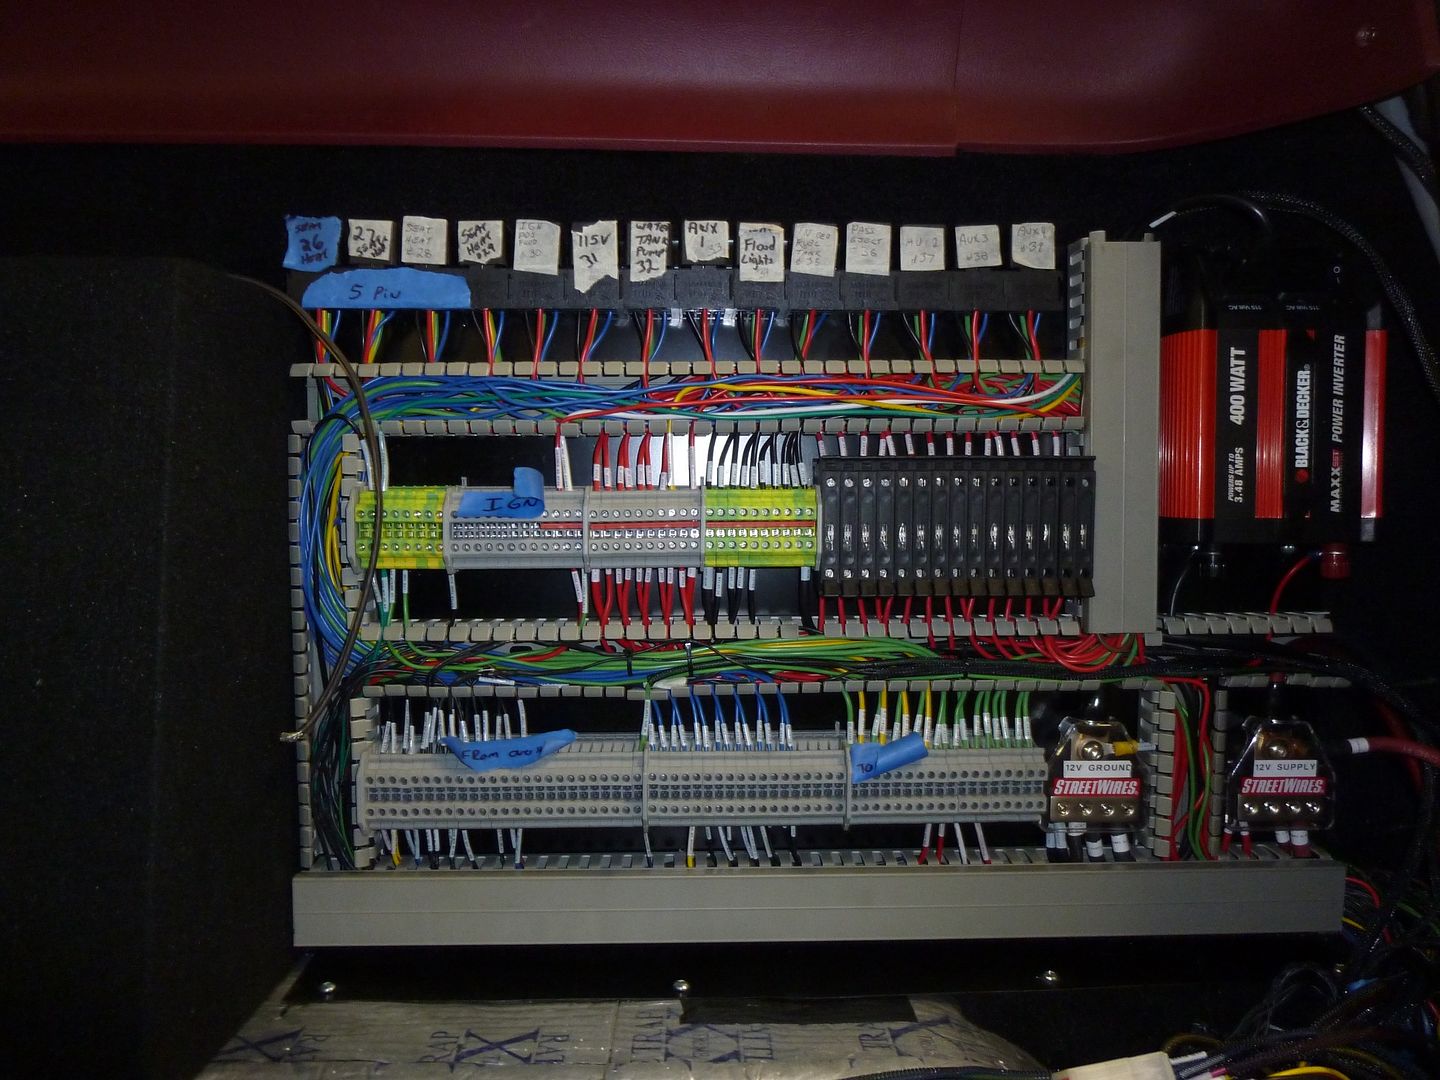
Temp labels were put on the relays until we were 100% sure all worked:
 '
'
 '
'
 '
'
 '
'
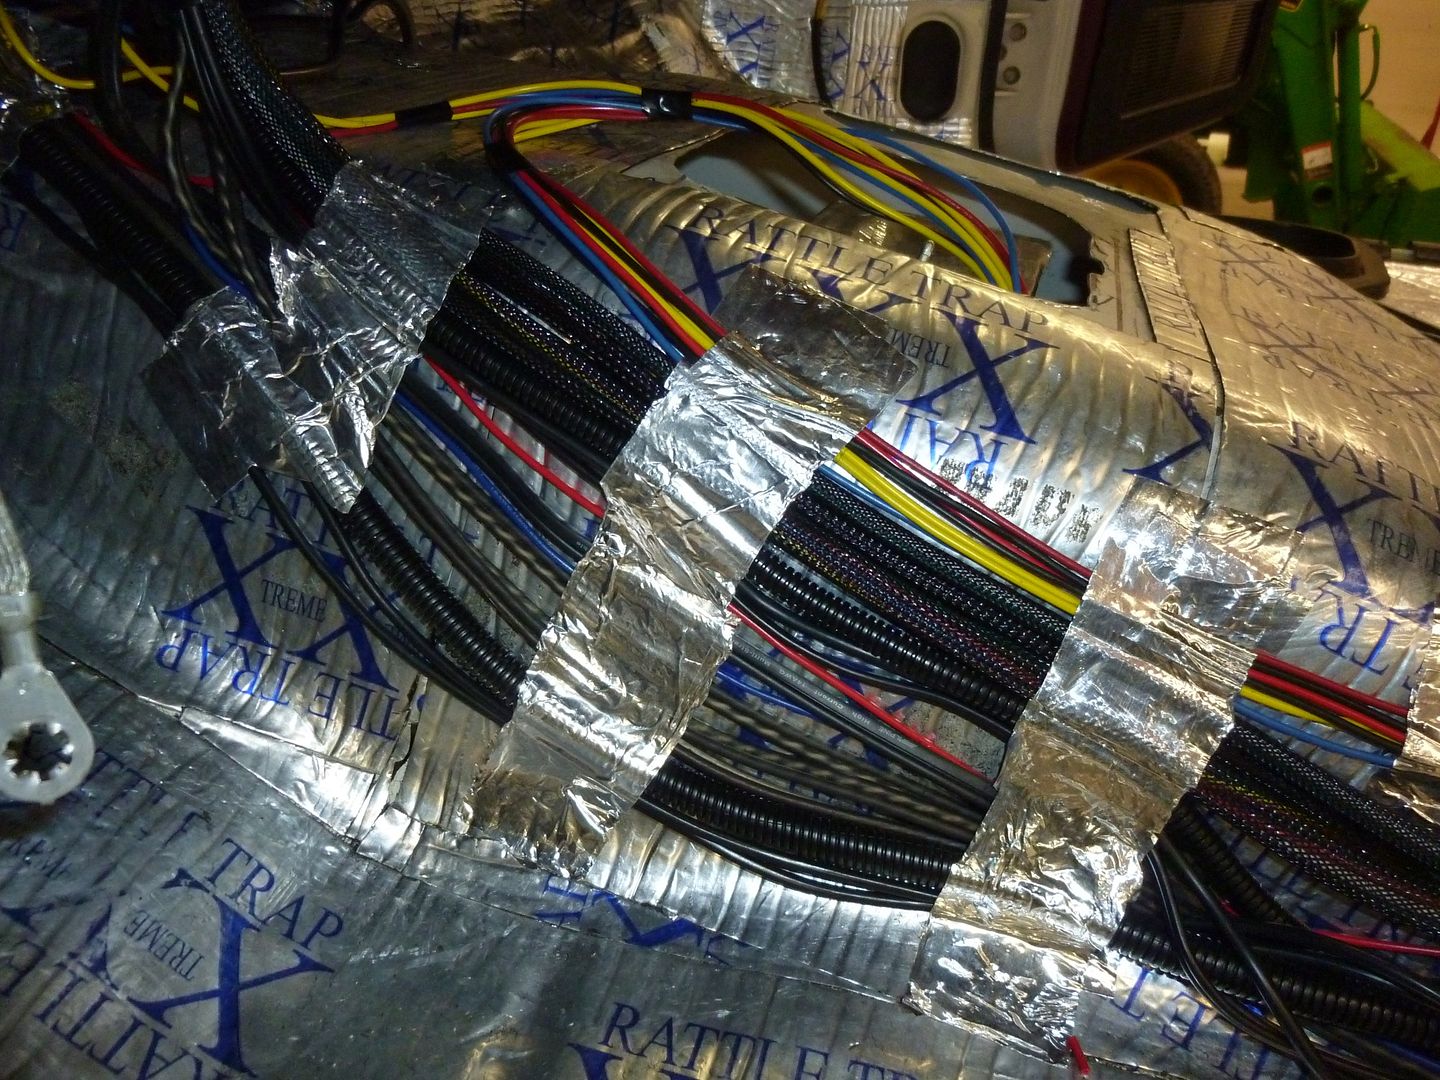
Due to the foil layer on the top of the Fat Mat, you need to use true furnace duct tape for it to actually stick. By running everything parallel it would create a much smaller hump under the carpet in the trans tunnel area. Also keeps my OCD happy. 🙂
 '
'
 '
'
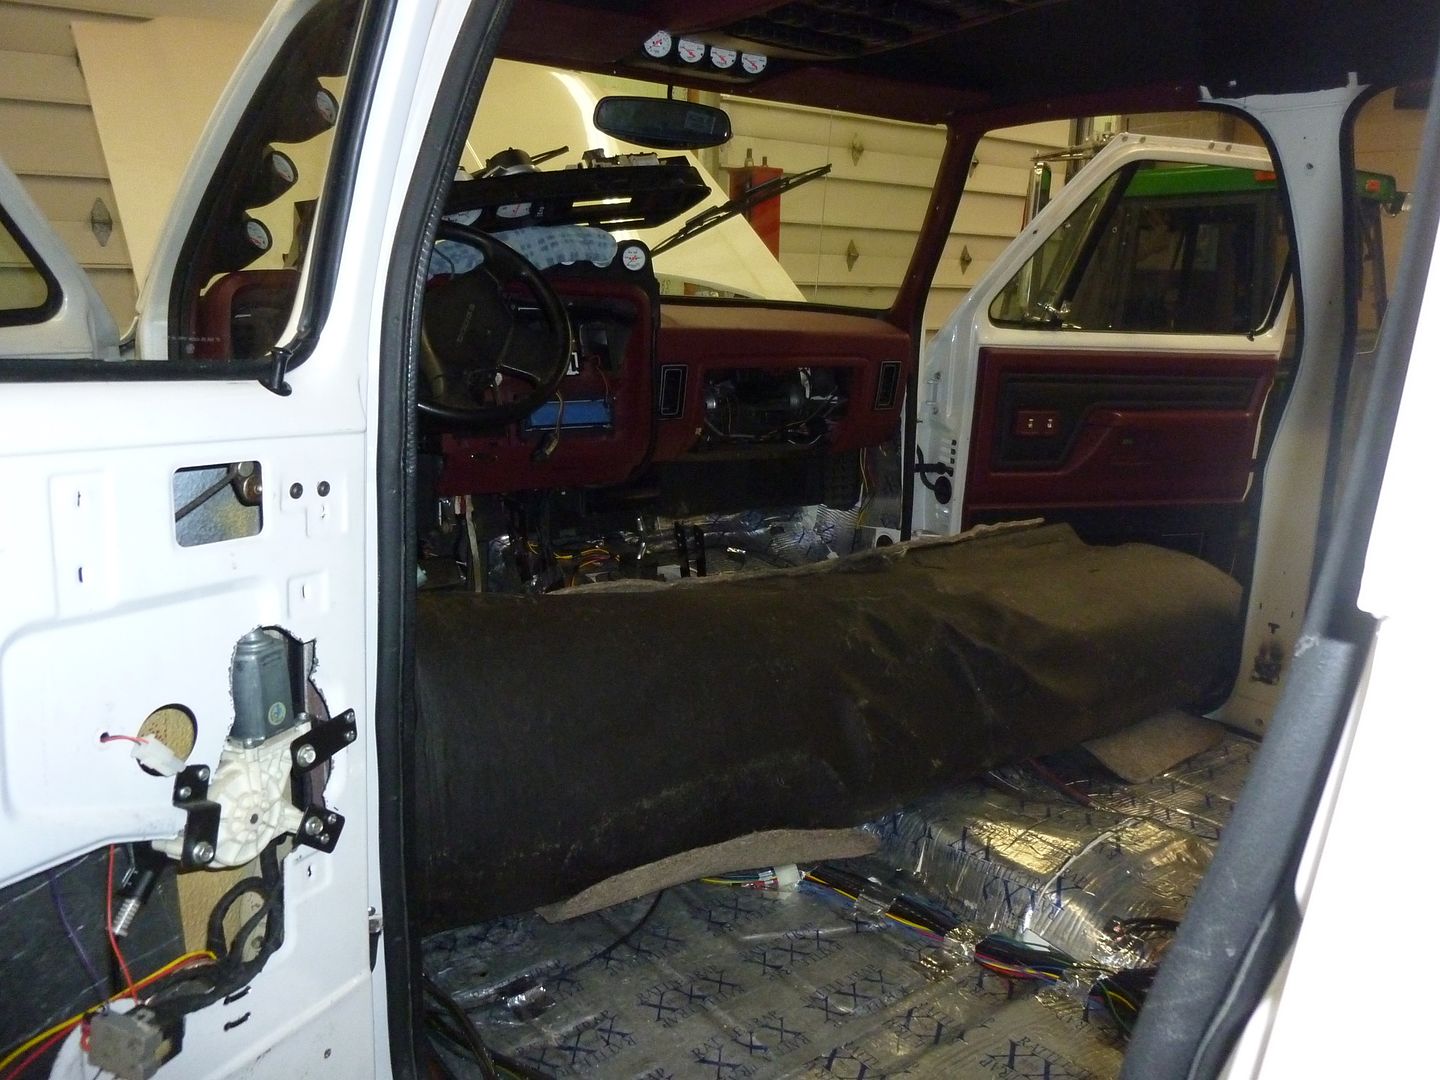
Step one is to remove everything out of the interior. For me, I like to do a pre run with the carpet with no sound deadener pads so I can cut the holes and do fitment easier without the rubber mat interfering:
 '
'
 '
'