
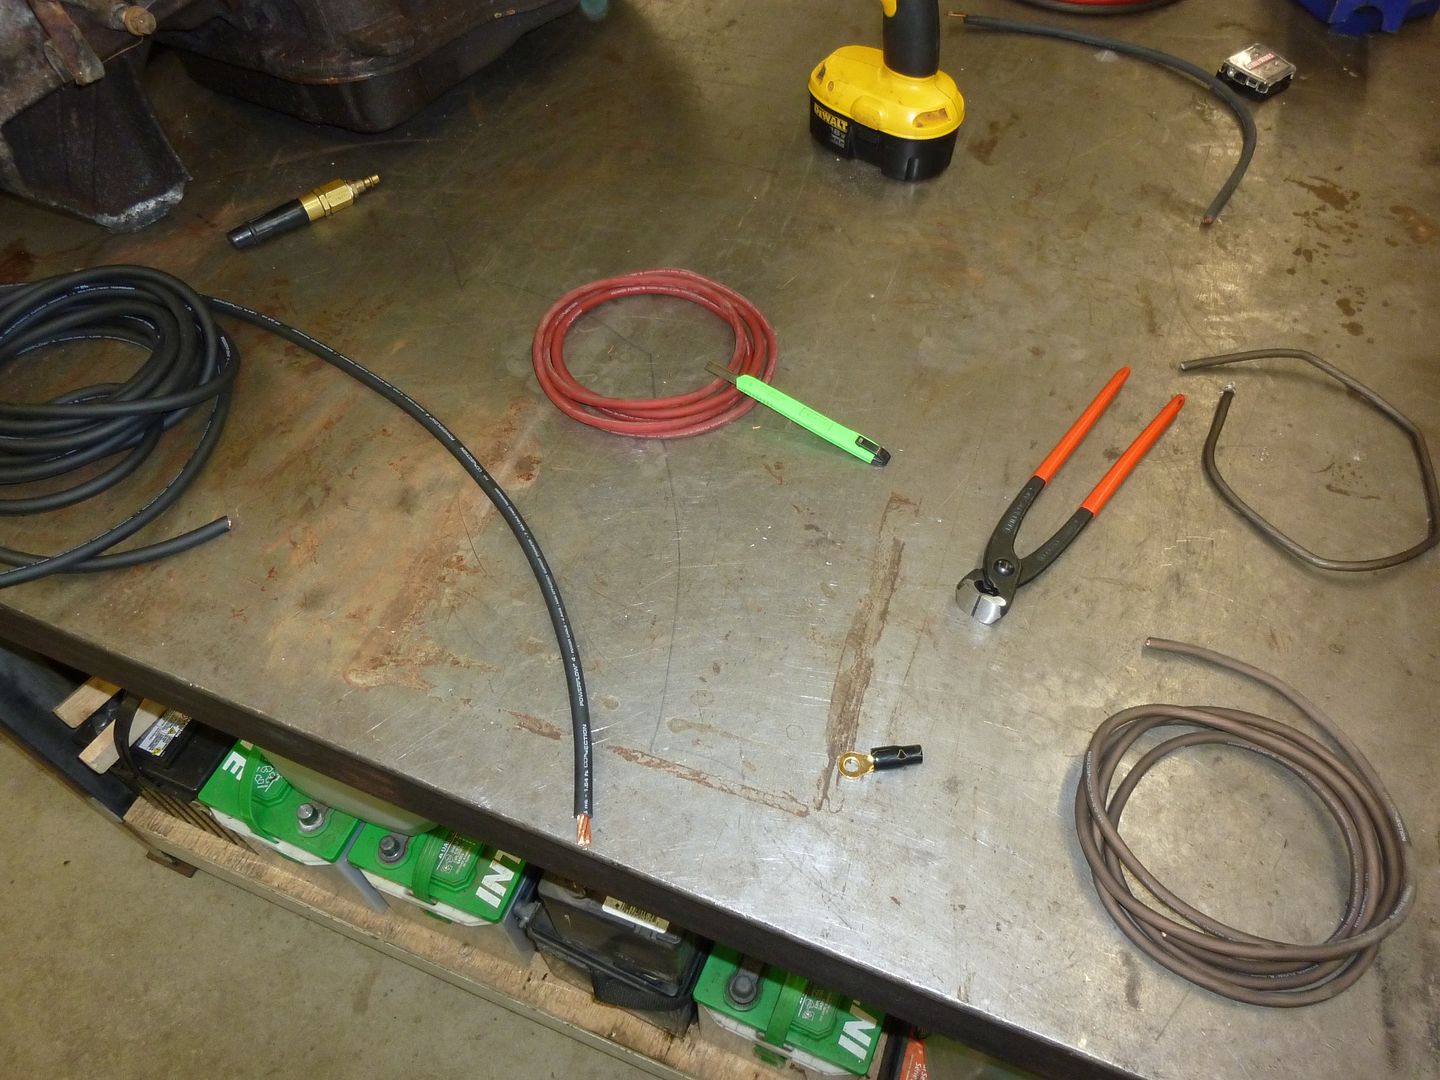
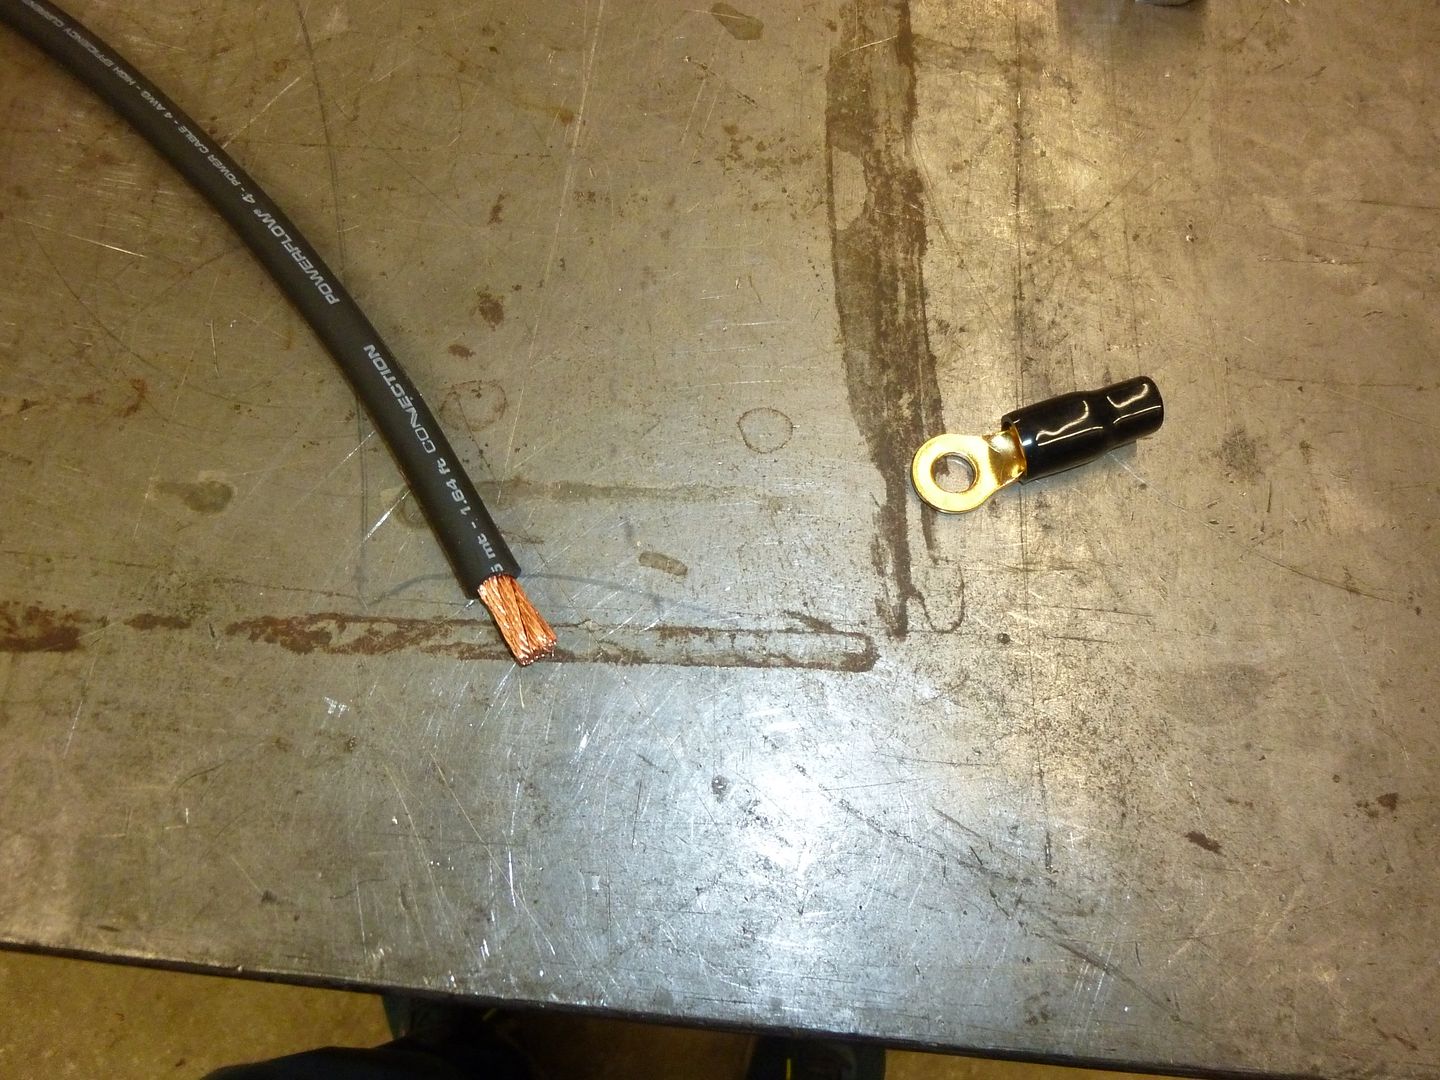
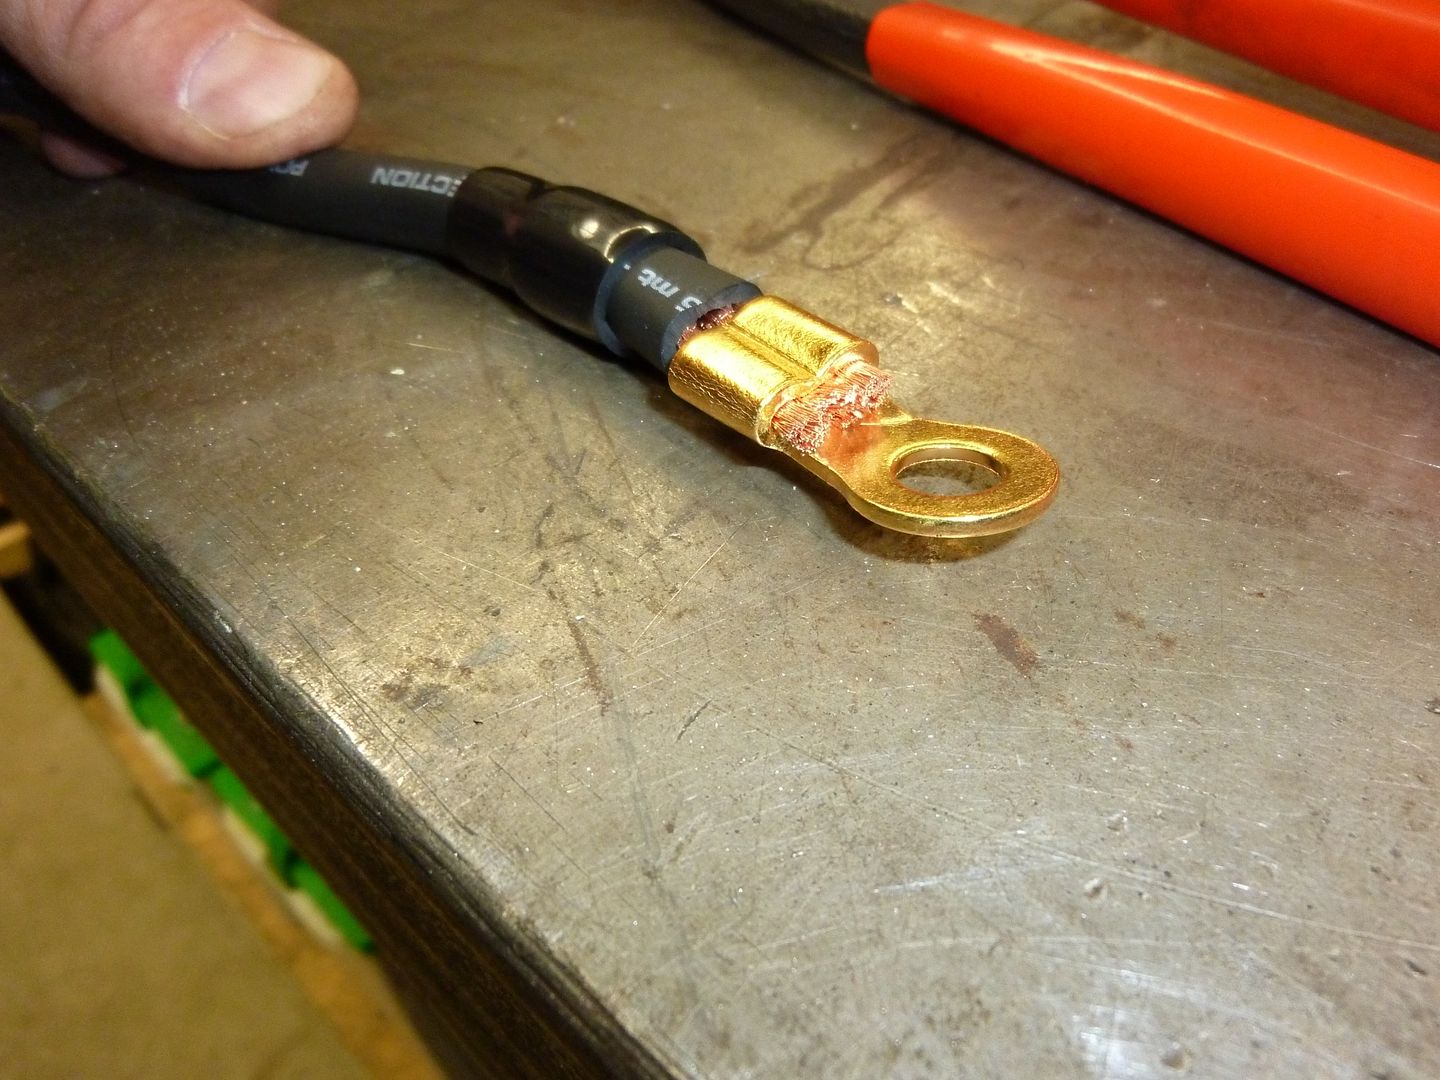
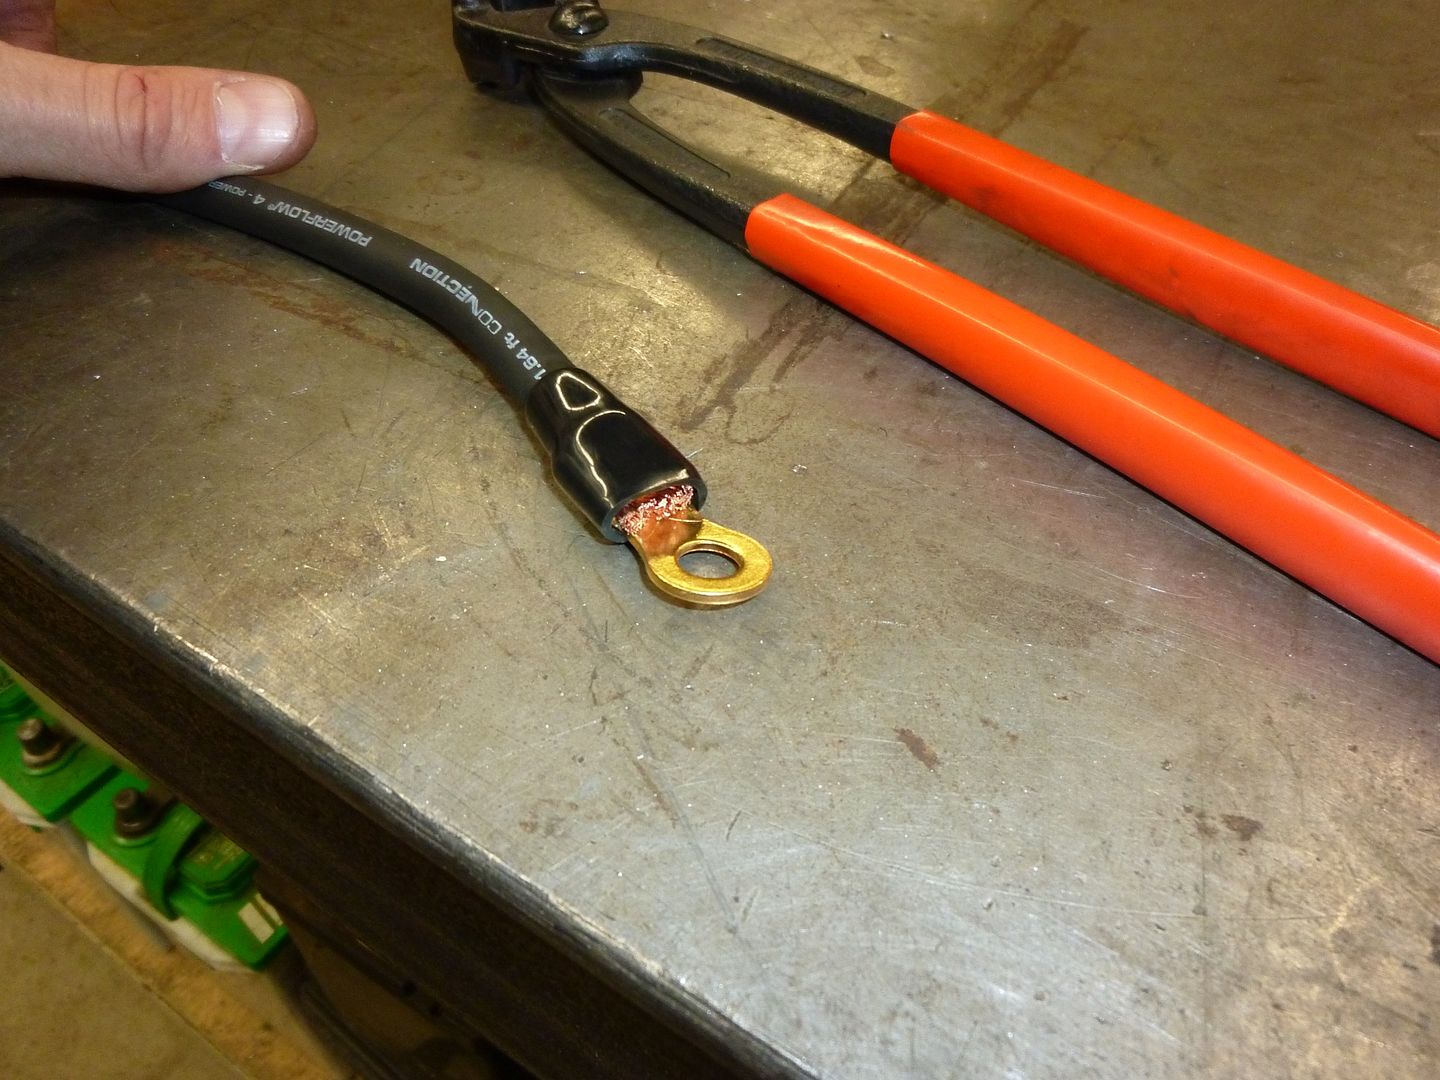
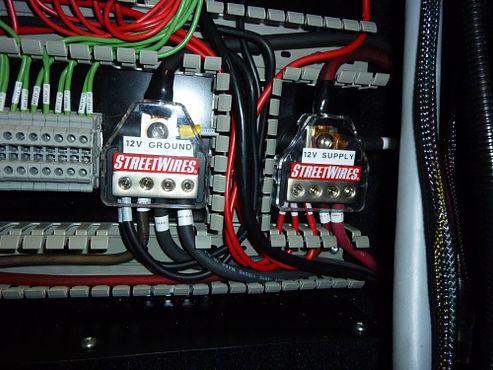
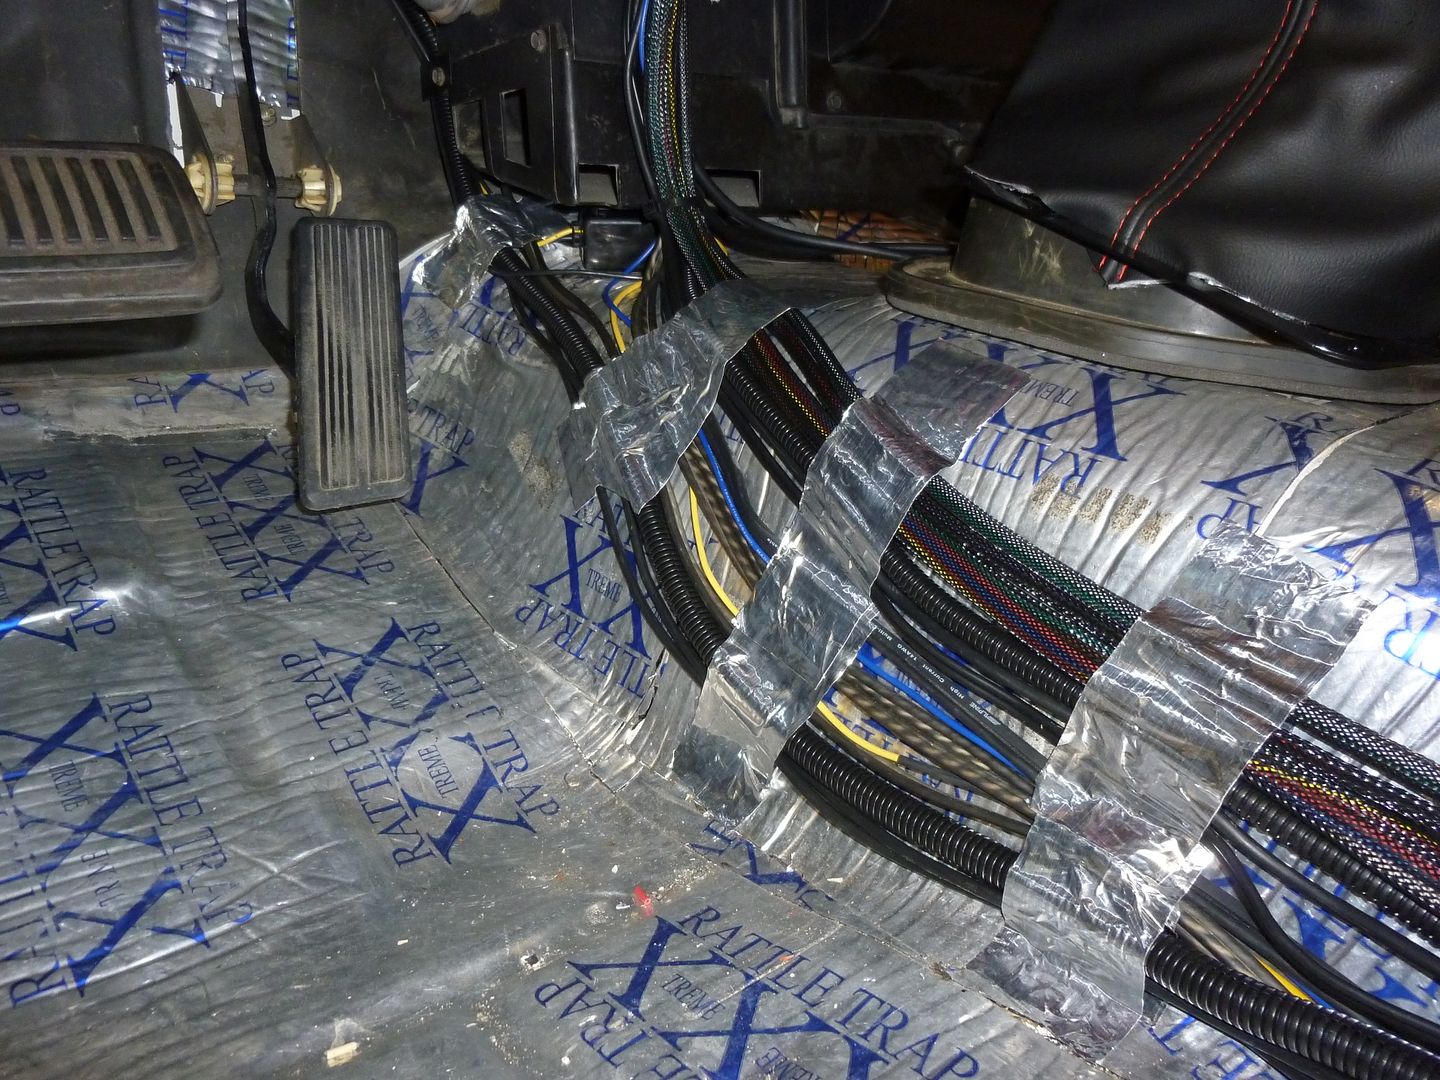
Now that the panels are in, its wire connection time. Step one was to add in the main power and ground feeds from the battery. Normally you can ground to the chassis, but given how much power is running through these panels, I decided to run 1 ga back to the battery to ensure I would not have any issues. I then ran distribution blocks on the panels to send the power where needed. With my roll of wire, I began making connections as needed:
 '
'
 '
'
 '
'
 '
'
 '
'
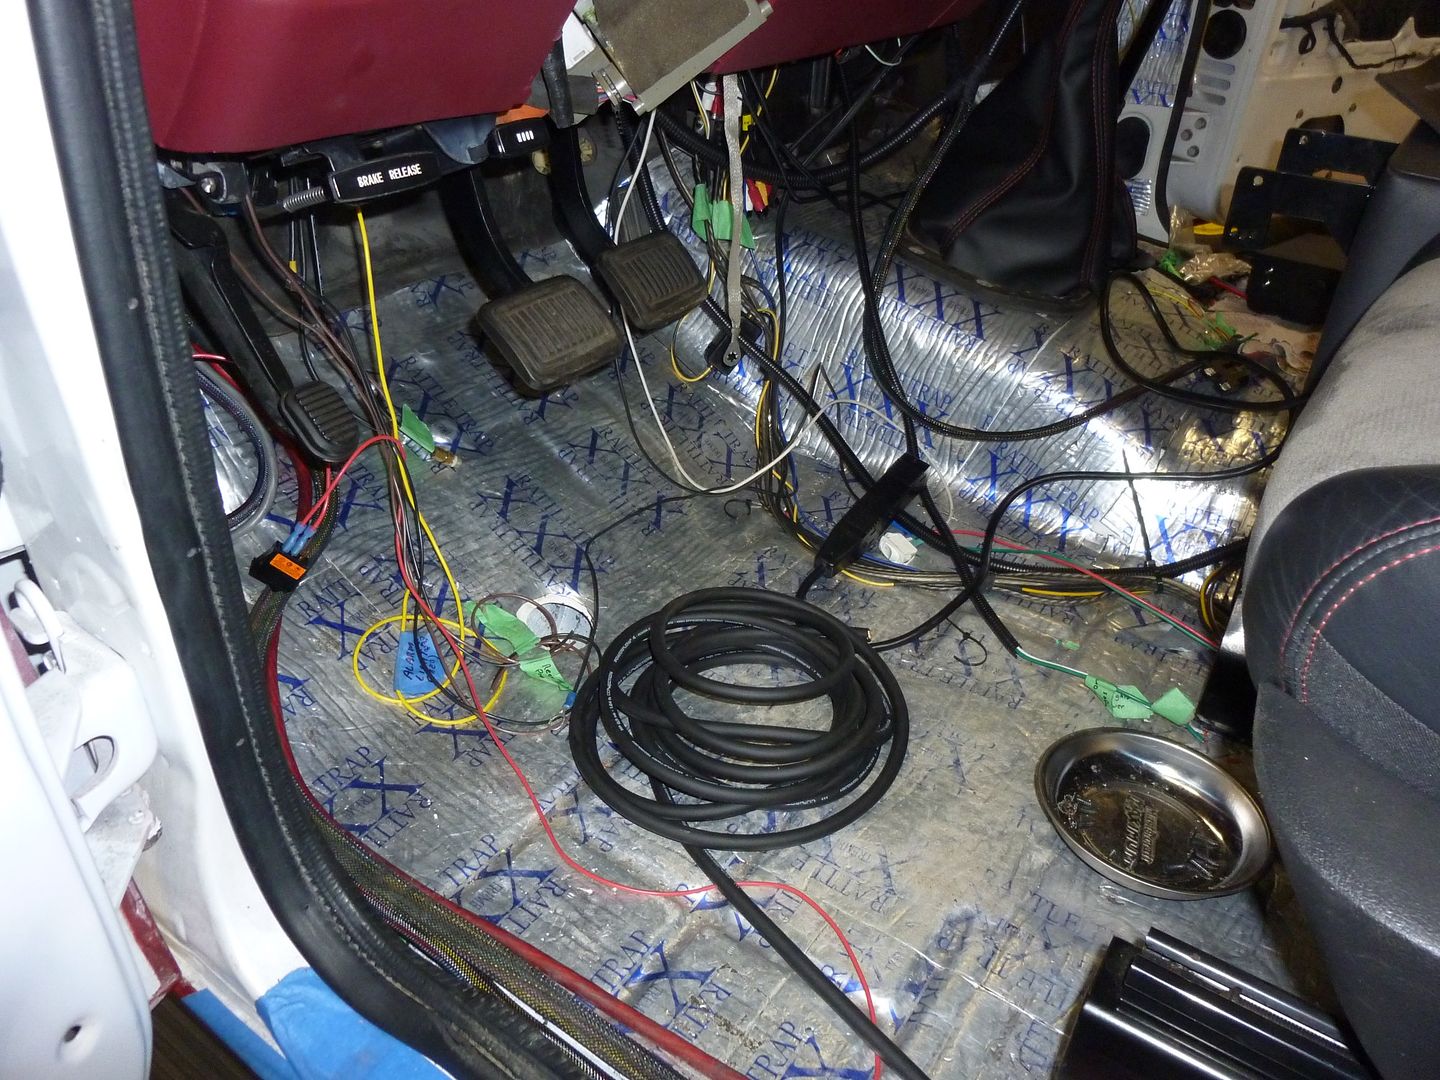
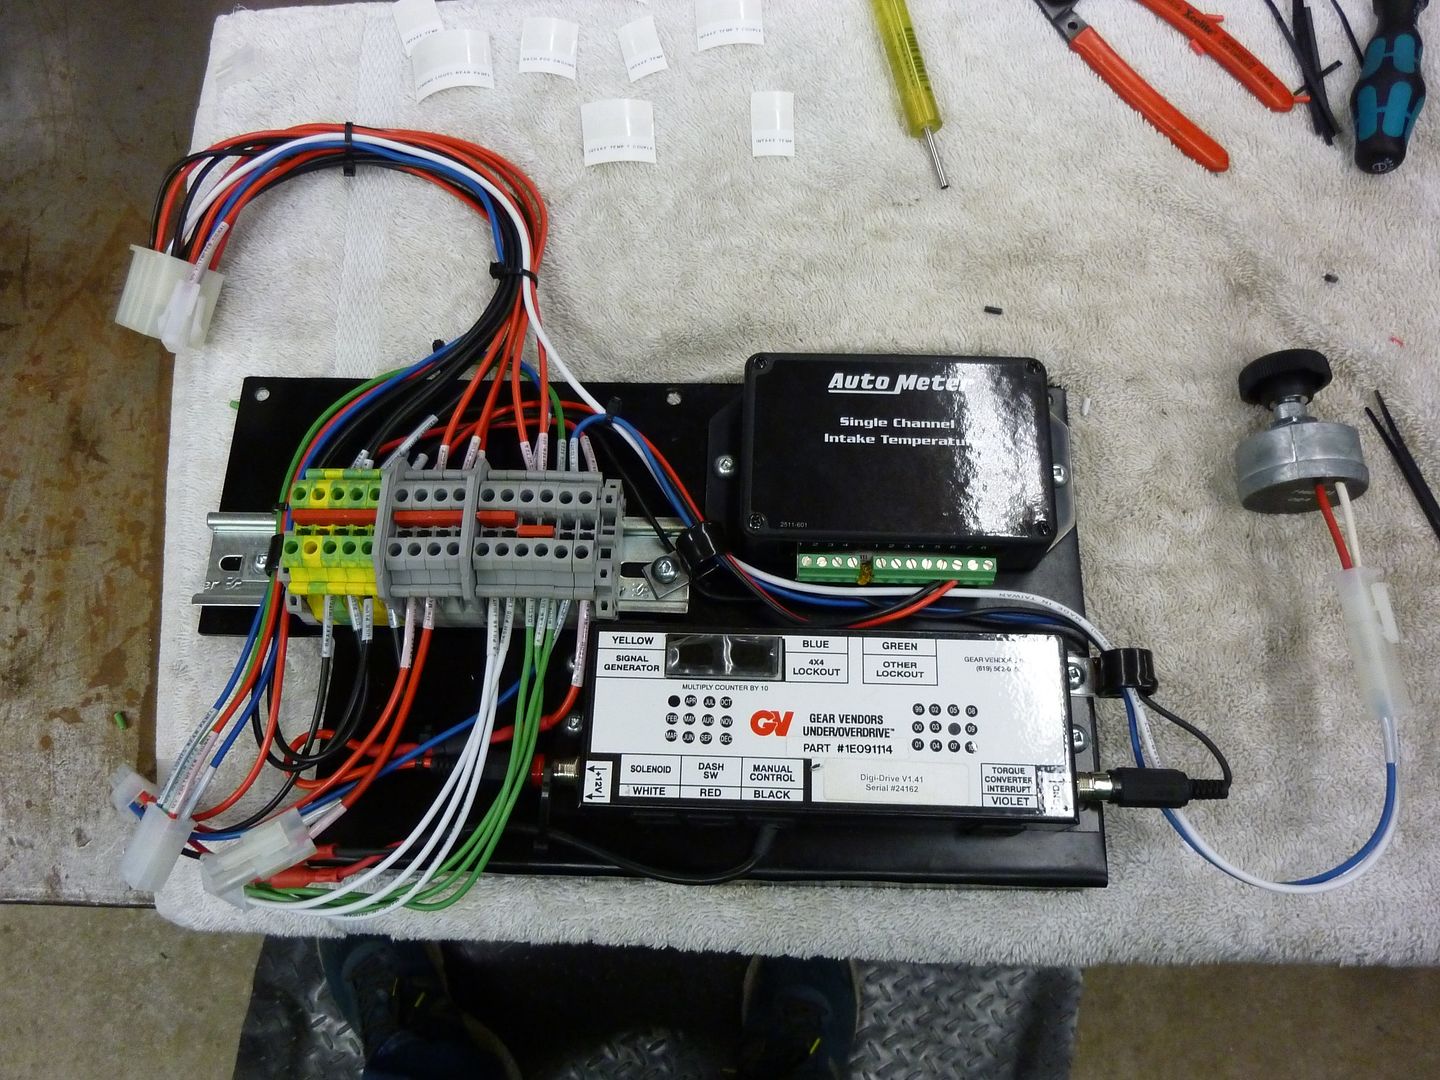
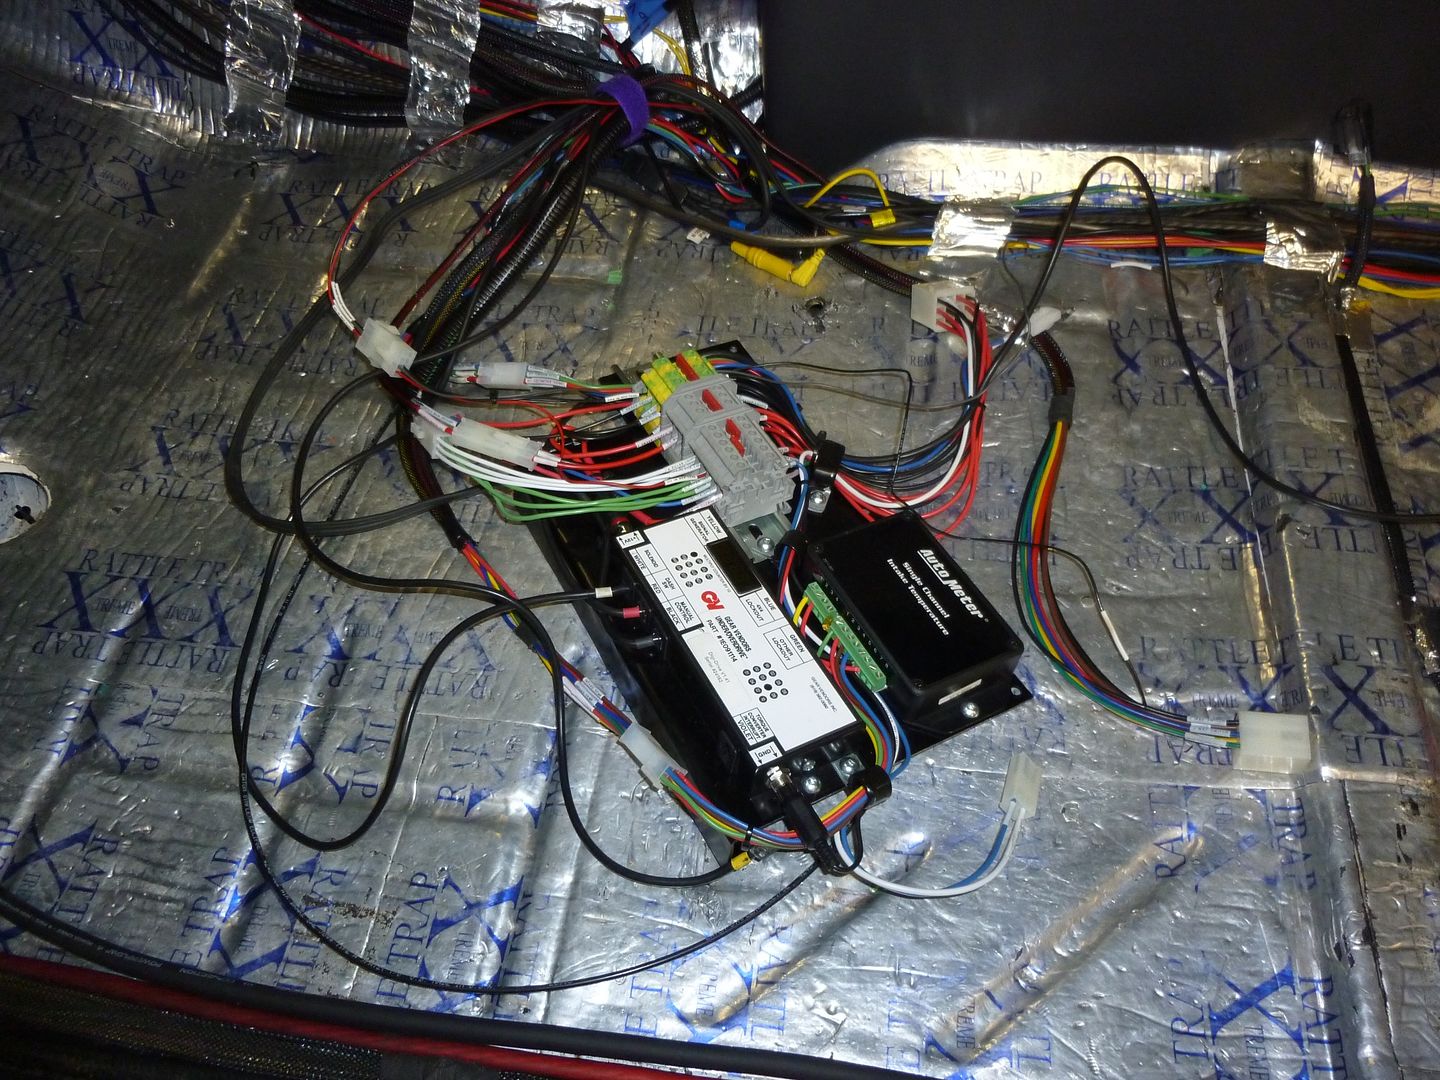
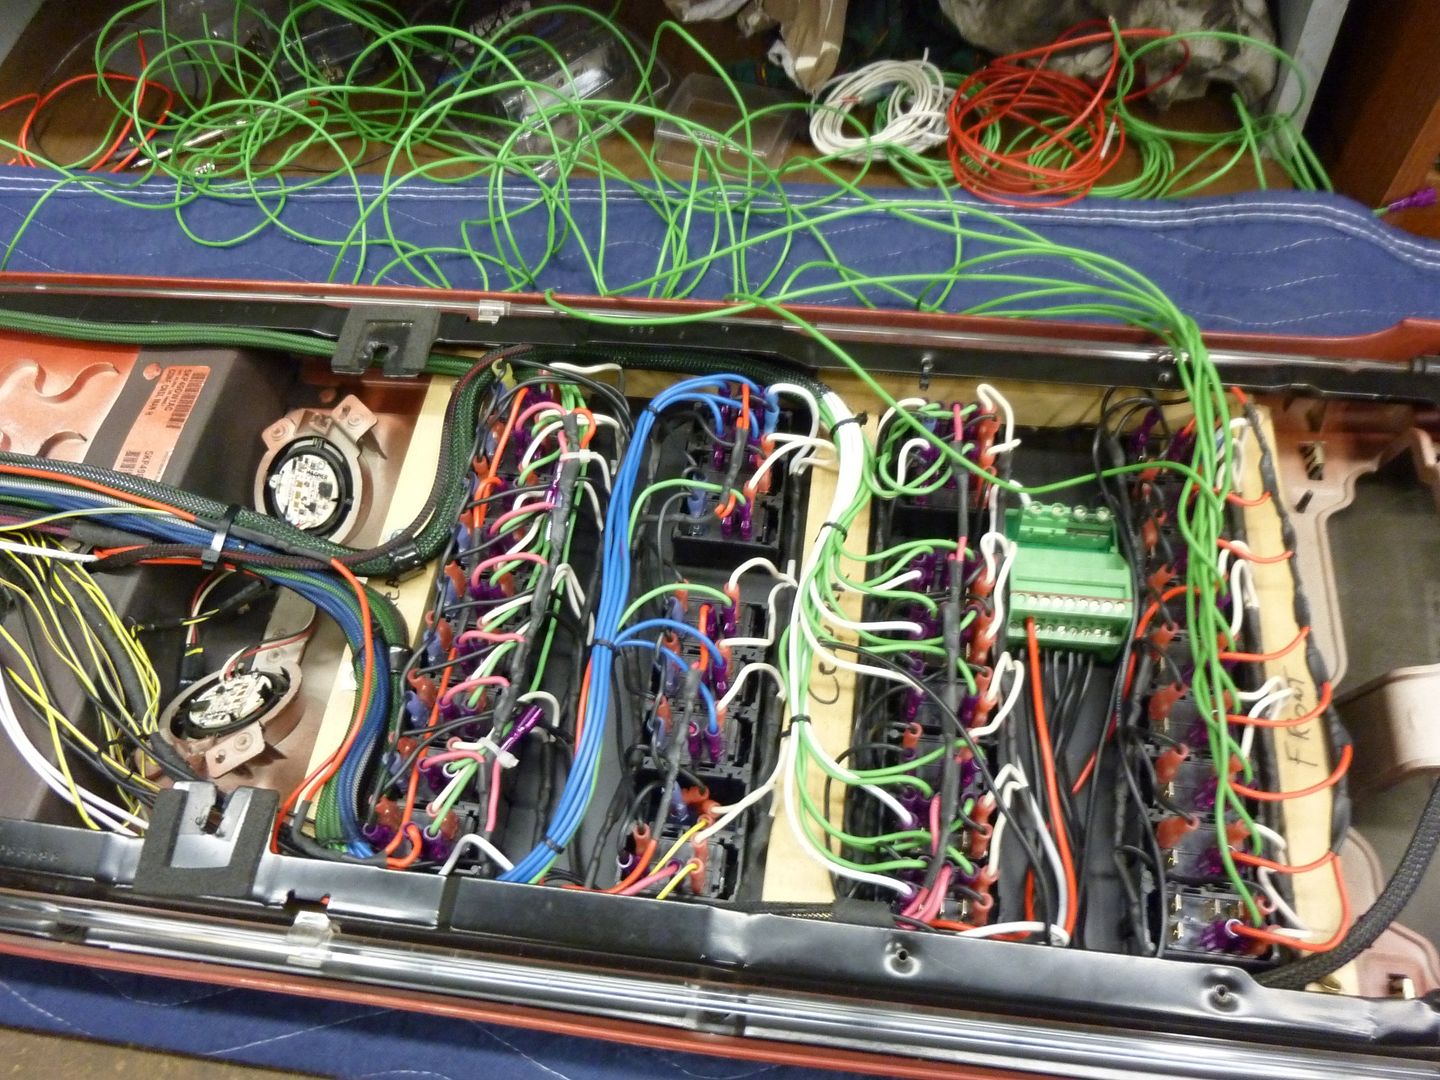
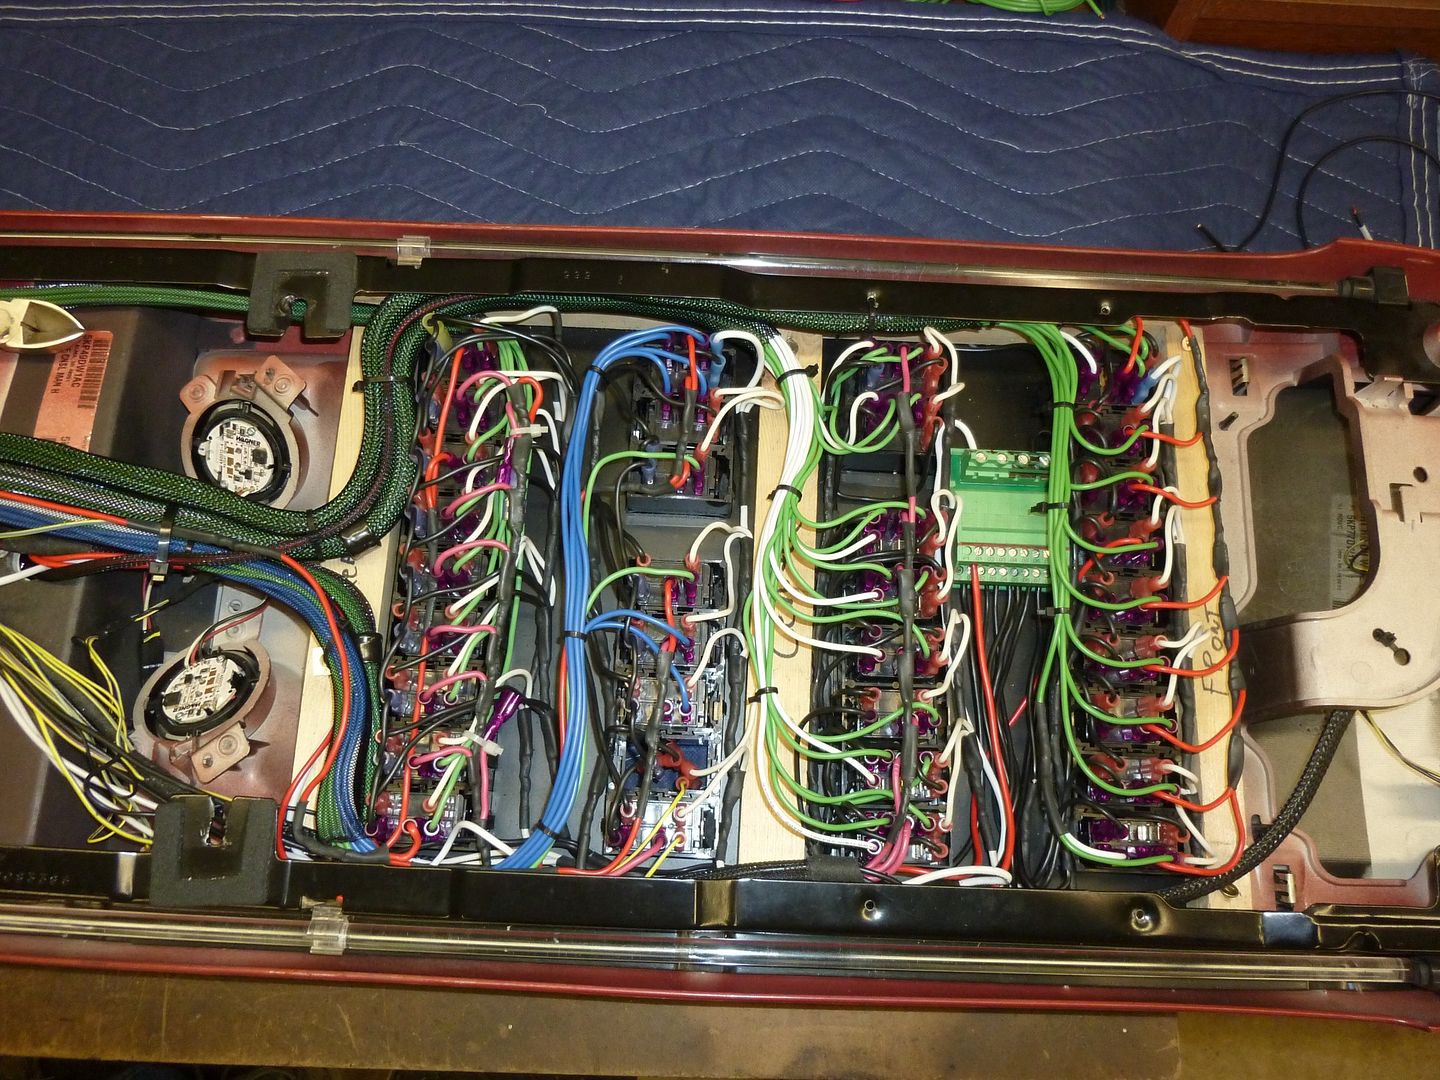
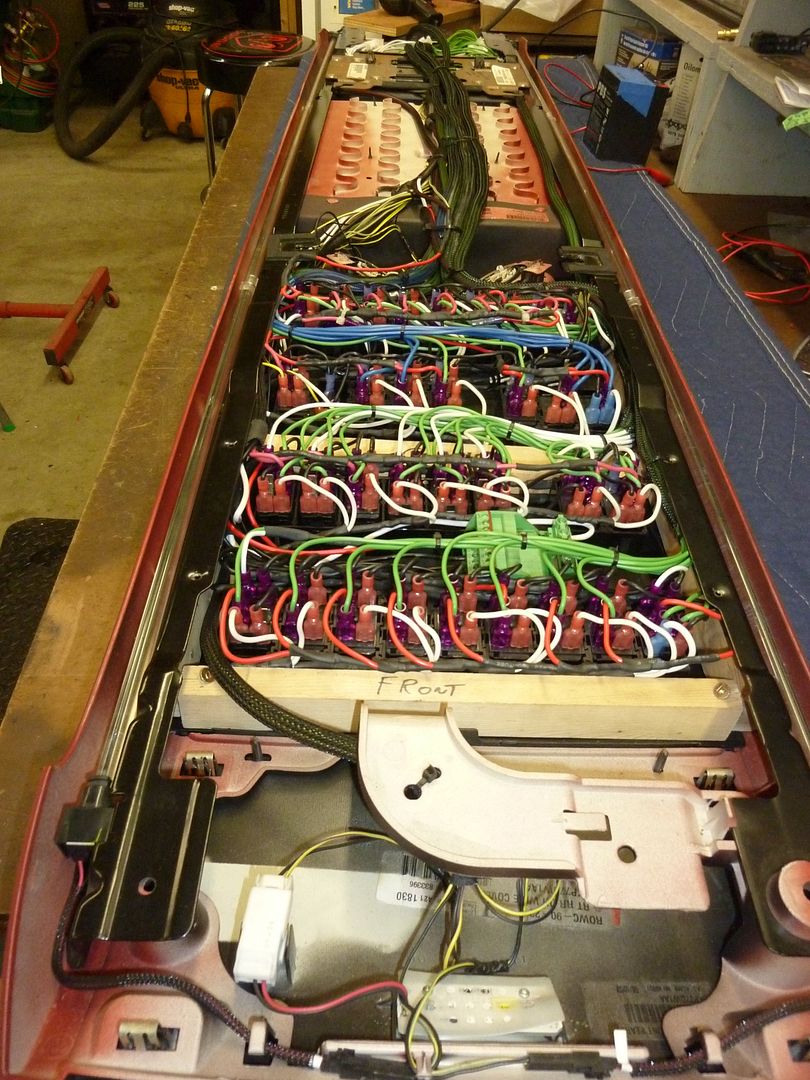
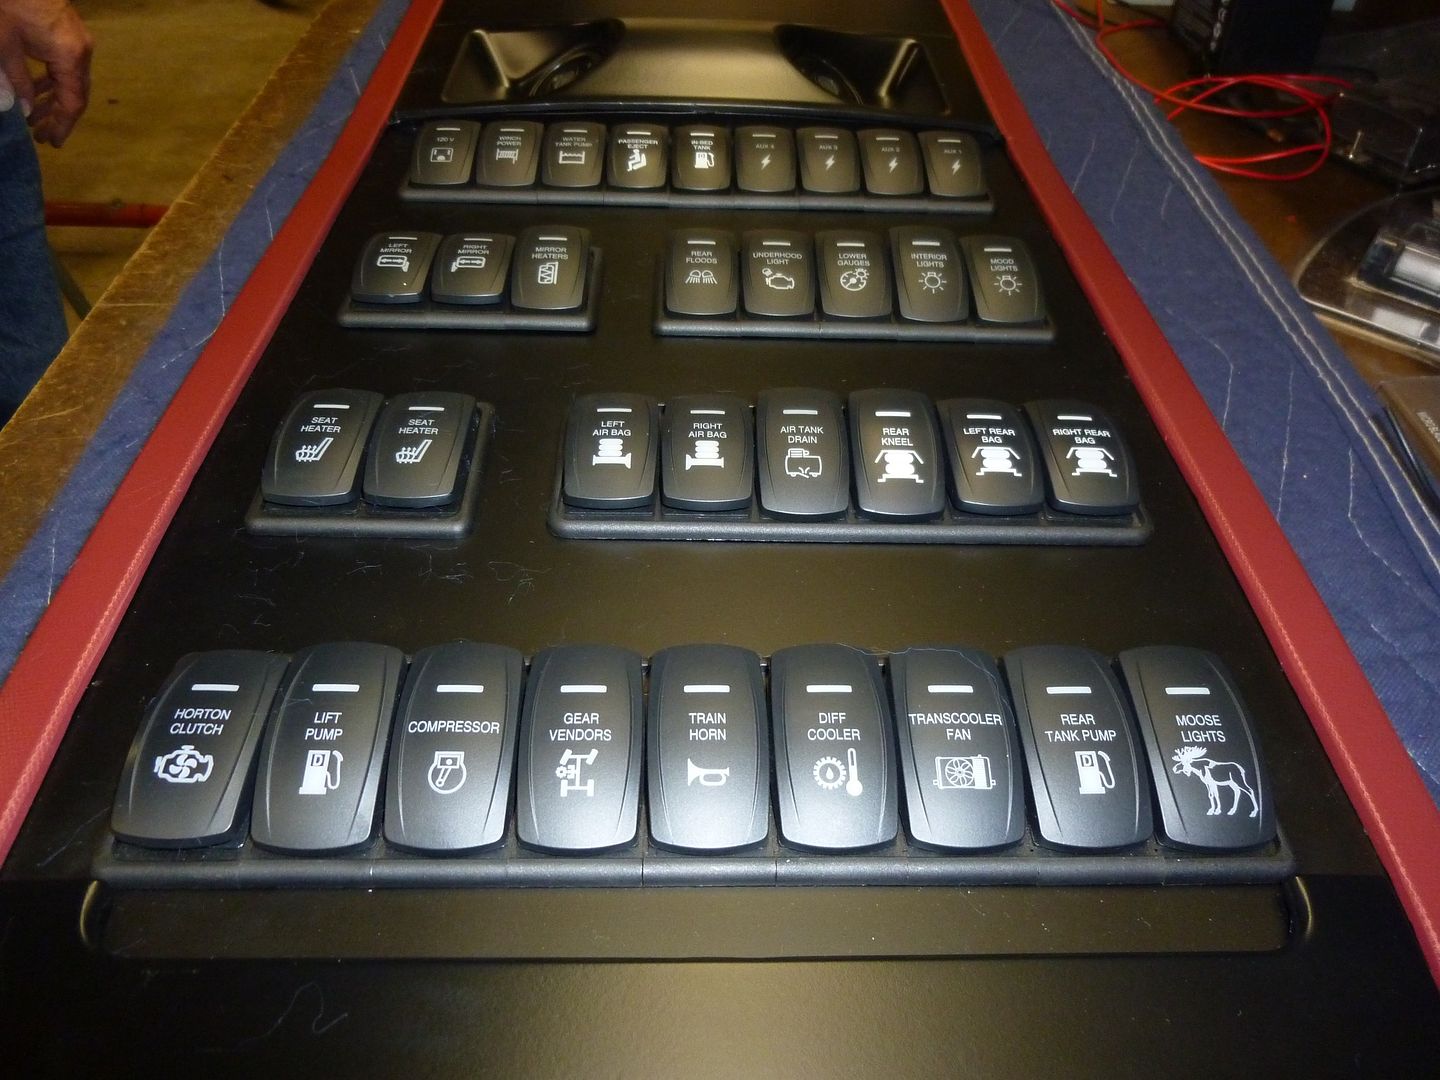
Oh, and then there was the daunting task of all those wires that were fed from all around the truck…. Yeah. Those all had to be connected into the correct port on the boards. The way the boards were done is every circuit is fused, and many with various forms of relays. Dad took on the fun job of wiring all into the panels as he was the guy that spec’d what wires would need what years ago! So he had a lot of memory searching on what was what and what relay and fuse level each wire needed.
 '
'
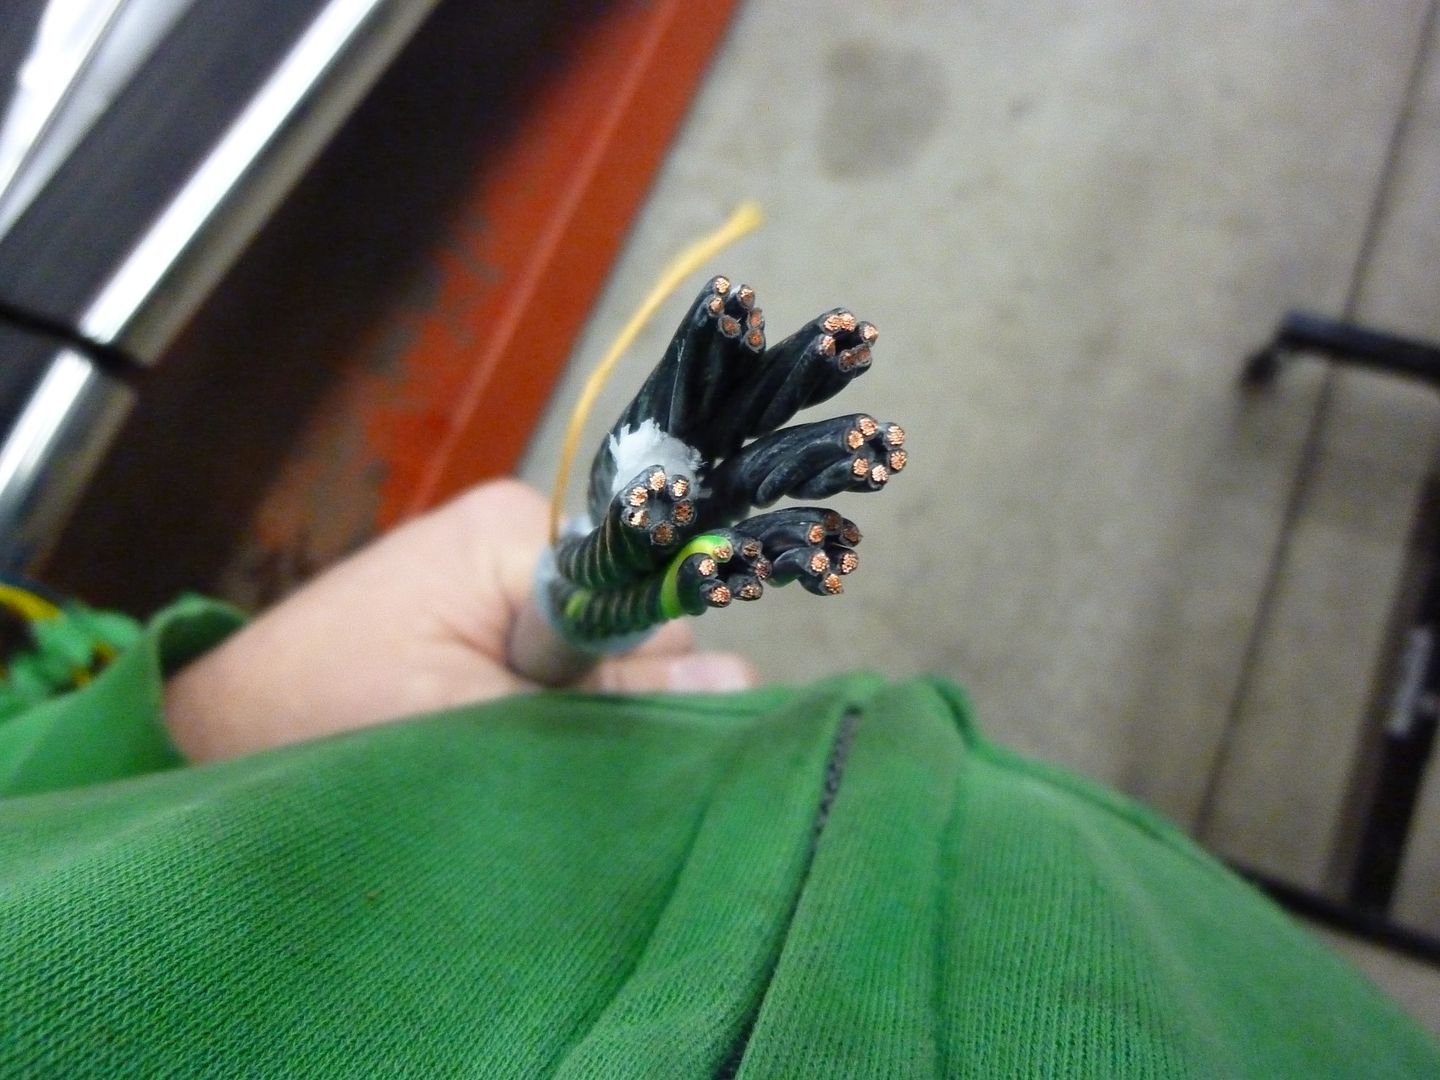
Oh, did I mention he also had two bulk conduits he had to connect? These two conduits hold multiple conductors per jacket and are what was used for running the overhead console switches, down to the panels.
 '
'
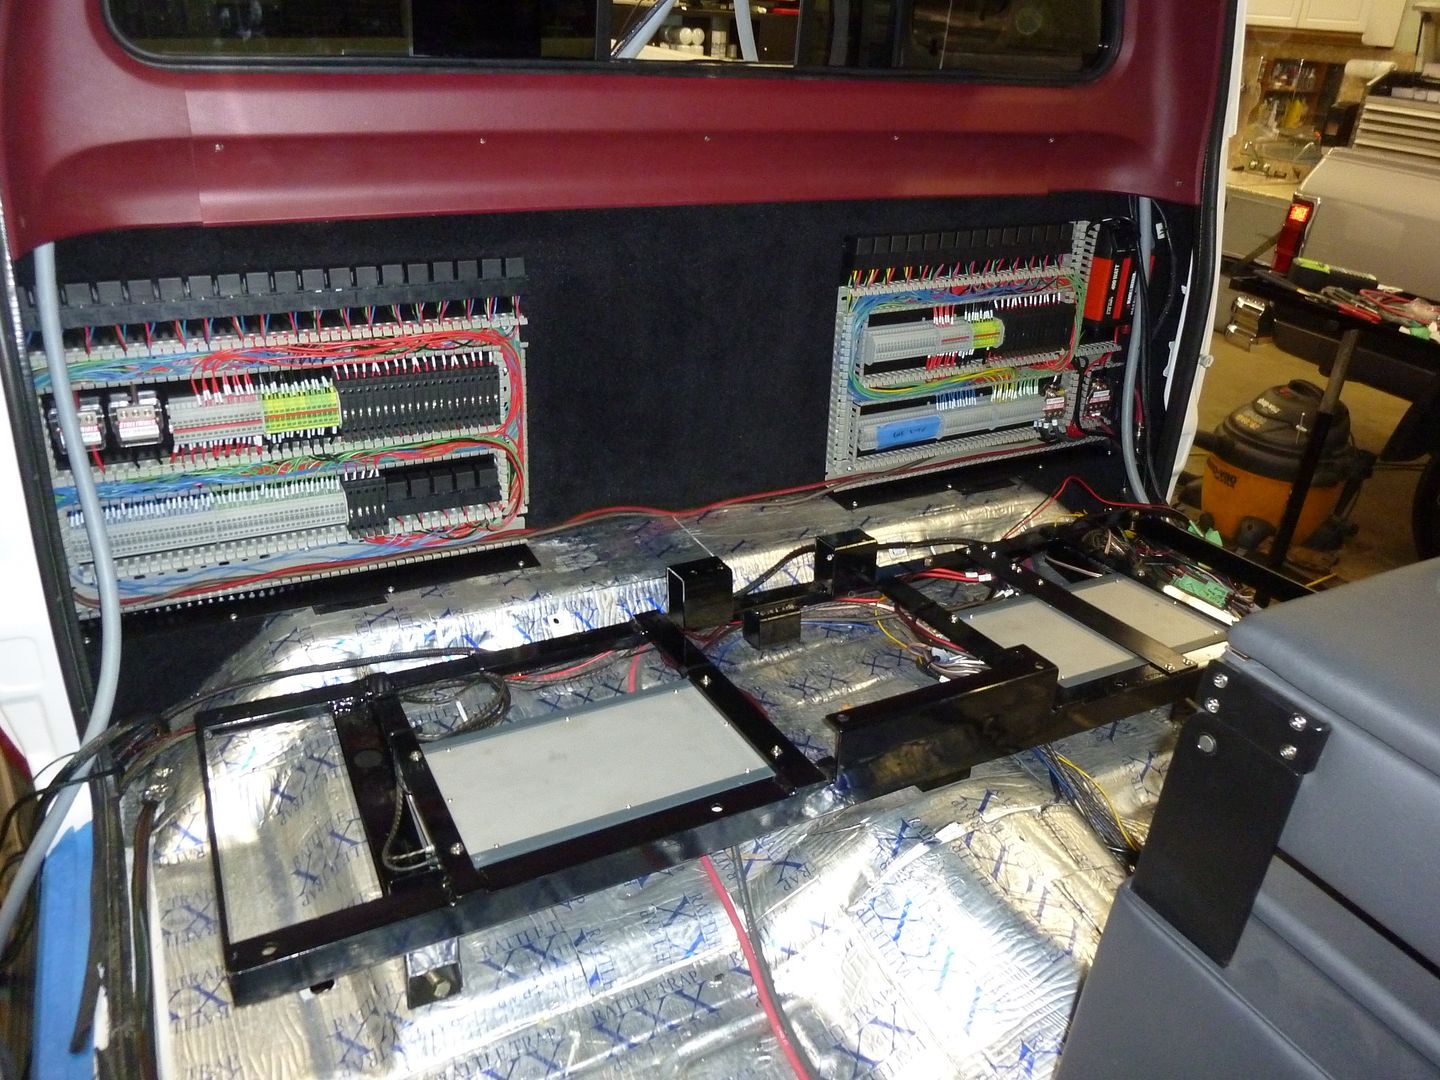
Starting to clean up good!
 '
'
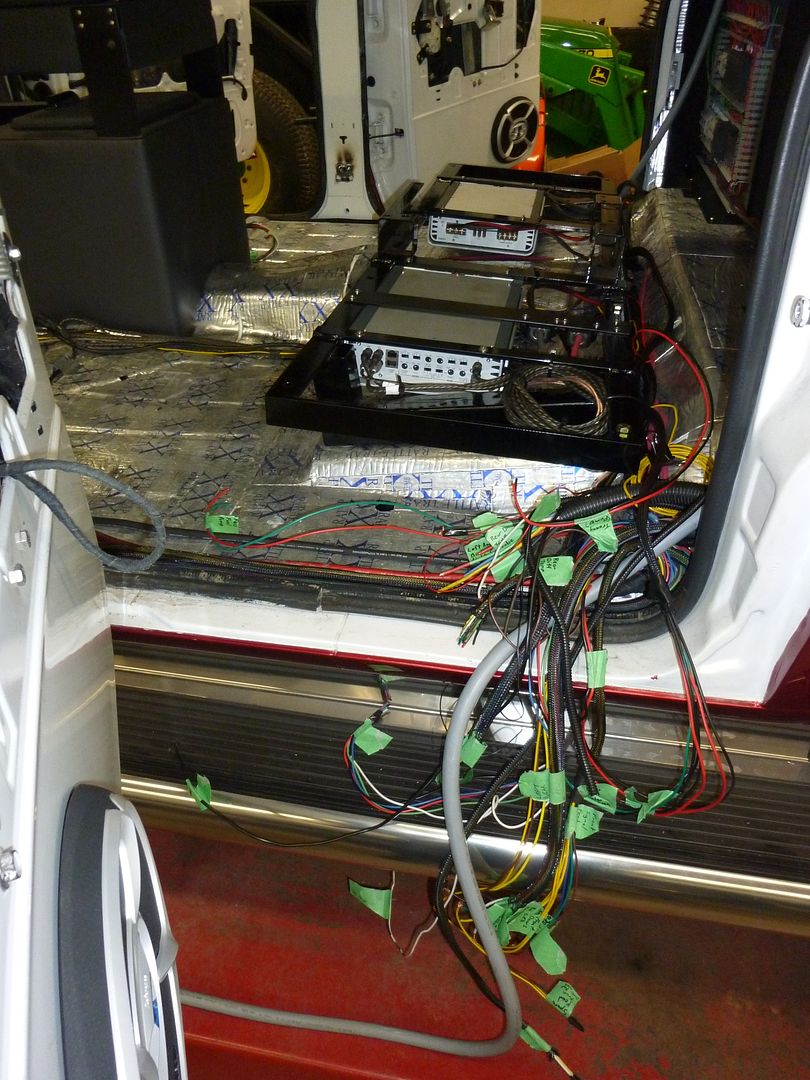
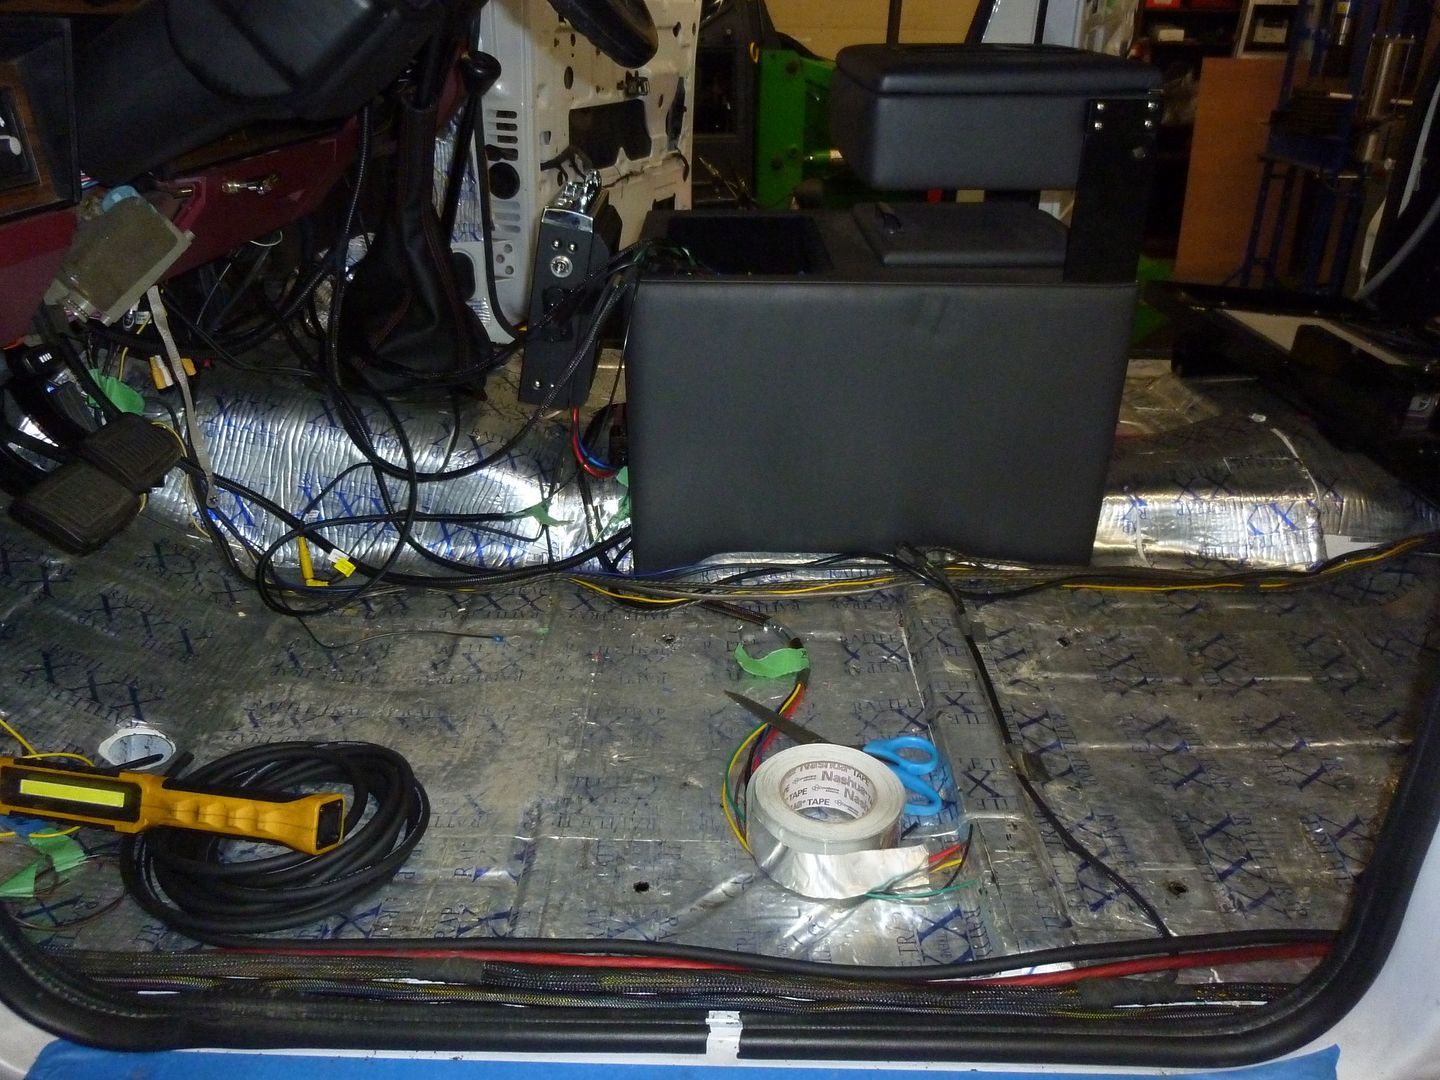
While dad tackled wiring the space shuttle, I tackled the front end. As the panels were being wired, I could now build the wiring harnesses for the front half of the cab. I needed harnesses for the seats, the center console, the shifter, and a few other odds and ends.
 '
'
 '
'
 '
'
 '
'
 '
'
.jpg?width=1920&height=1080&fit=bounds) '
'
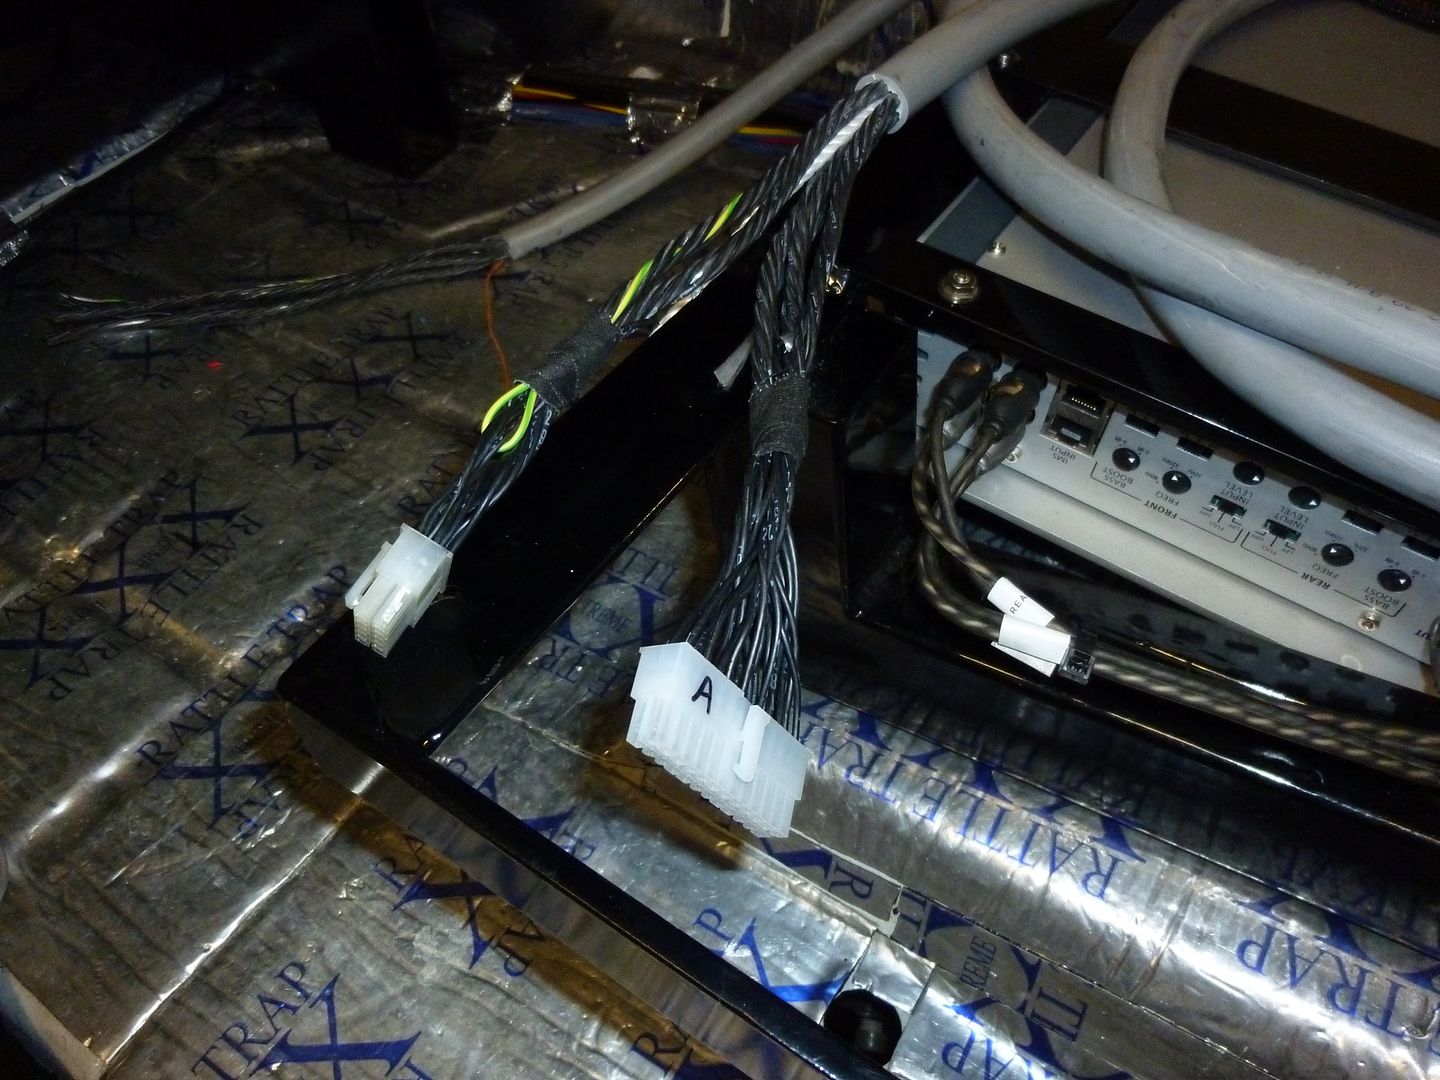
Wiring was also run at this time between head unit, speakers, and amps.
 '
'
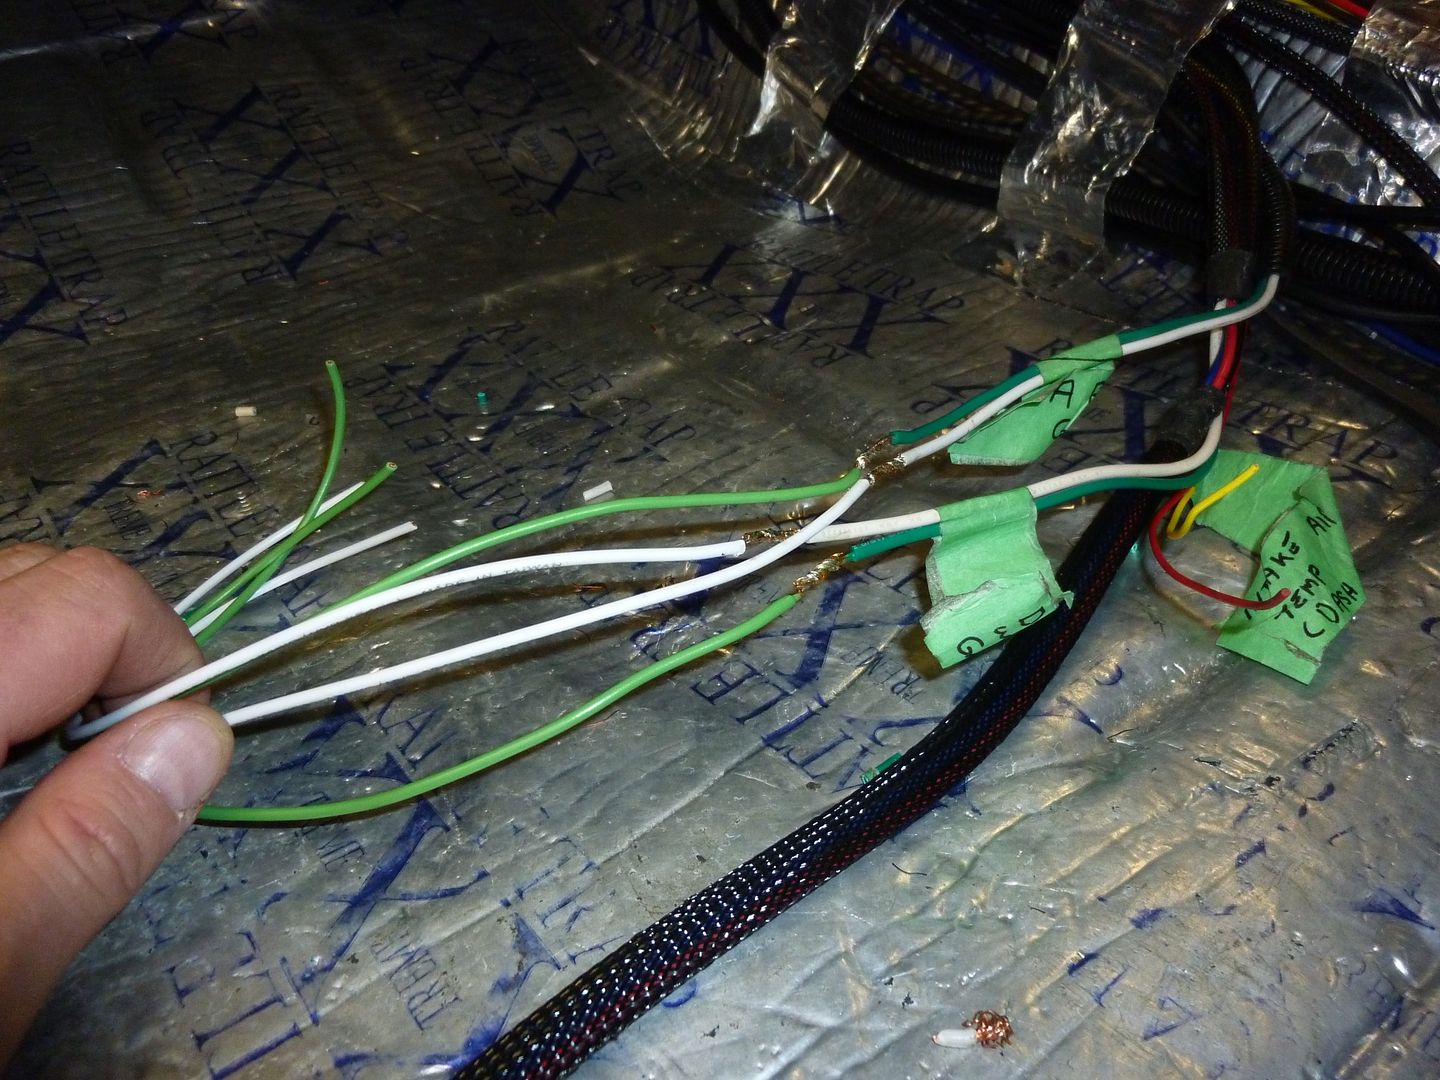
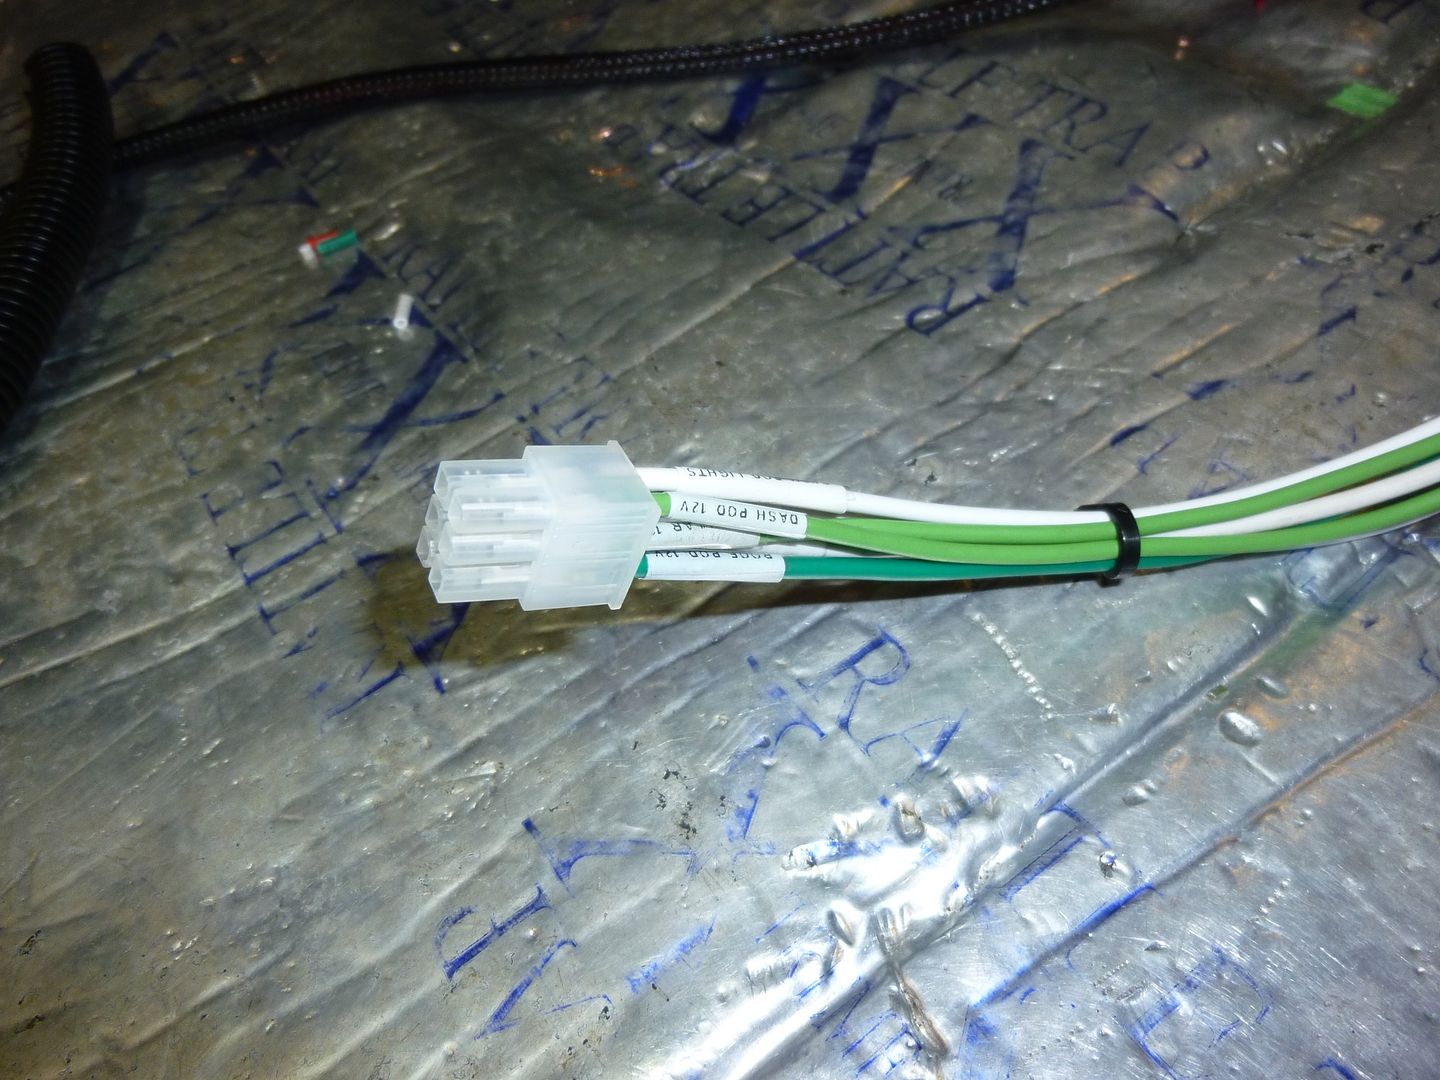
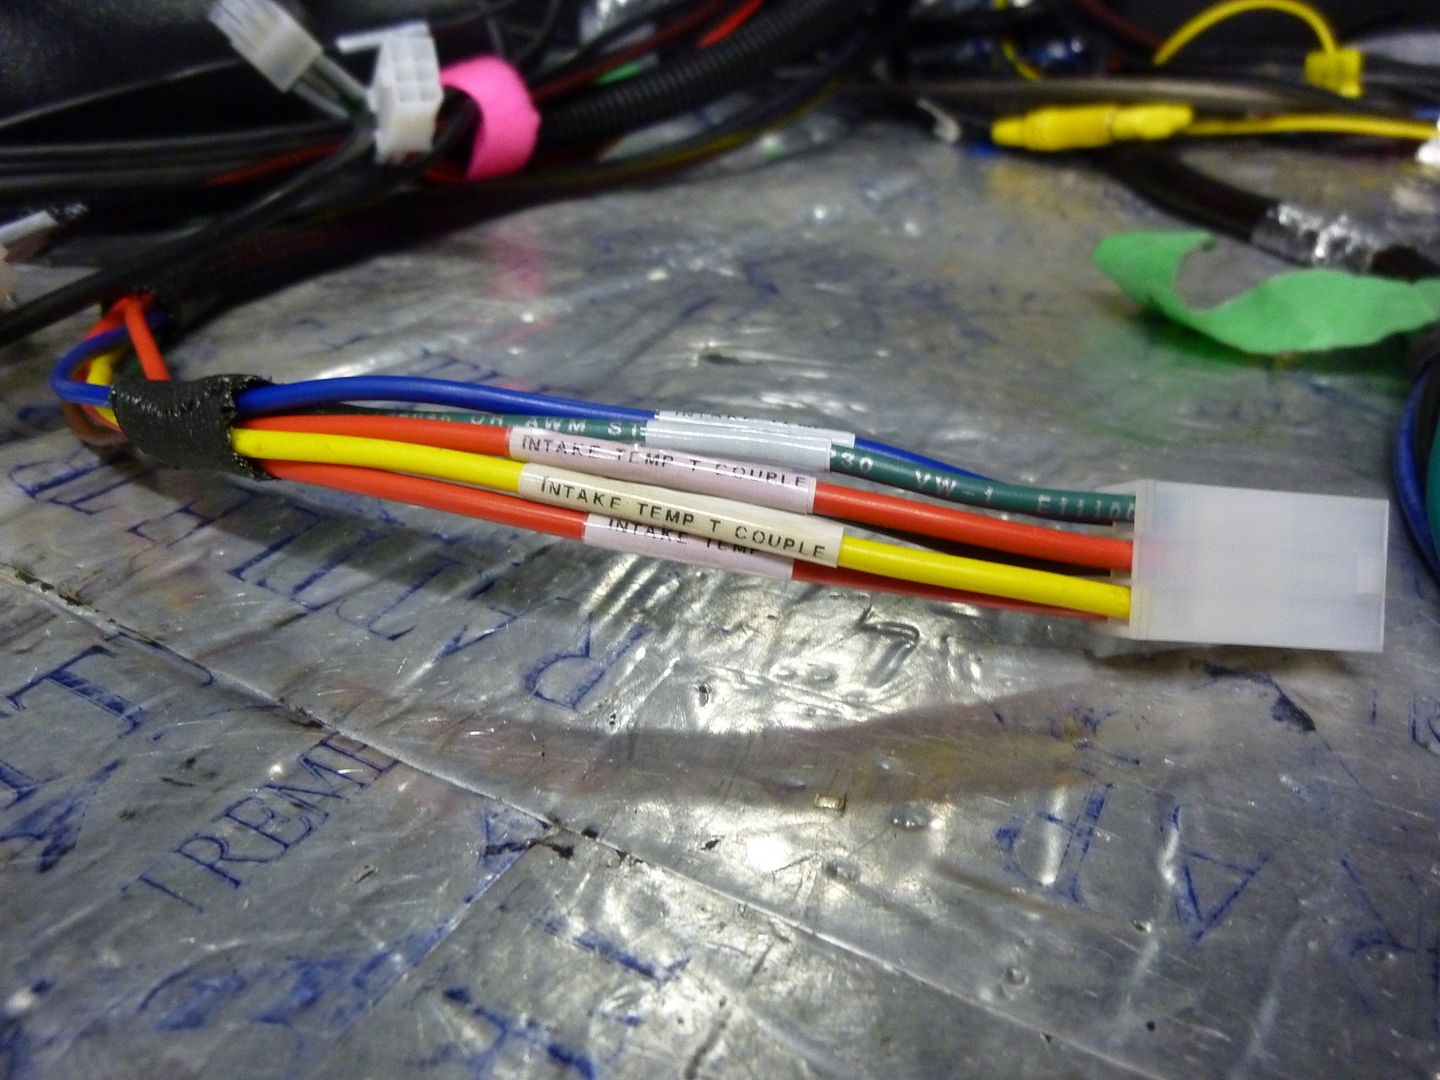
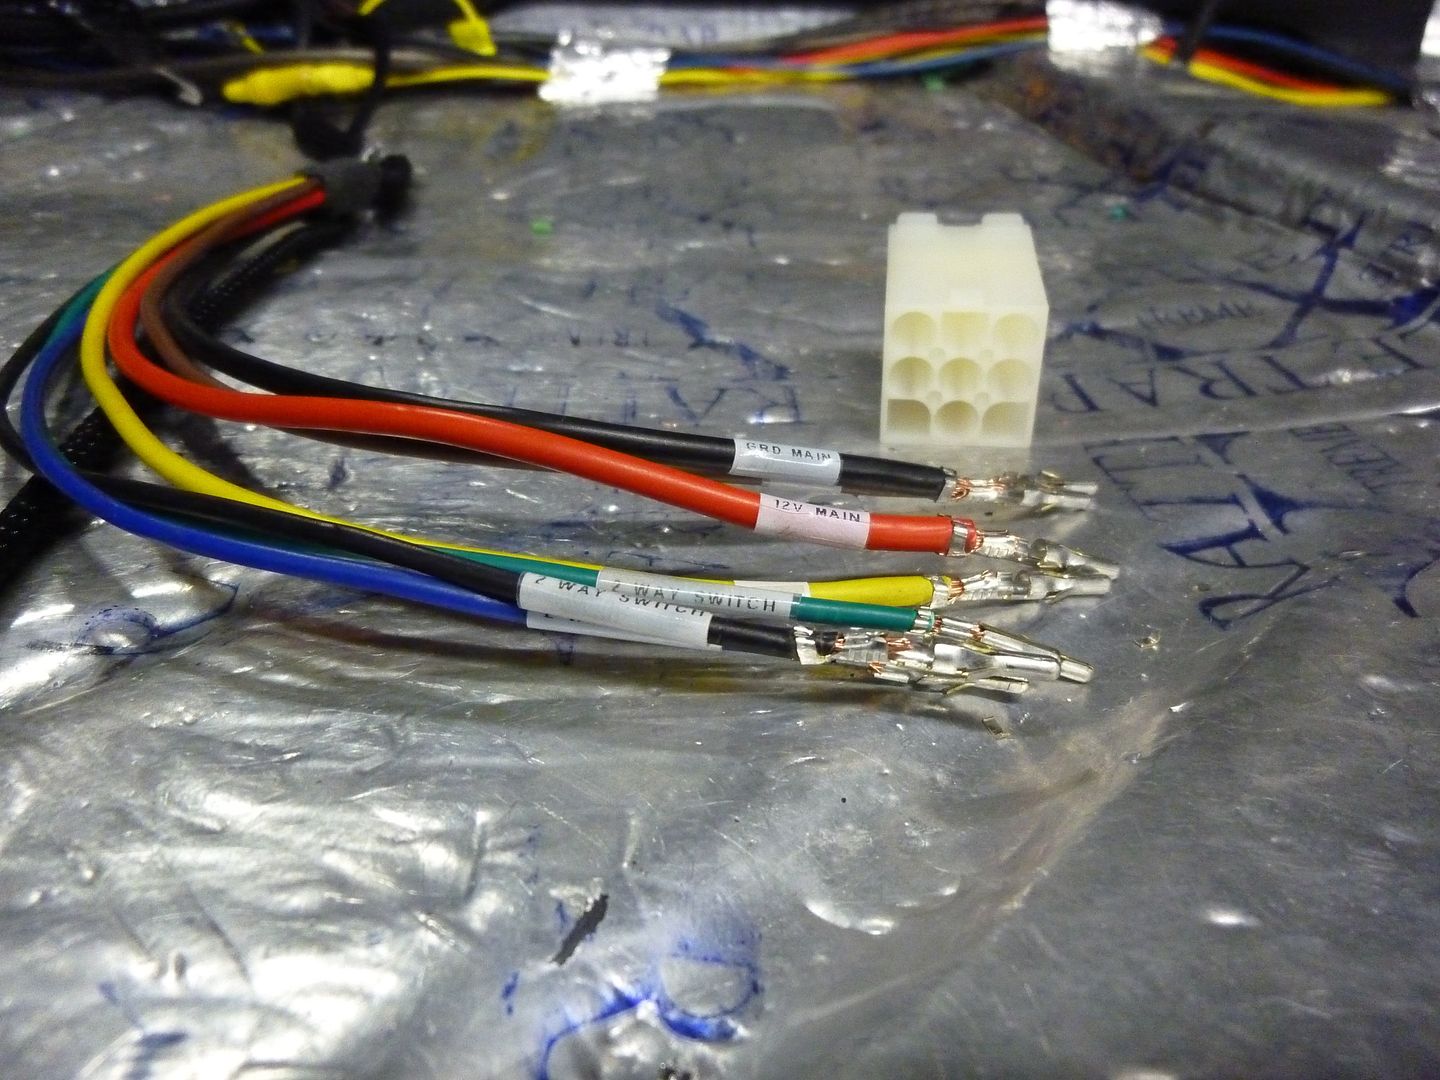
Lastly once the wires were run, then the final harness connectors were crimped on and EVERY wire was labeled:
 '
'
 '
'
 '
'
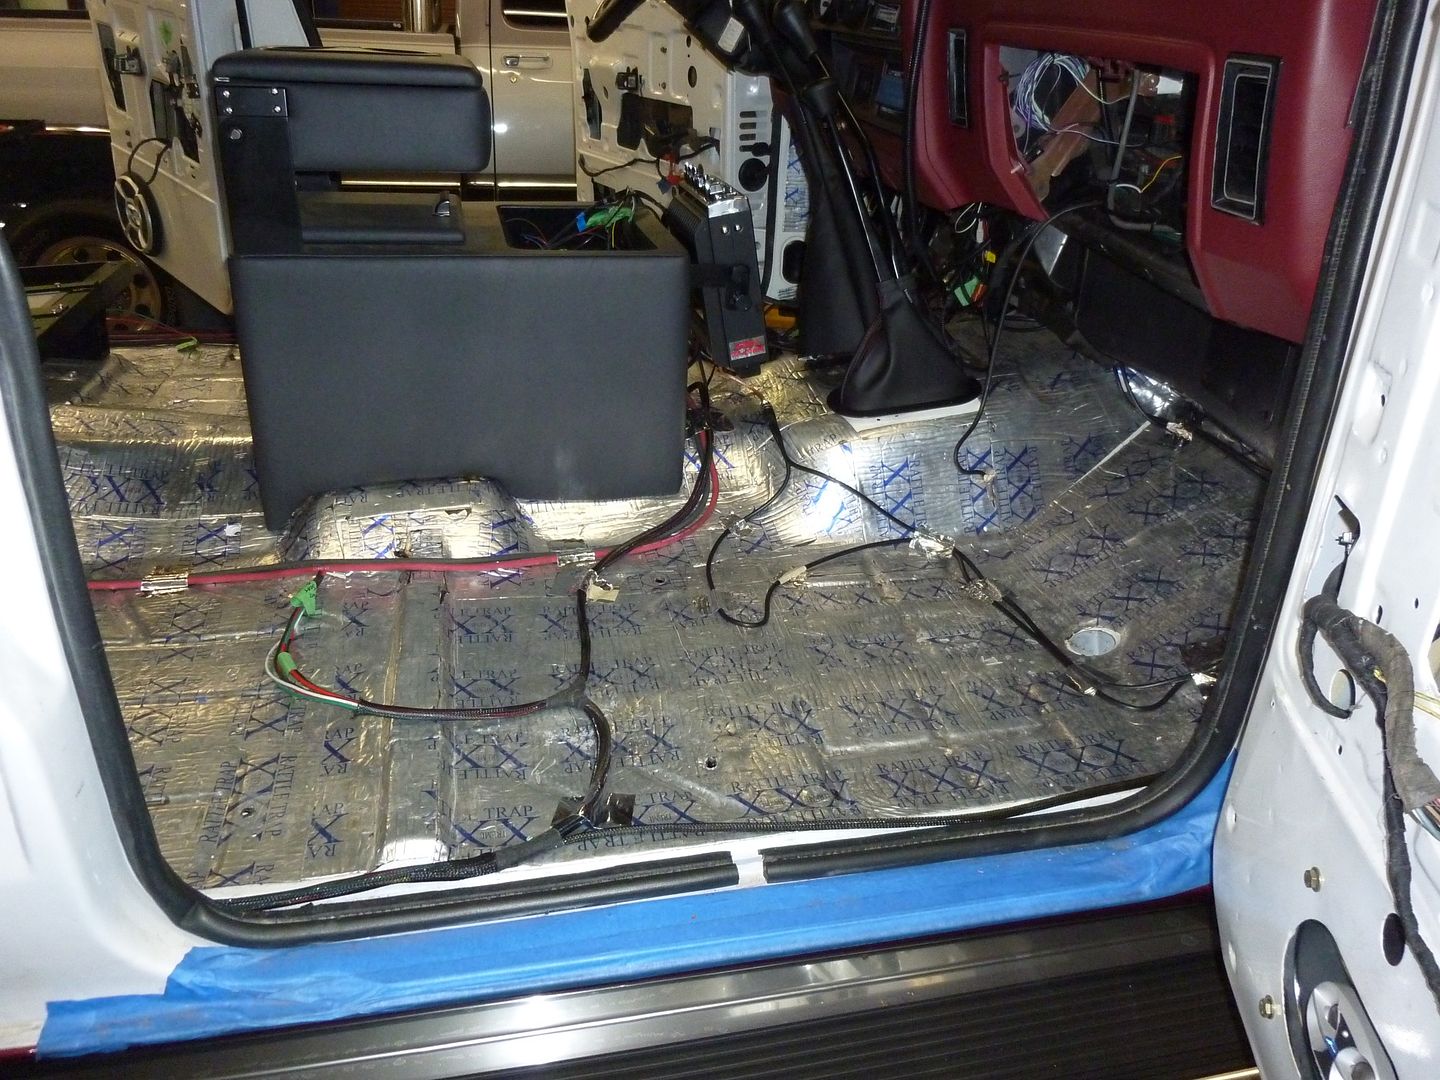
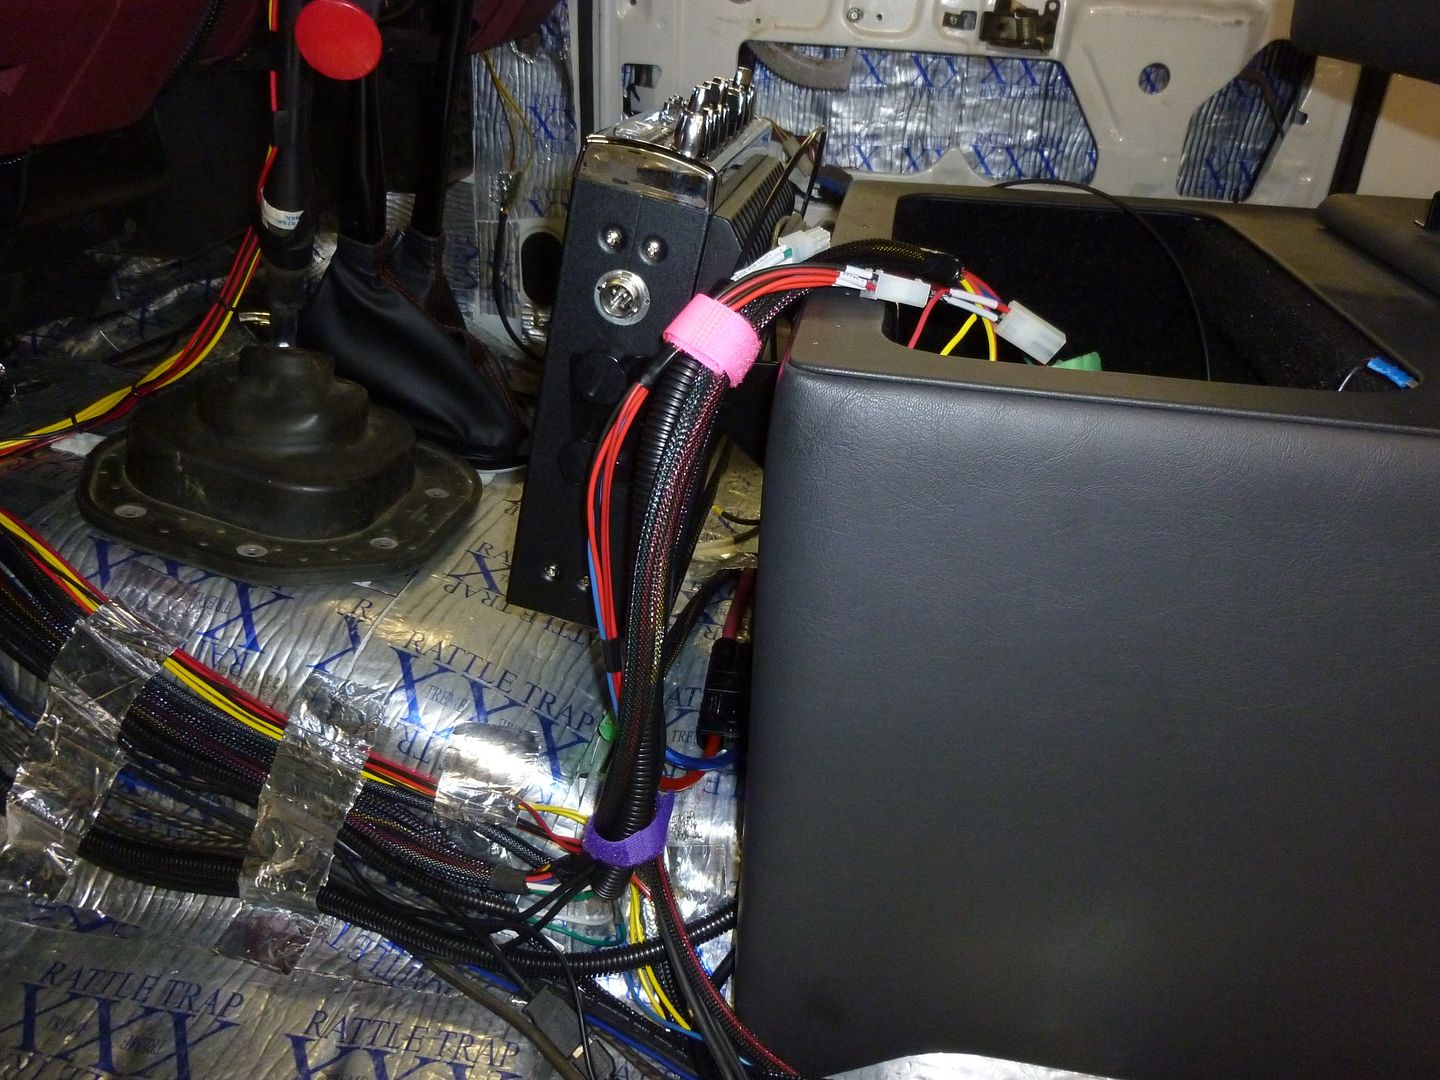
Now that I had the wires all run for the seats and the stereo, it was time to deal with the center console. The center console has its own electrical grid. It was built as to run a localized slave panel off the master panel behind the rear seats. So to do all the functions that needed to be controlled by the shifters, they would all feed into the console. So I began on the slave panel build:
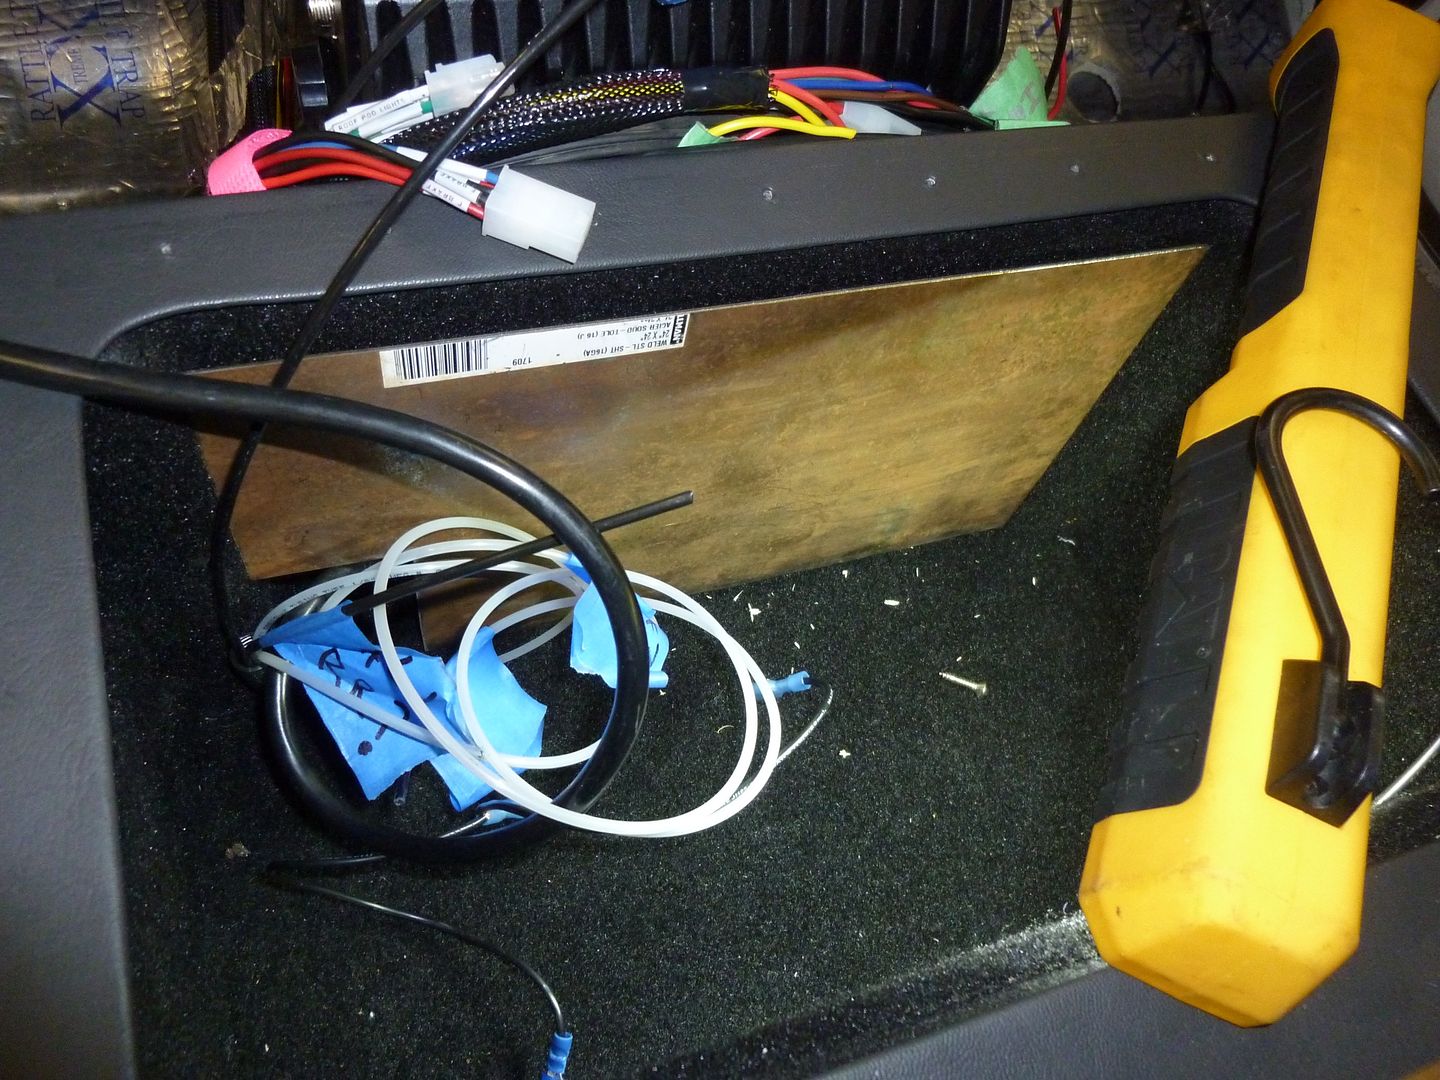
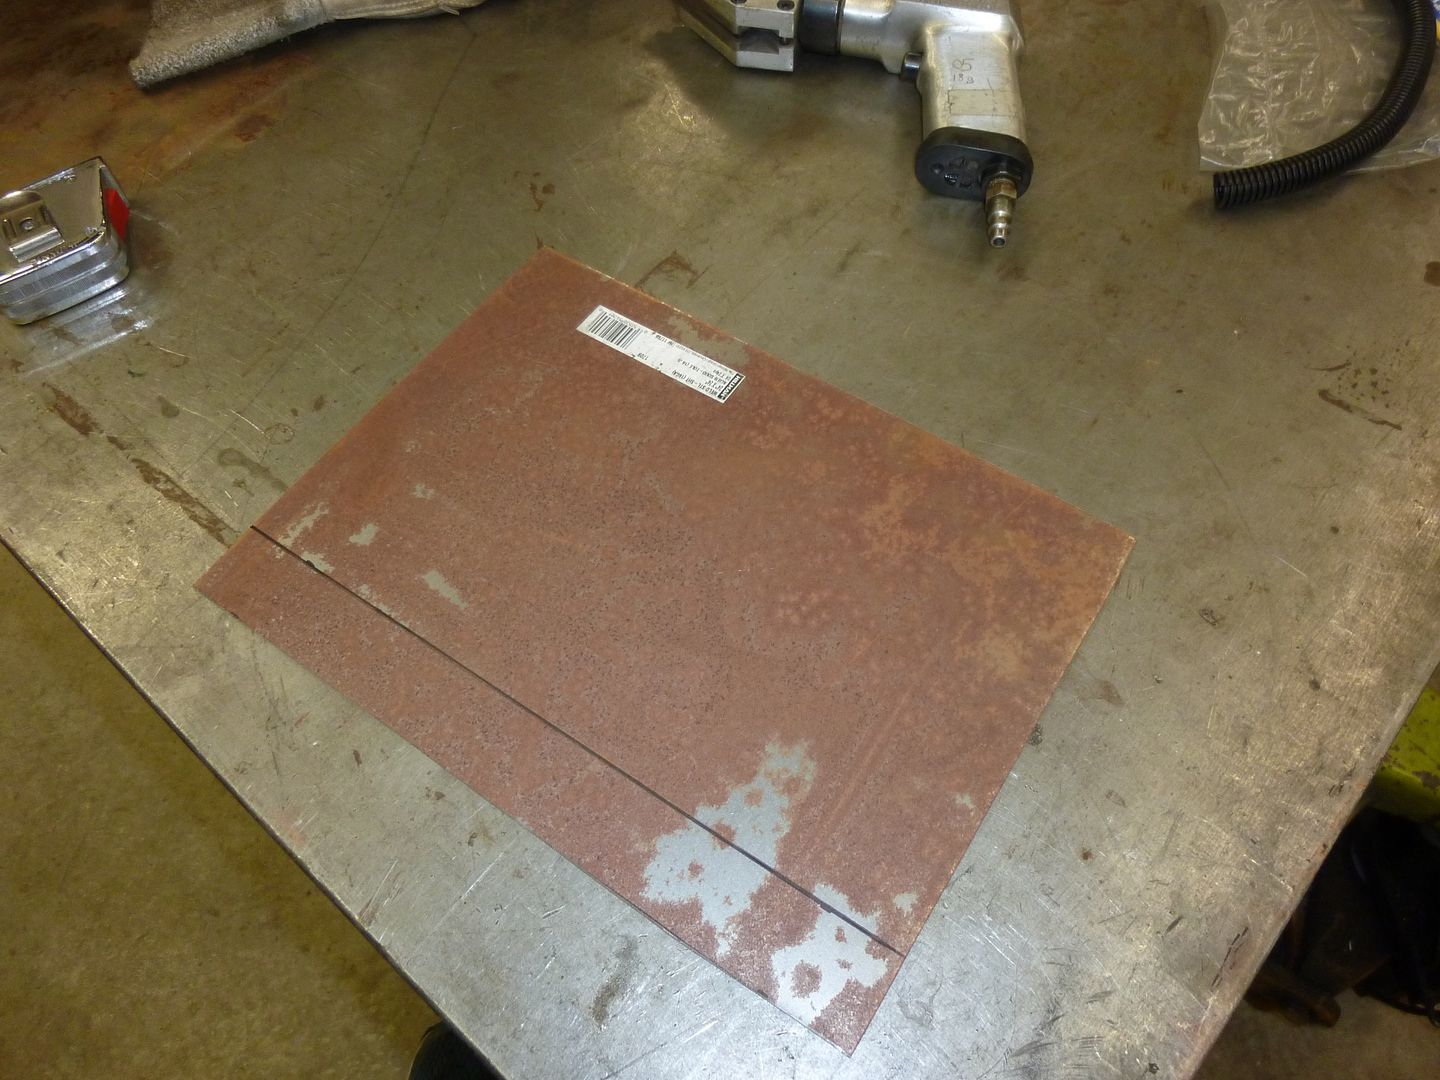
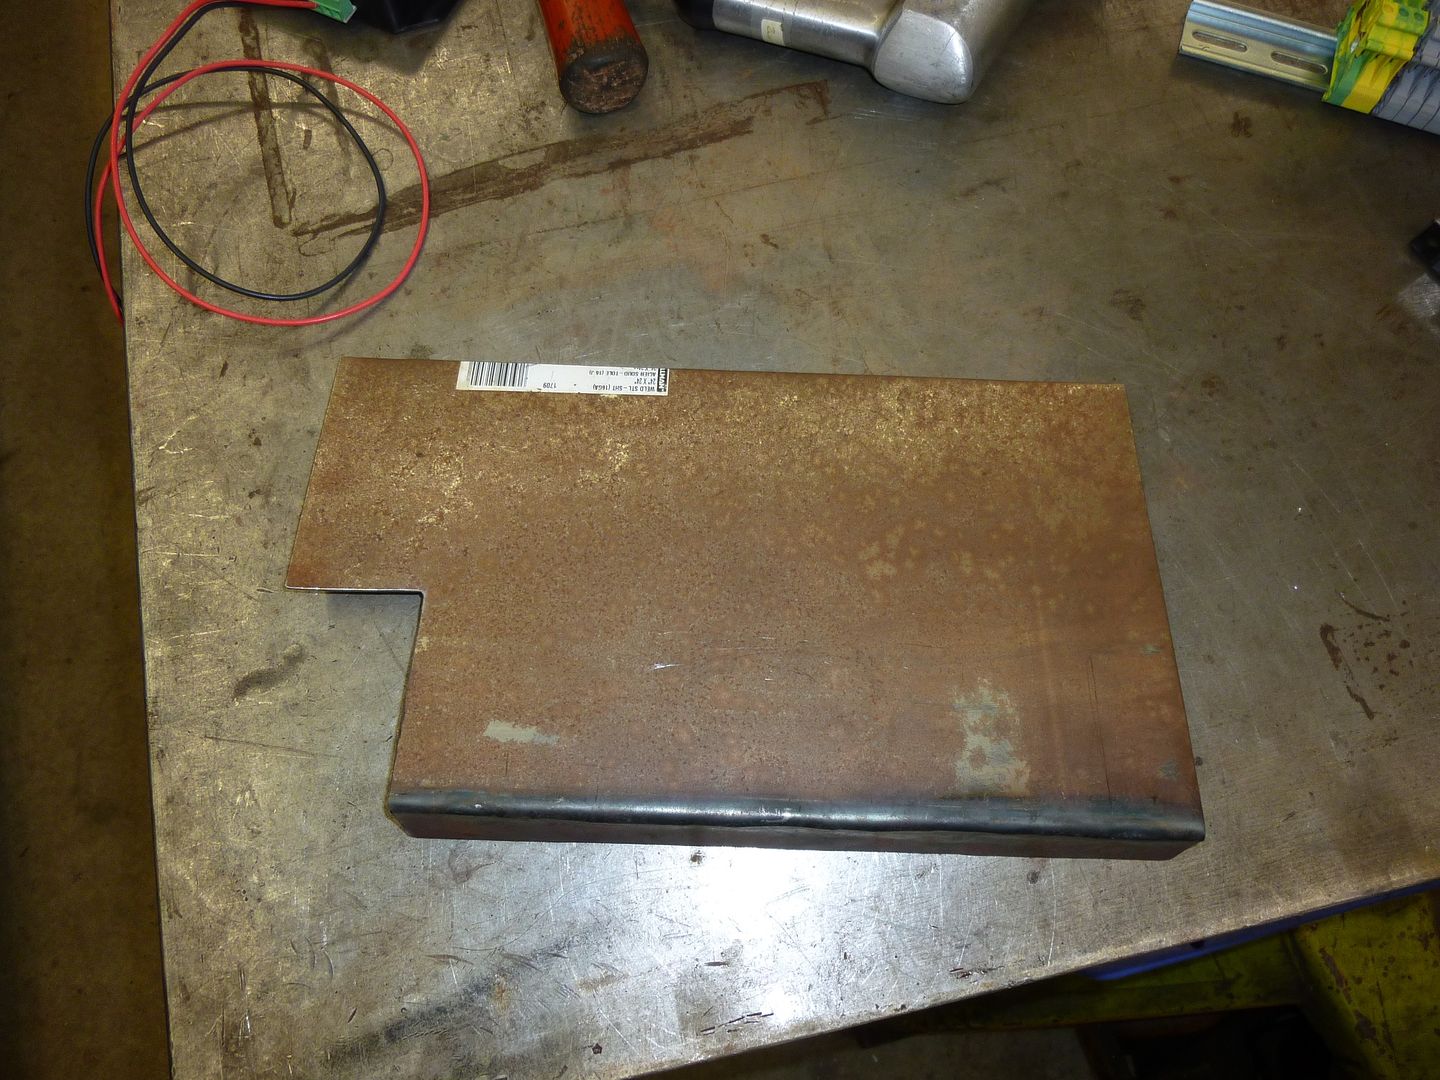
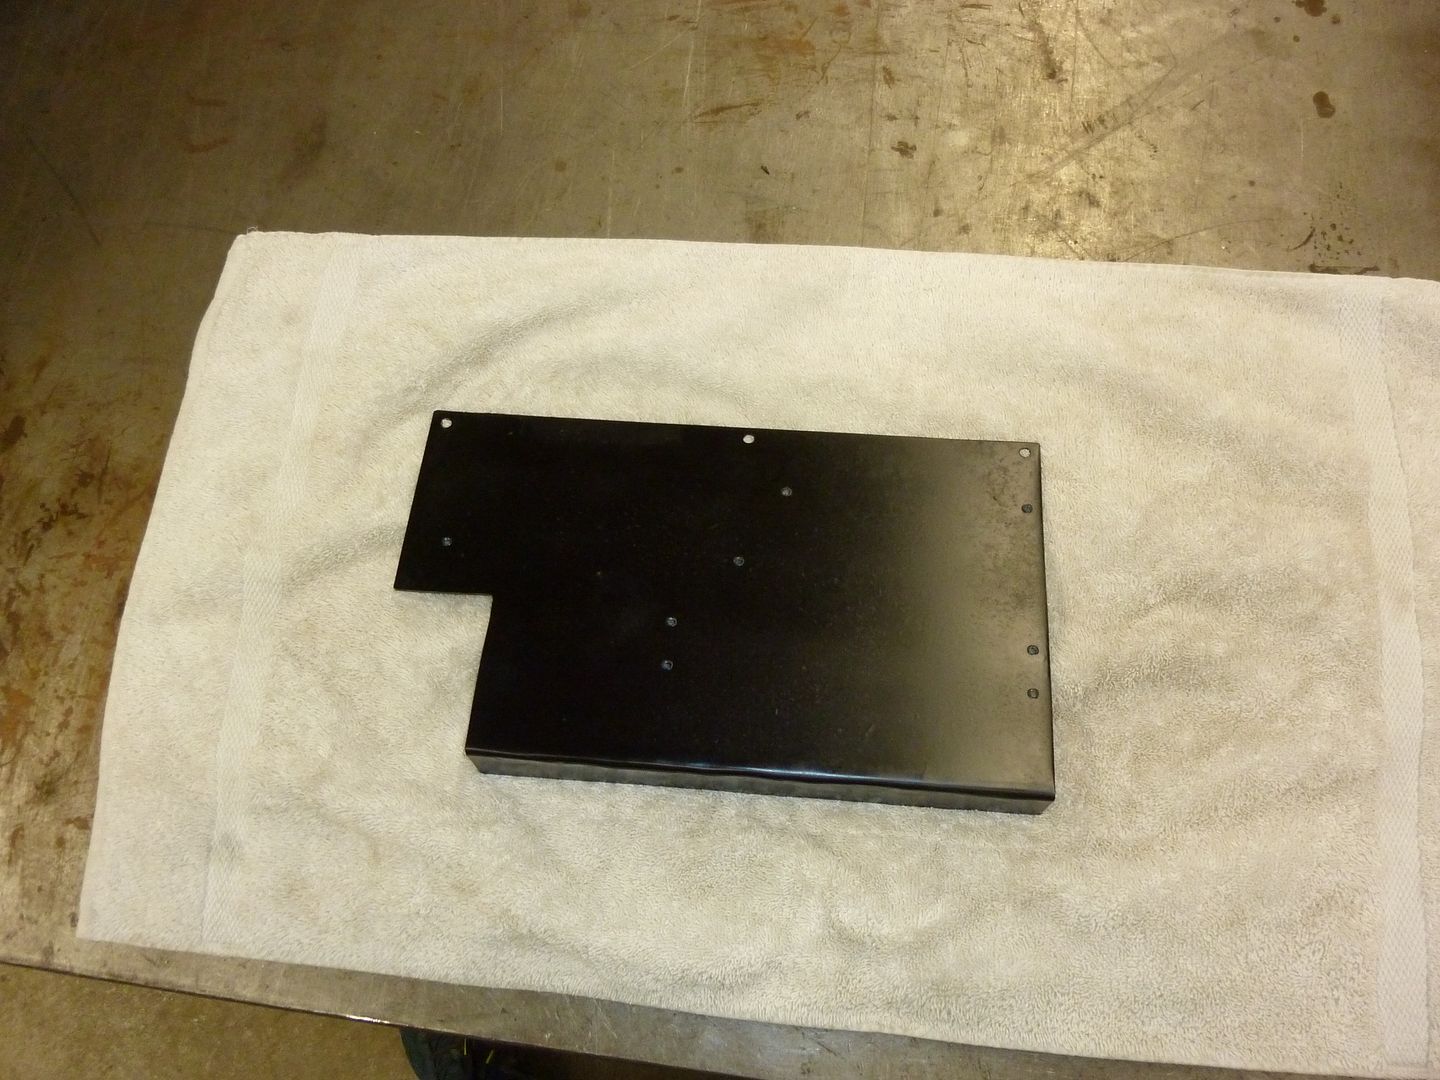
I began with sheet metal and cut and formed to size:
 '
'
 '
'
 '
'
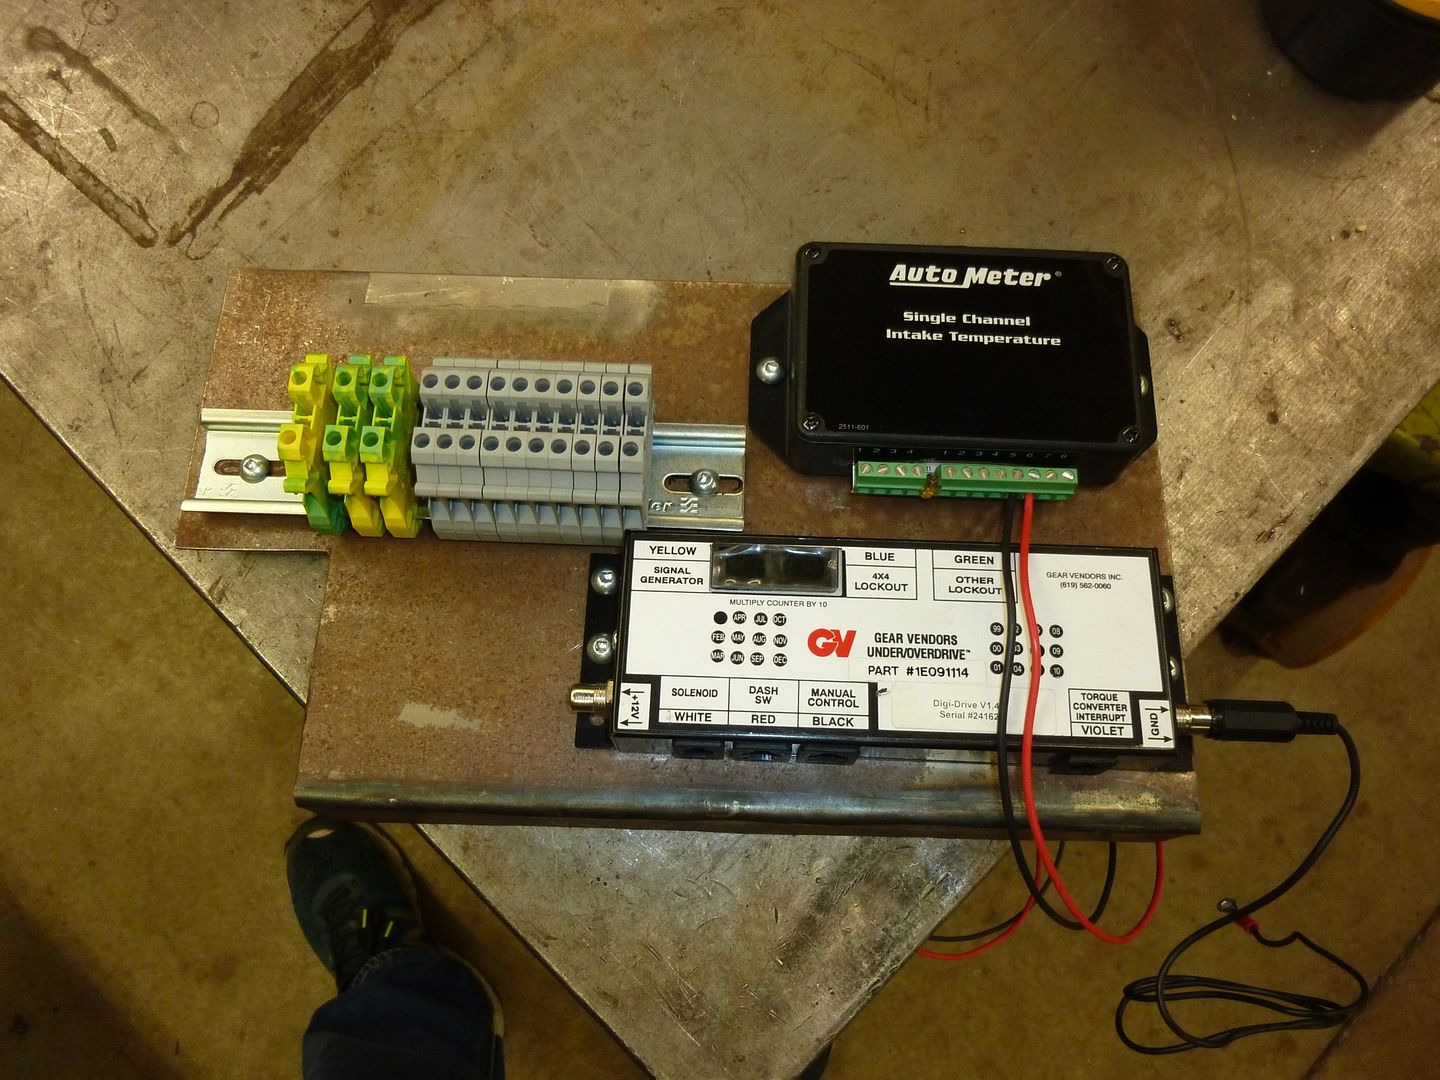
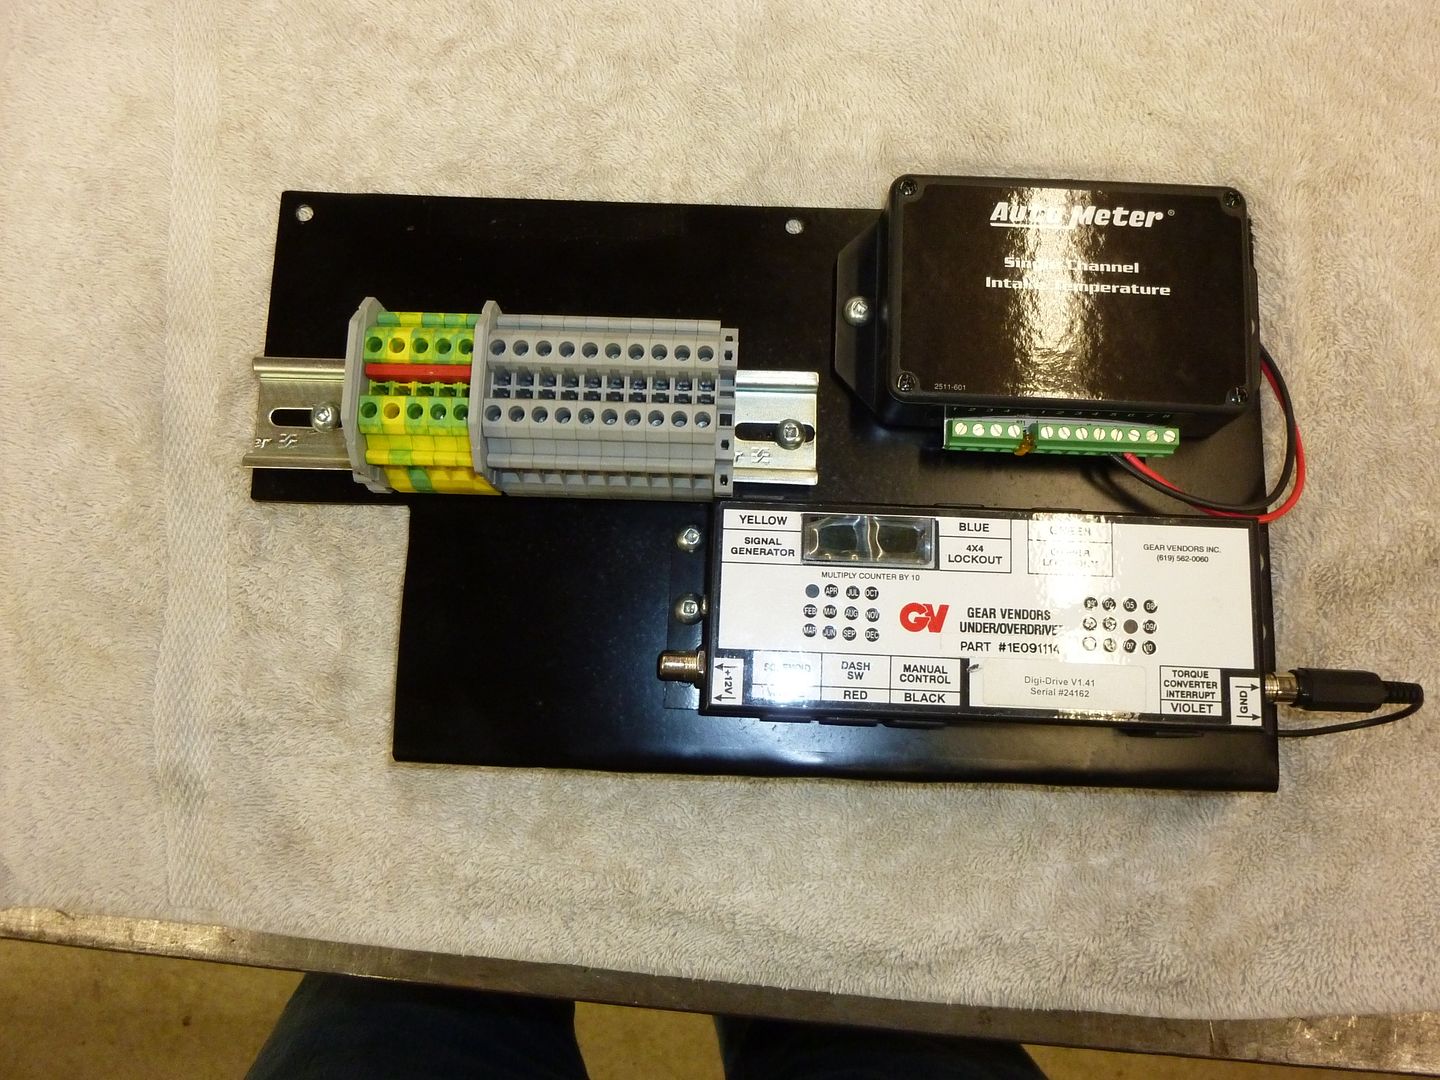
Quick test fit of the components allows me to drill all holes before paint:
 '
'
 '
'
Component install now that the panel is back from paint:
 '
'
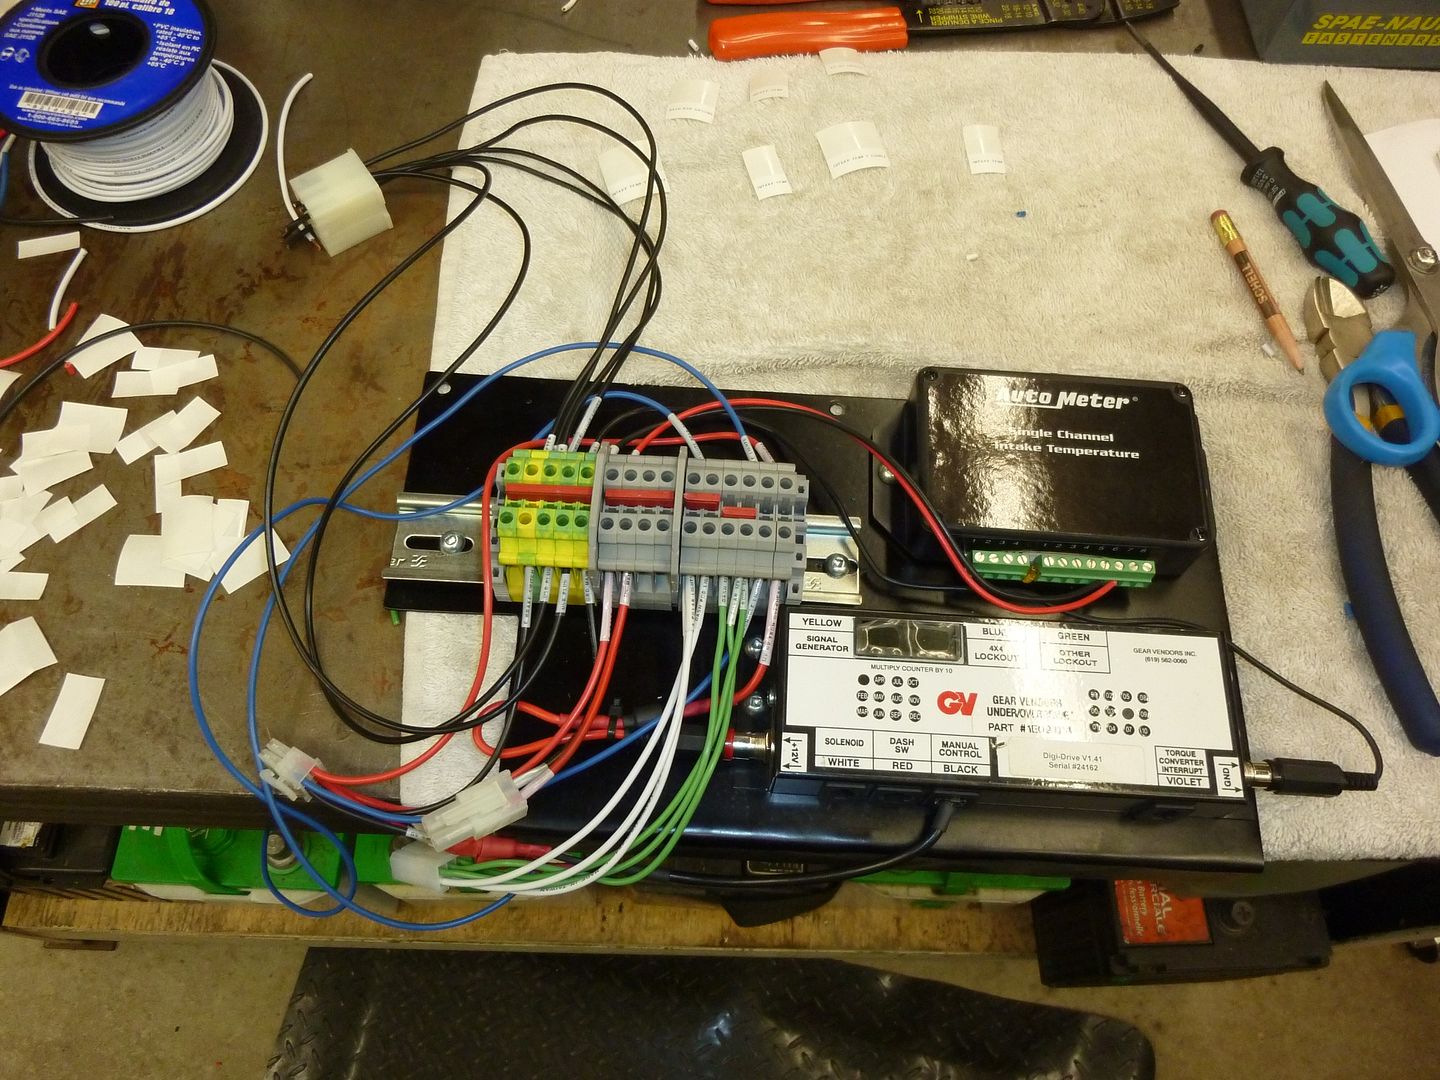
And the wiring begins. All wiring now must match pin location and wire color to what was just run in the truck so the wire gauge, color, and signal will all match when connected to the cab harness.
 '
'
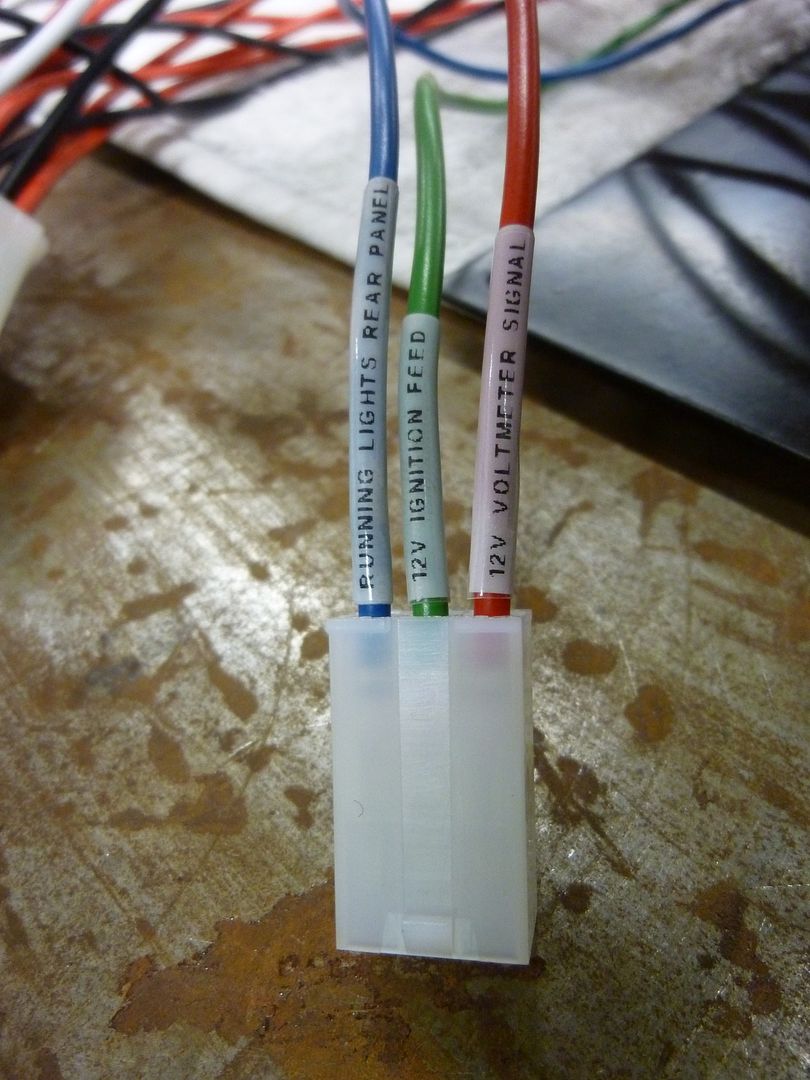
Labeling helps a lot!
 '
'
 '
'
 '
'
 '
'
 '
'
And then the last part. Before installing into the console, every wire is plugged in to make sure the connector not only fits properly, but I then check every wire and label one last time. Don’t need any cross circuit issues once installed in a hard to reach place.
 '
'
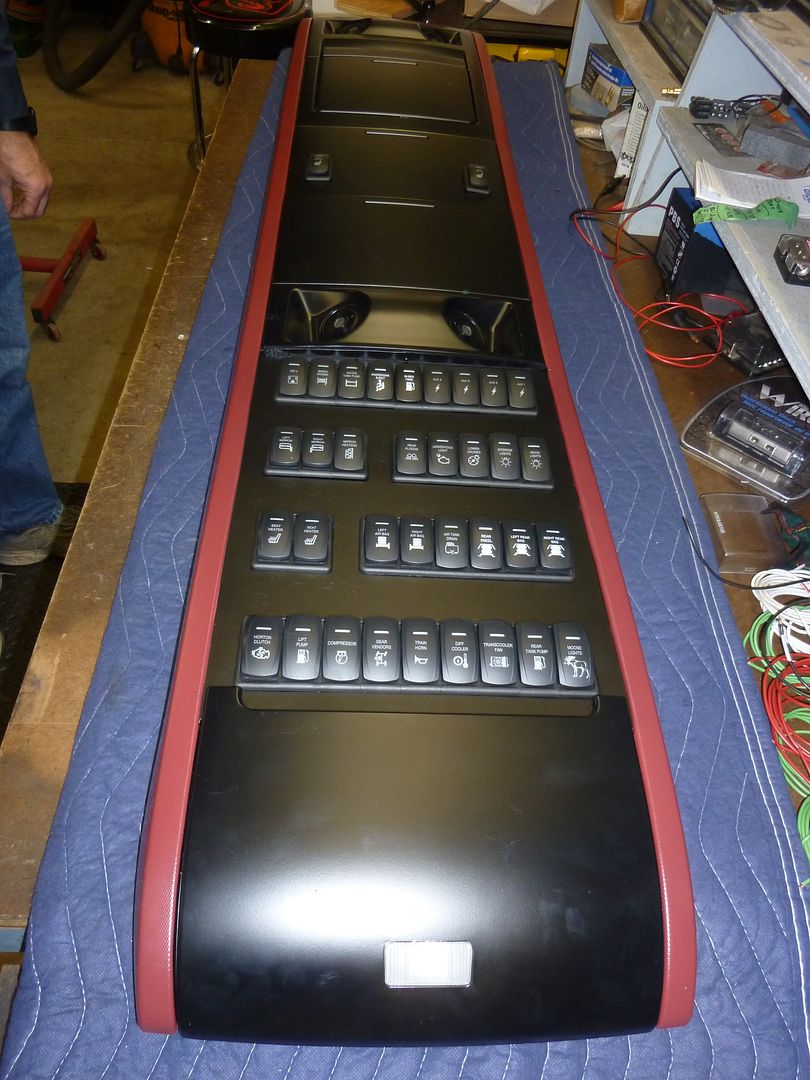
Now that much of the back panel was done by this time, dad had to take his nemesis project (the overhead console) and finish it. Must remember, between starting this panel and now finishing it, a few years have gone by. And as he found out, his notes were not that great from the point in time he walked away from the project with a health issue. As such, it took a few days to regain memories of what all was to happen. But he got there and the console continued on!
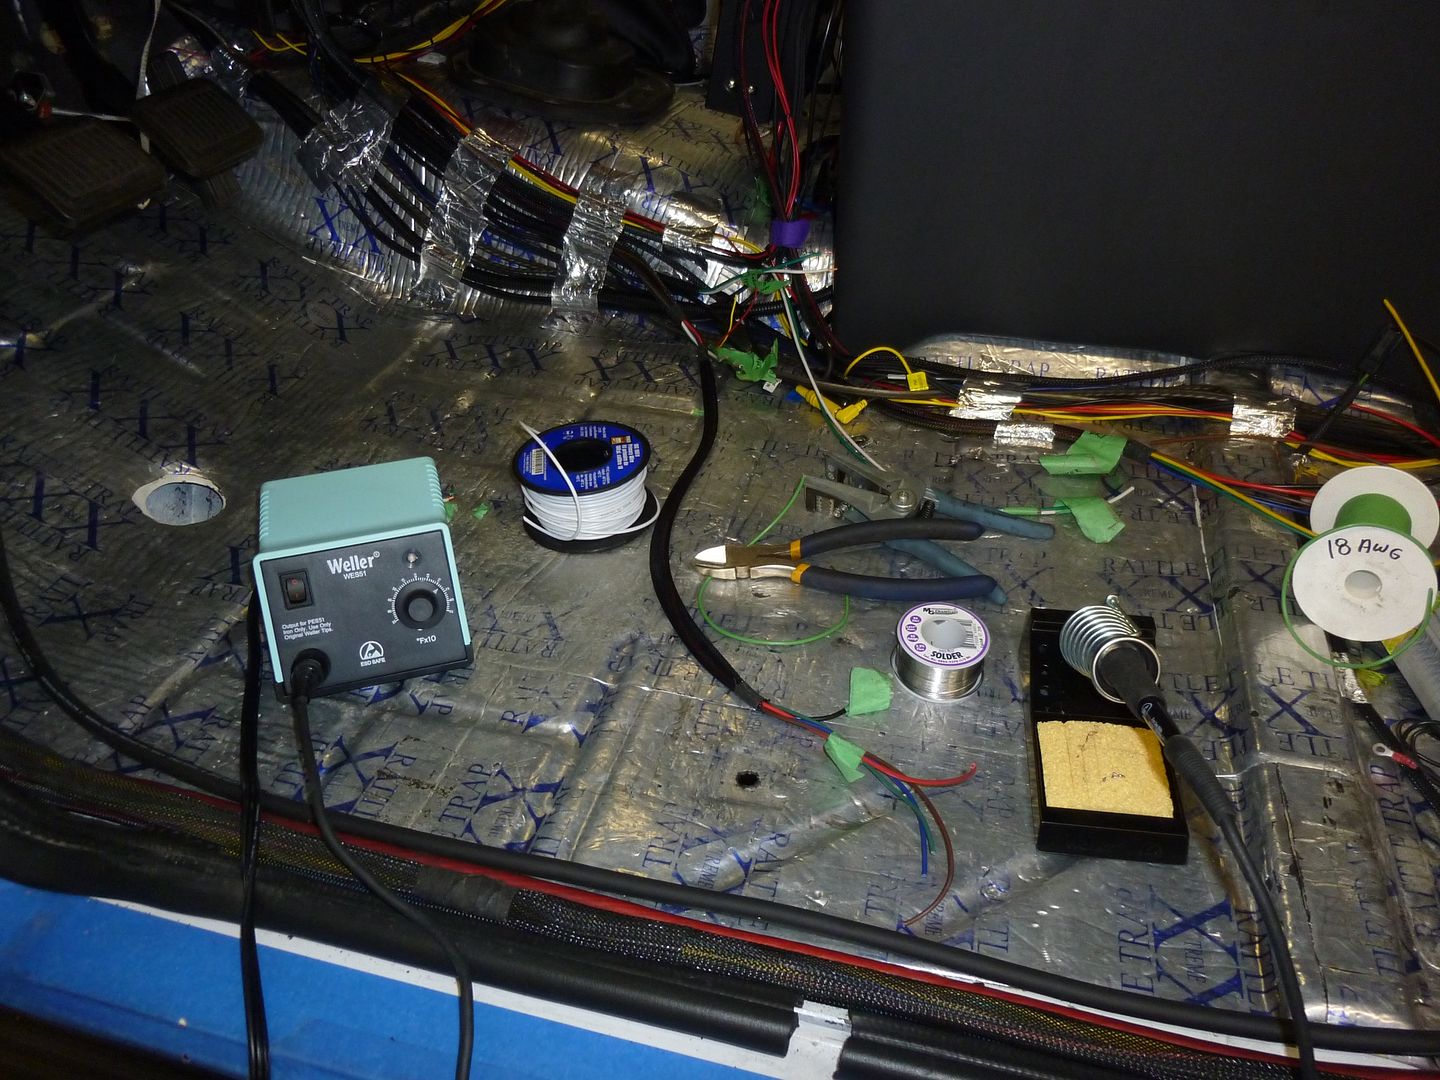
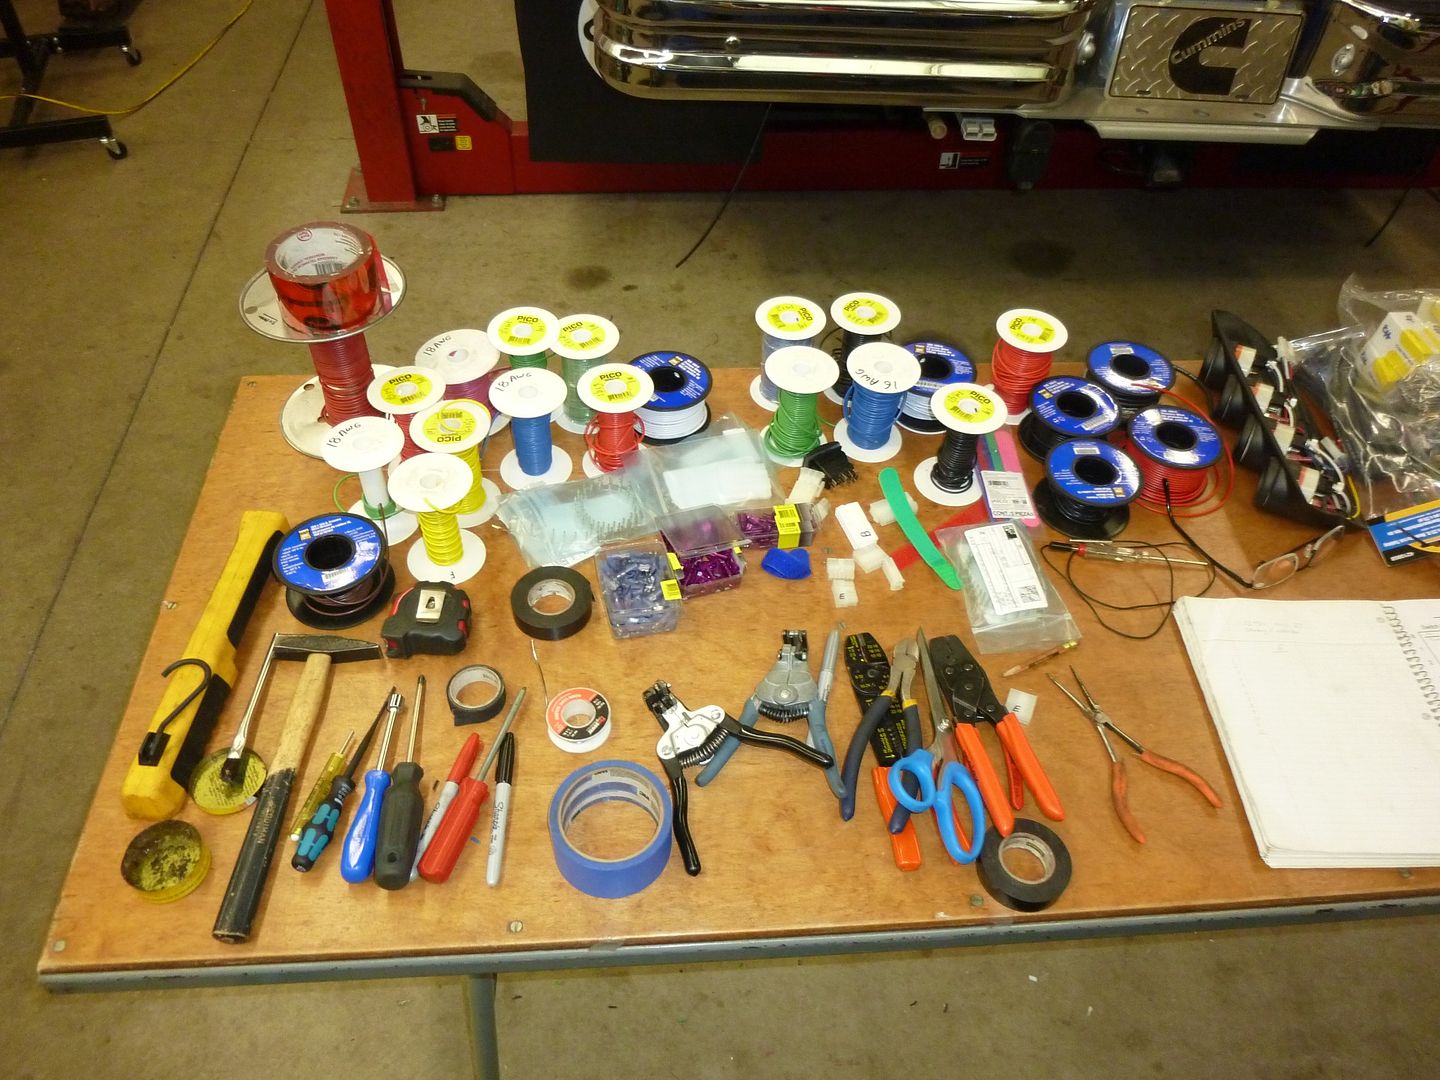
His wiring station lol
 '
'
 '
'
Wiring all coming together in his jacket
 '
'
 '
'
 '
'
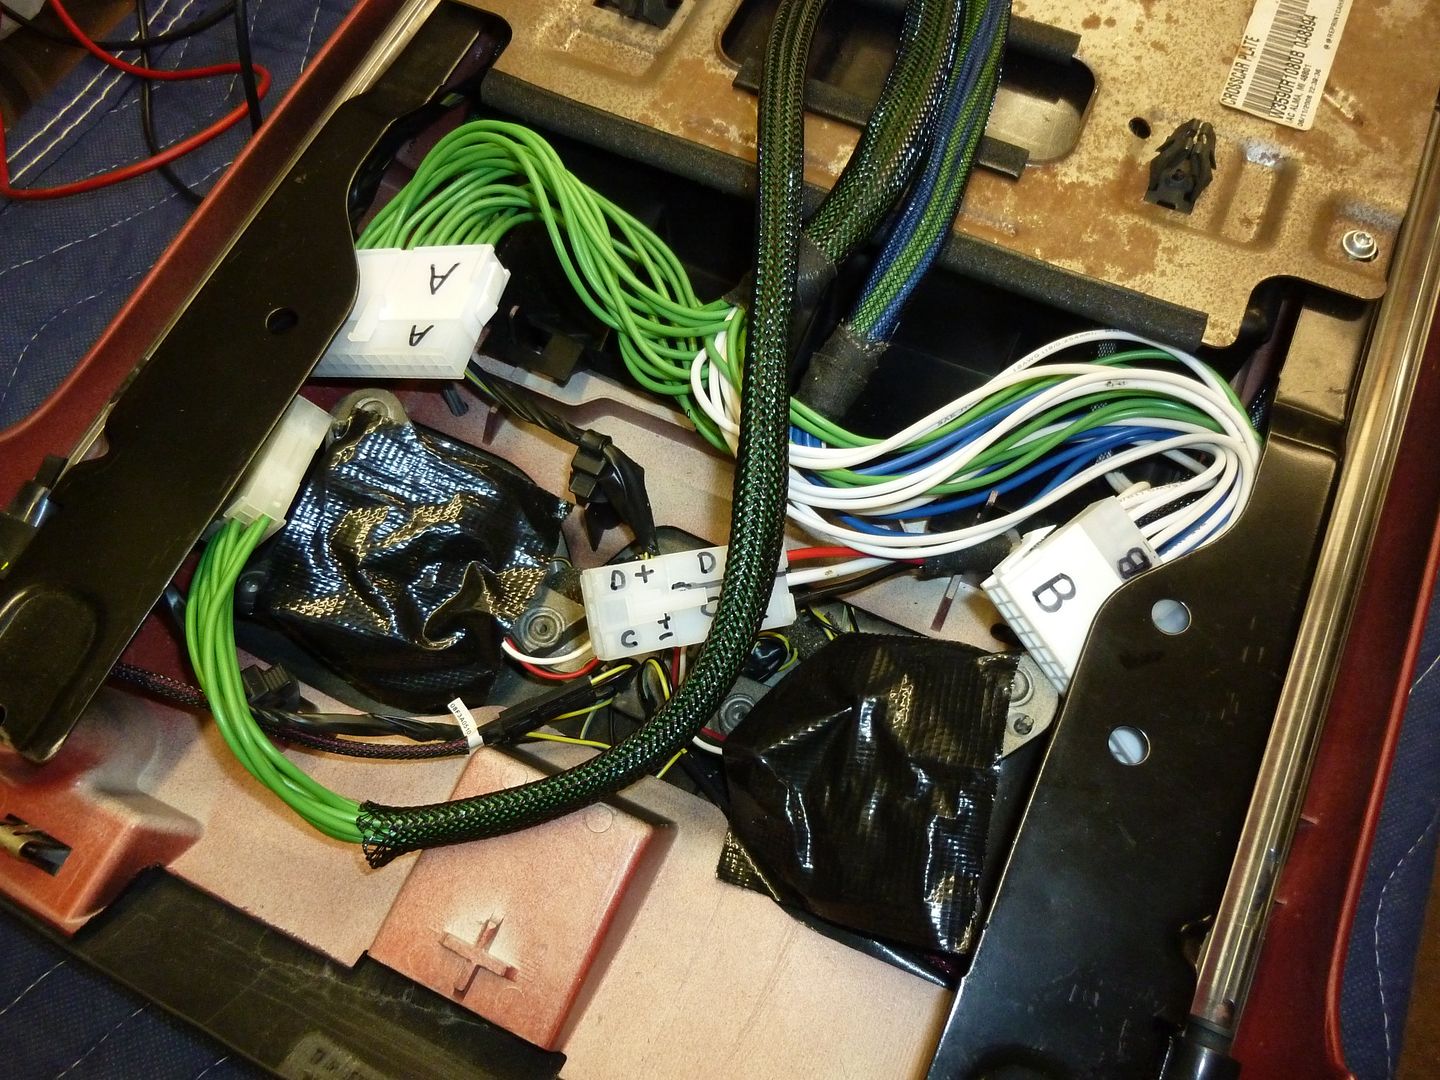
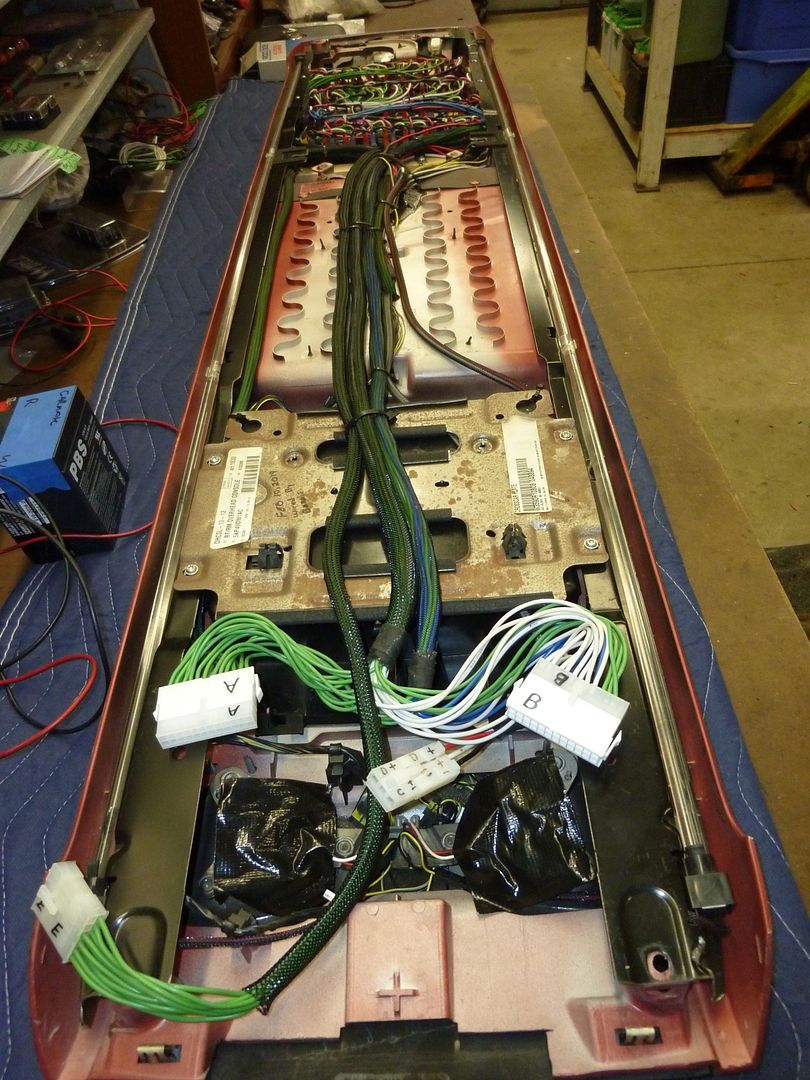
Connectors were installed onto the end so if the console had to be removed for some reason, it wasn’t hard wired to the truck:
 '
'
 '
'
Lighting test was done to make sure all LEDs worked
 '
'
 '
'
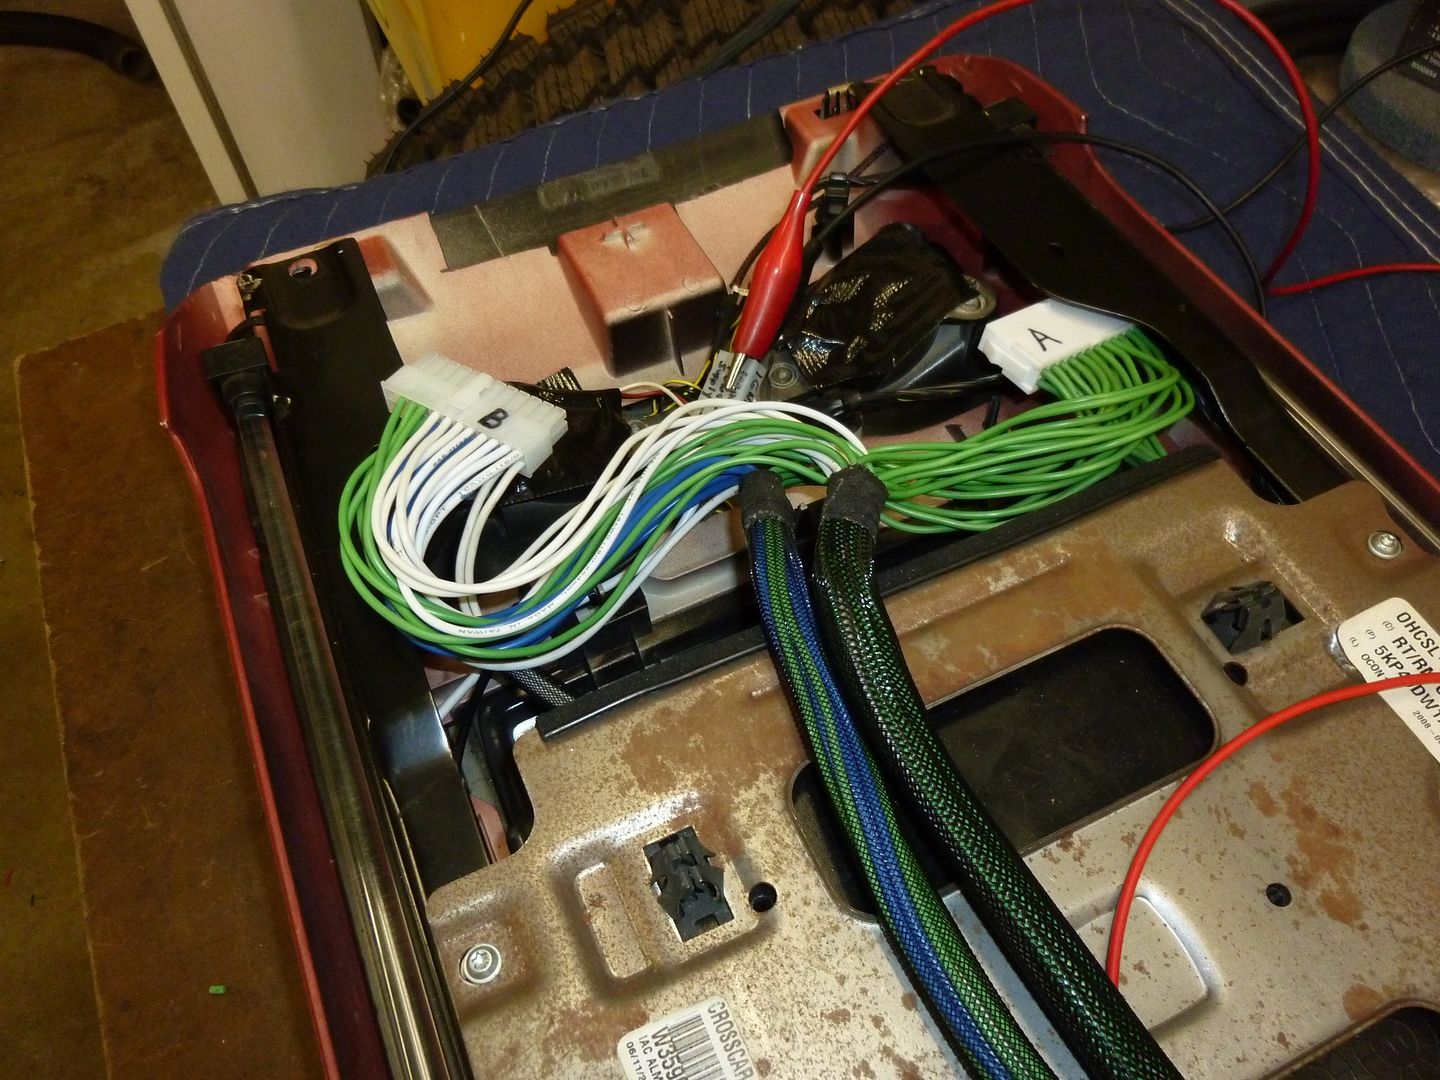
On the trucks end, that multi conductor feed, was then wired with a matching connector again ensuring every wire leads to the correct circuit:
 '
'