
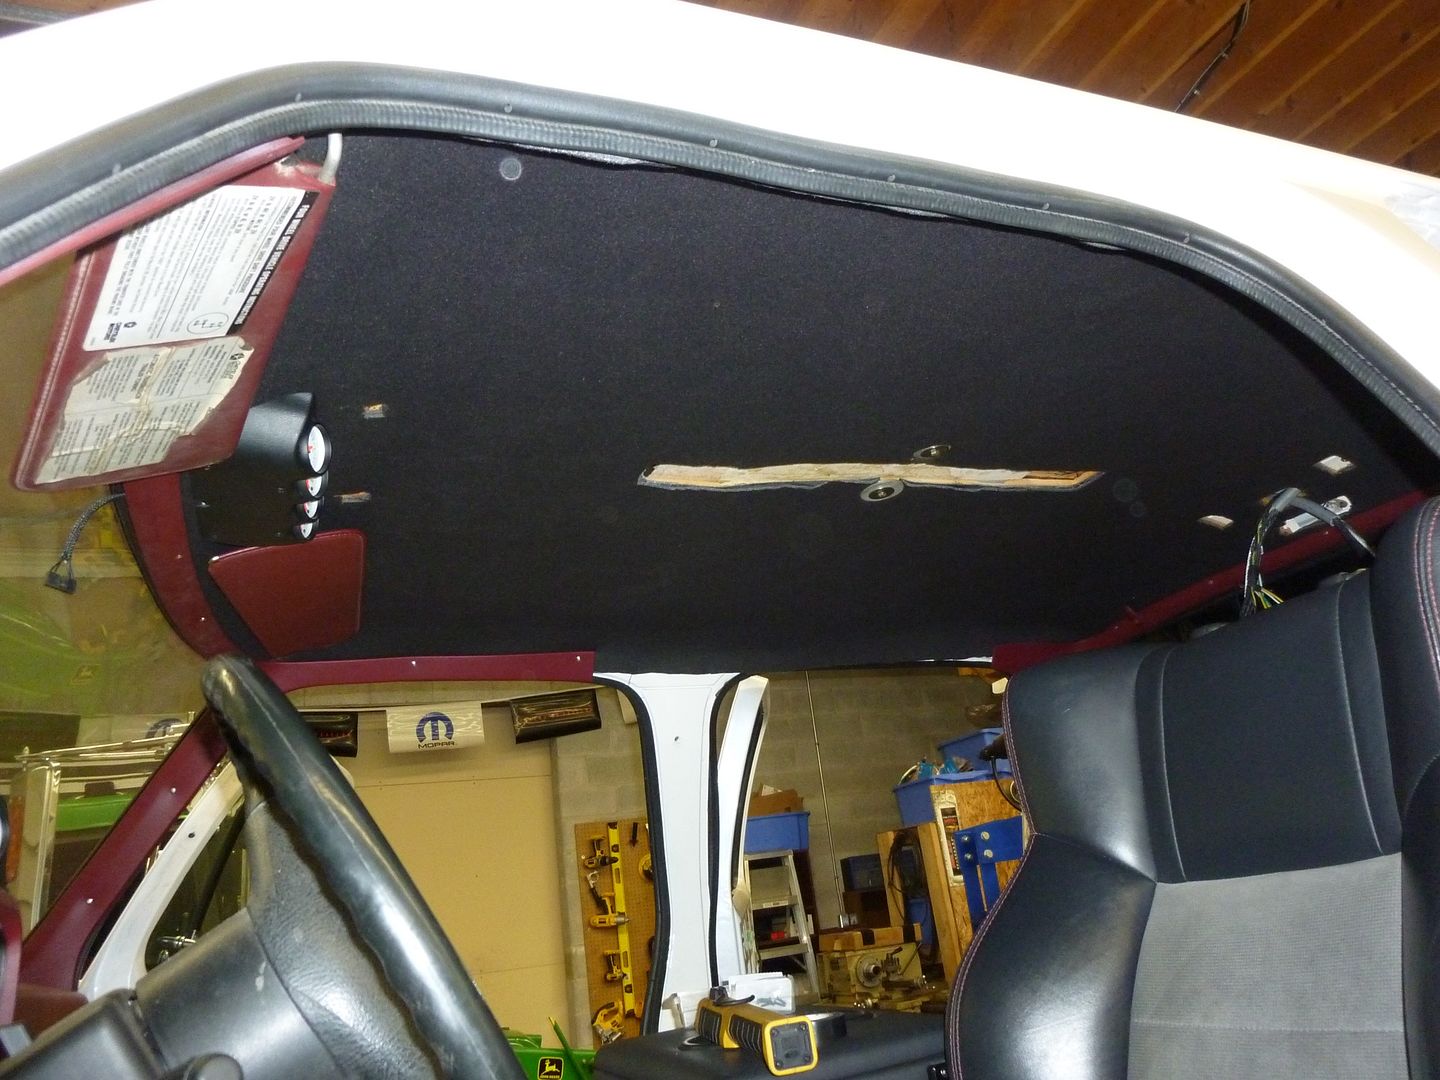
While dad finished the console, I got the roof ready for install. As the roof is a double panel, it makes it easy to screw something into it. But, being thin sheetmetal, it doesn’t have a lot of strength for threads. Especially when it needs to hold a 60 lb console up! Yes that is how heavy that thing was with all the wiring!
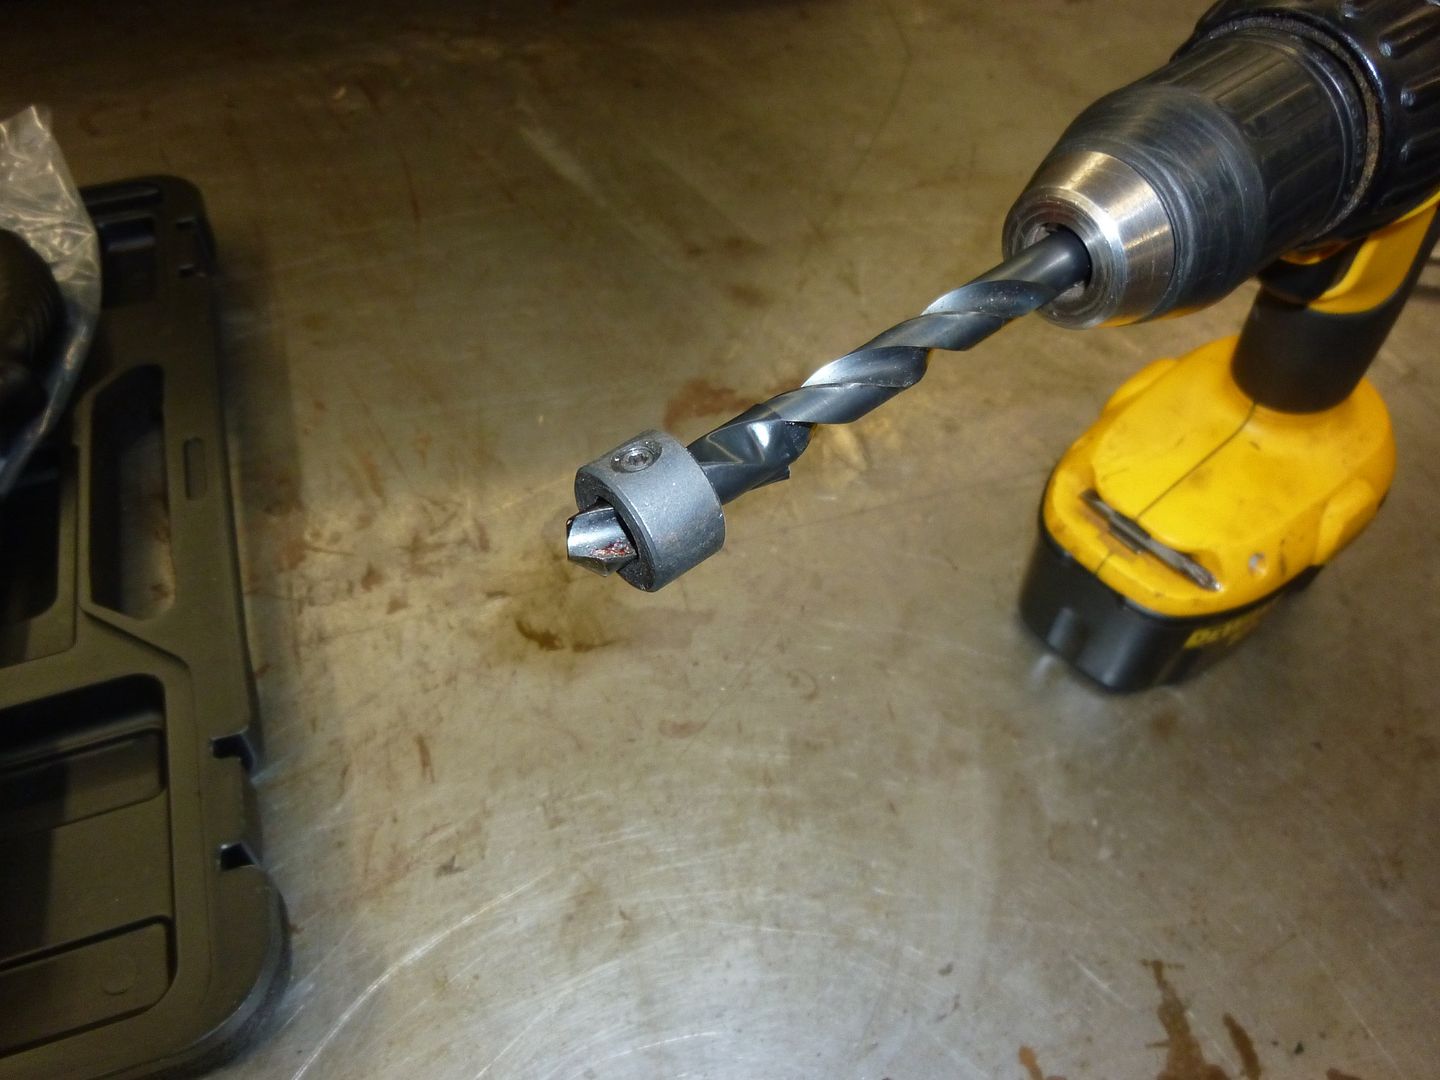
I began by drilling the roof panel with a clearance hole. To ensure I didn’t slip and make a hole all the way to the outside, I used a drill stop to just allow enough room to cut through. Yes, I still crapped my pants with every hole with fear of going through! Lol
 '
'
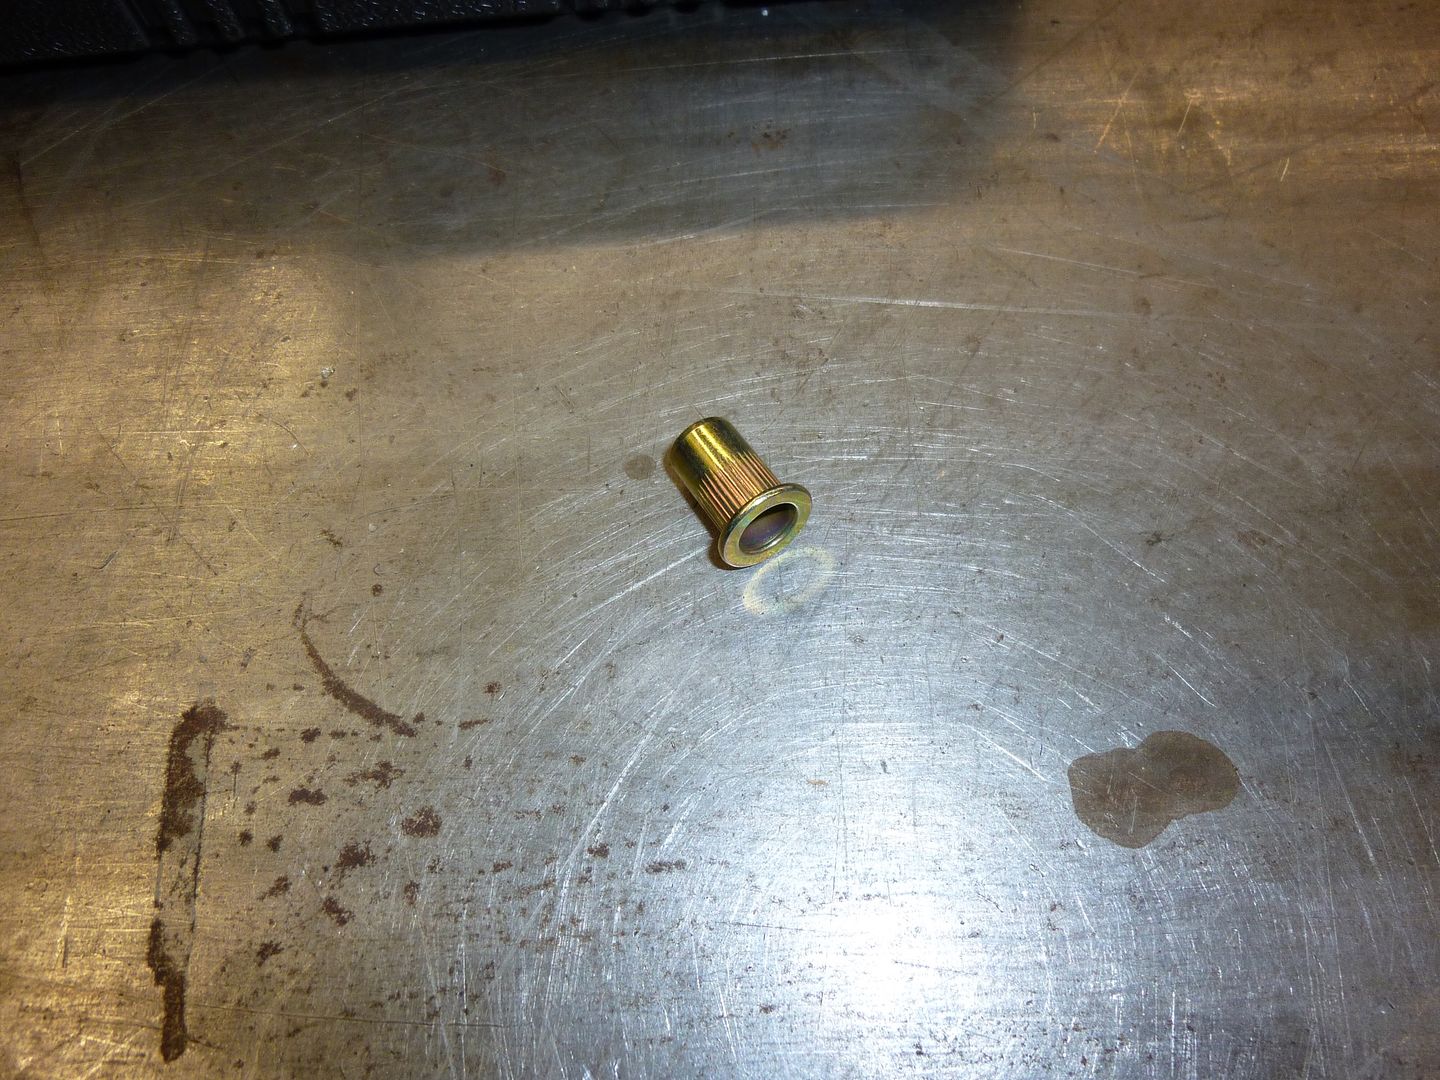
These are the crimp nuts that will go into the roof. This design allows for good solid support and thread strength:
 '
'
So first the hole is drilled, then you insert the crimp nut onto the crimping tool, stuff it into the hole, and crimp it into place. This allows it to grip the sheet metal and not move.
 '
'
 '
'
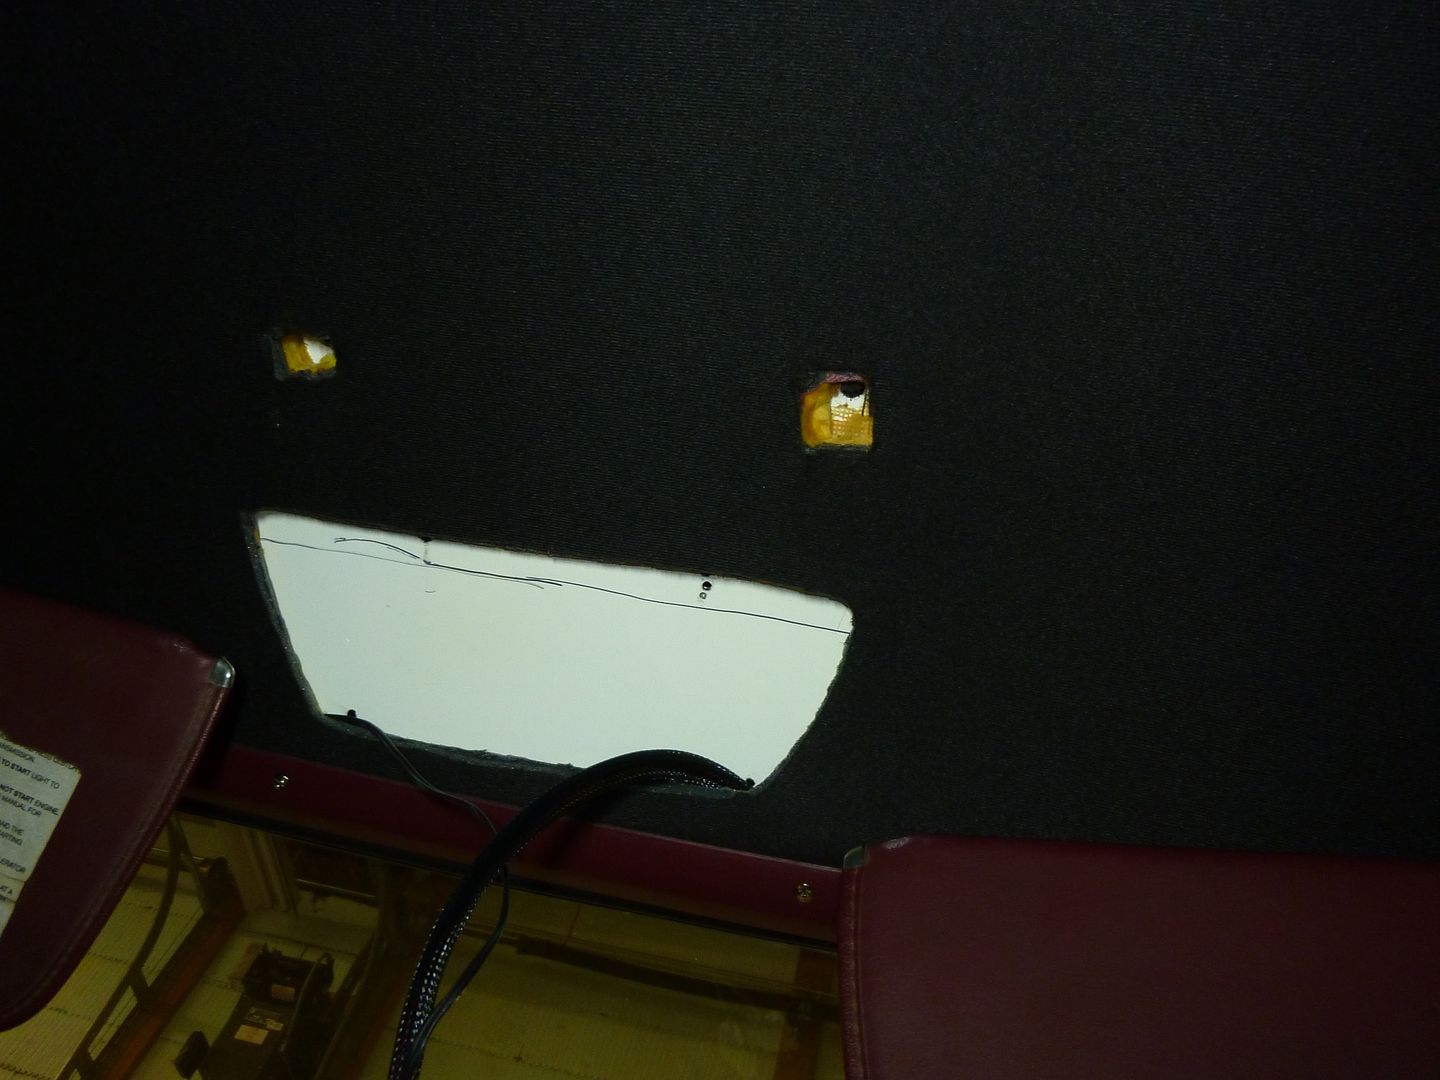
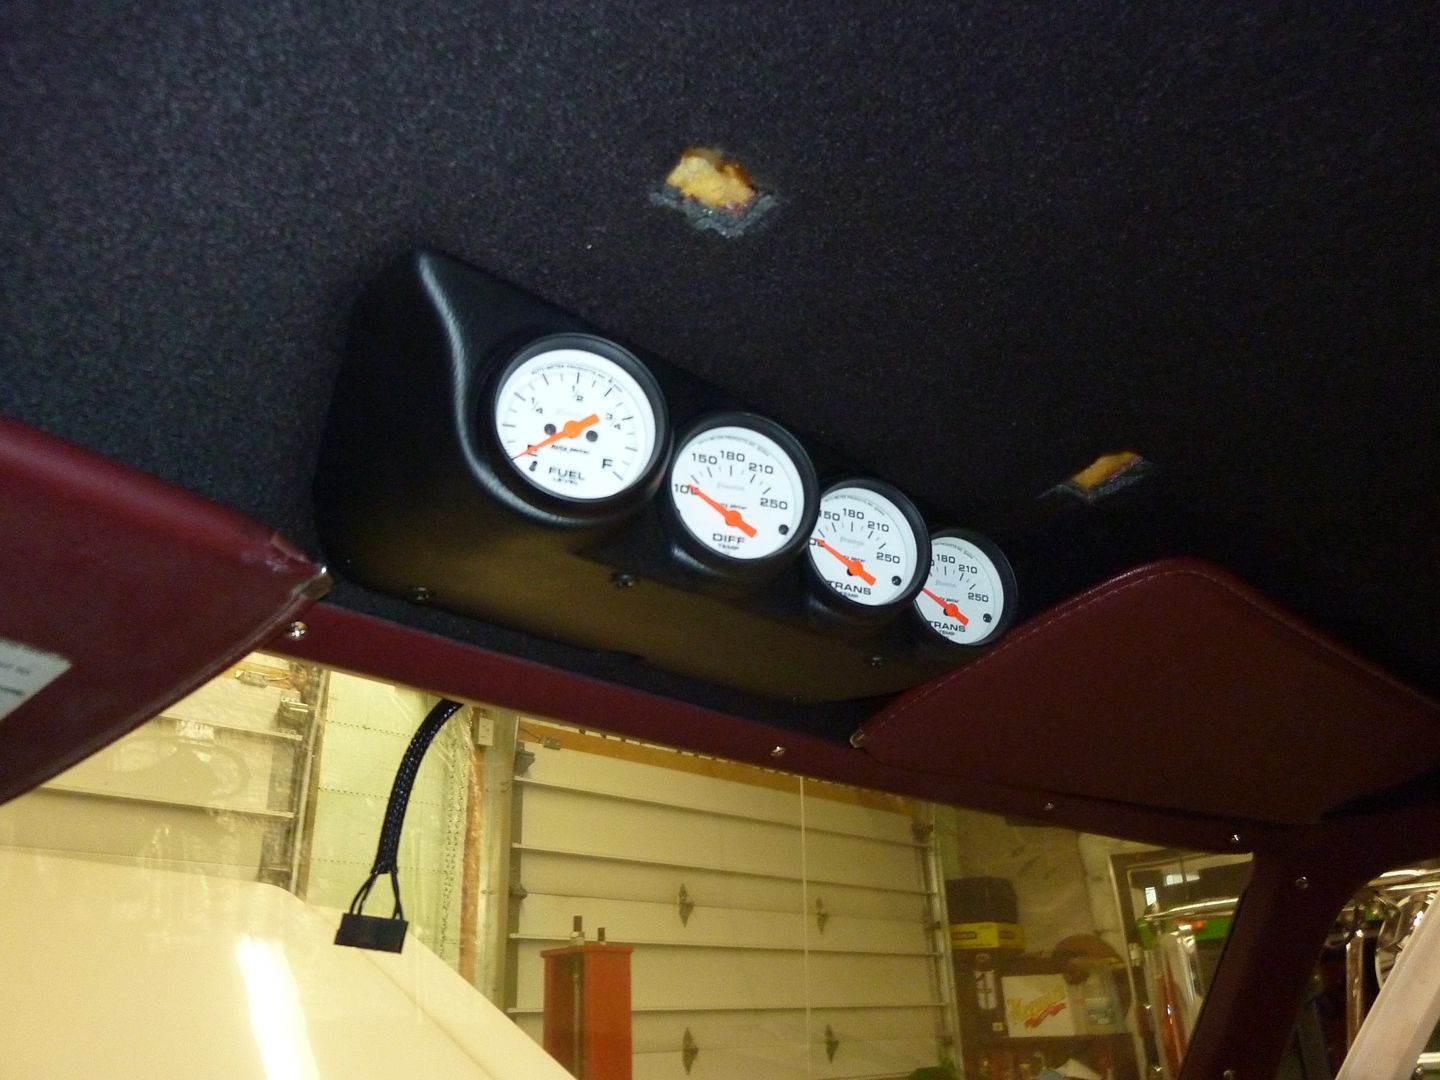
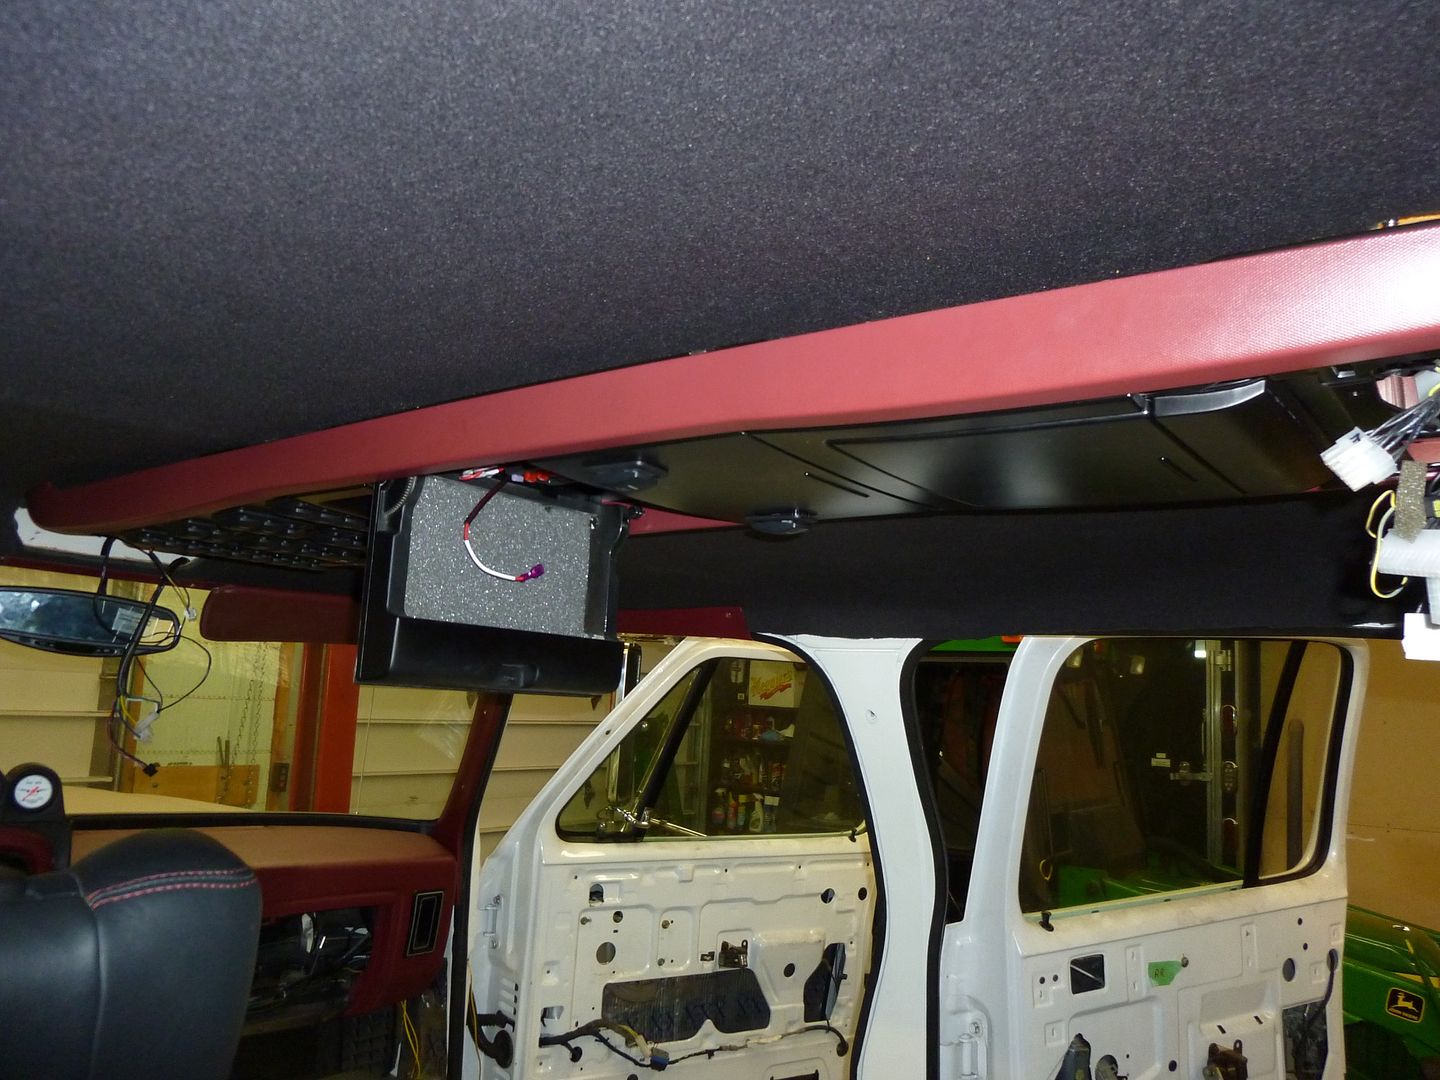
Once all 4 were in, then I installed the front roof gauges:
 '
'
And then got final prep ready for the console:
 '
'
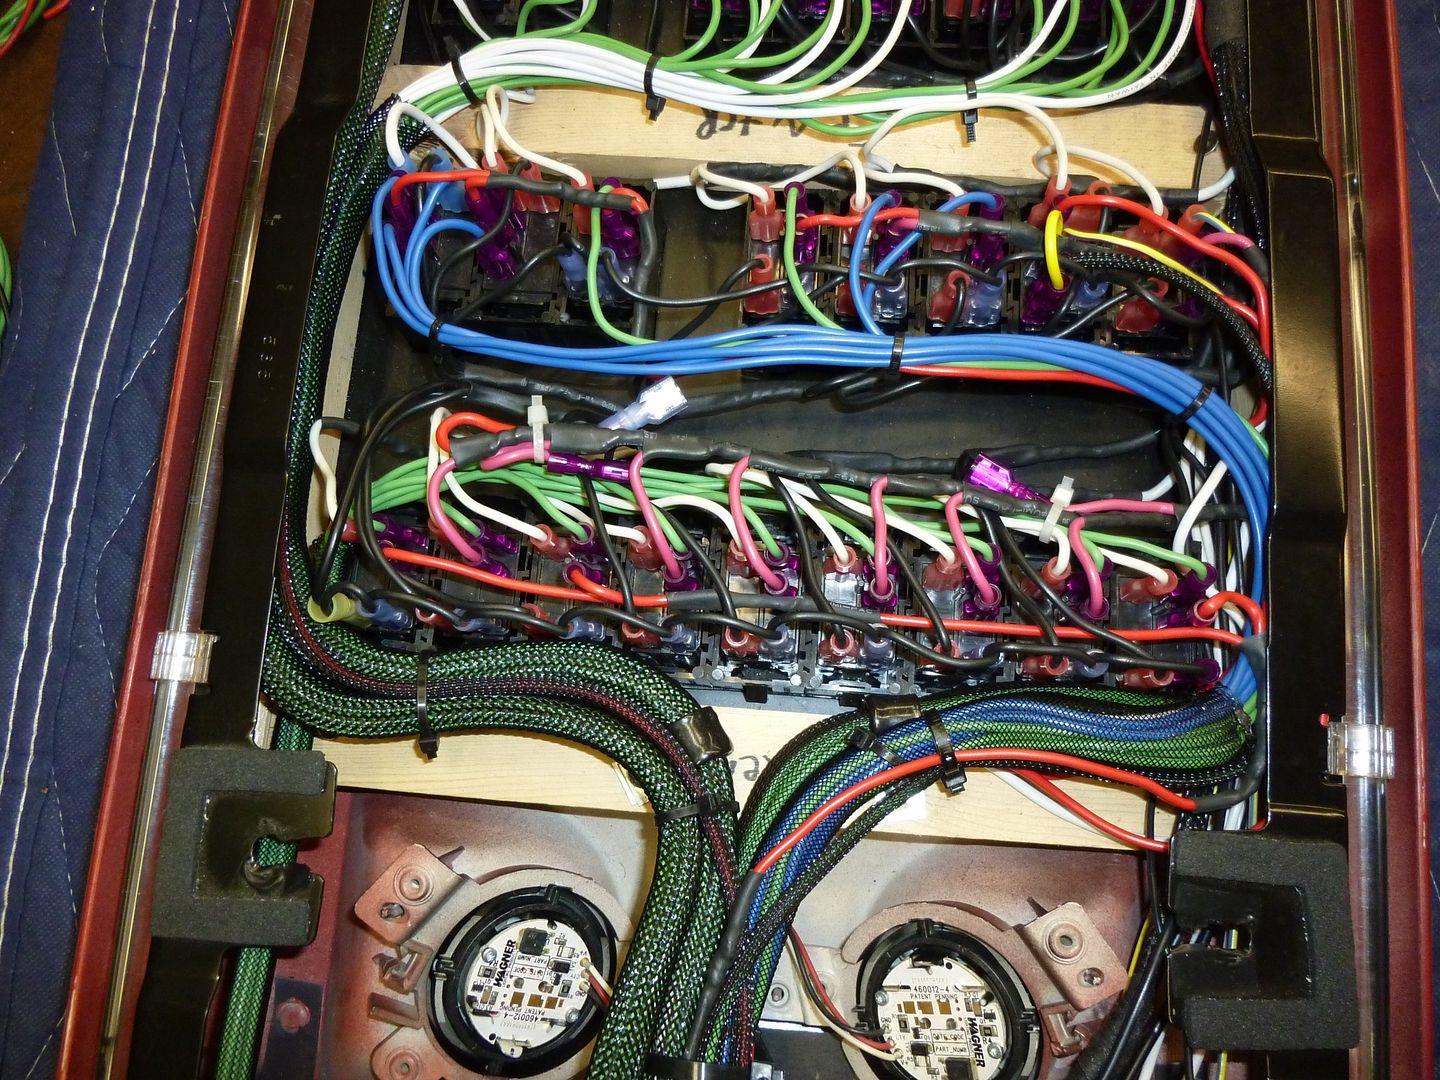
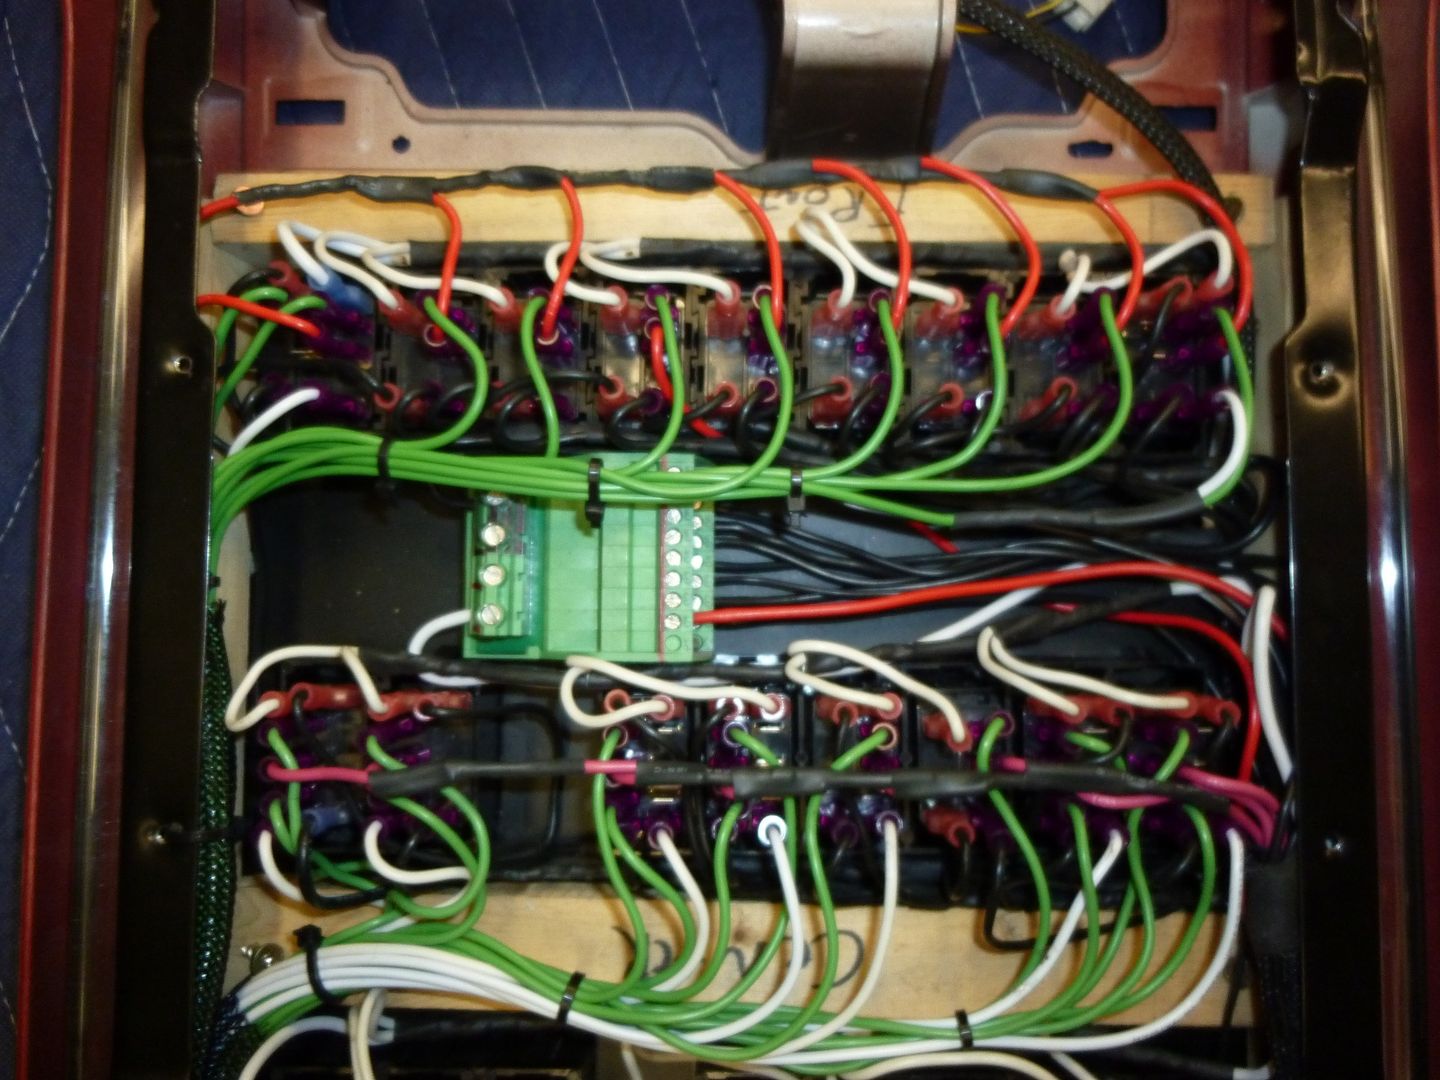
Wiring was finalized on console:
 '
'
 '
'
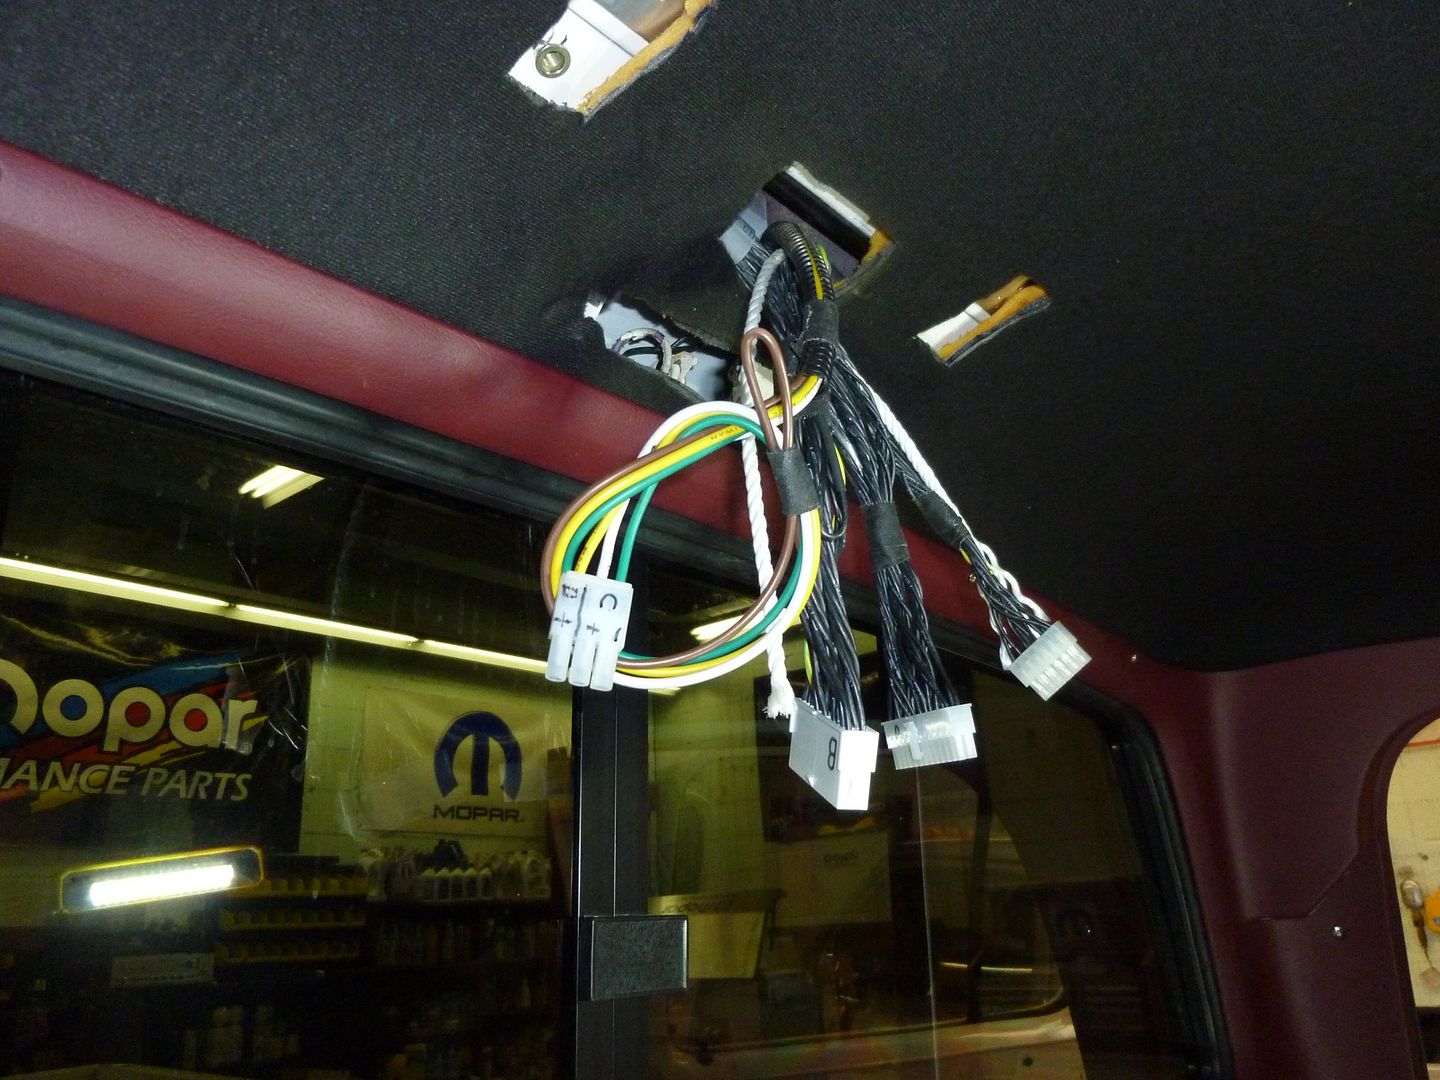
And the truck end:
 '
'
And with my buddy Andy’s help, the three of us managed to get this beast into place and mounted and all connectors docked!
 '
'
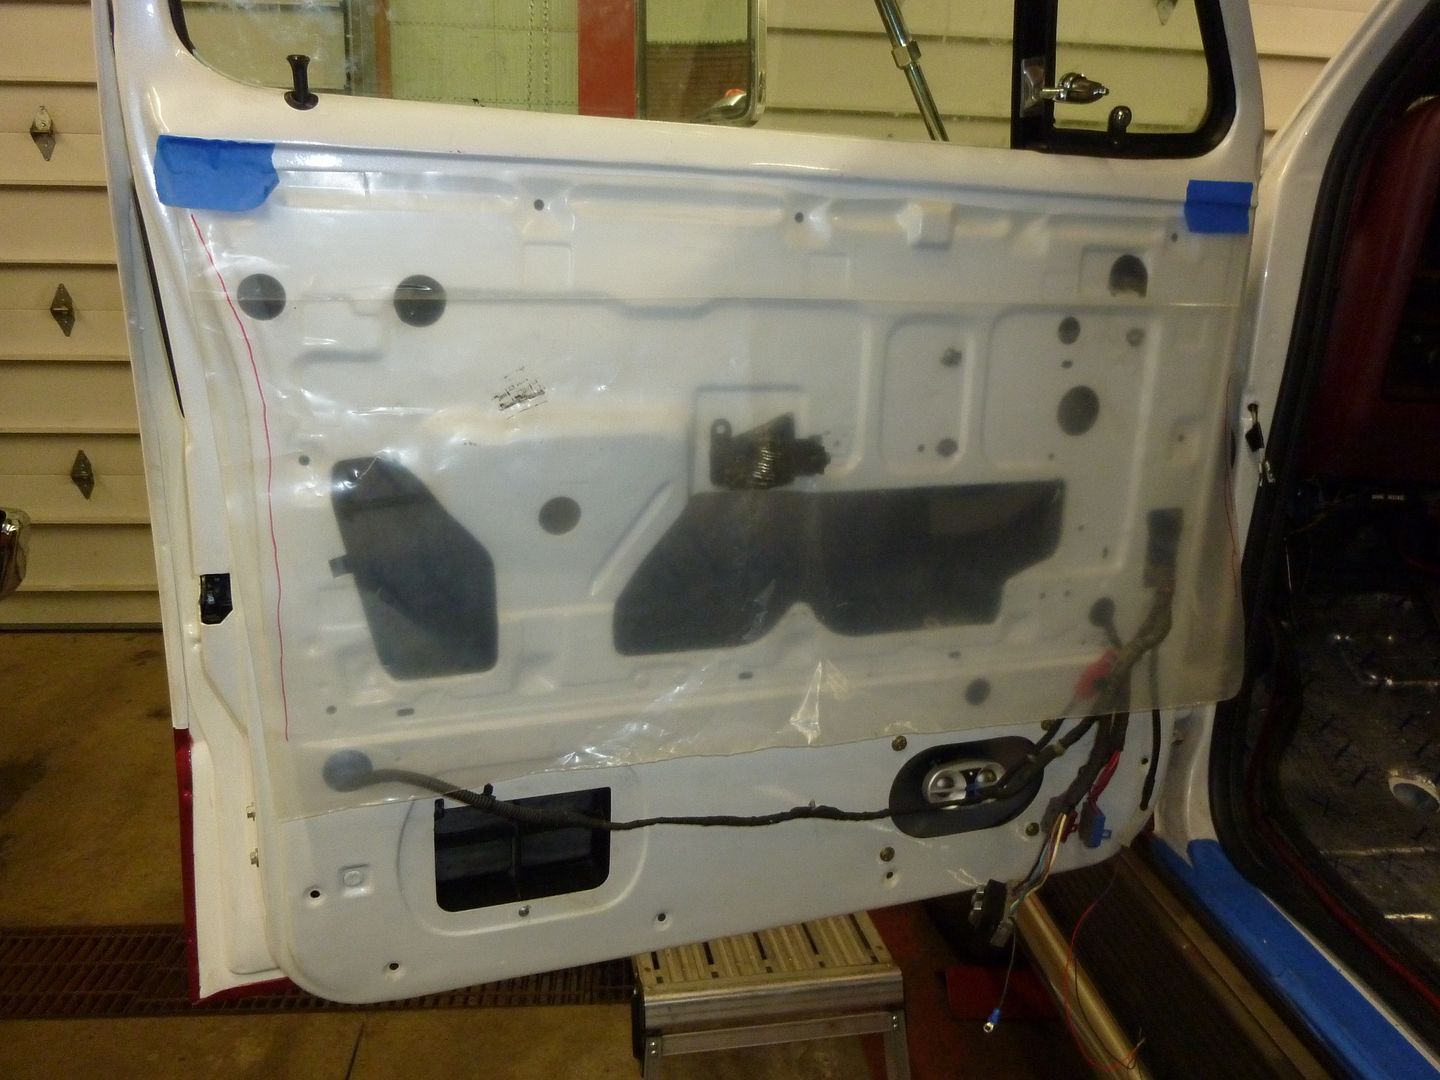
The finishing of the doors was next on the list. Andy was again over helping and tackled getting the door panels ready for install. The first task is to seal the doors. Much like the factory did, we used plastic sheeting with a slightly less annoying adhesive (we used silicone) to hold the vapor barrier on so that when driving in the heat, cold, high winds, etc; the outside air doesn’t blow in through the door handle and other door panel holes.
Step one was cut to size:
 '
'
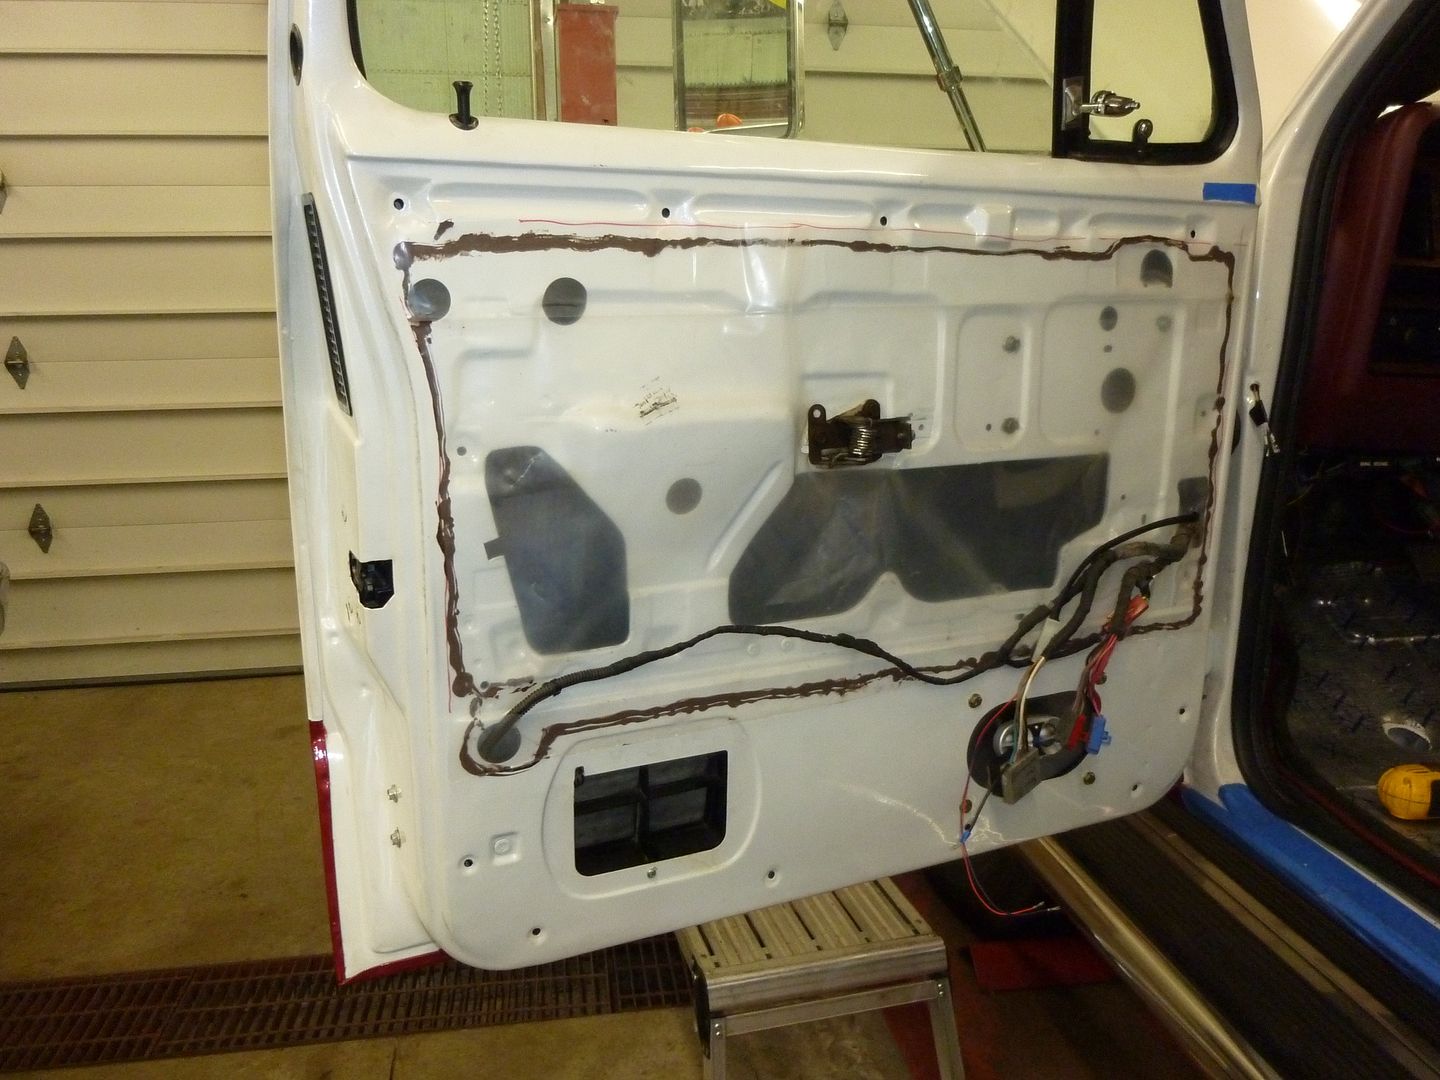
Two is stick it on:
 '
'
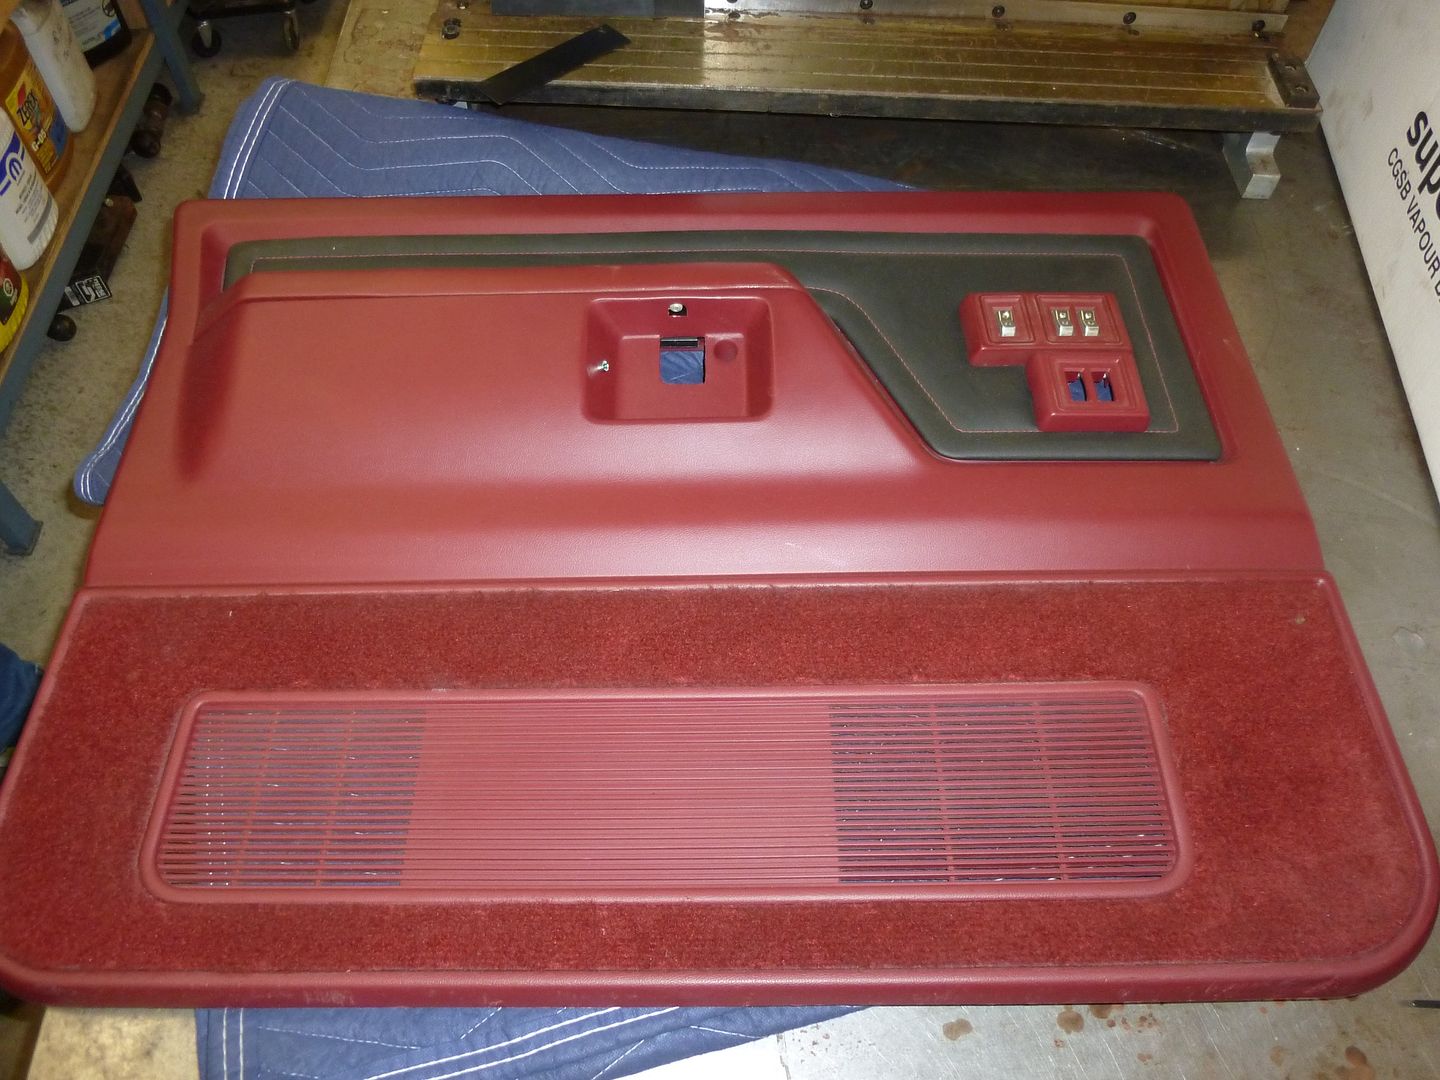
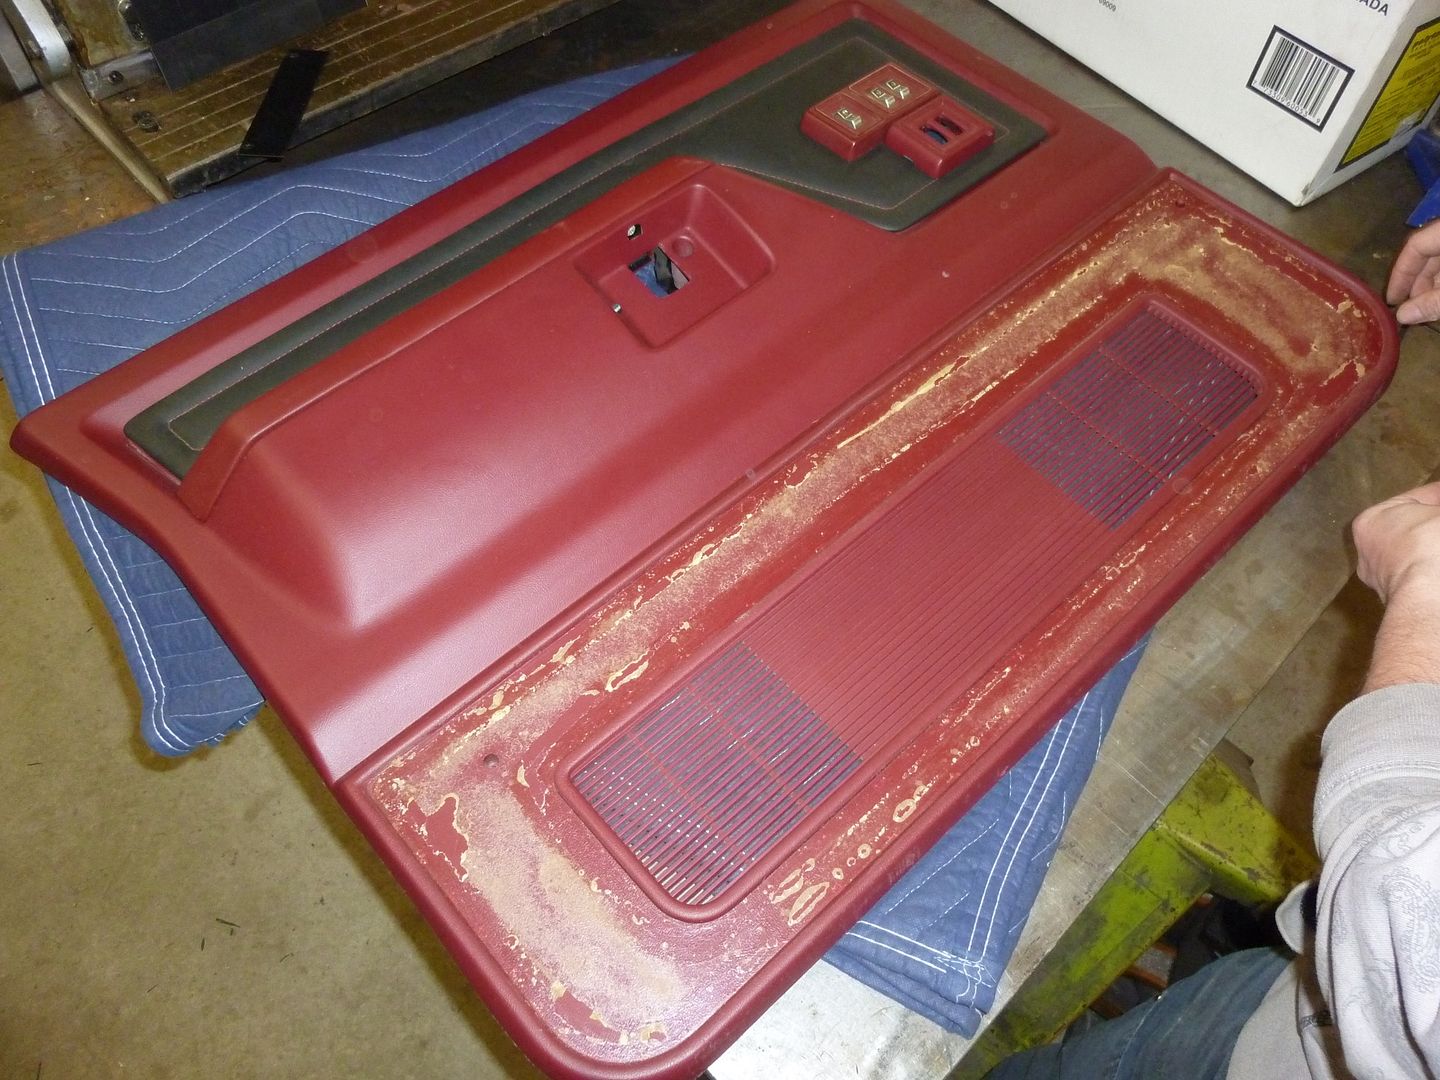
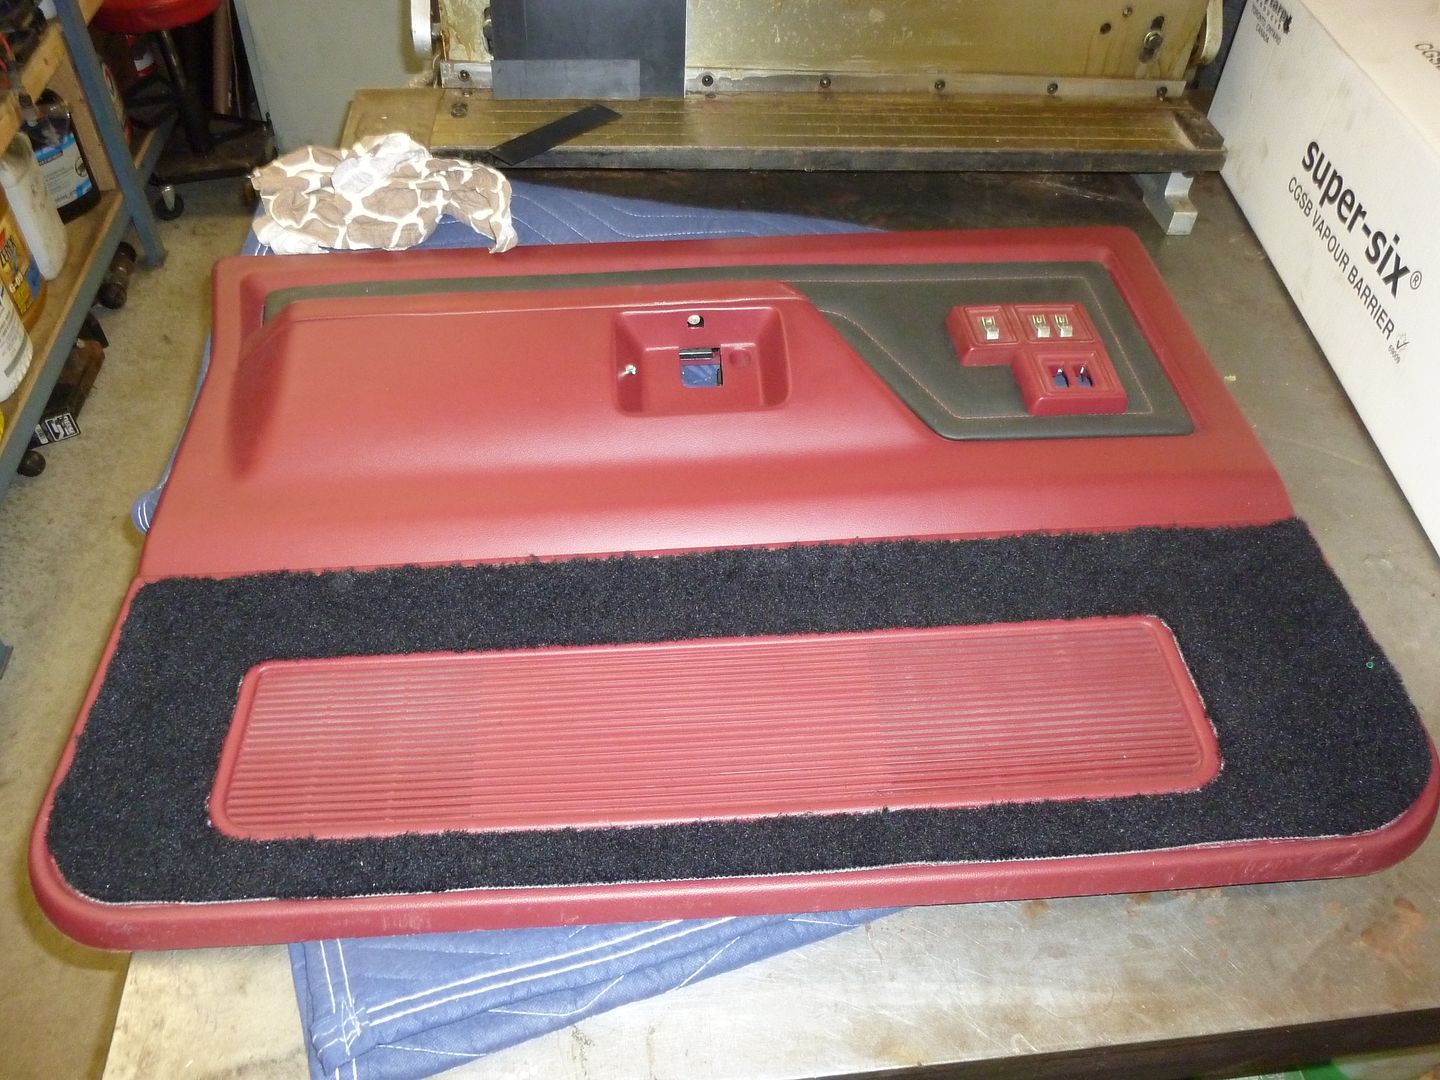
Next was the door panel itself. Originally these door panels got the custom insert back about 10 years ago. While looking good, the red carpet on the bottom of the door wasn’t cutting it for me. So we removed the factory carpet, and added black so it would match with the rest of the cabs carpet:
 '
'
 '
'
 '
'
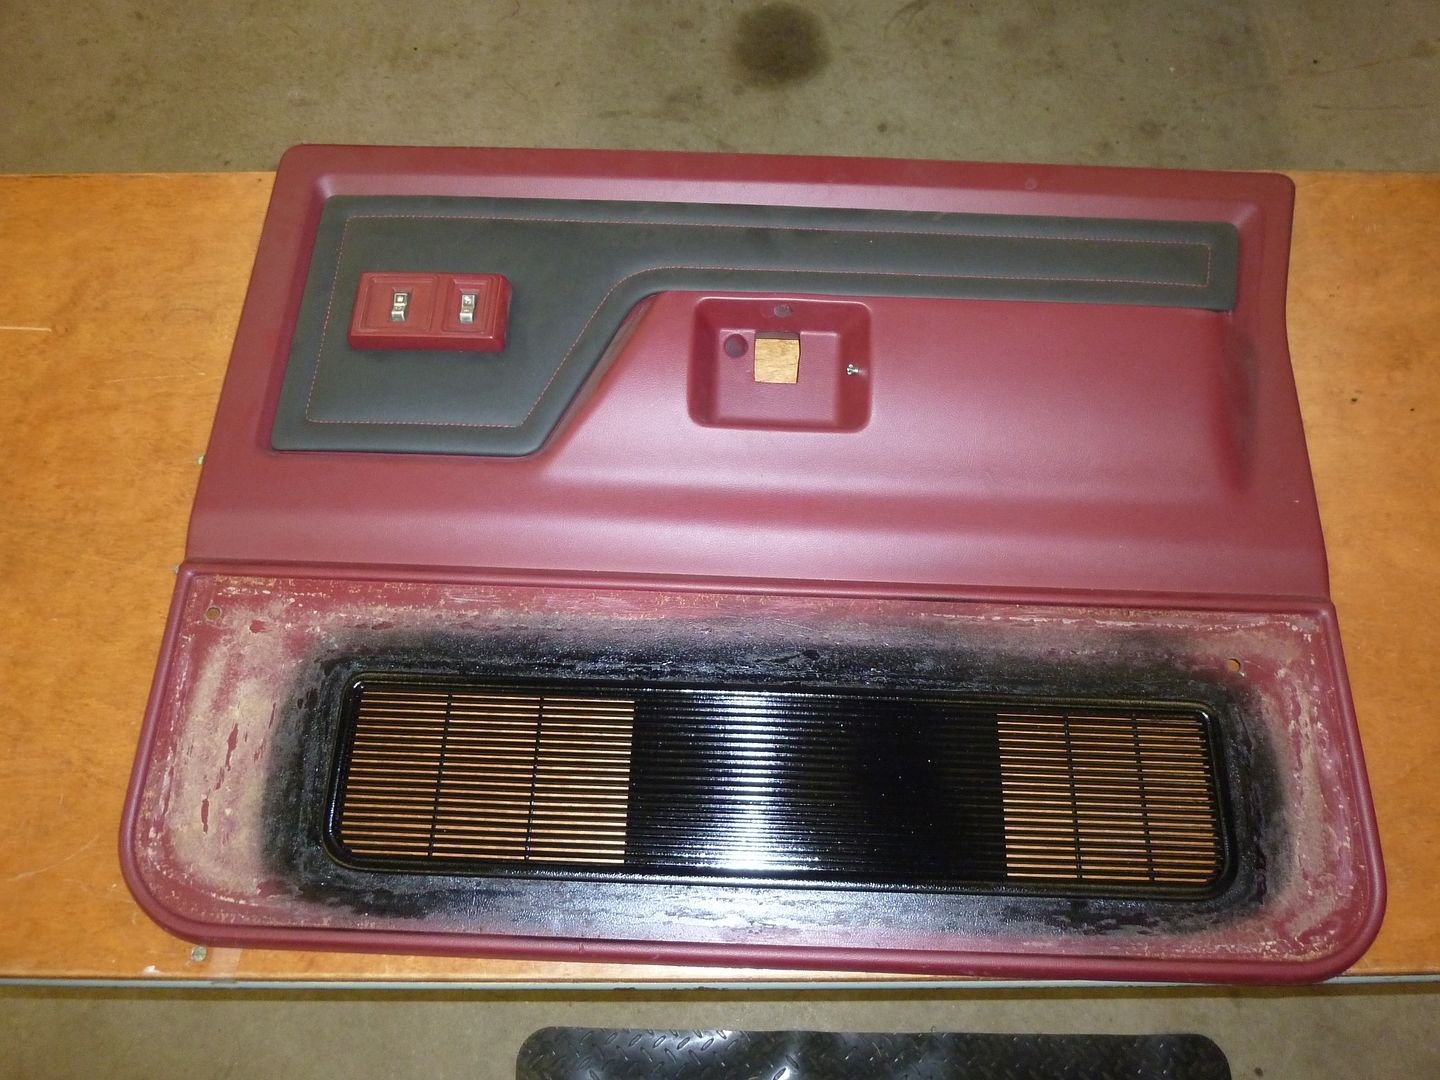
Then the speaker grill looked out of place so it got a painting:
 '
'
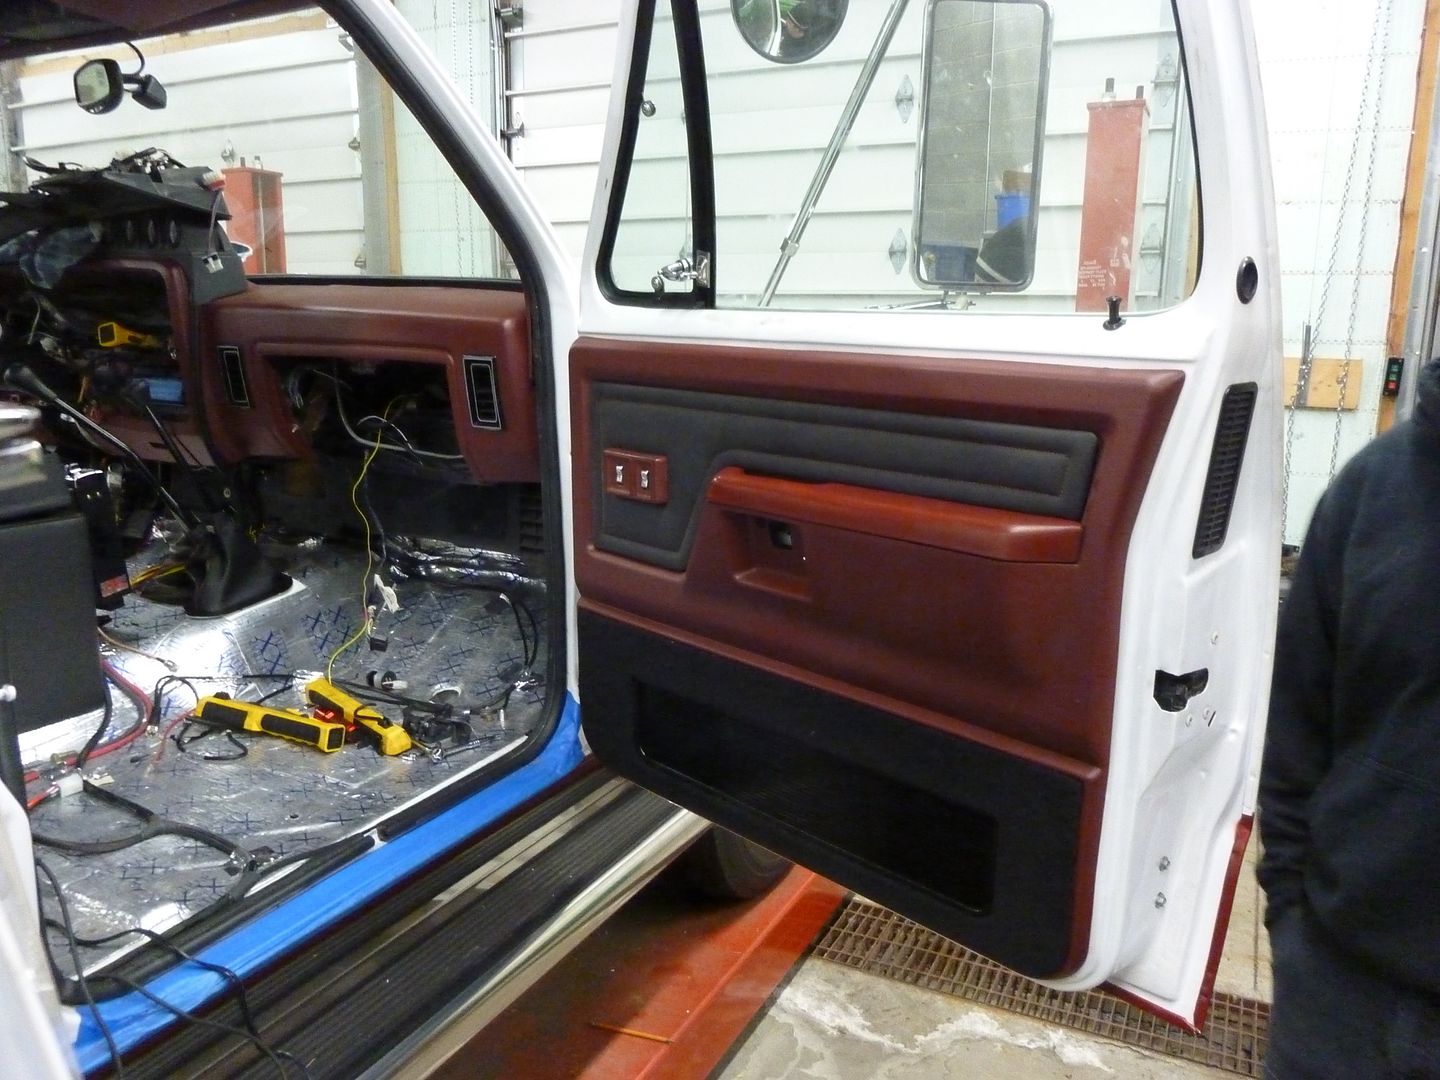
Aaaaand the final result:
 '
'
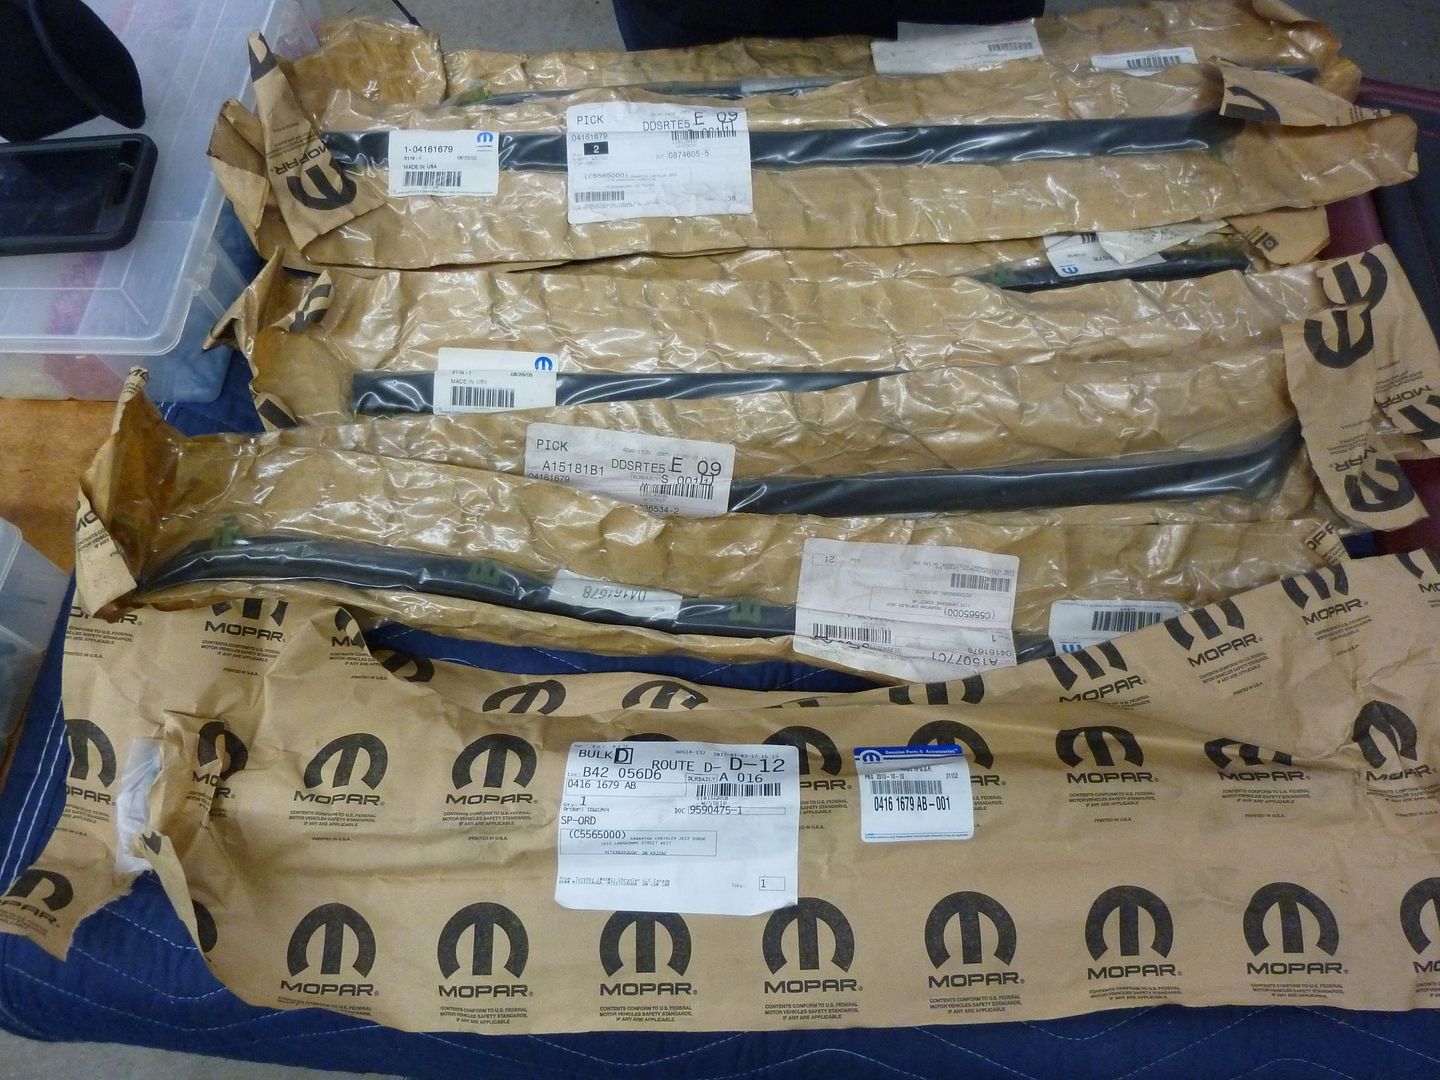
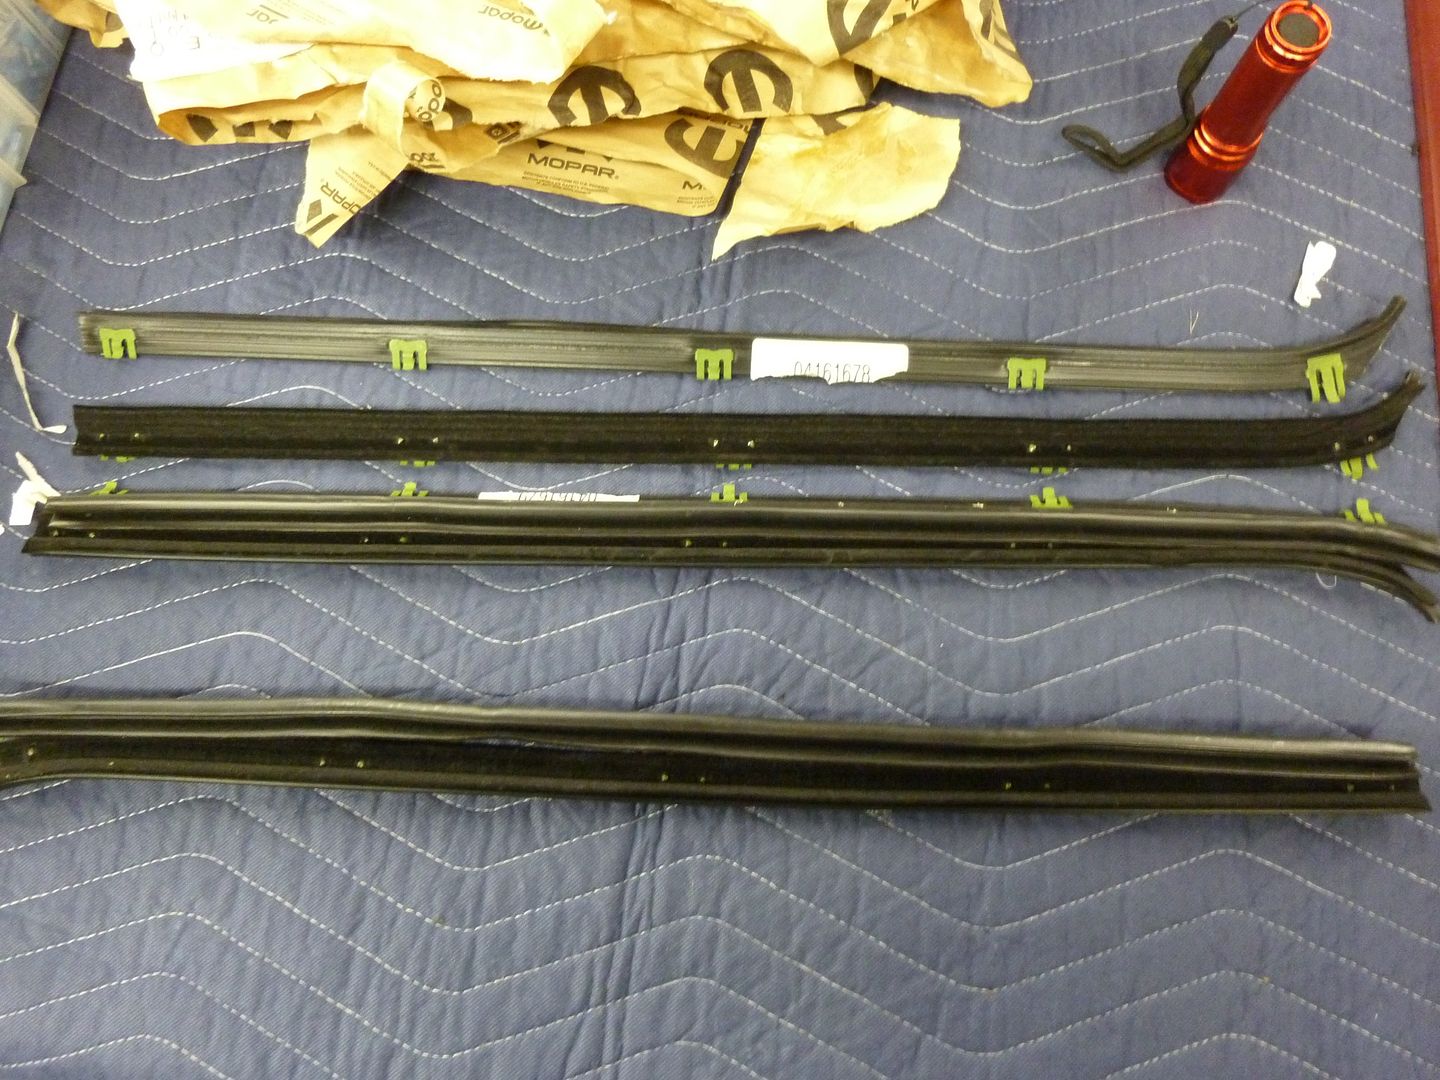
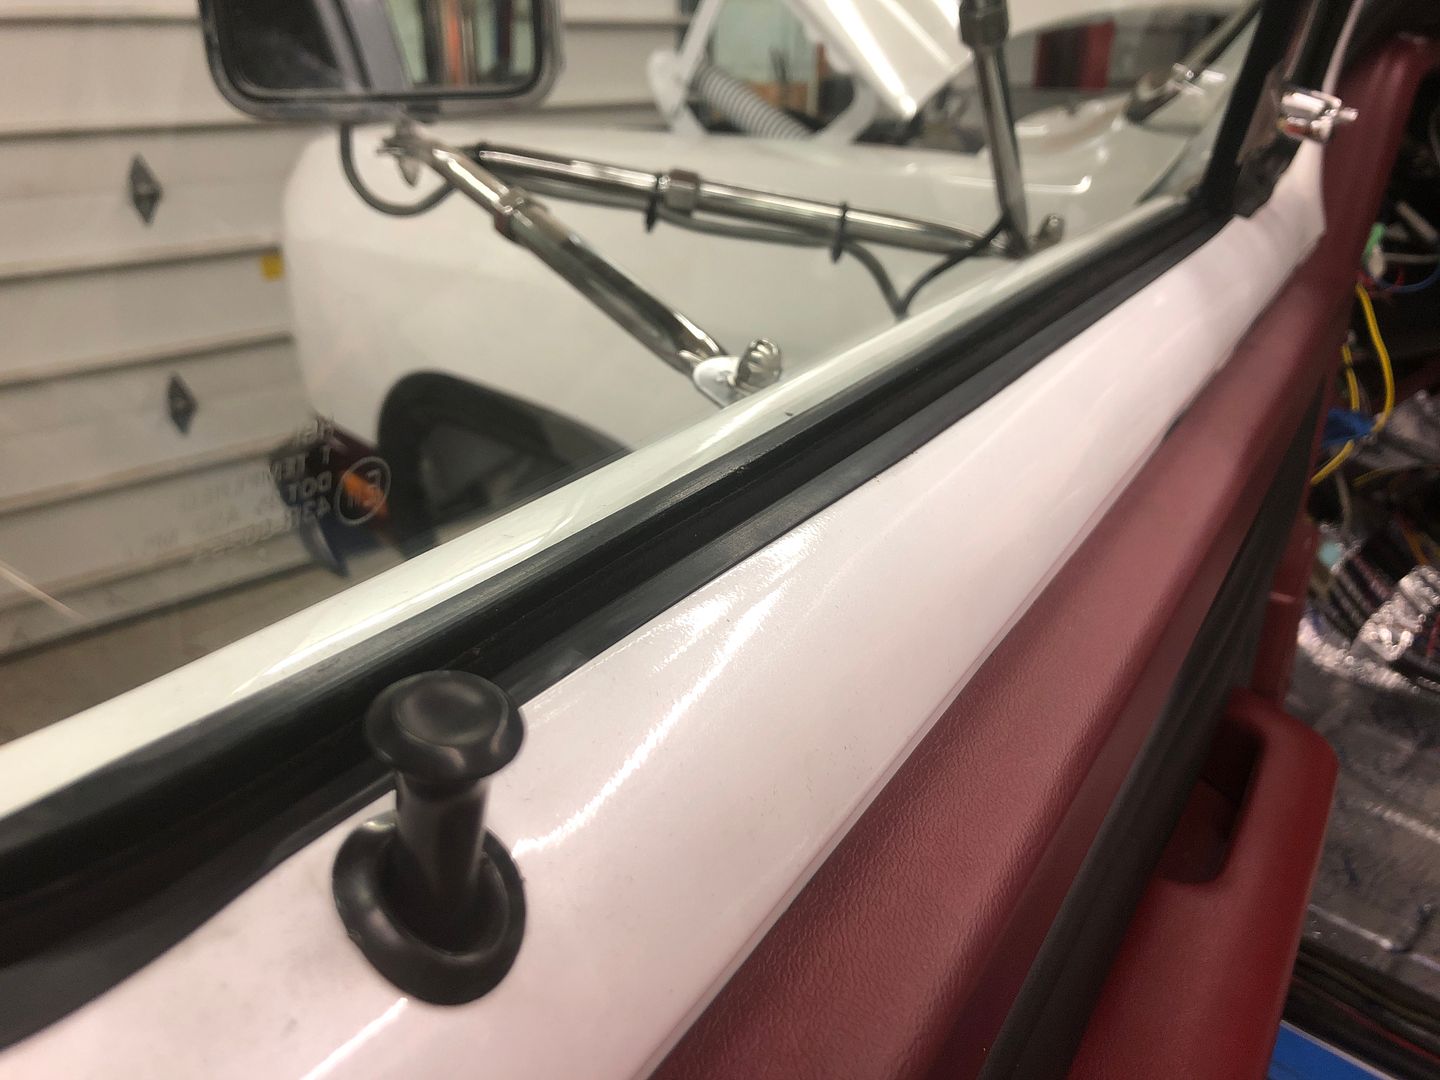
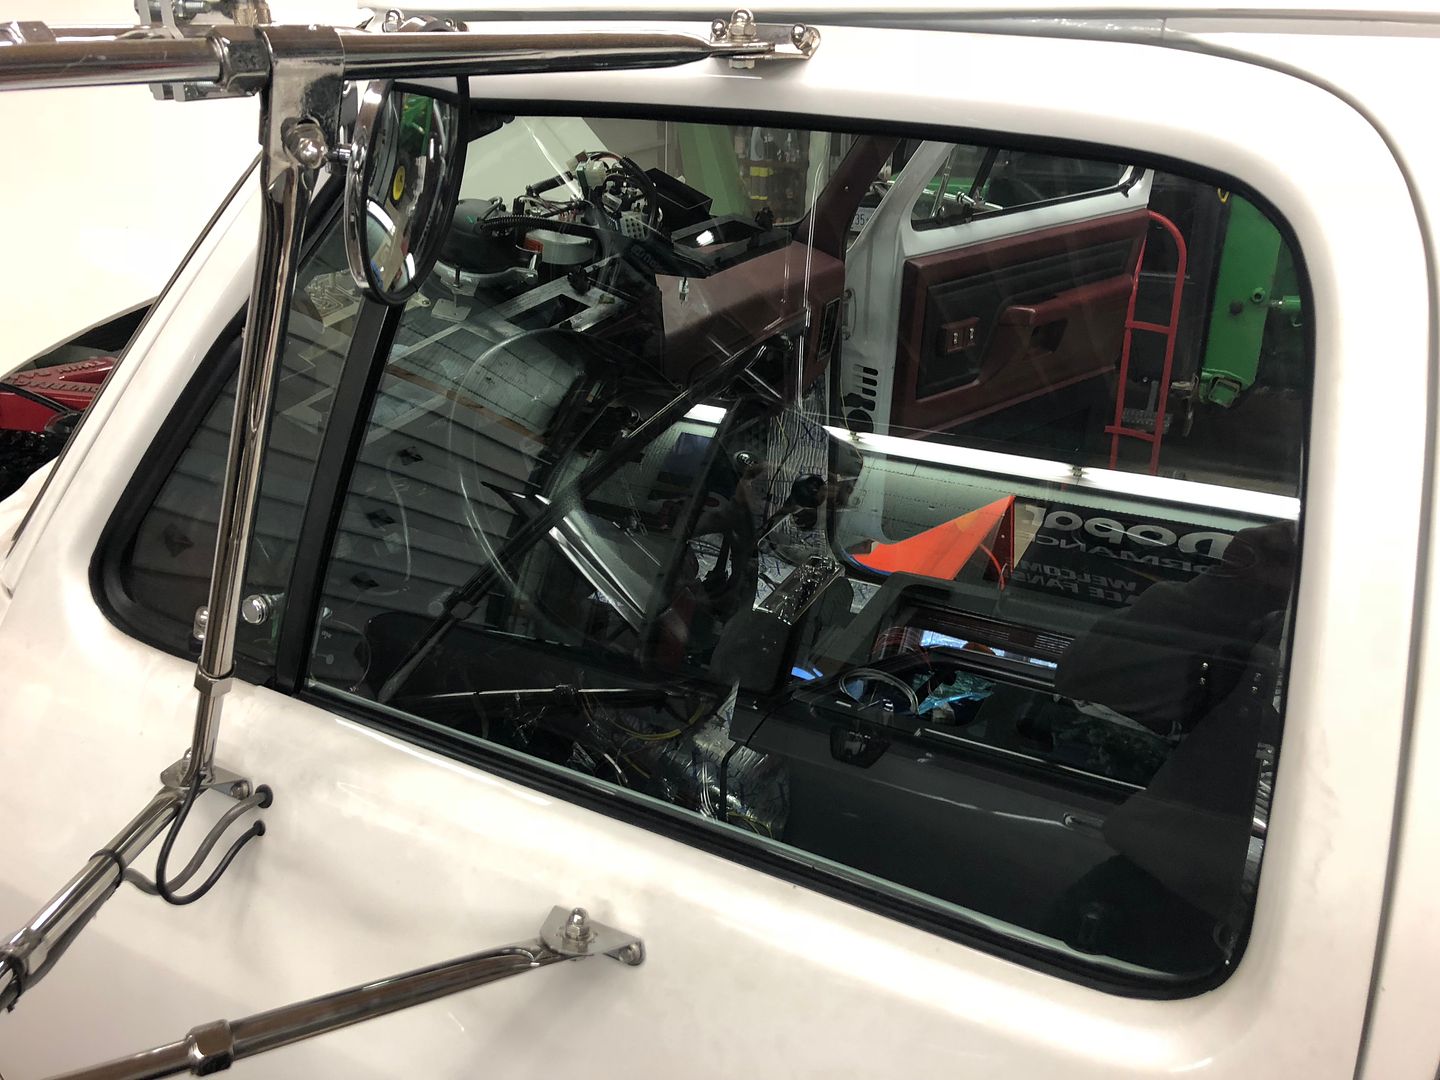
So that just left the window wipe strips. Thankfully I had ordered these 12 years ago so was finally time to install them!
 '
'
 '
'
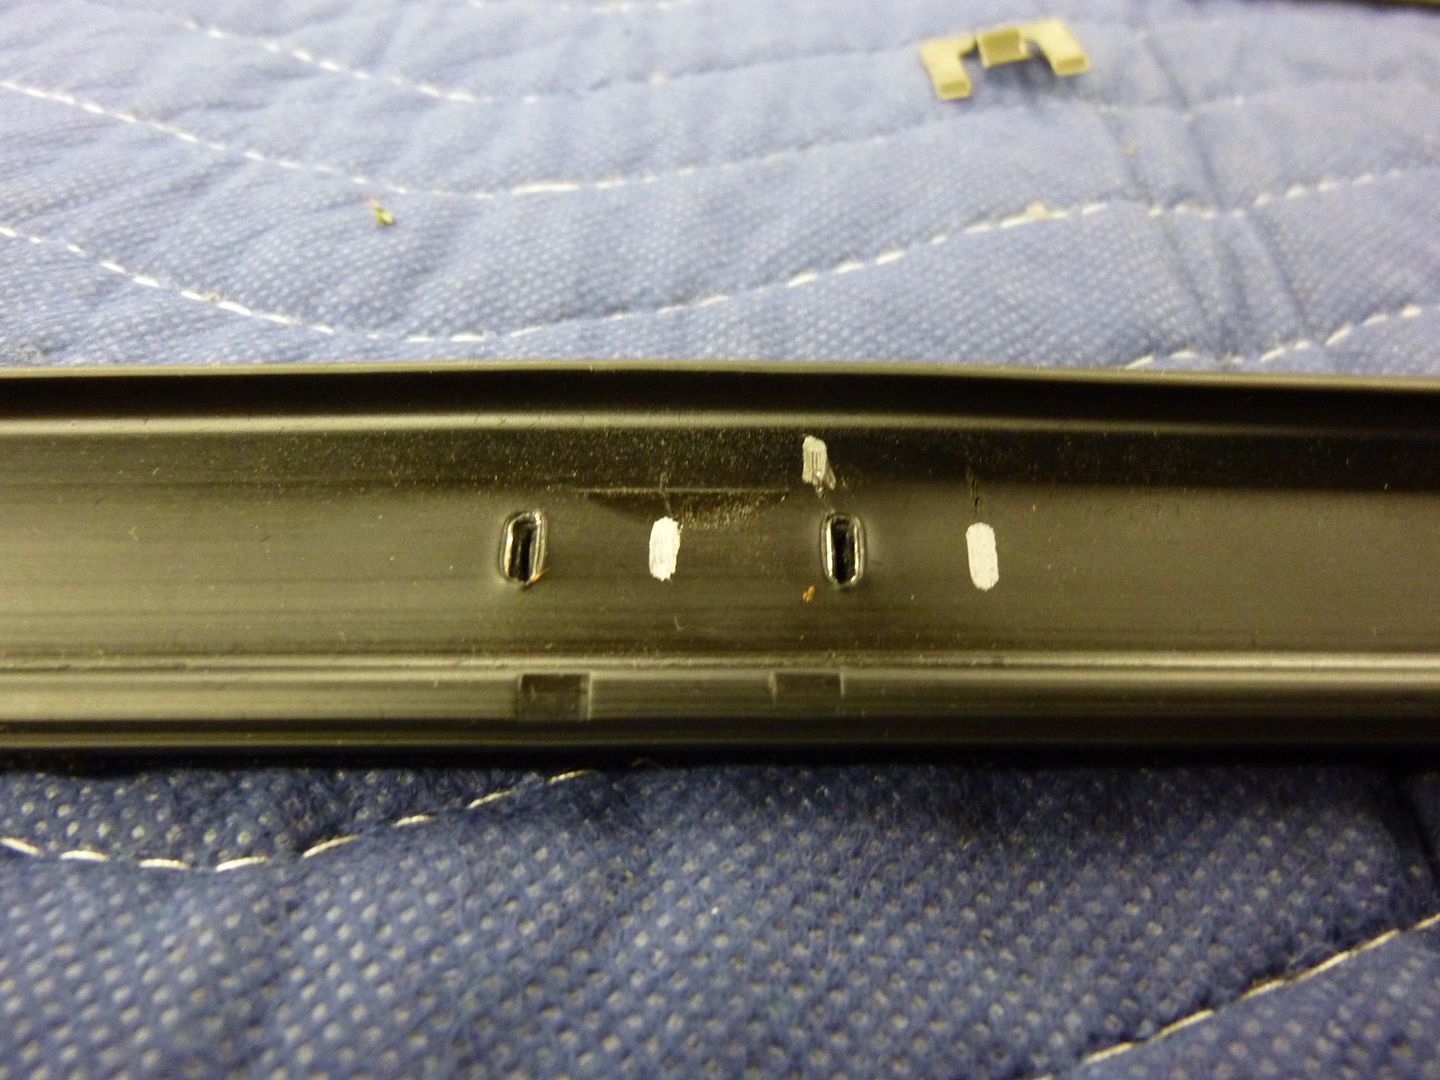
For the rear windows, I had to relocate one of the clips as it was ¼” out of location:
 '
'
 '
'
 '
'
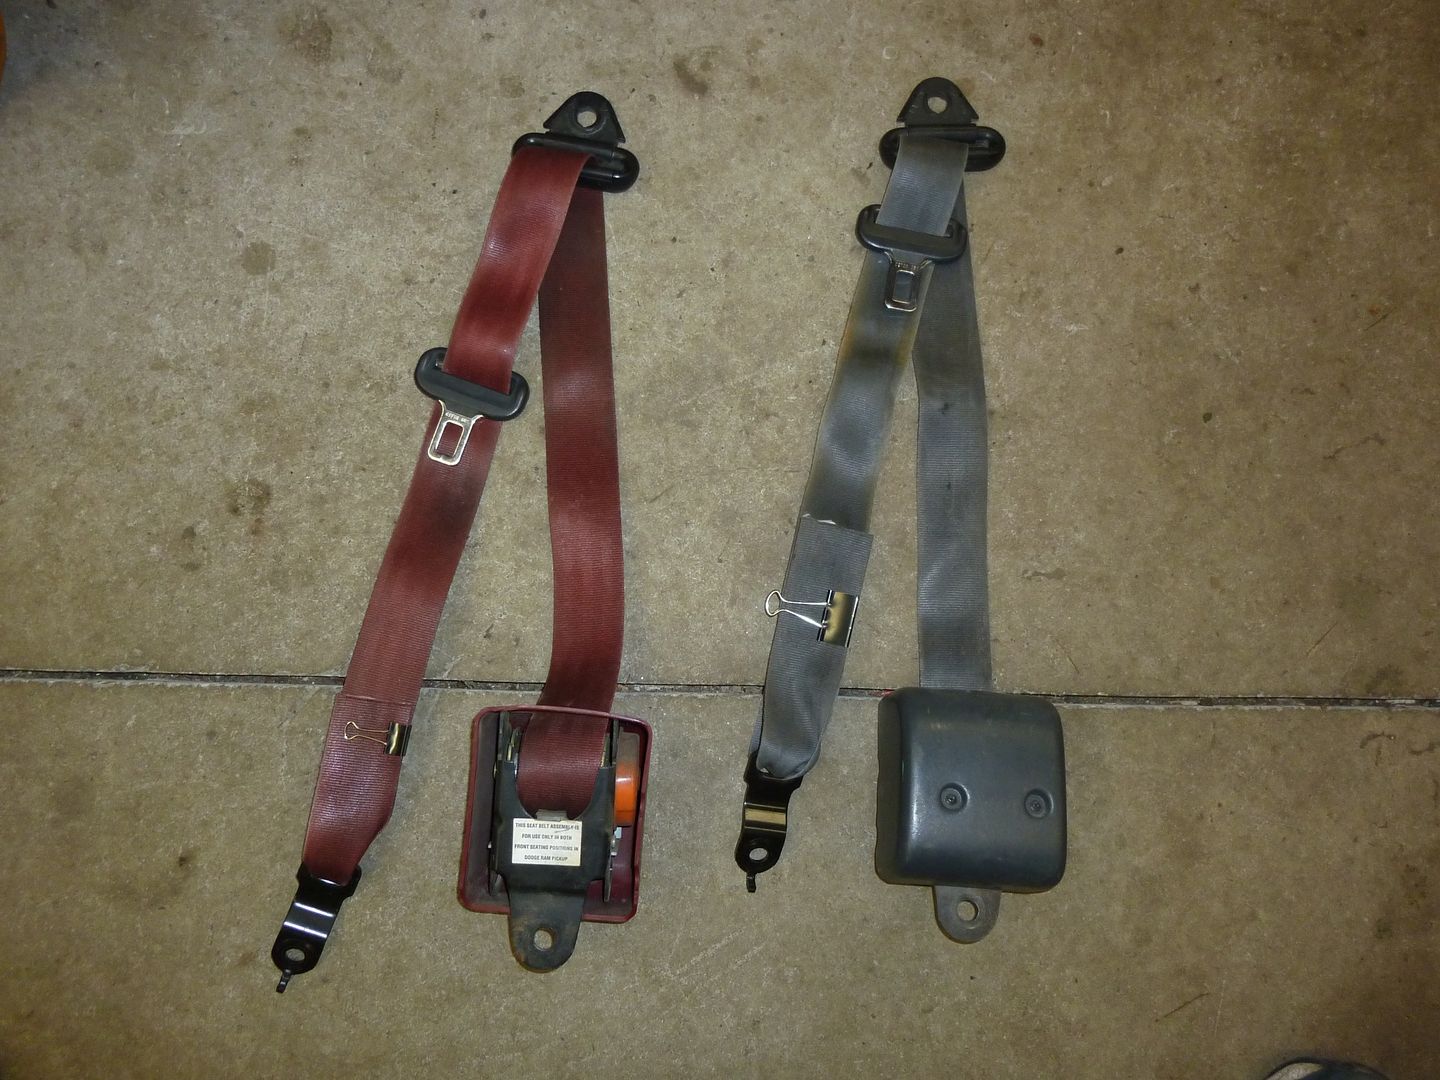
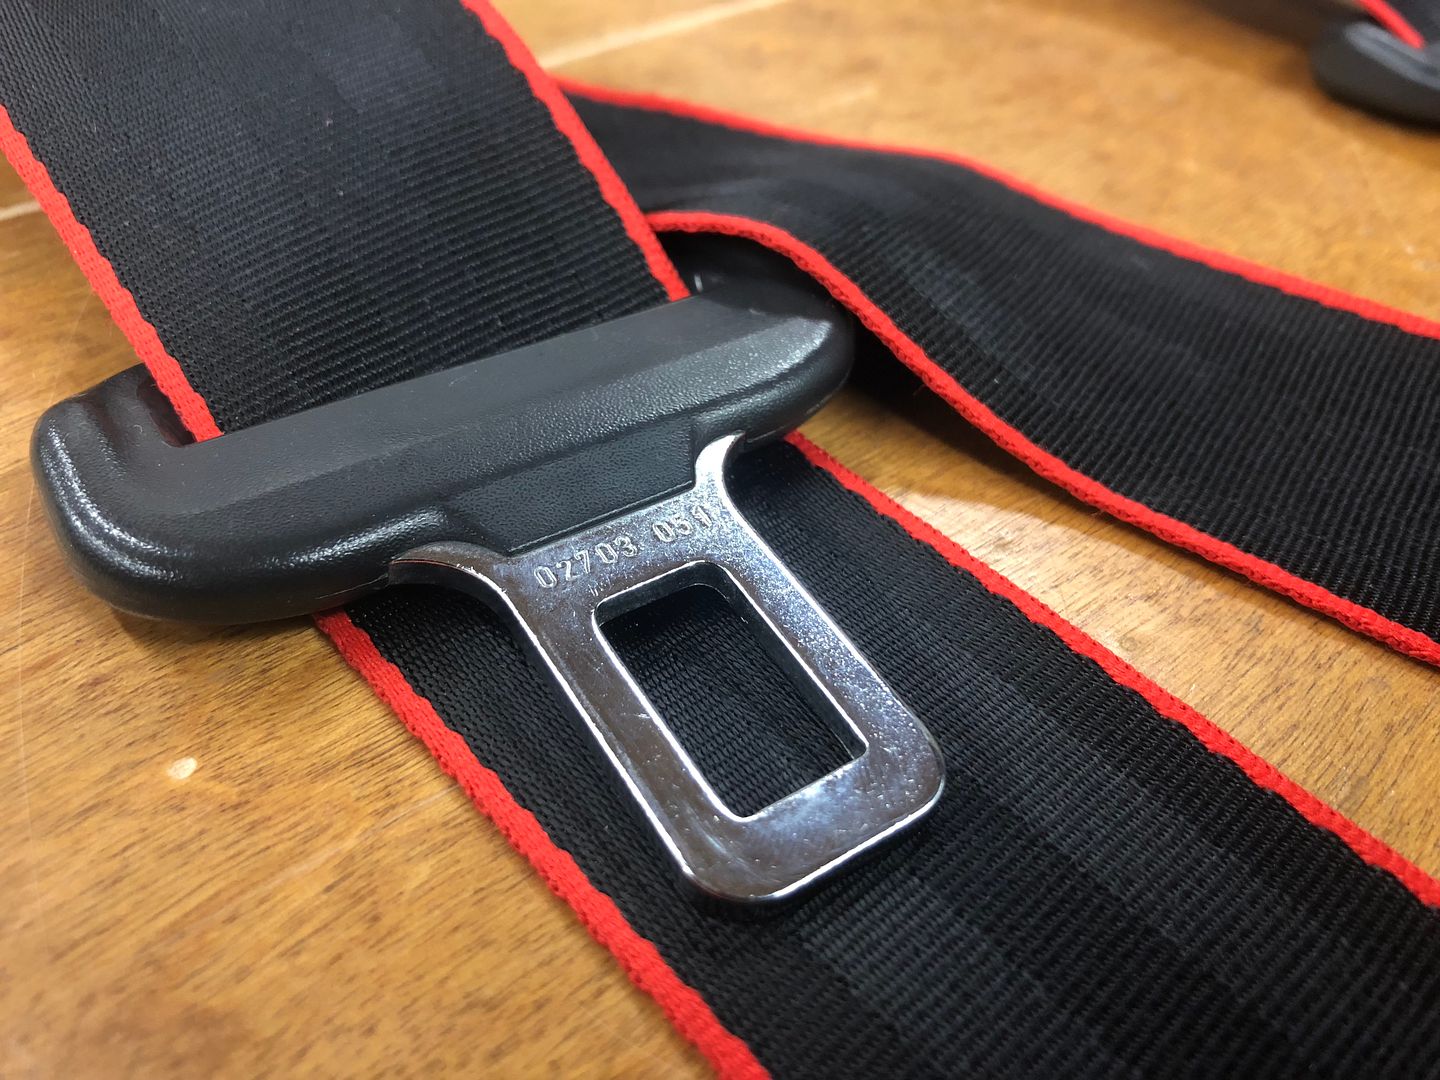
Seat belts:
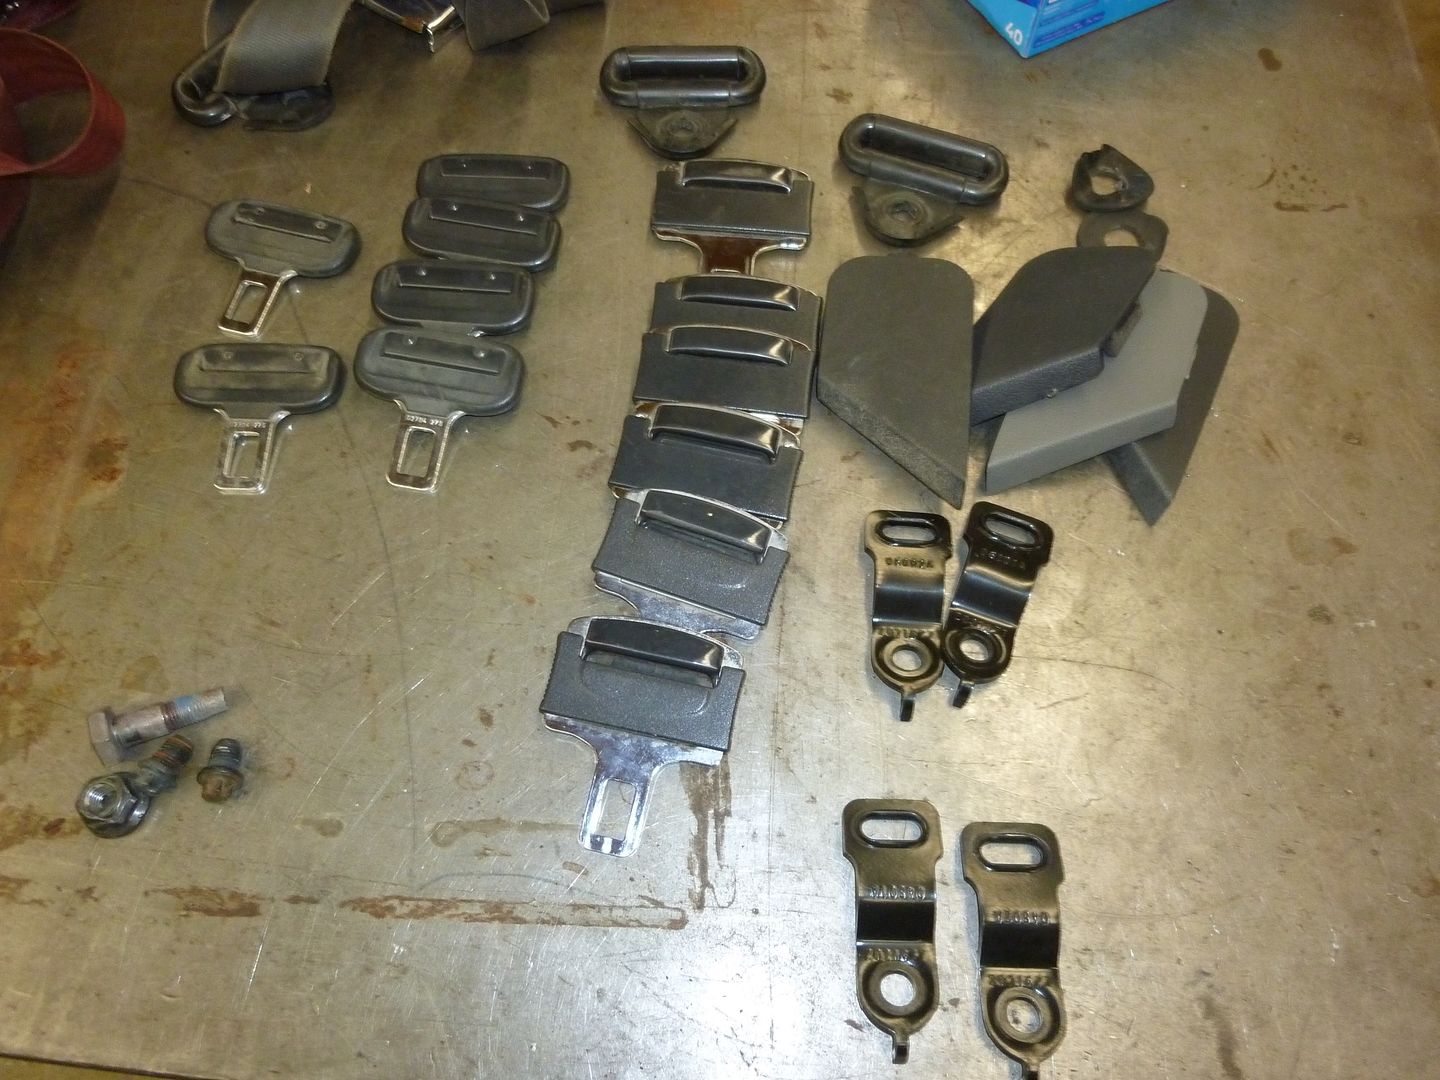
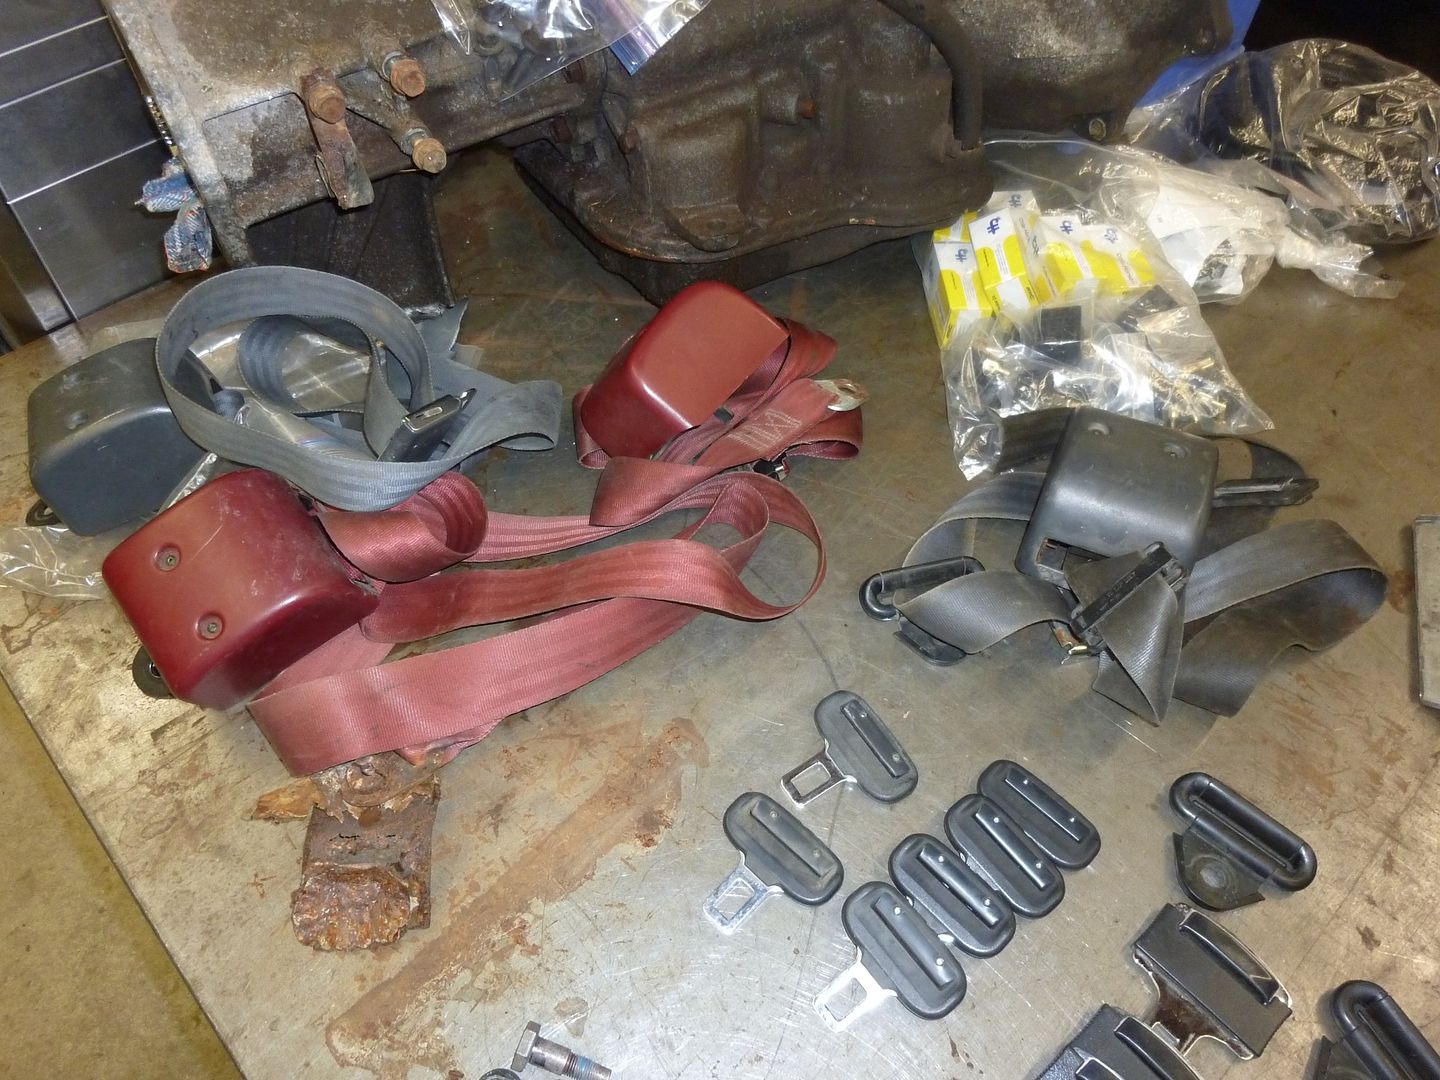
The next item tackled was seat belts. These stupid things have bugged me for years. See I have 2008 seats. They use 2008 buckles. But the belt still attaches at the bottom on a gen 1 roller and a B pillar gen 1 pulley. But then the 3rd anchor point is not on the floor. It is on the side of the seat! So I needed half Dodge Charger and half Gen 1 Ram seatbelts! Further I wanted custom stitched belts. So I found a shop that would work with my needs, so step one was to hit the junk yard and grab the LX body Charger parts I needed. This was my score:
 '
'
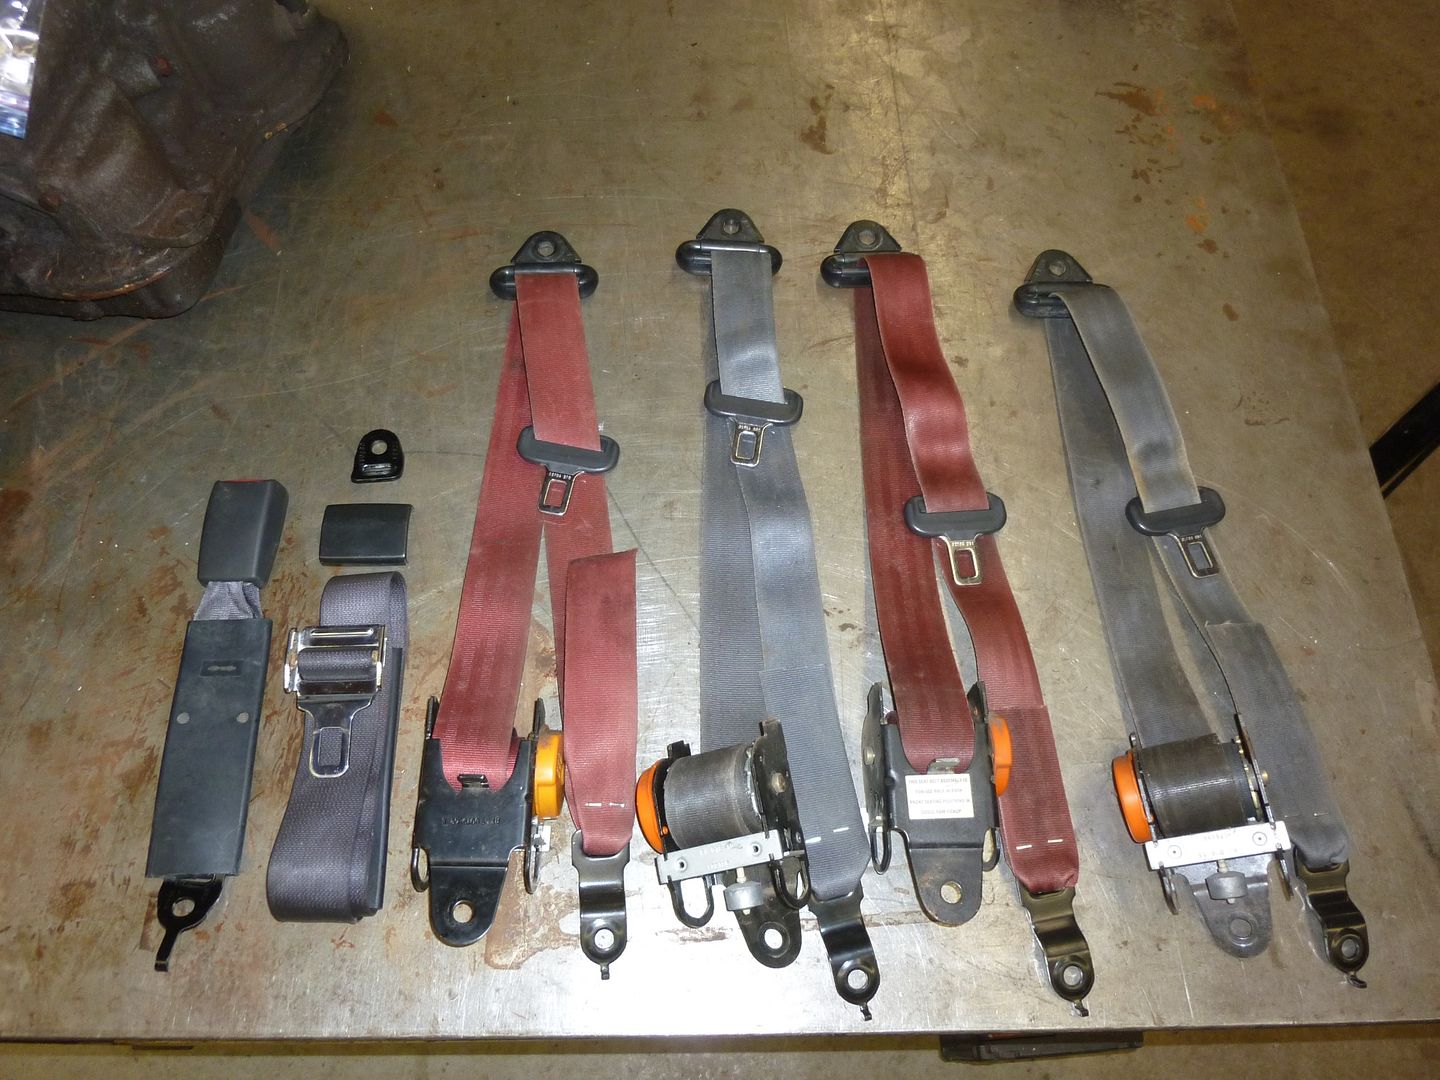
Next I had to figure out what I actually needed. So I cut the factory belts so I could play swap the parts:
 '
'
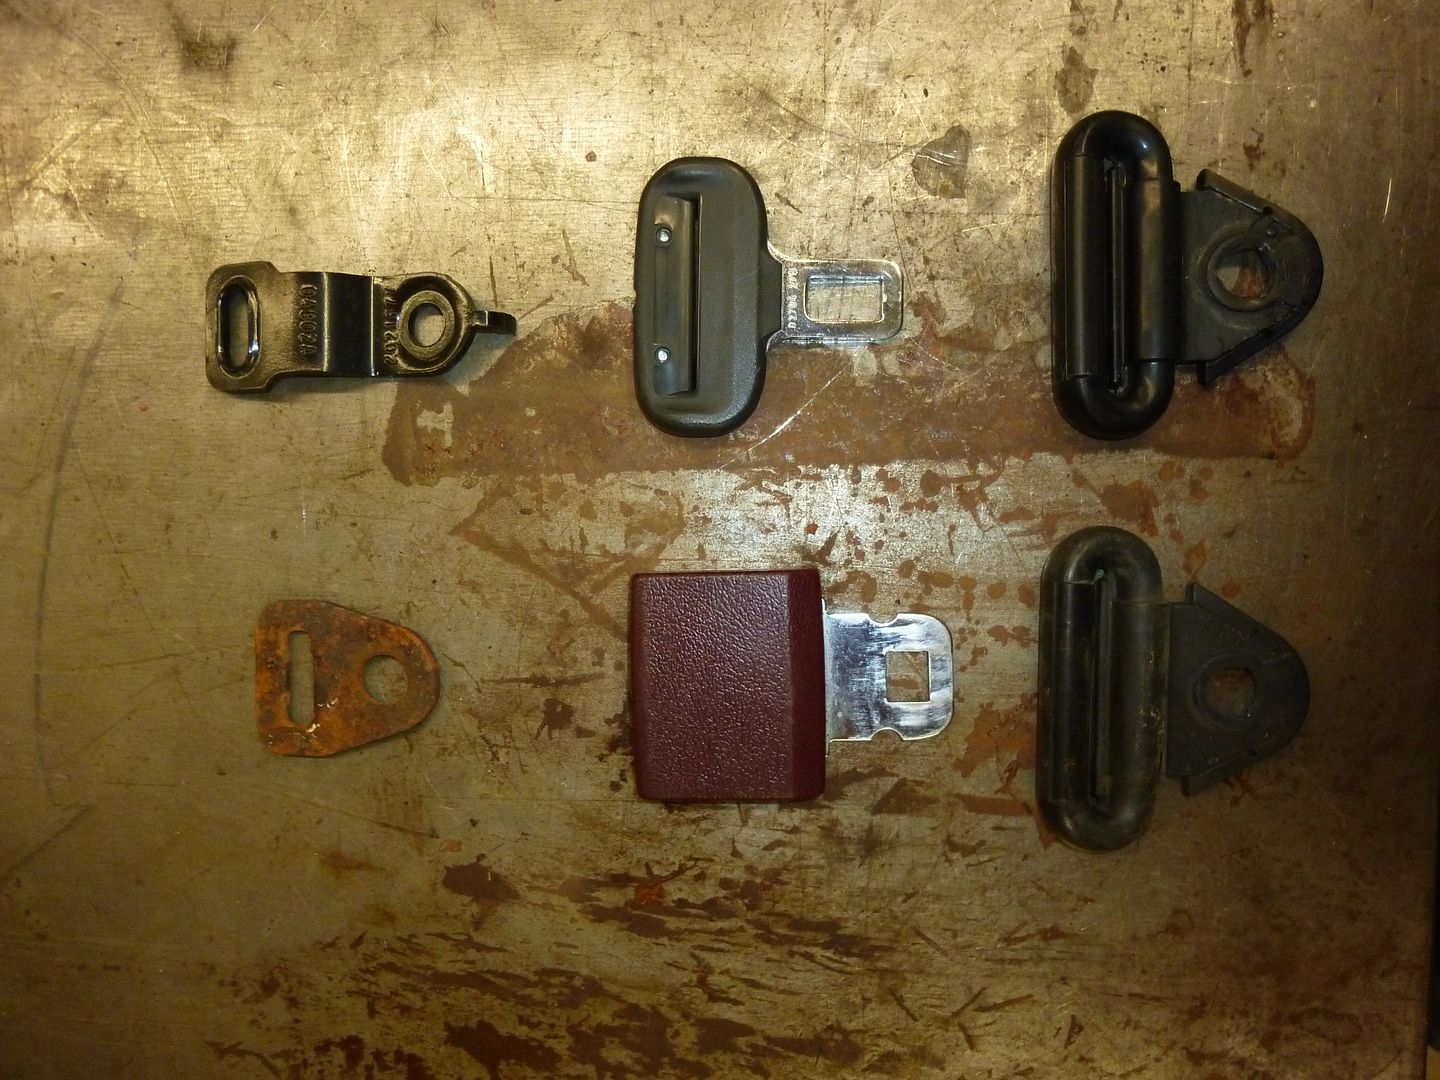
The bottom is factory. The top row is what I needed:
 '
'
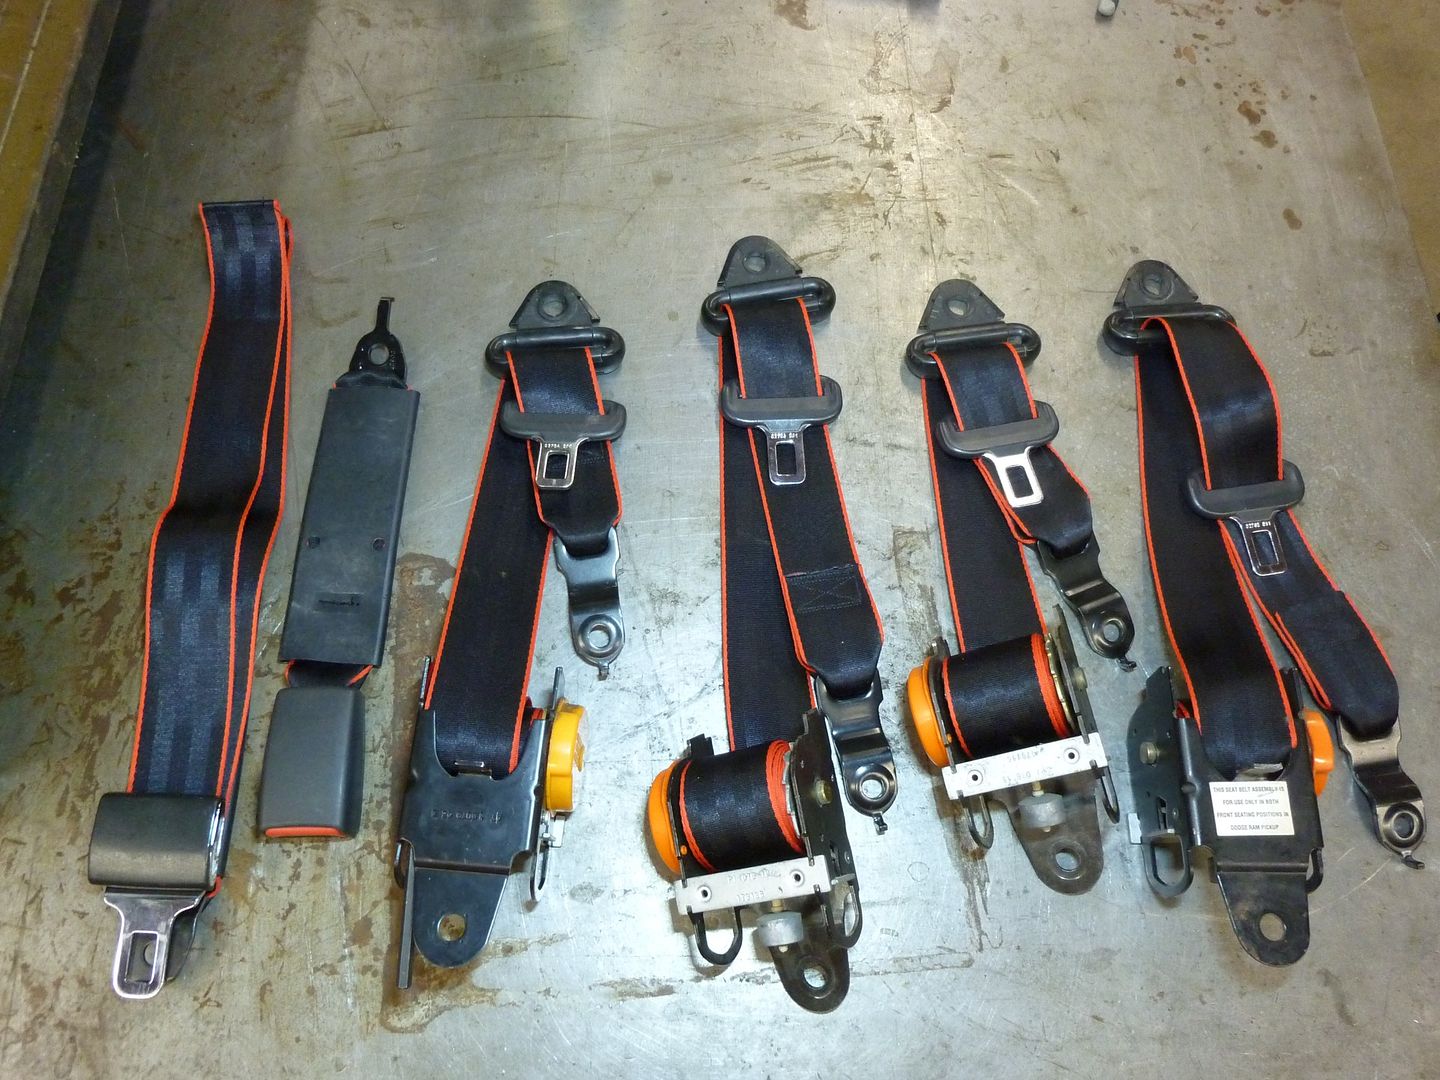
To ensure the shop didn’t eff up the job, I assembled the belts as I needed them, including the reverse orientation of the pulley! This way they just had to copy things as I had them.
 '
'
 '
'
A few weeks later, this is what I got back. But the belts were too short. FML. So I sent them back and they redid them!
 '
'
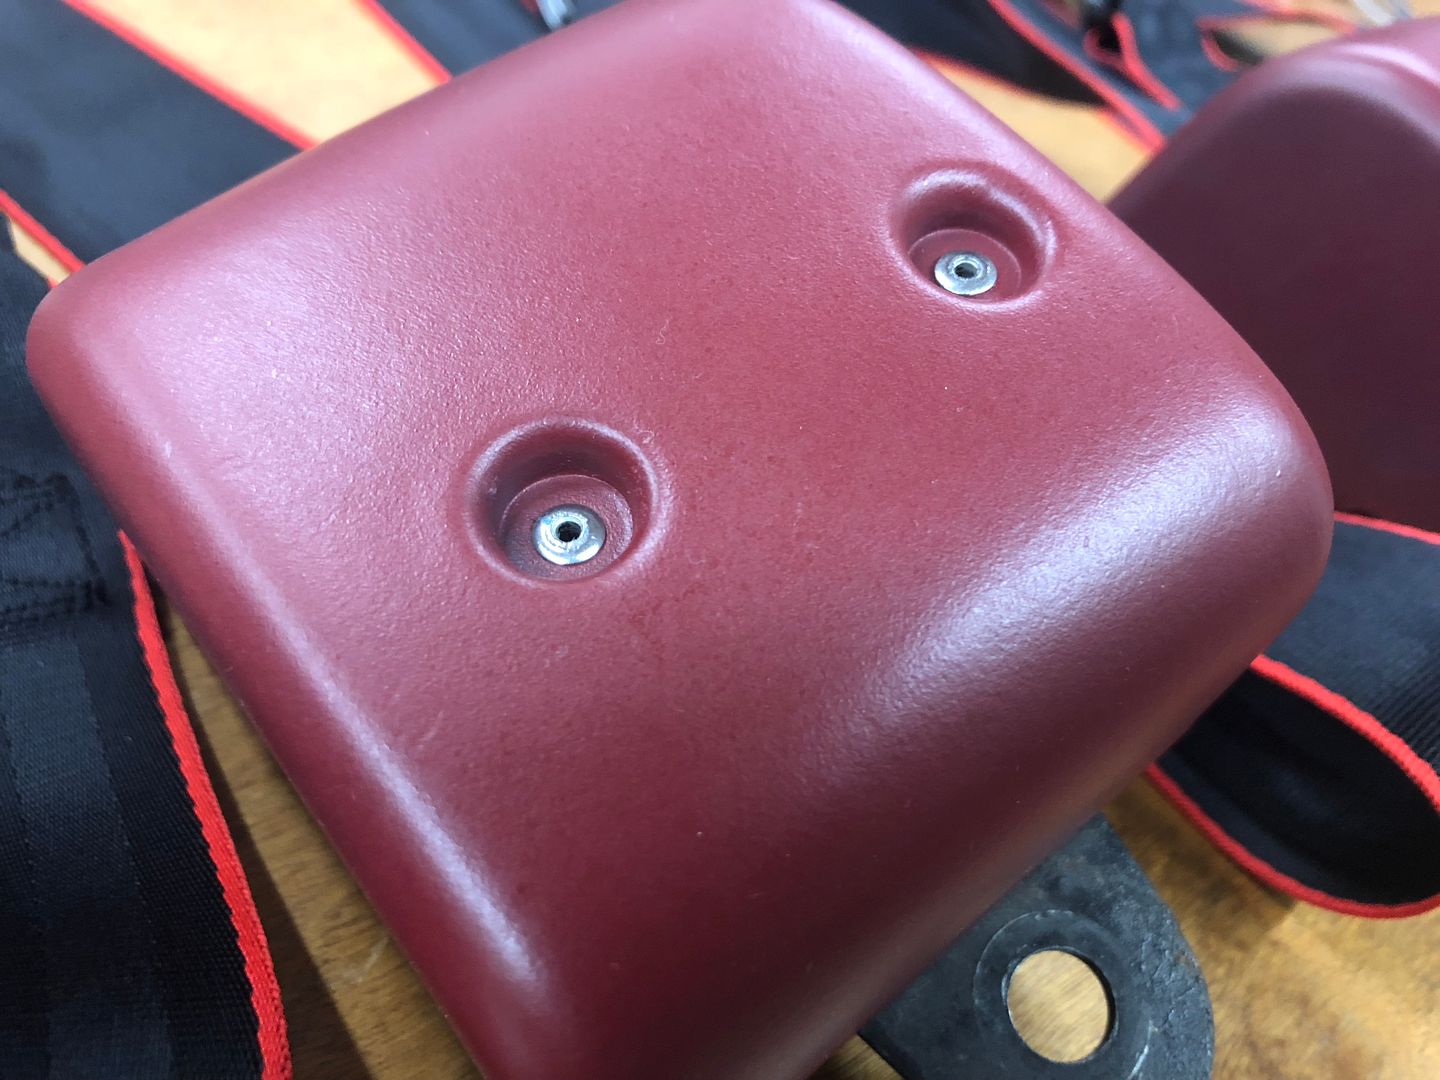
Once the repainted coil covers went on with new rivets, this is what the finished belts looked like:
 '
'
 '
'
 '
'
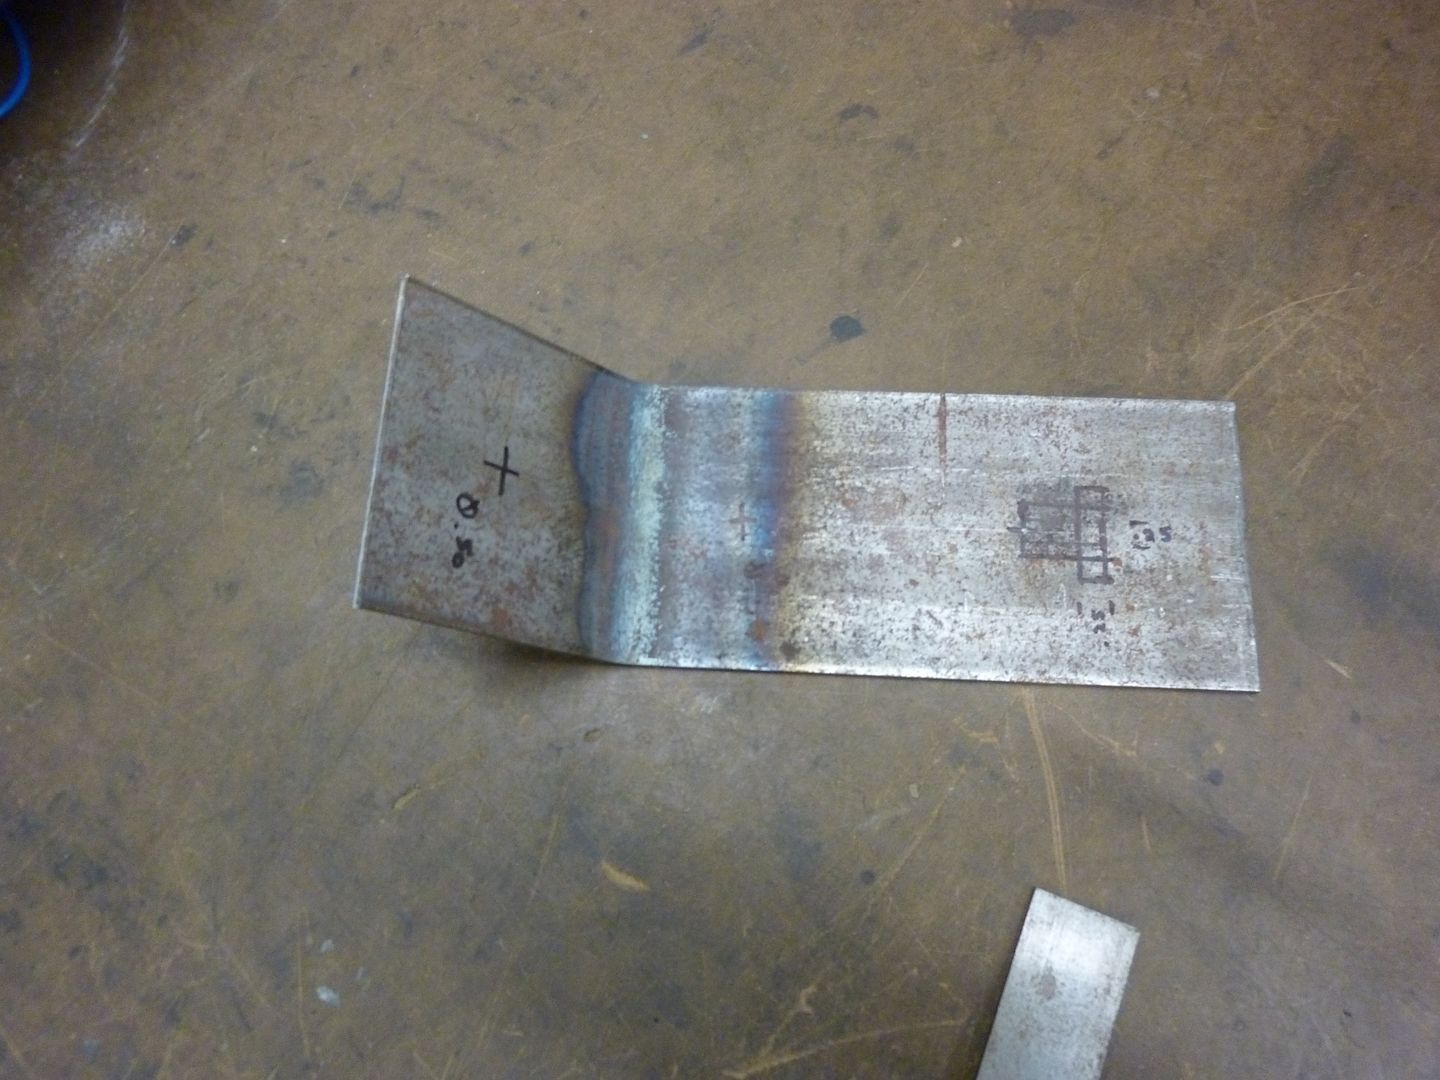
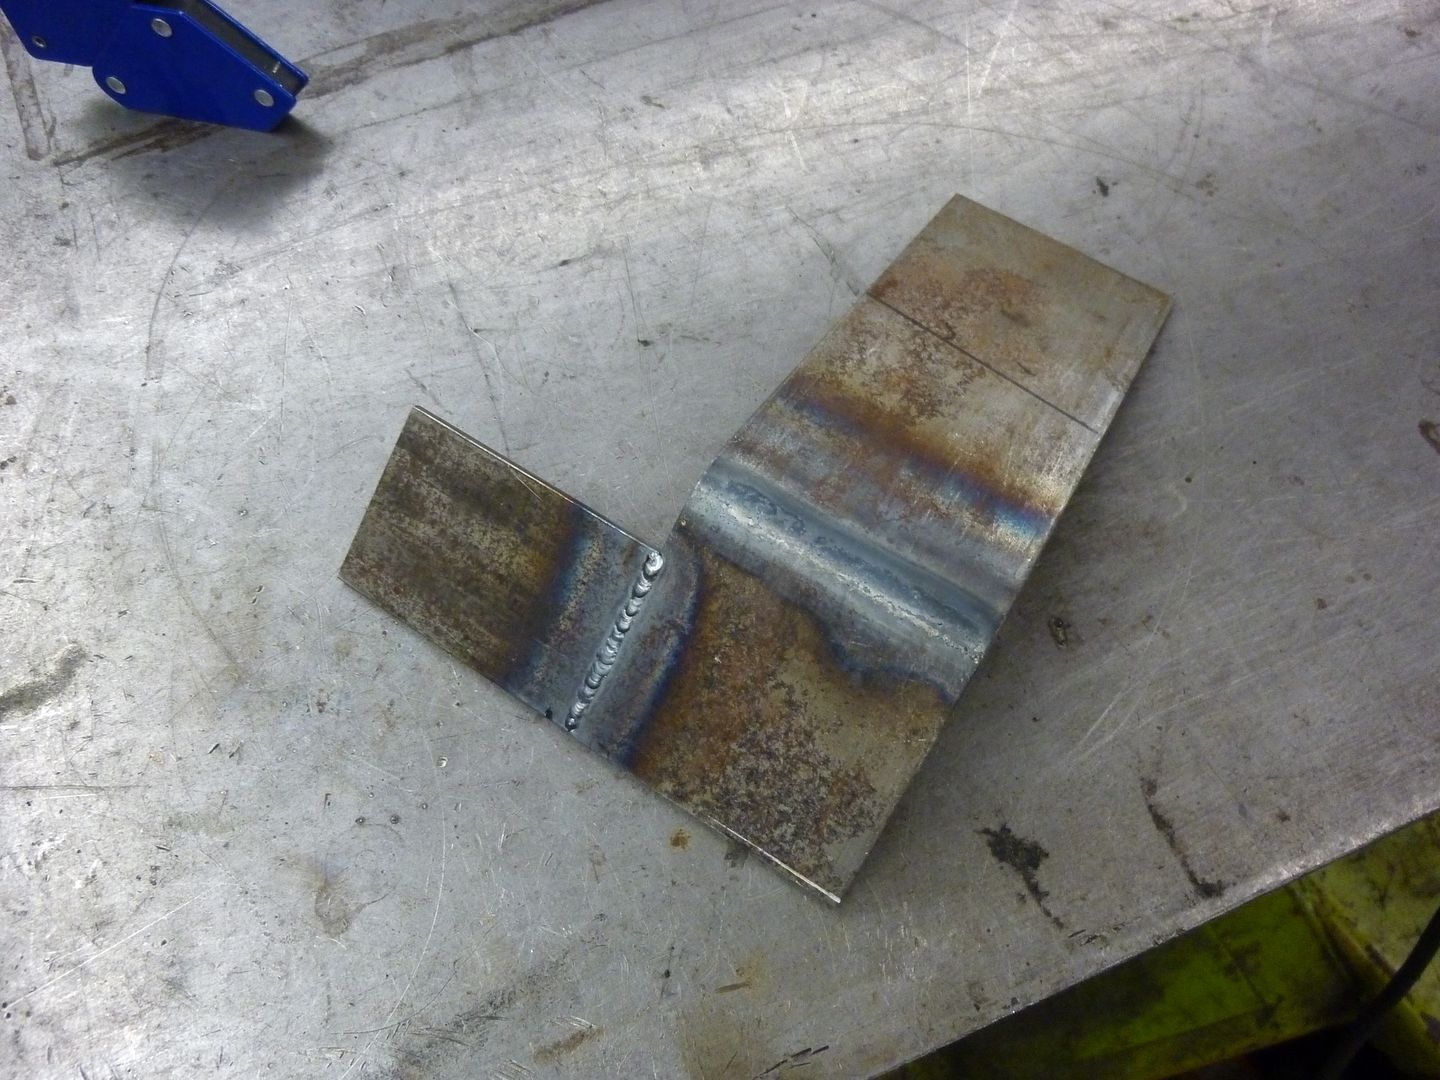
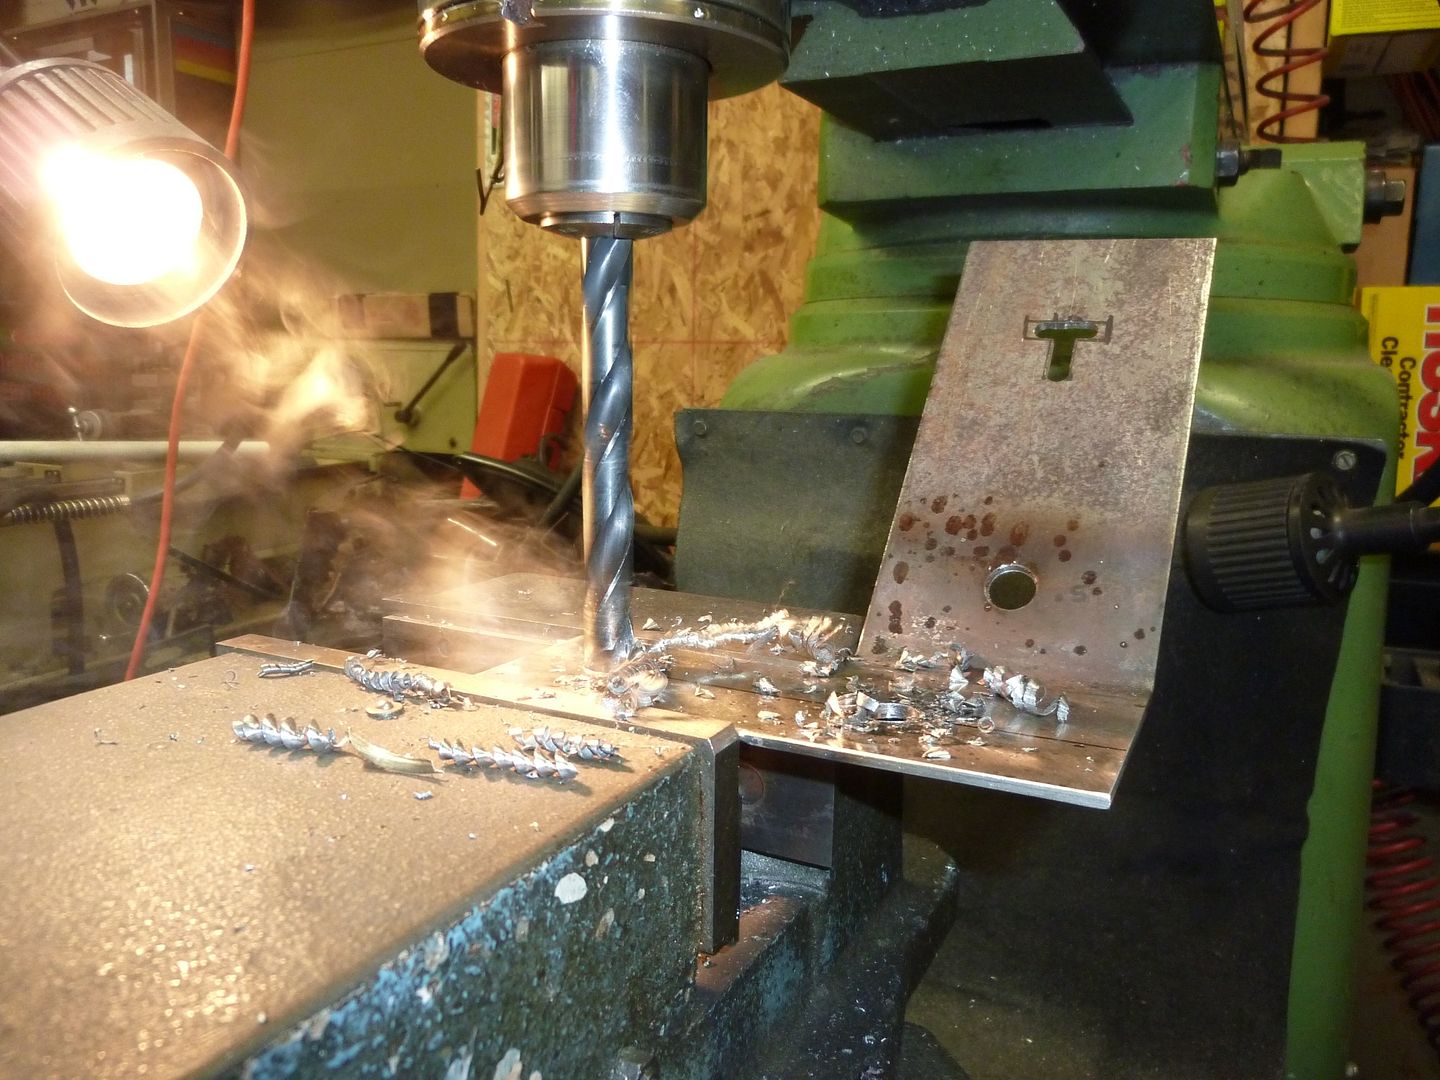
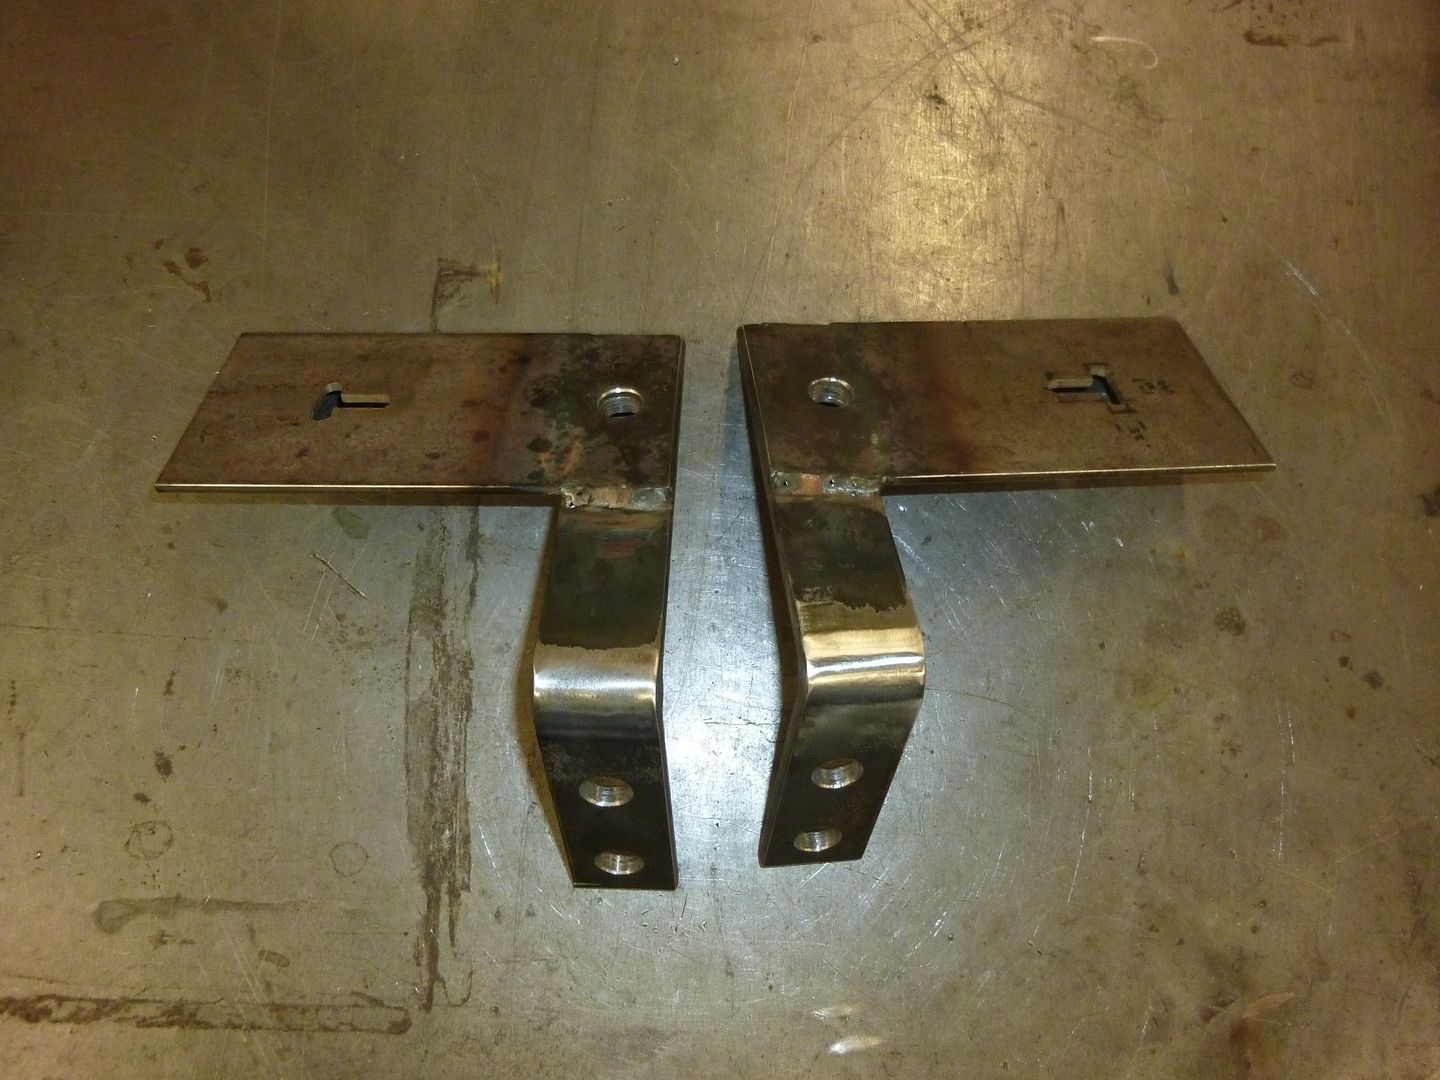
In going with the seatbelts, the original mounting place for the rears were no longer going to be used. For the back seat, I will now run full 3 point belts like the front. As such, I needed to fabricate a rear seat coil mount.
 '
'
 '
'
 '
'
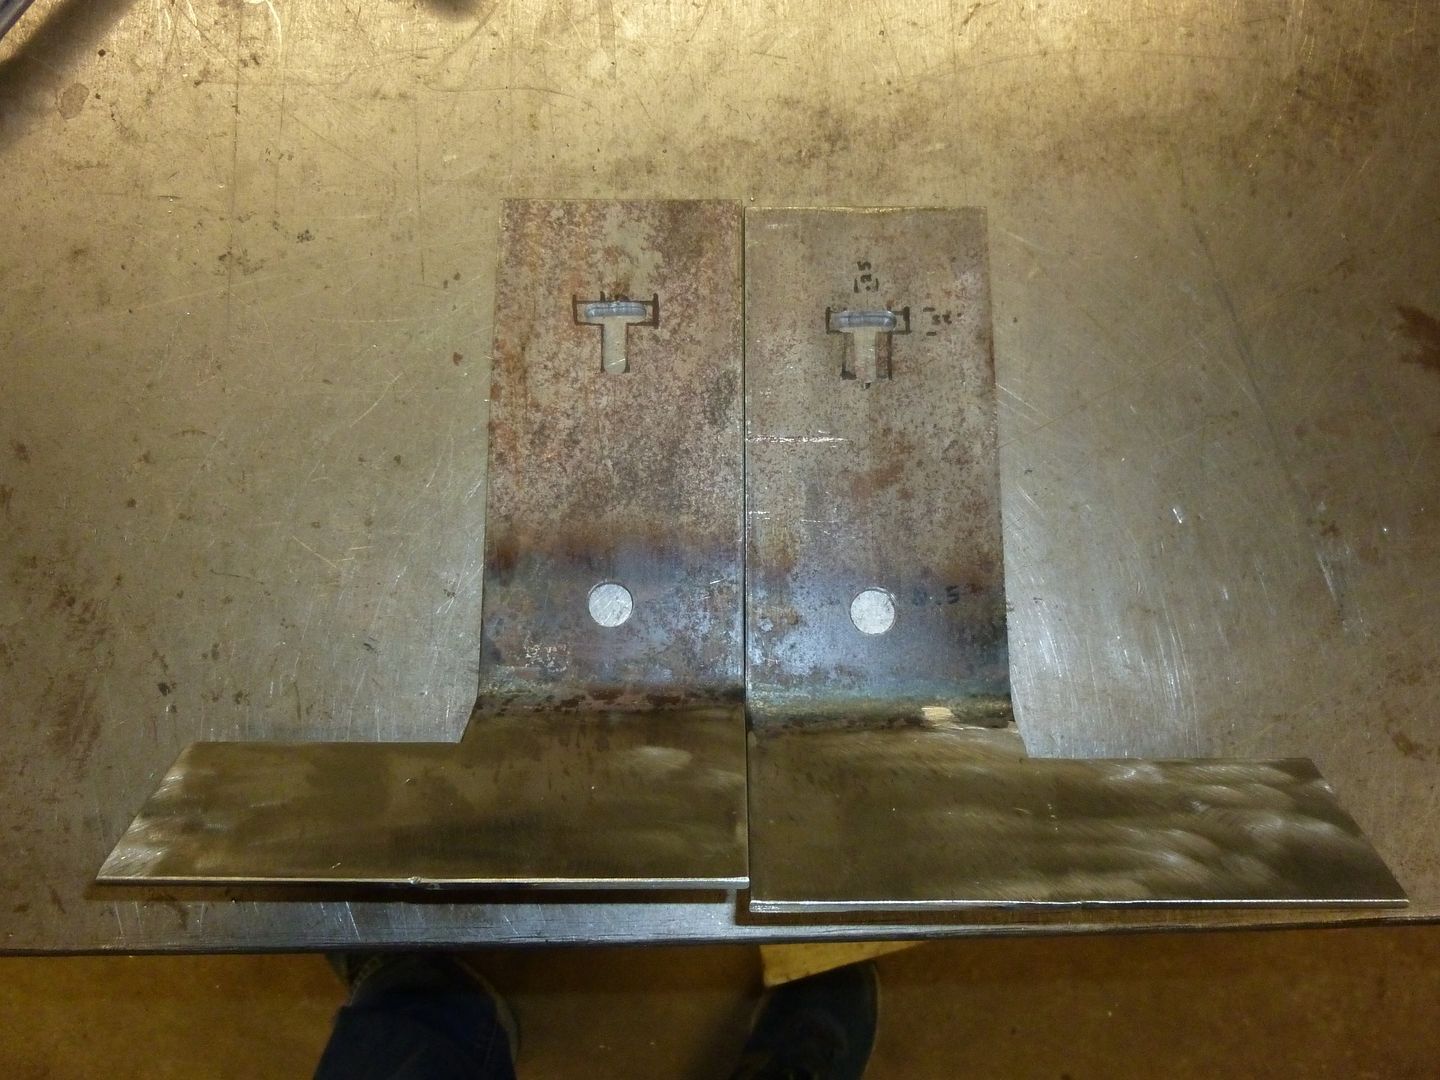
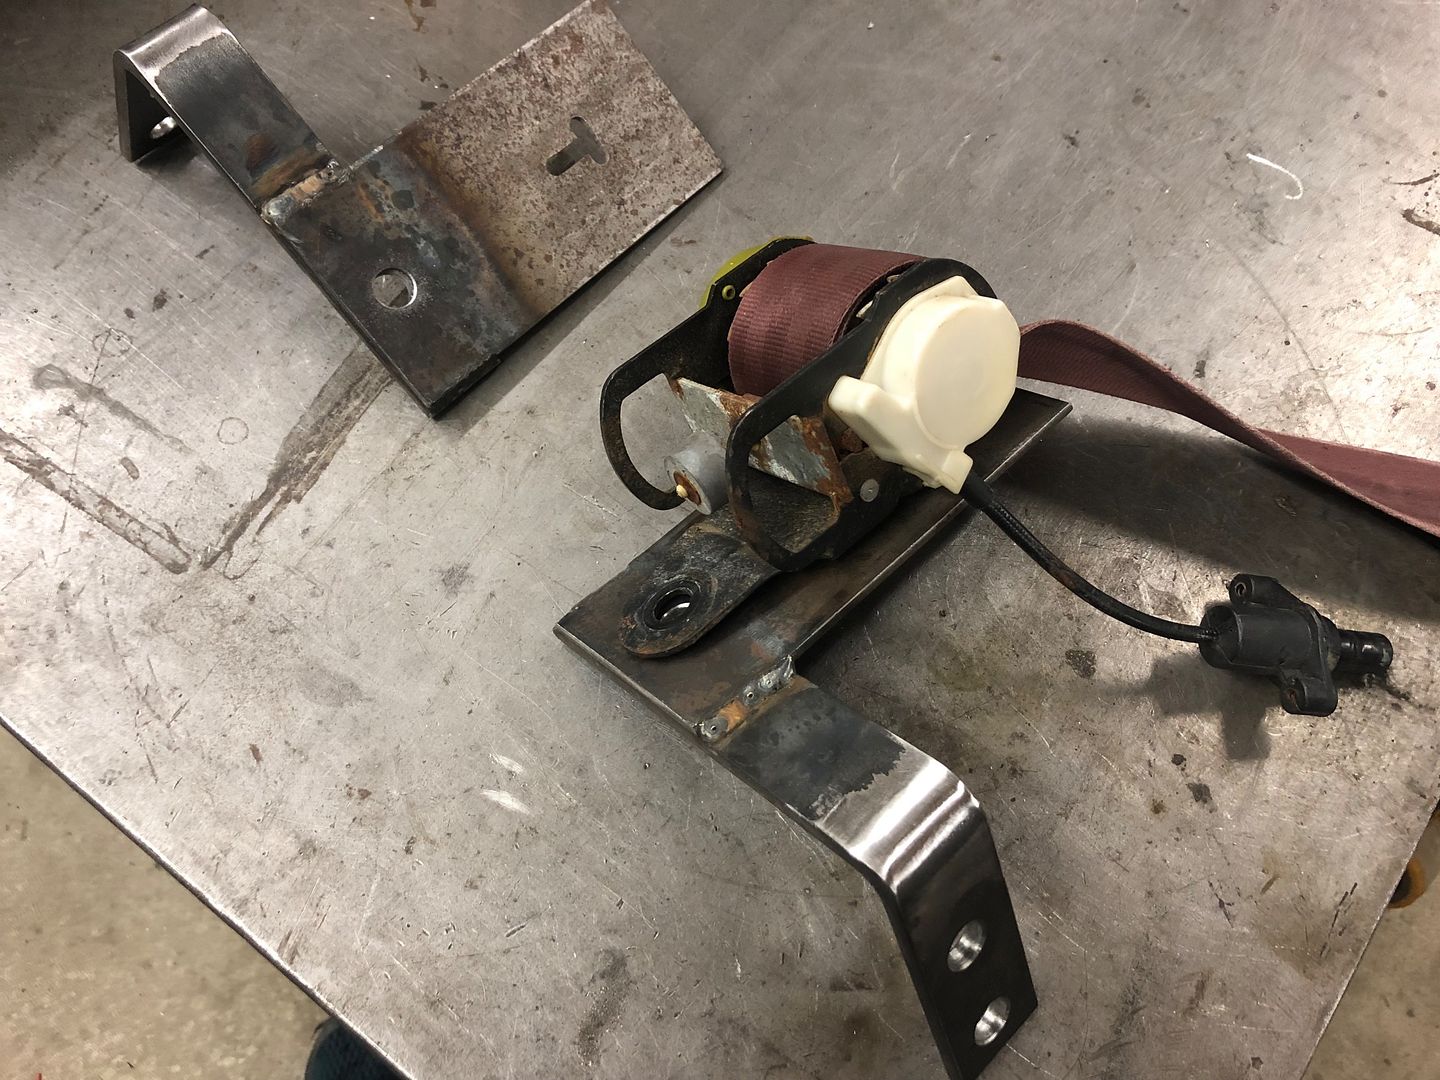
Then I machined in the T slots needed to fit the factory T on the back of the coilers:
 '
'
 '
'
 '
'
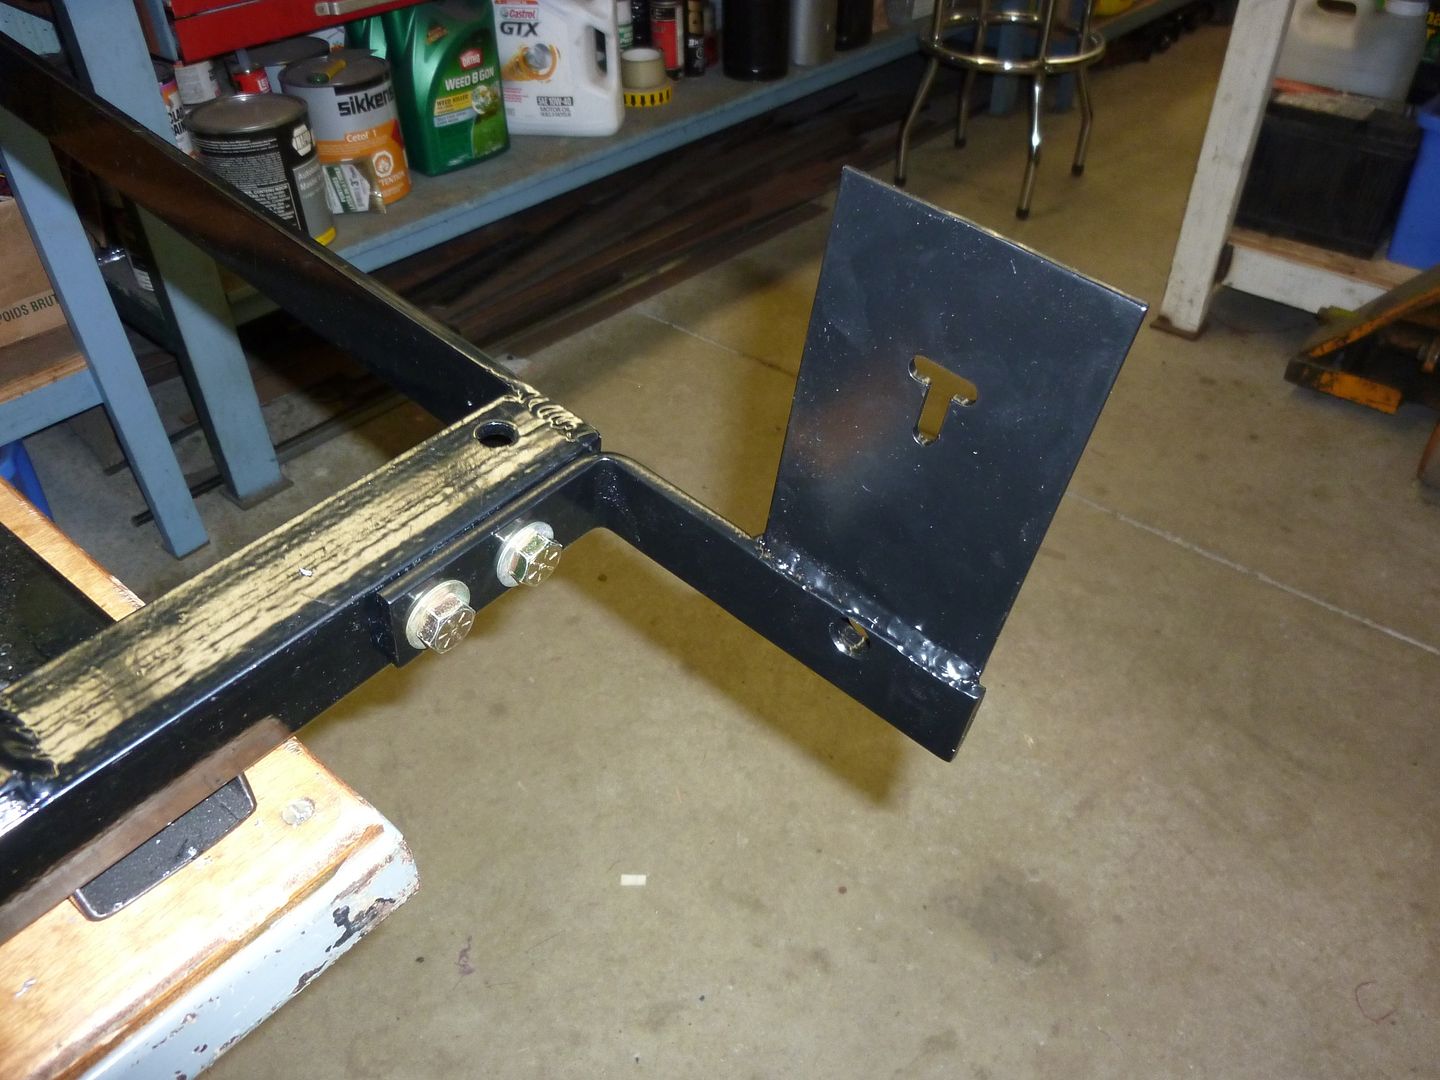
Once painted, they were installed:
 '
'
 '
'