
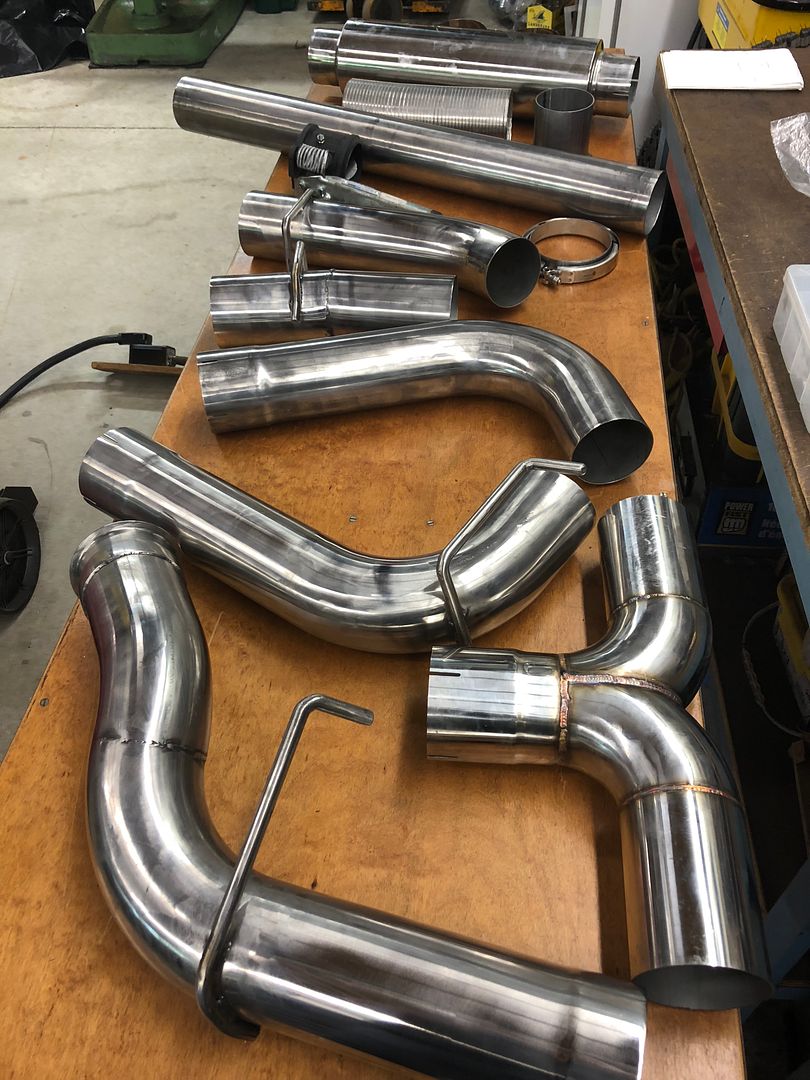
Once all the pipes were formed, I polished the pipes to better have a shine. One thing I love about 304, when polished, man does it have a shine! This was the result of the cleaned up pipes ready for install:
 '
'
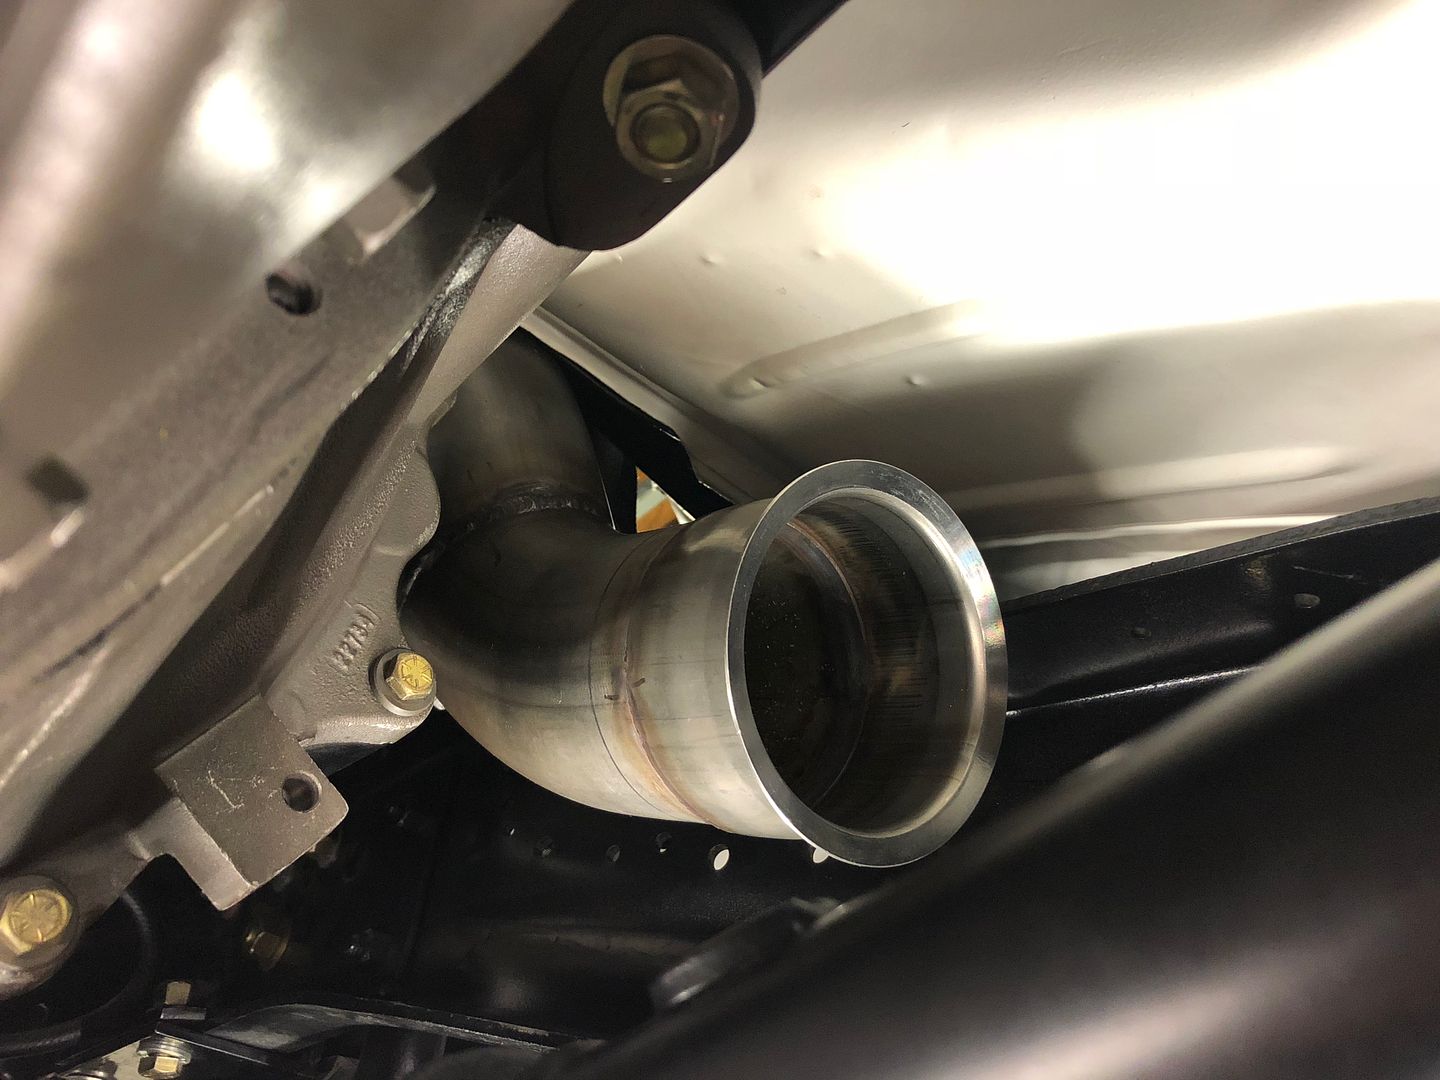
So, install began. Starting with the DP that was fabbed to be 4” right from the turbo, to then have a flange to mount the PRXB exhaust brake from Pacbrake:
 '
'
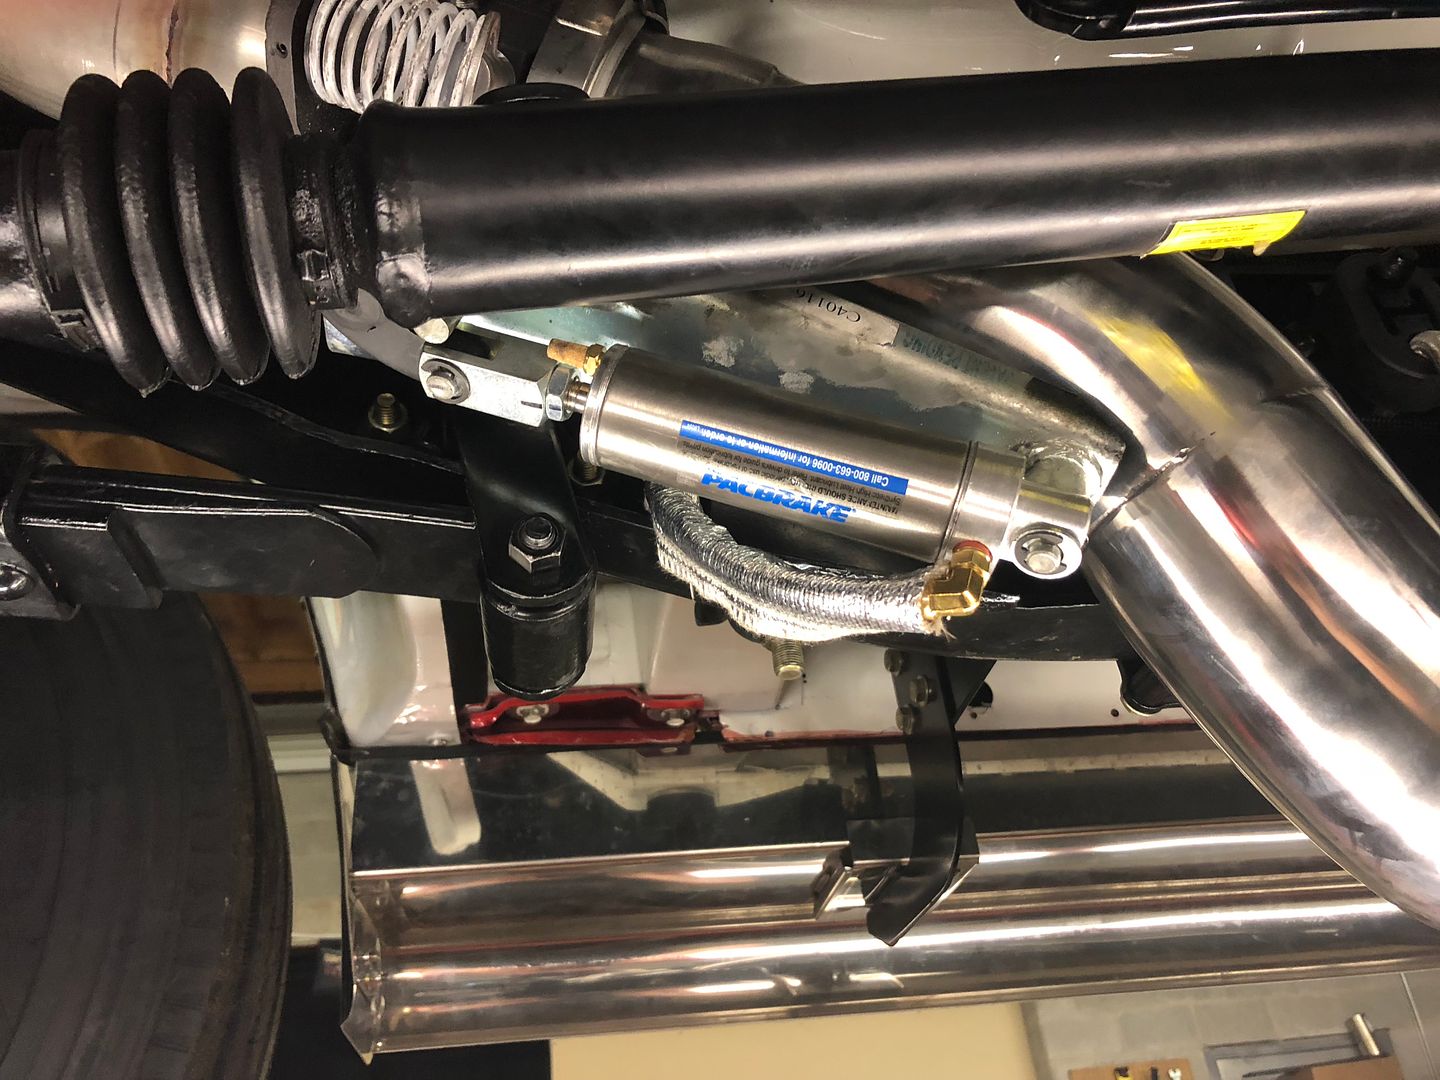
Next was PRXB Install:
 '
'
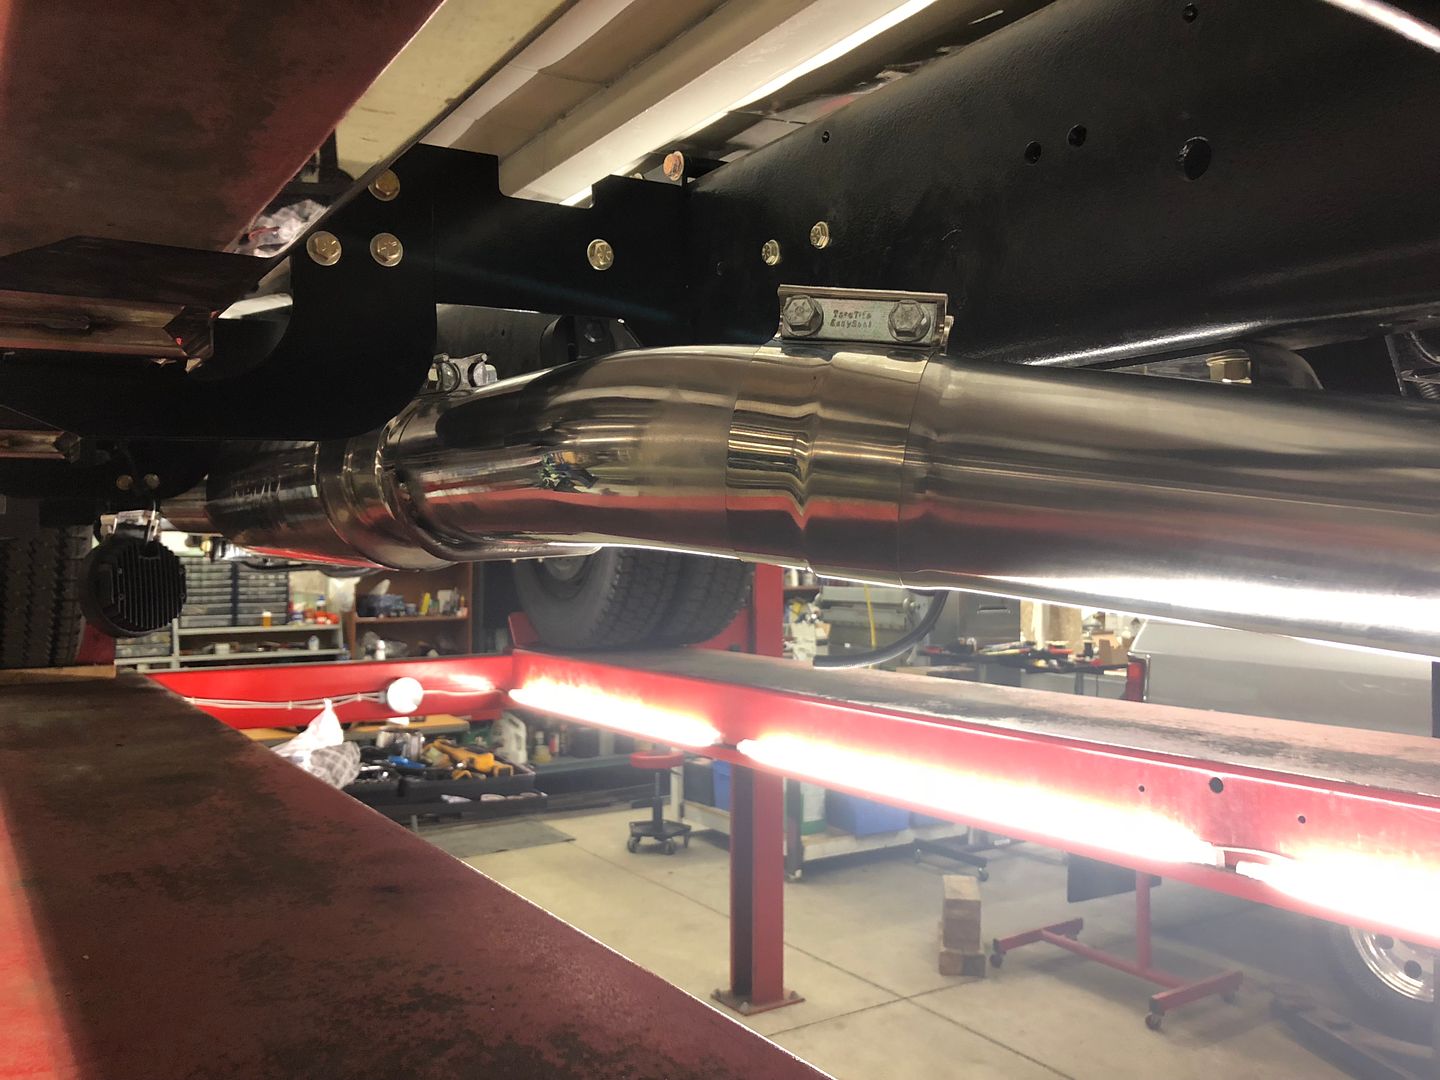
And then the pipe assembly that fed up to the stacks:
 '
'
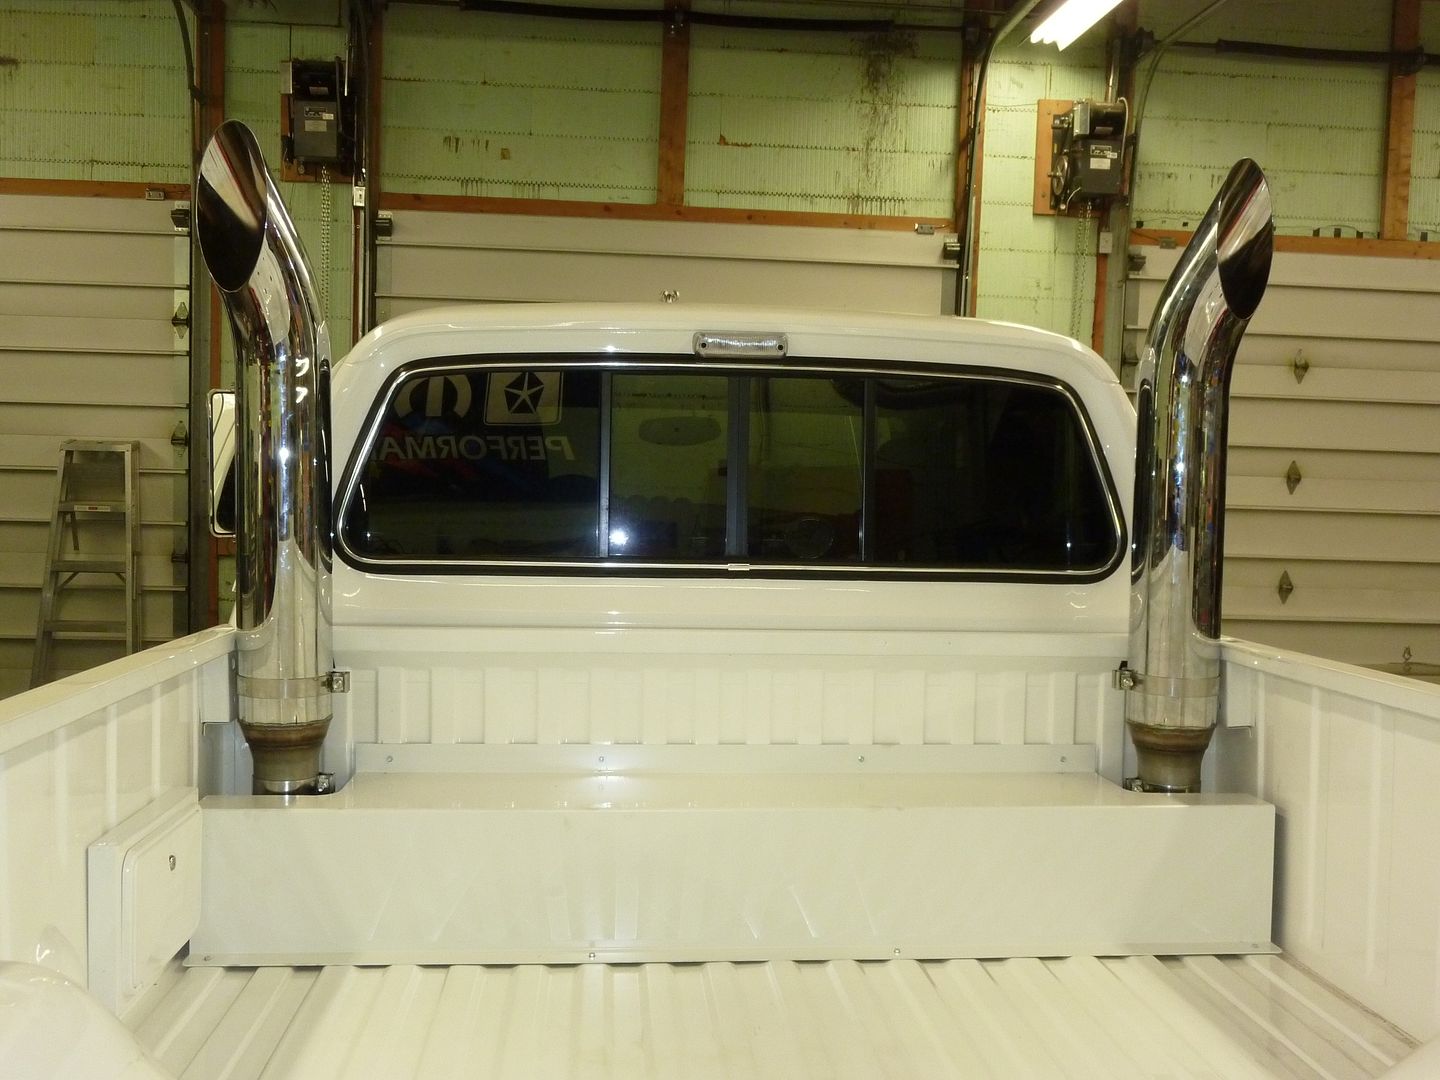
That pipe with a short section of flex pipe to absorb frame flex from torque, fed the stack section. This was the stacks with freshly painted stack cover:
 '
'
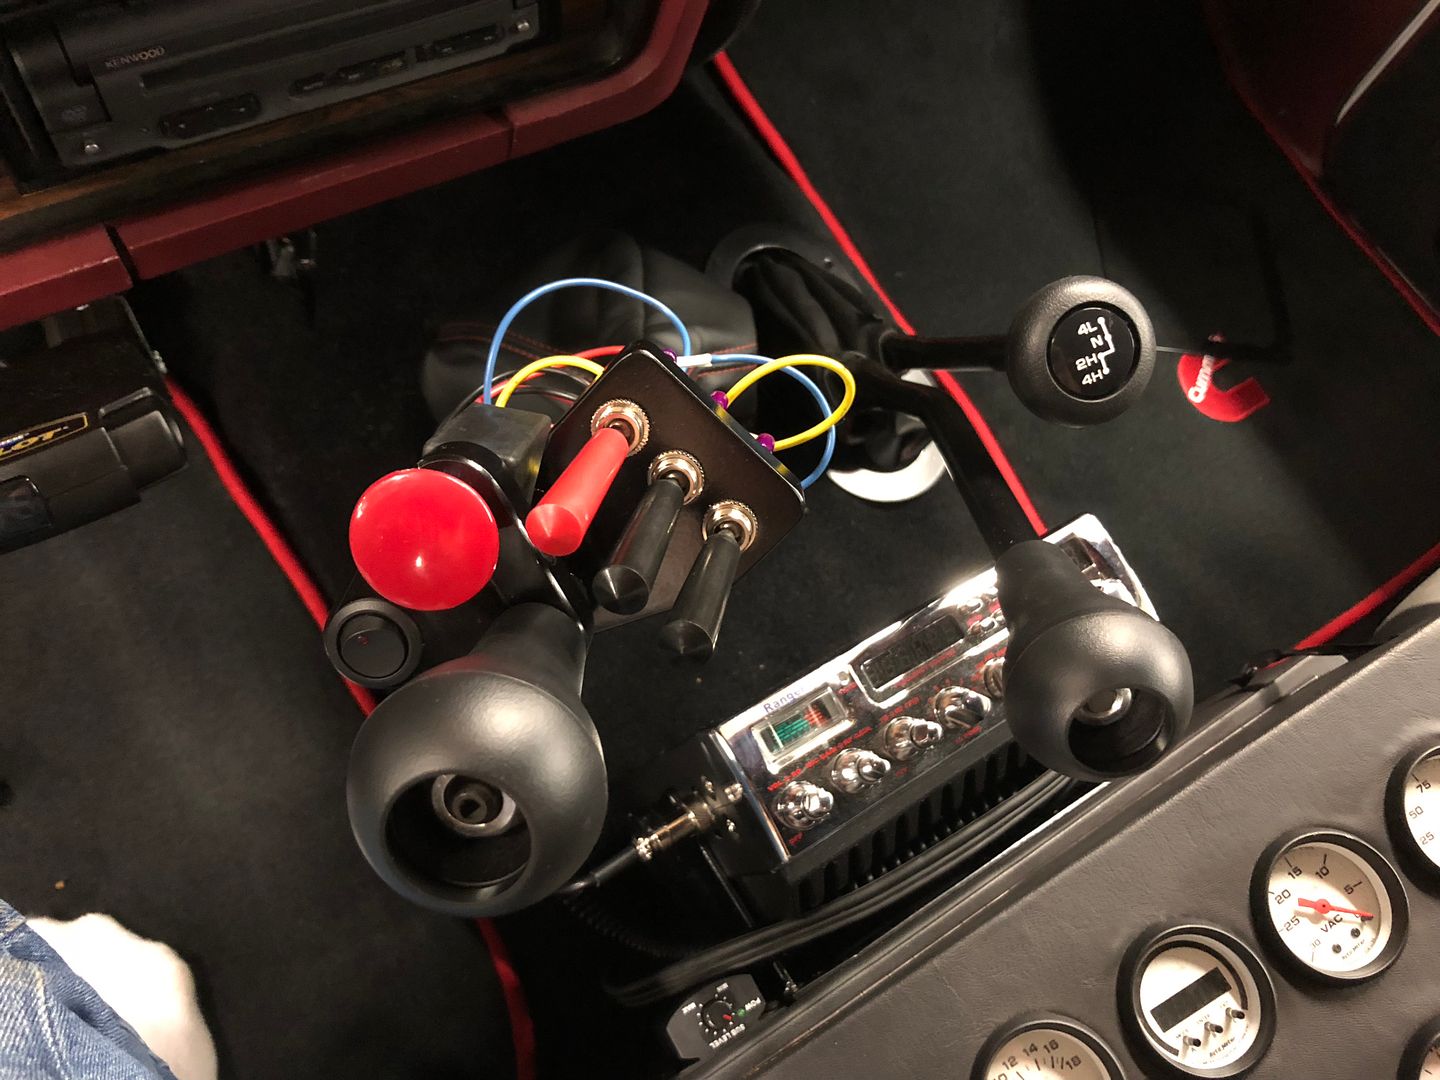
Next was to get the shifter switches fully sorted out. For me, I tend to rest my hand on the shifter when I drive. So that is a very convenient spot to put any controls that I may need while driving. Critical items I identified as needing to flick on and off multiple times while driving include:
– Under bumper pencil beams
– Under bumper flood lights
– Horton fan clutch
– Gear Vendors splitter engagement
– Exhaust brake
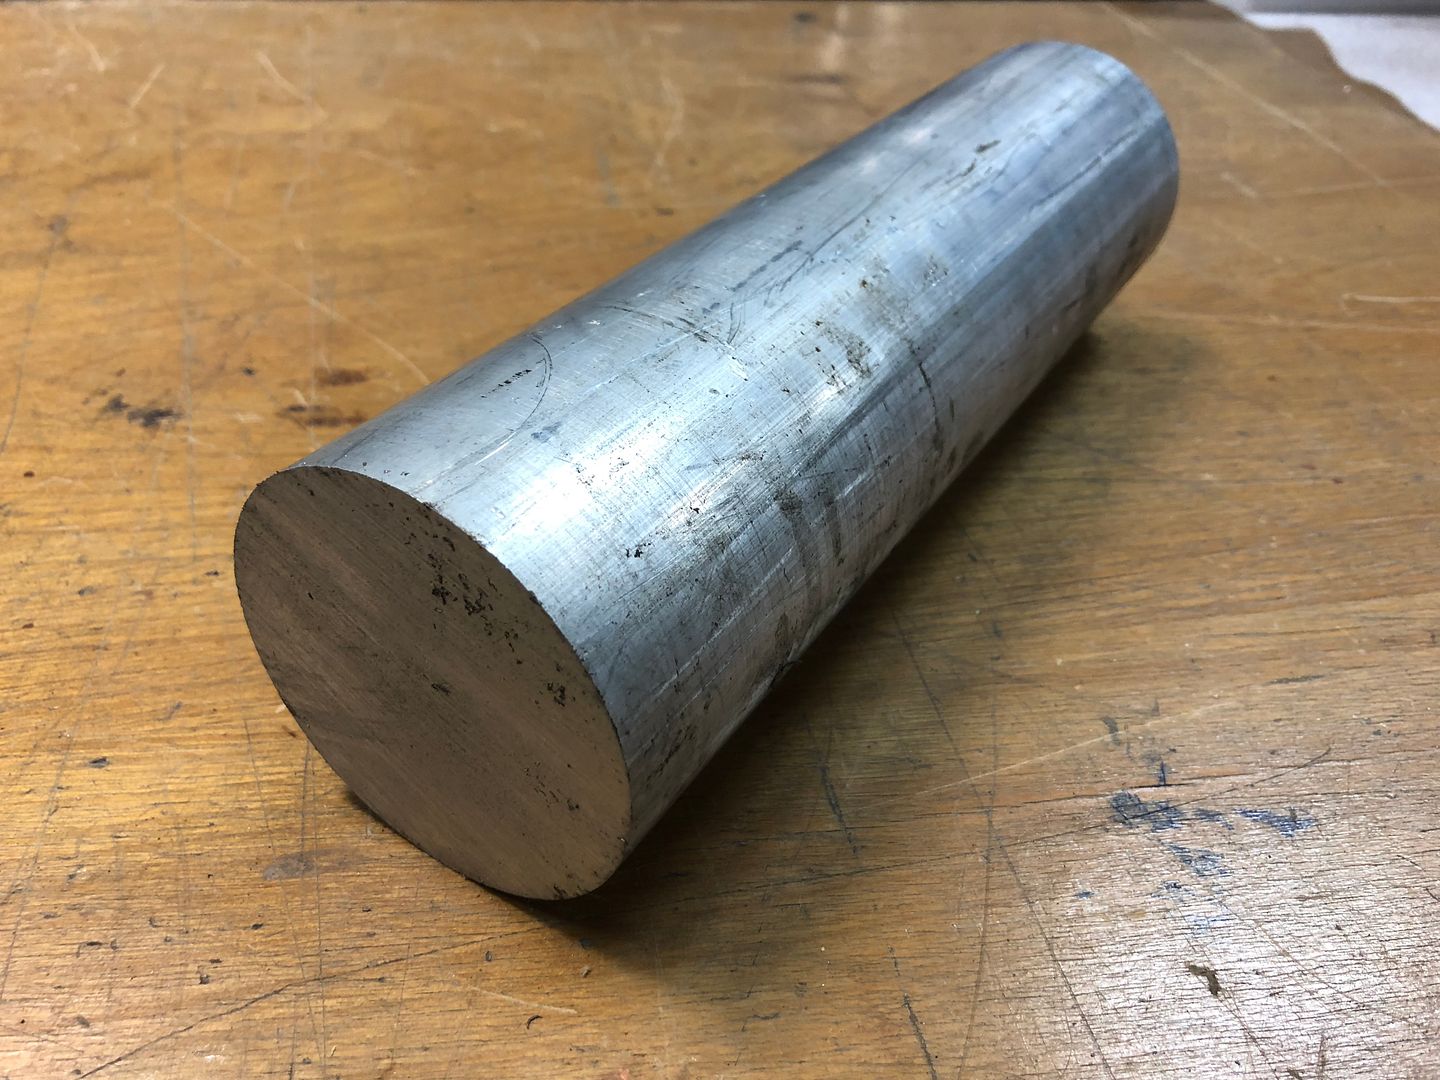
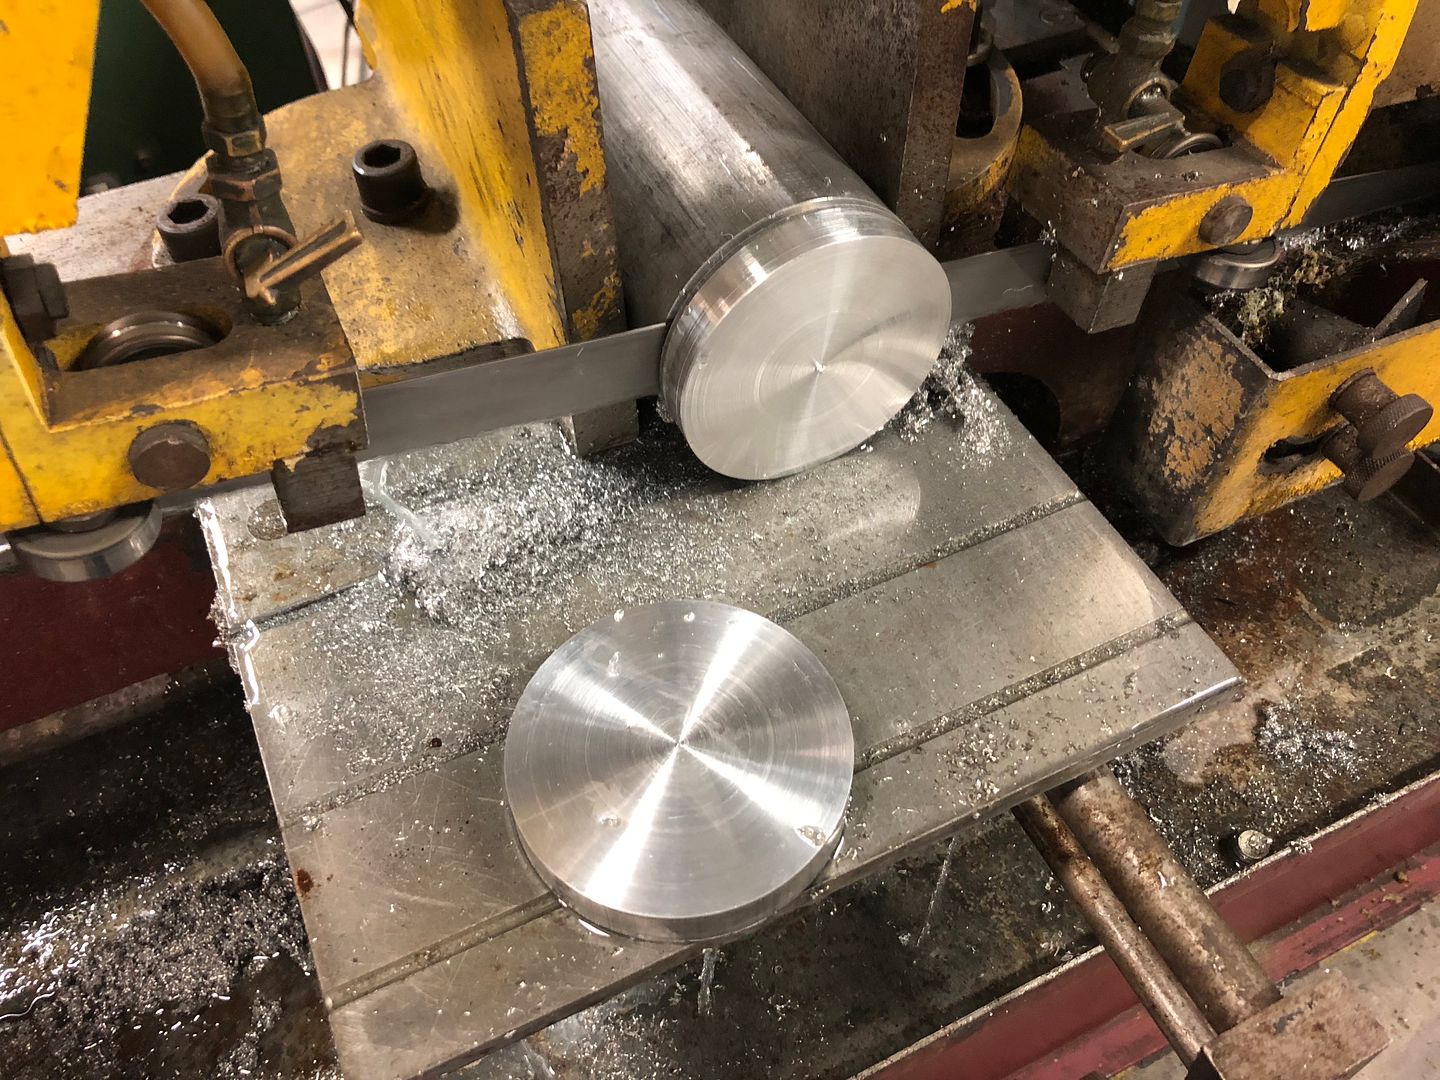
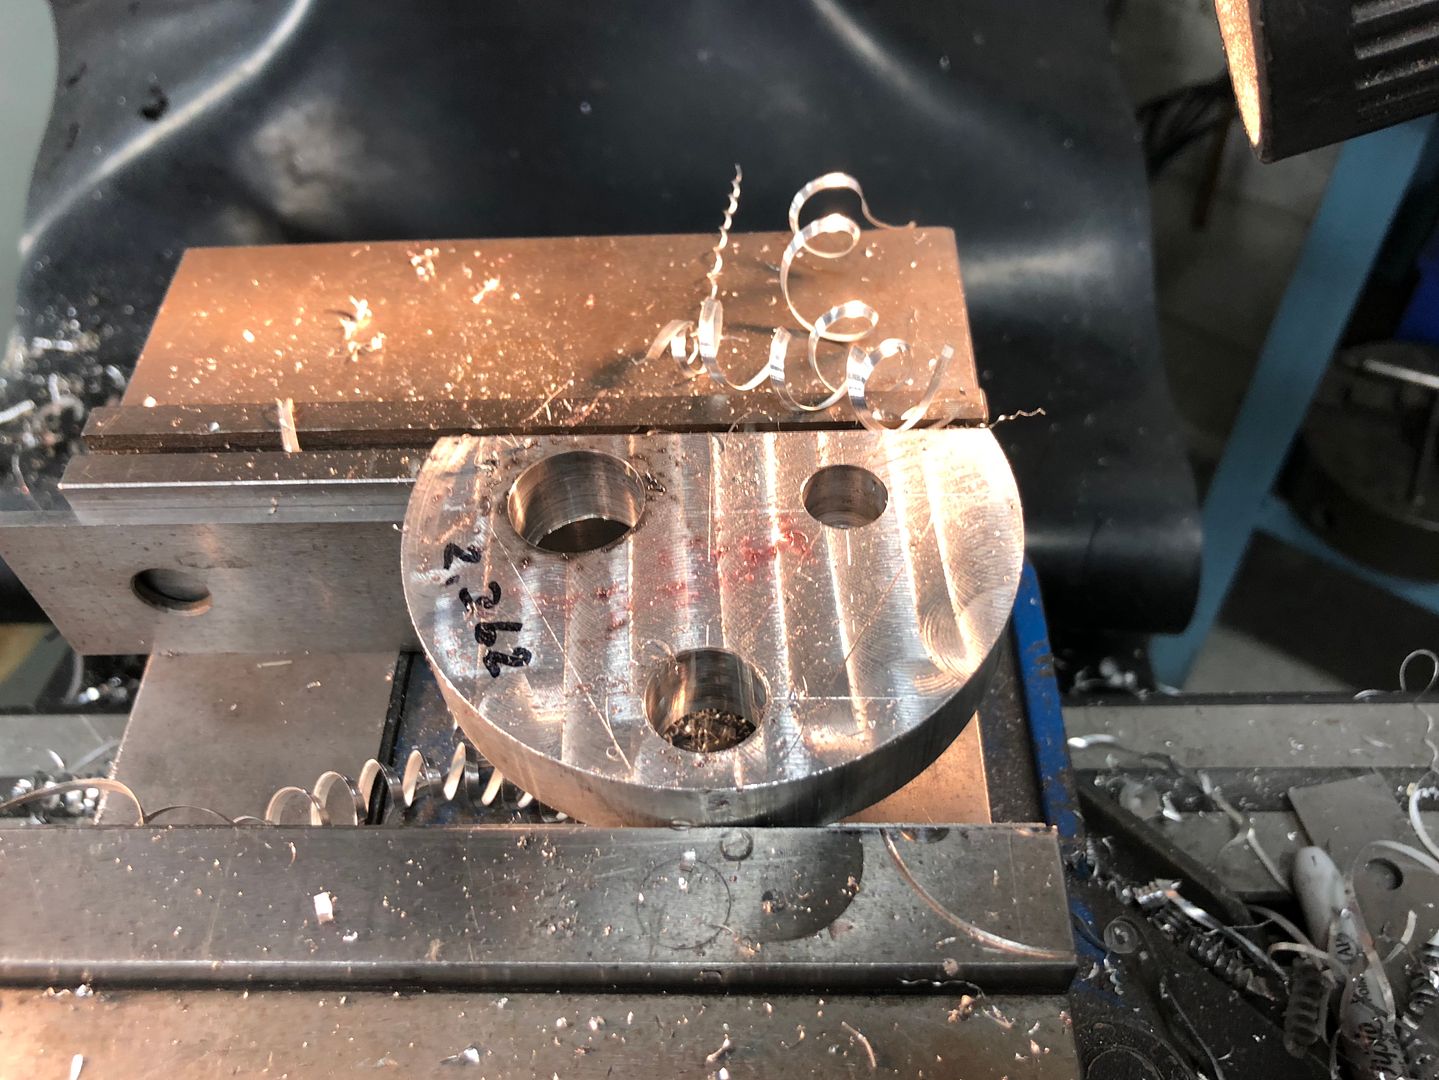
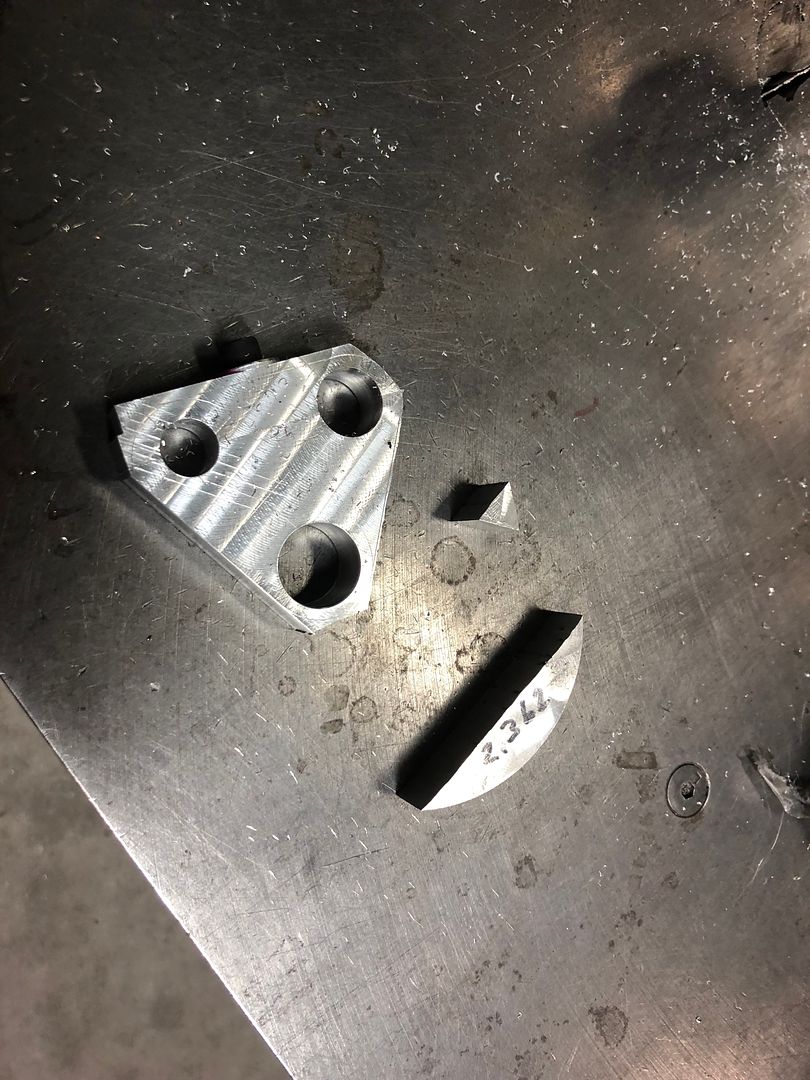
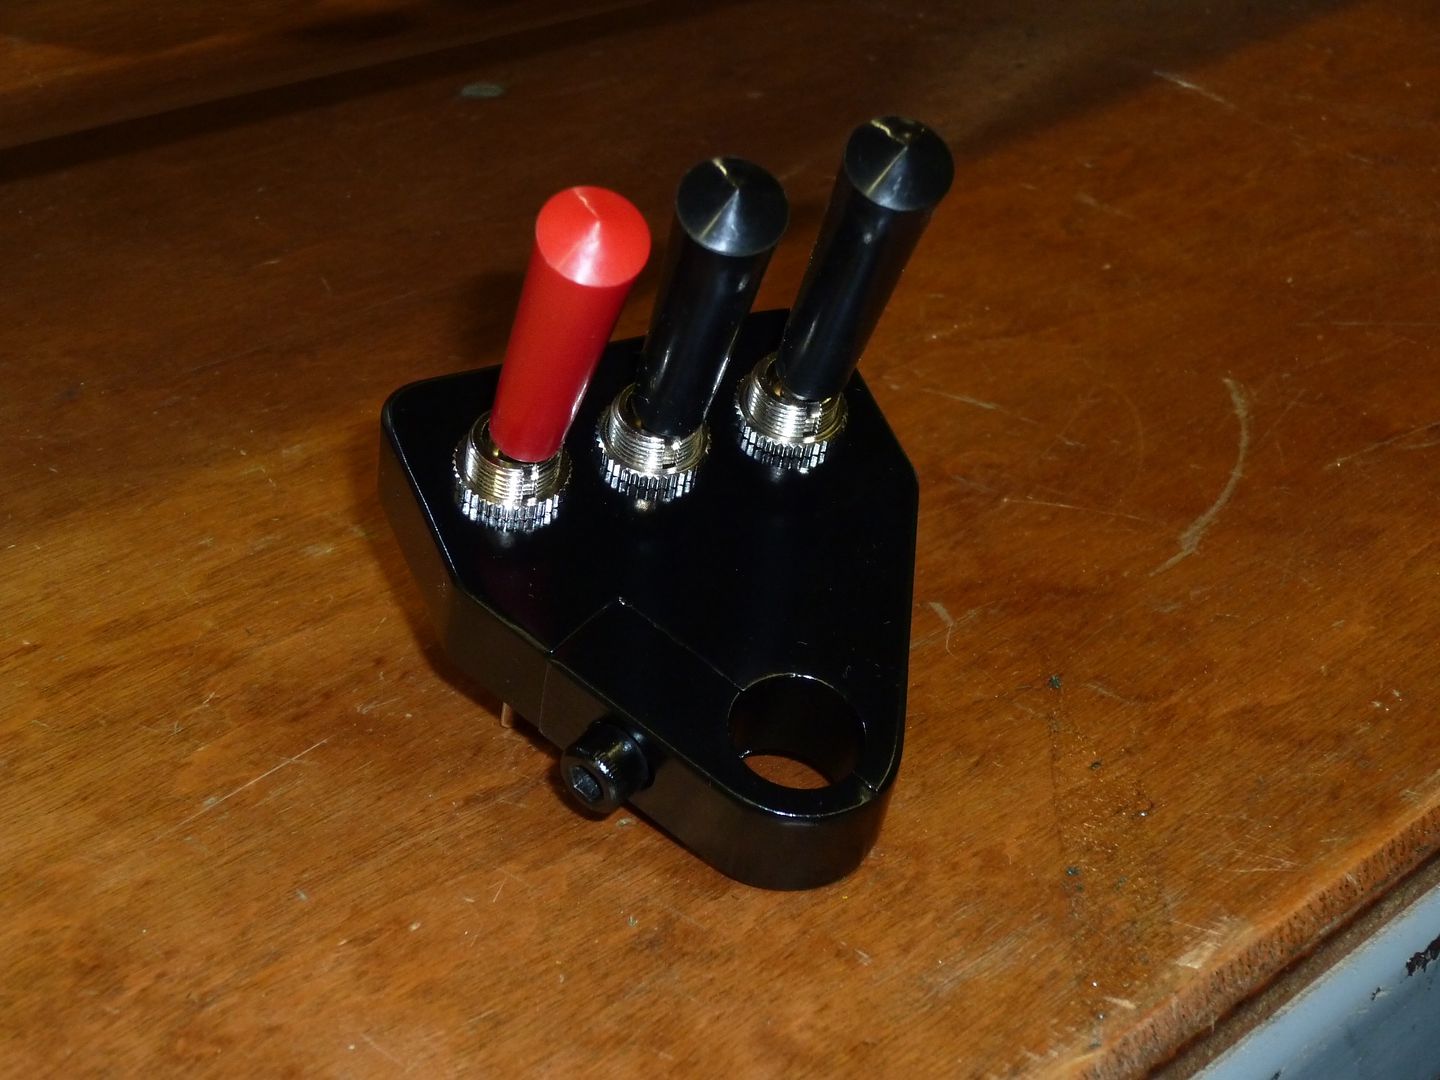
These are the items I will most use. As such, I need to get all 5 onto the shifter. Those of you who were paying attention likely saw the wires around the shifter area when I was doing the wiring. So I needed a switch holder. So fabrication began with a chunk of billet aluminum that I slowly chopped down to size and shape:
 '
'
 '
'
 '
'
 '
'
 '
'
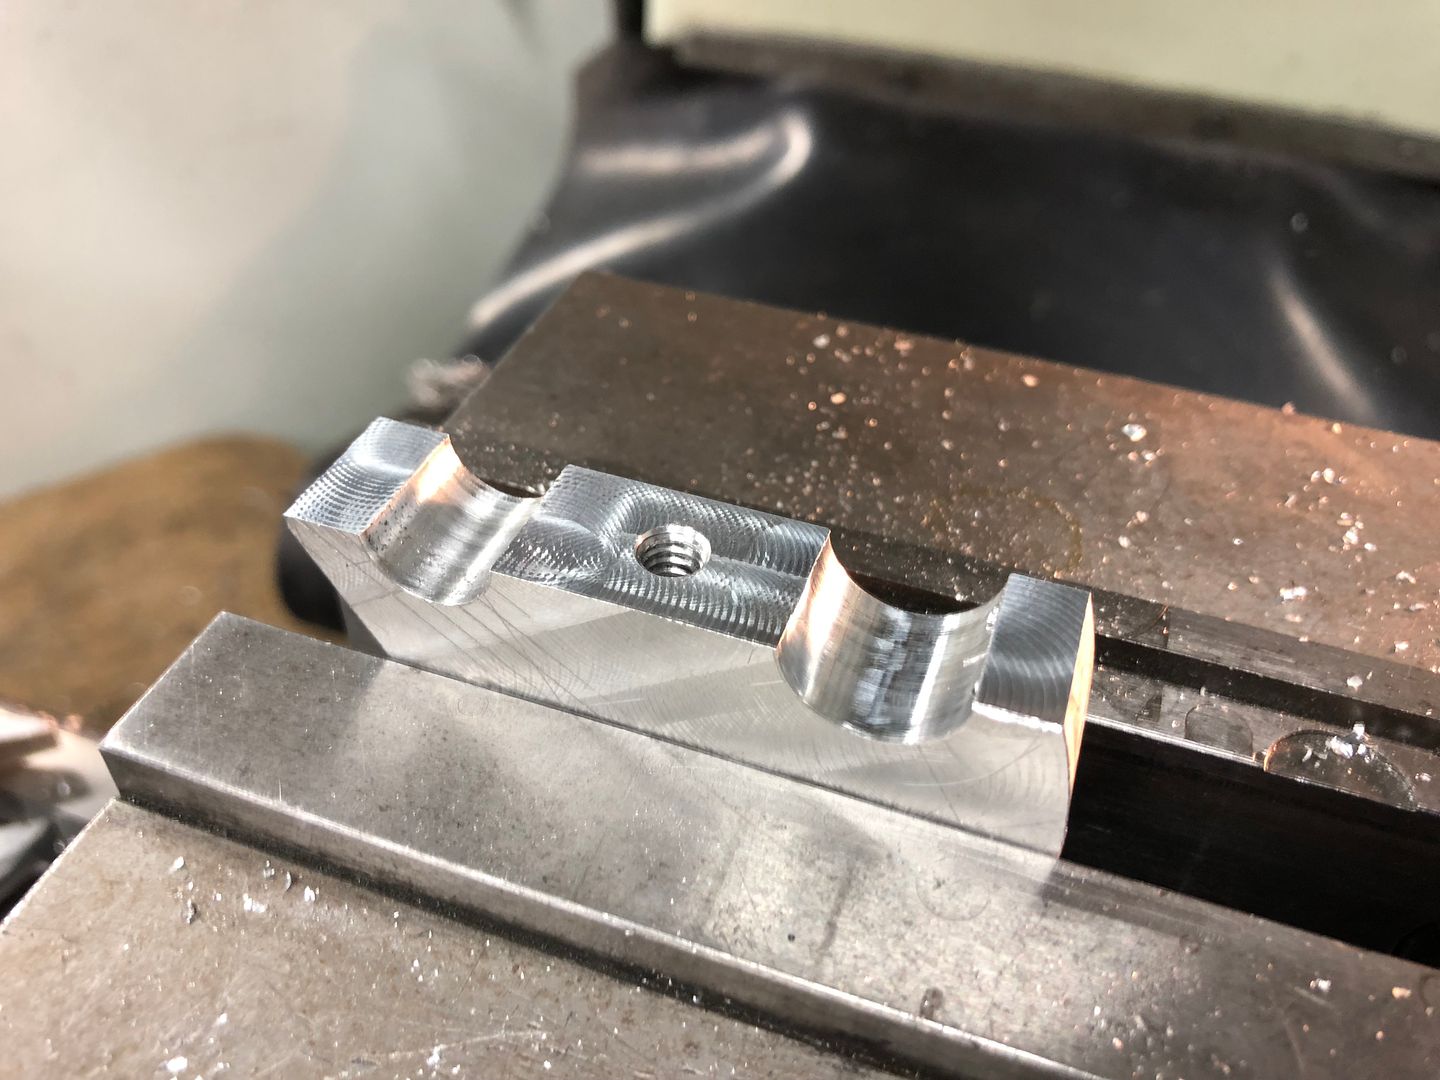
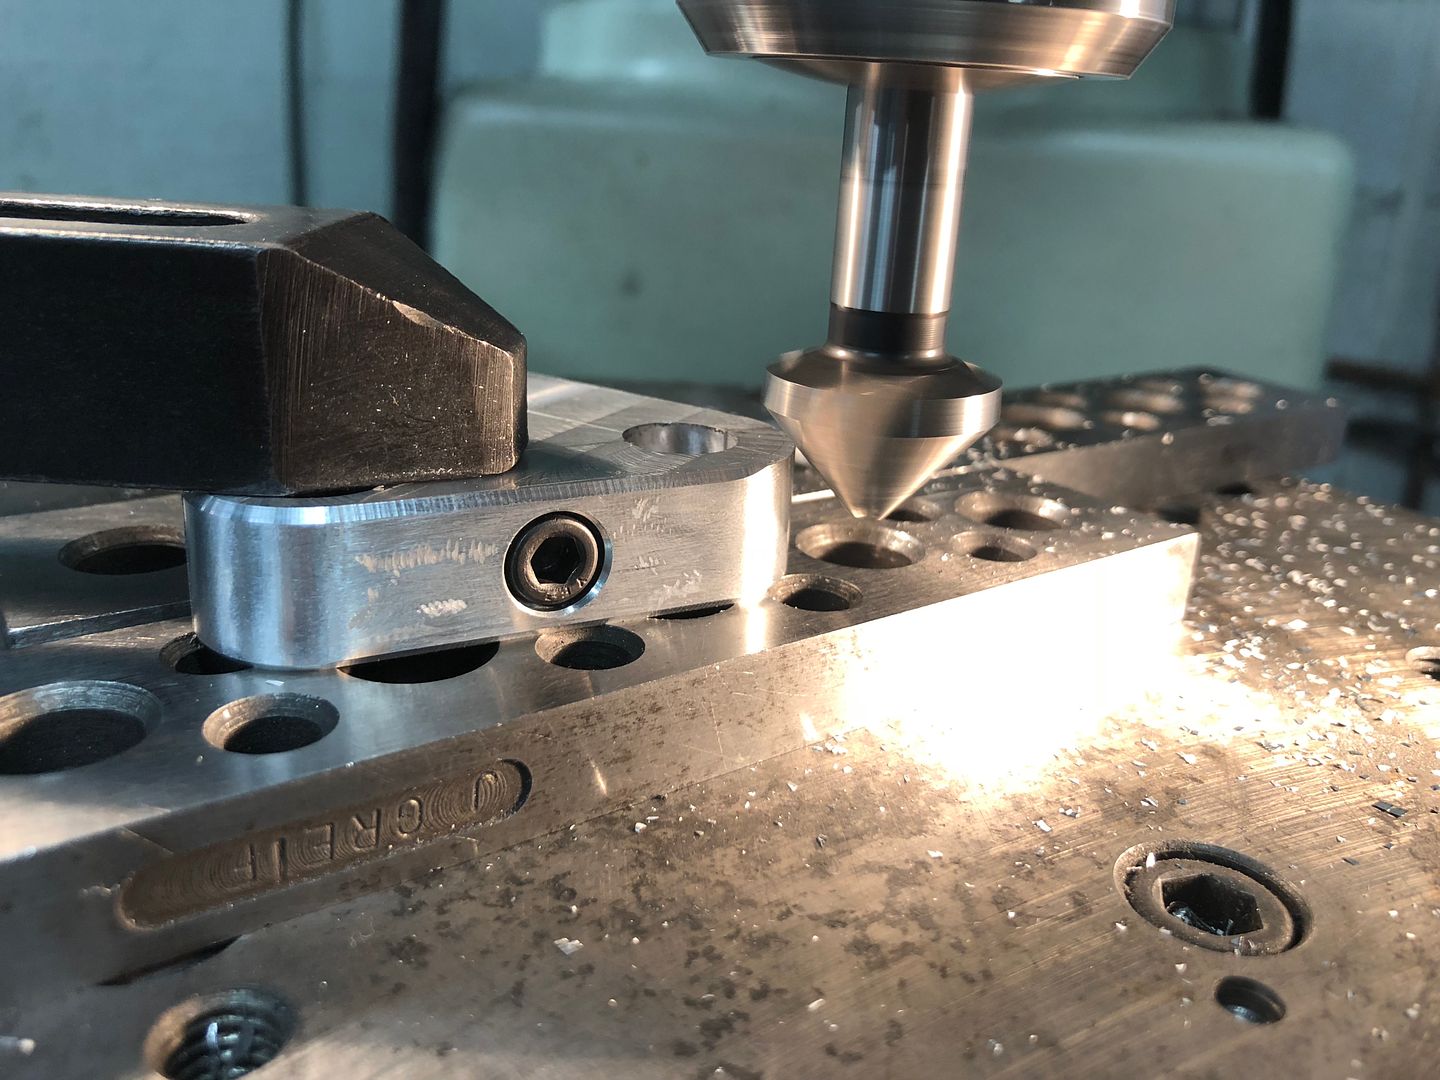
Drilled and tapped one side:
 '
'
 '
'
 '
'
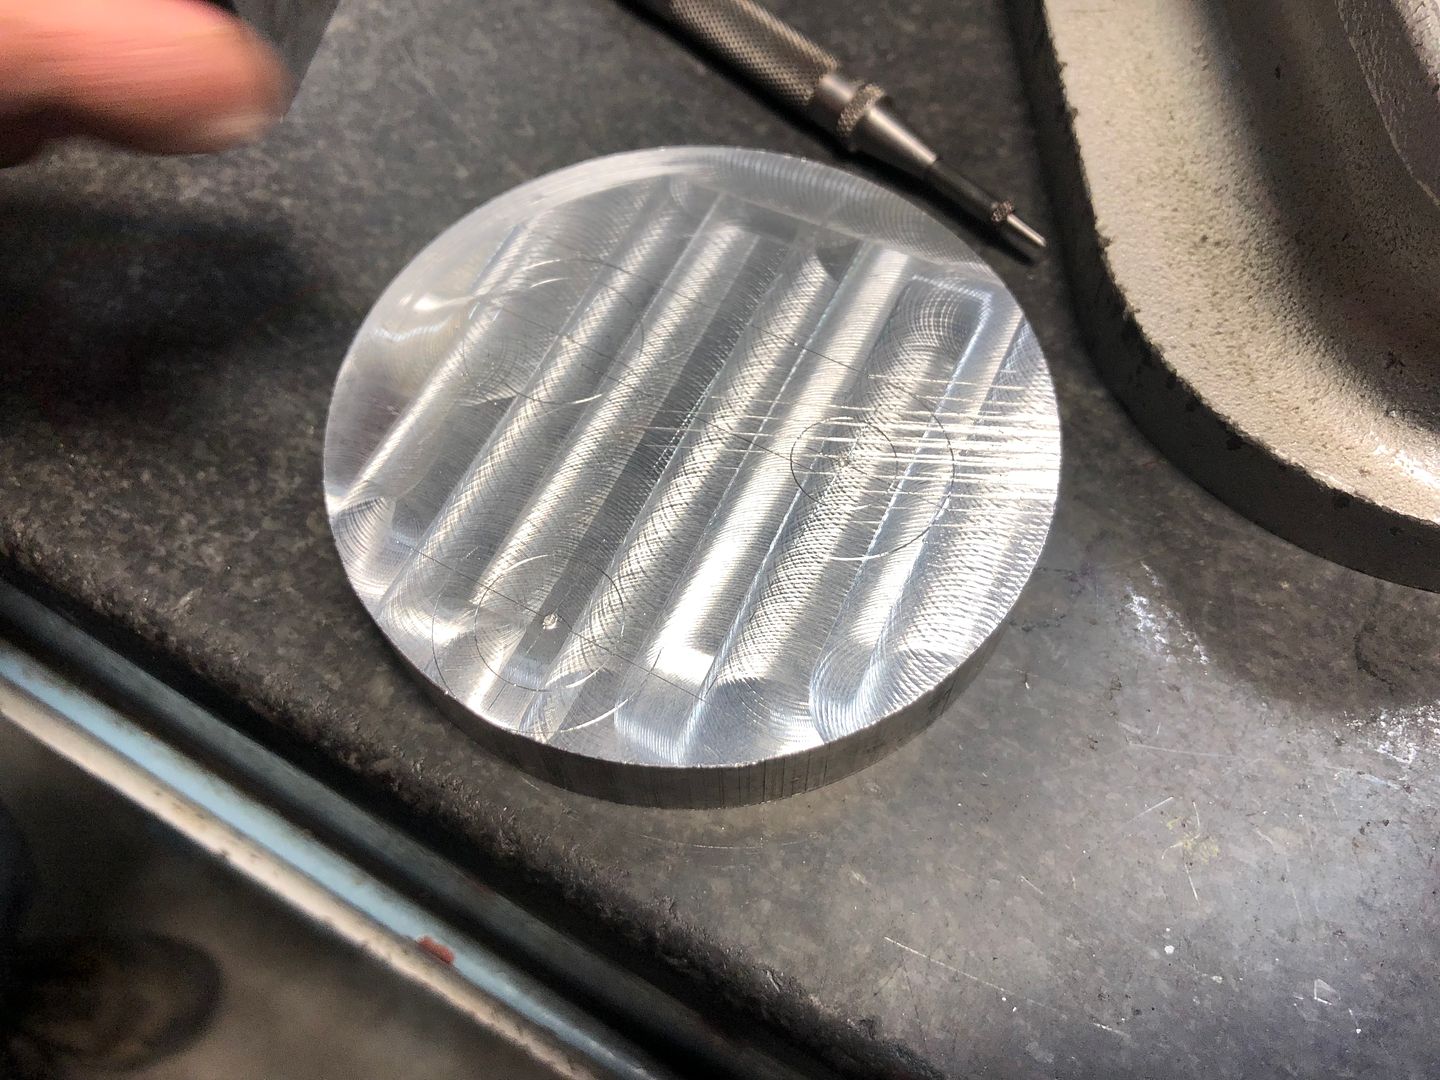
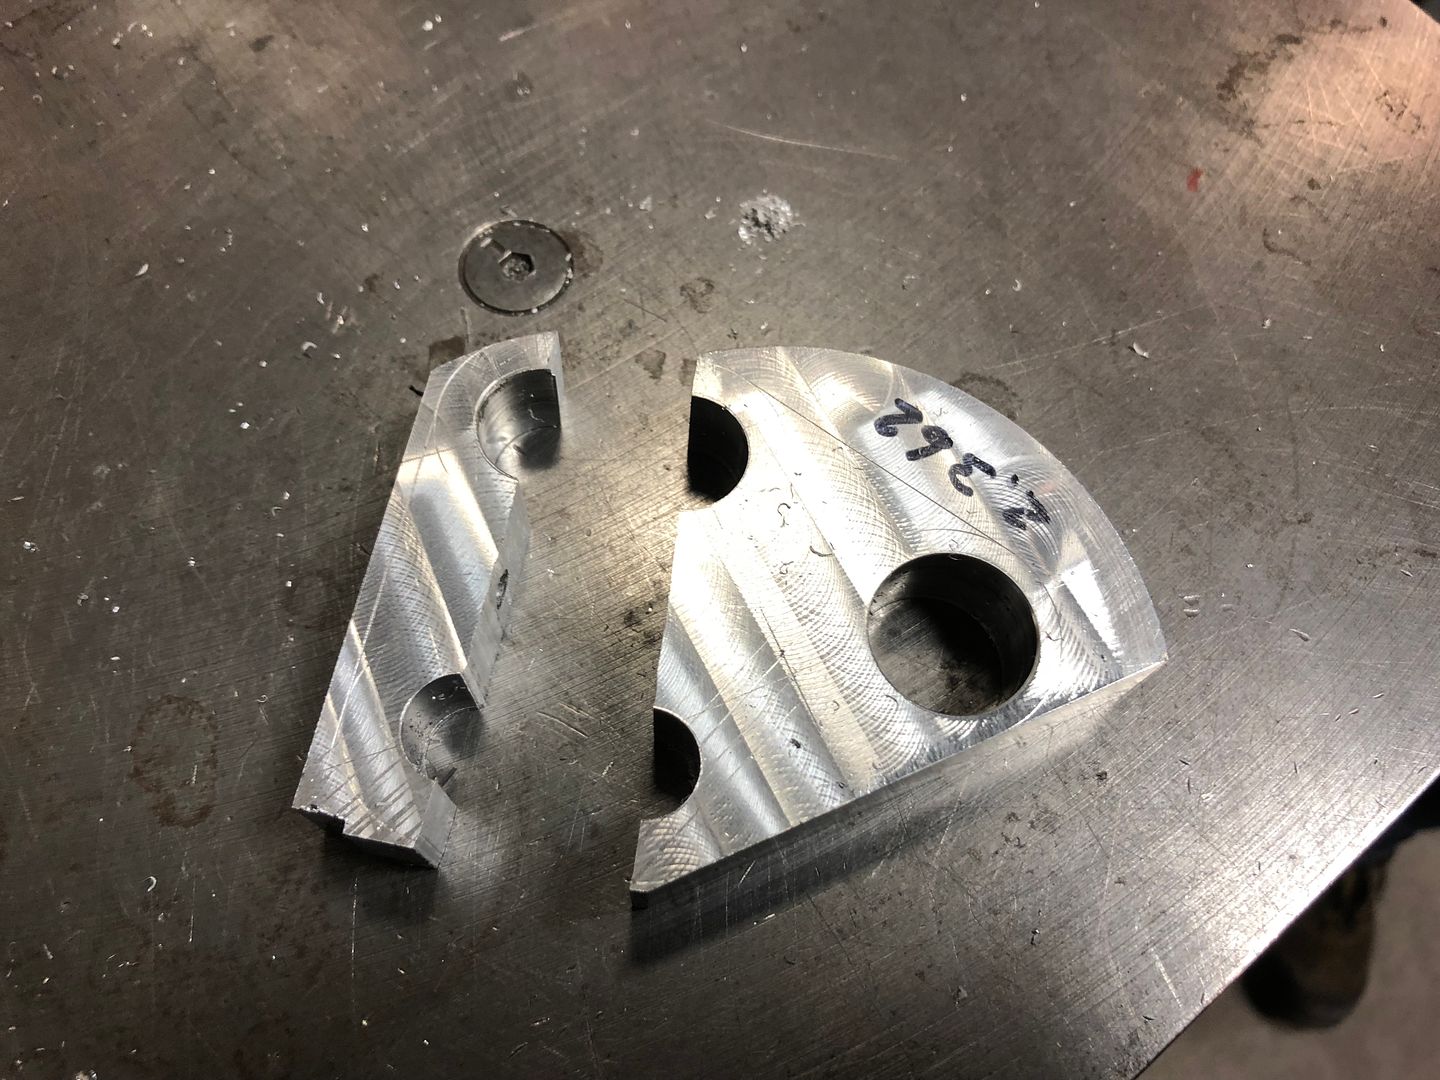
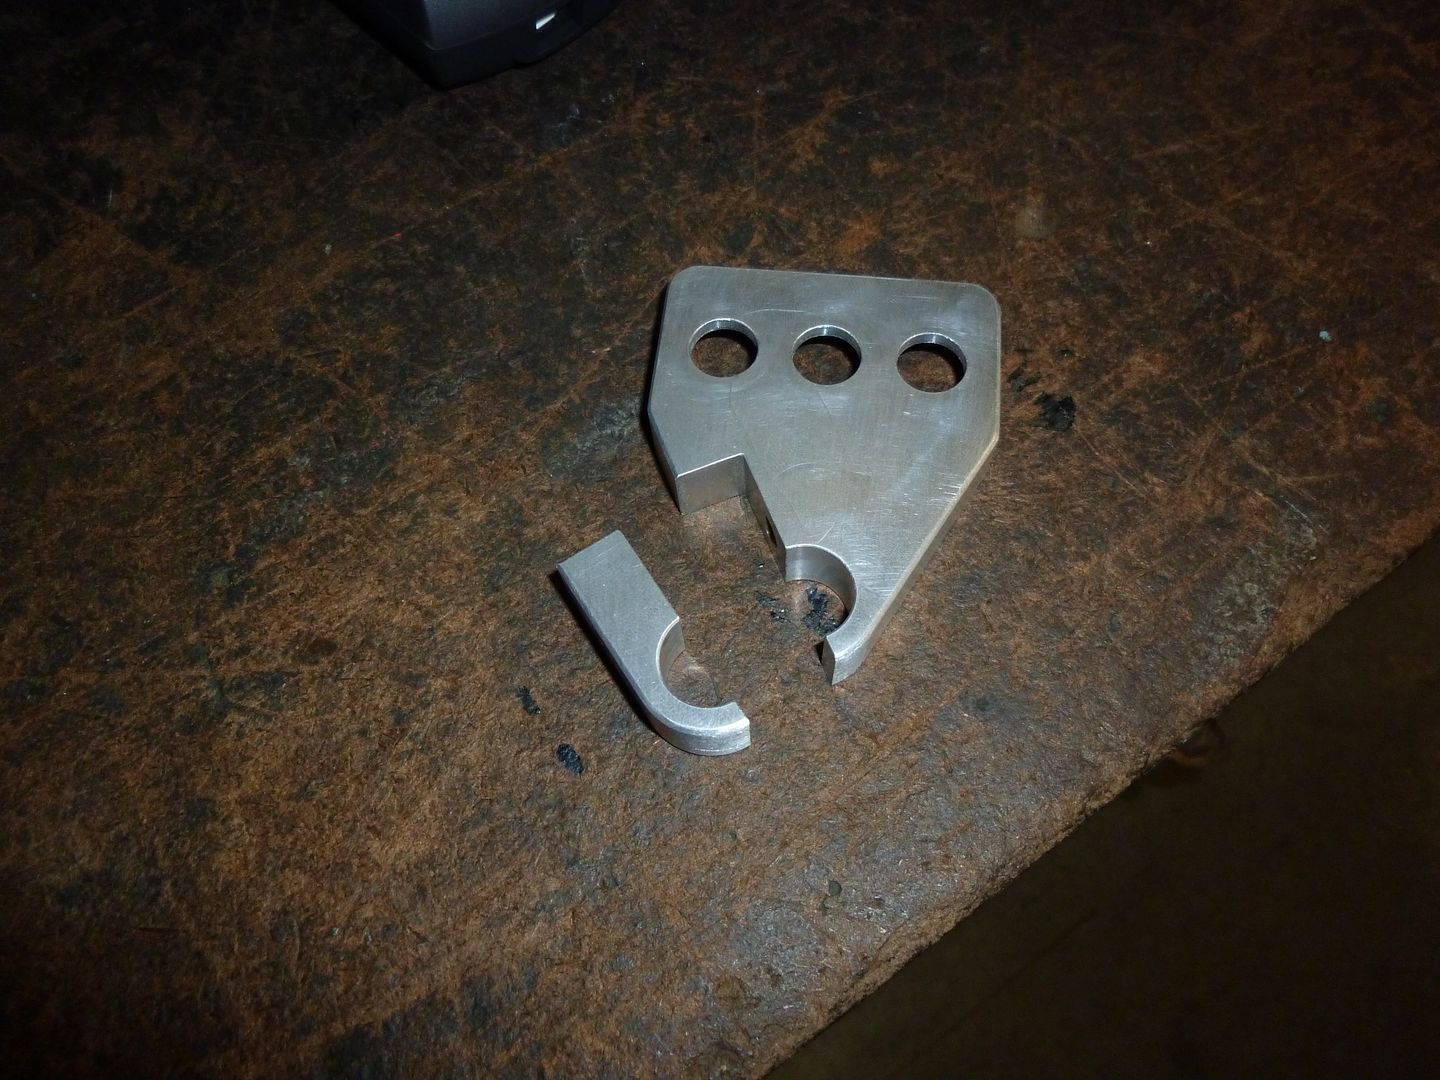
Now I started rounding the edges:
 '
'
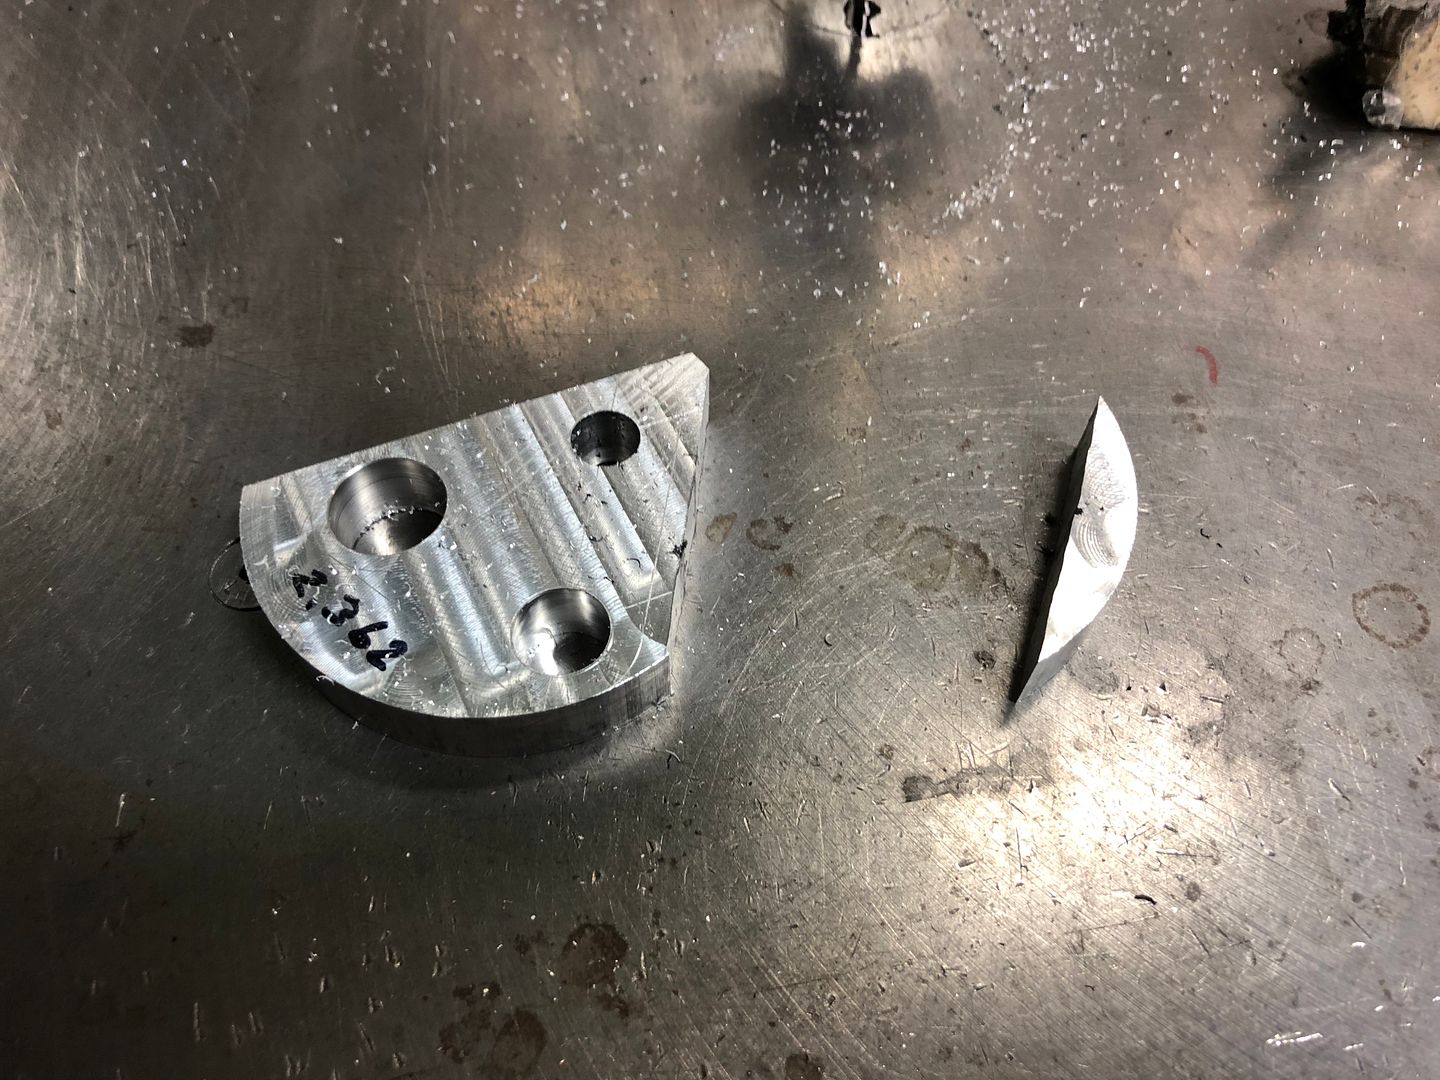
And when all the chips stopped flying, this was the result:
 '
'
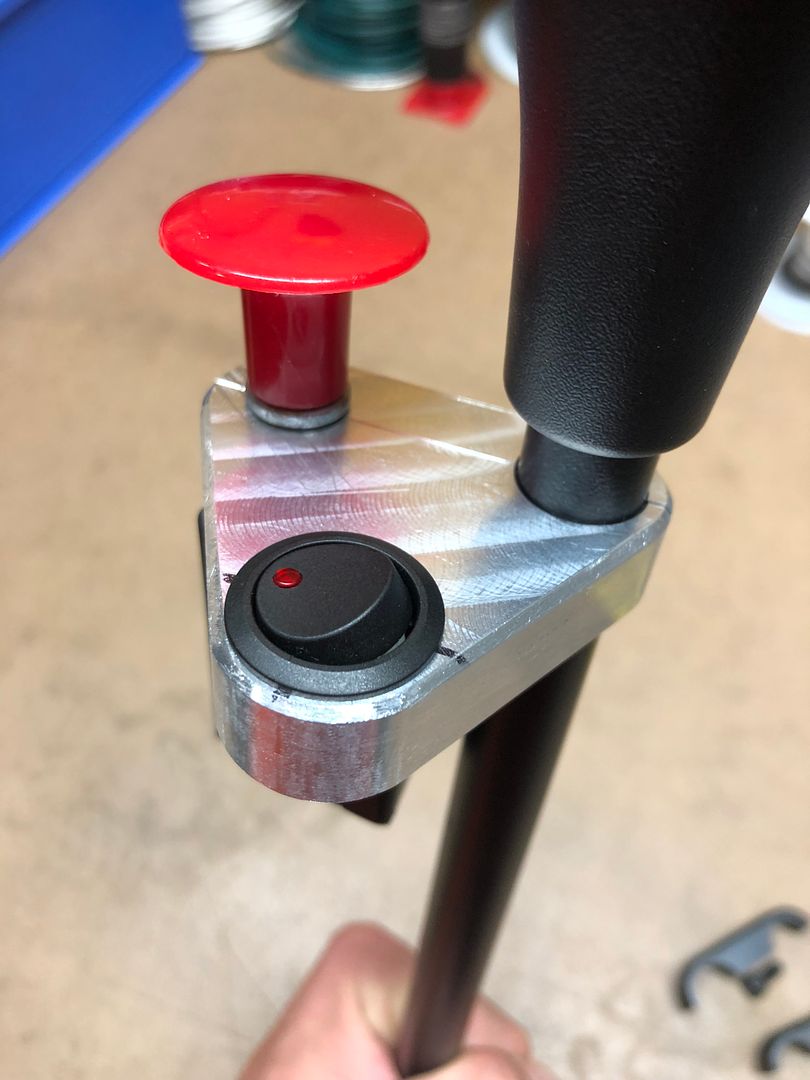
I then made a second one for the toggle switches:
 '
'
And once I got it back from powder coating, I installed the switches so it was ready to install onto the shifter:
 '
'
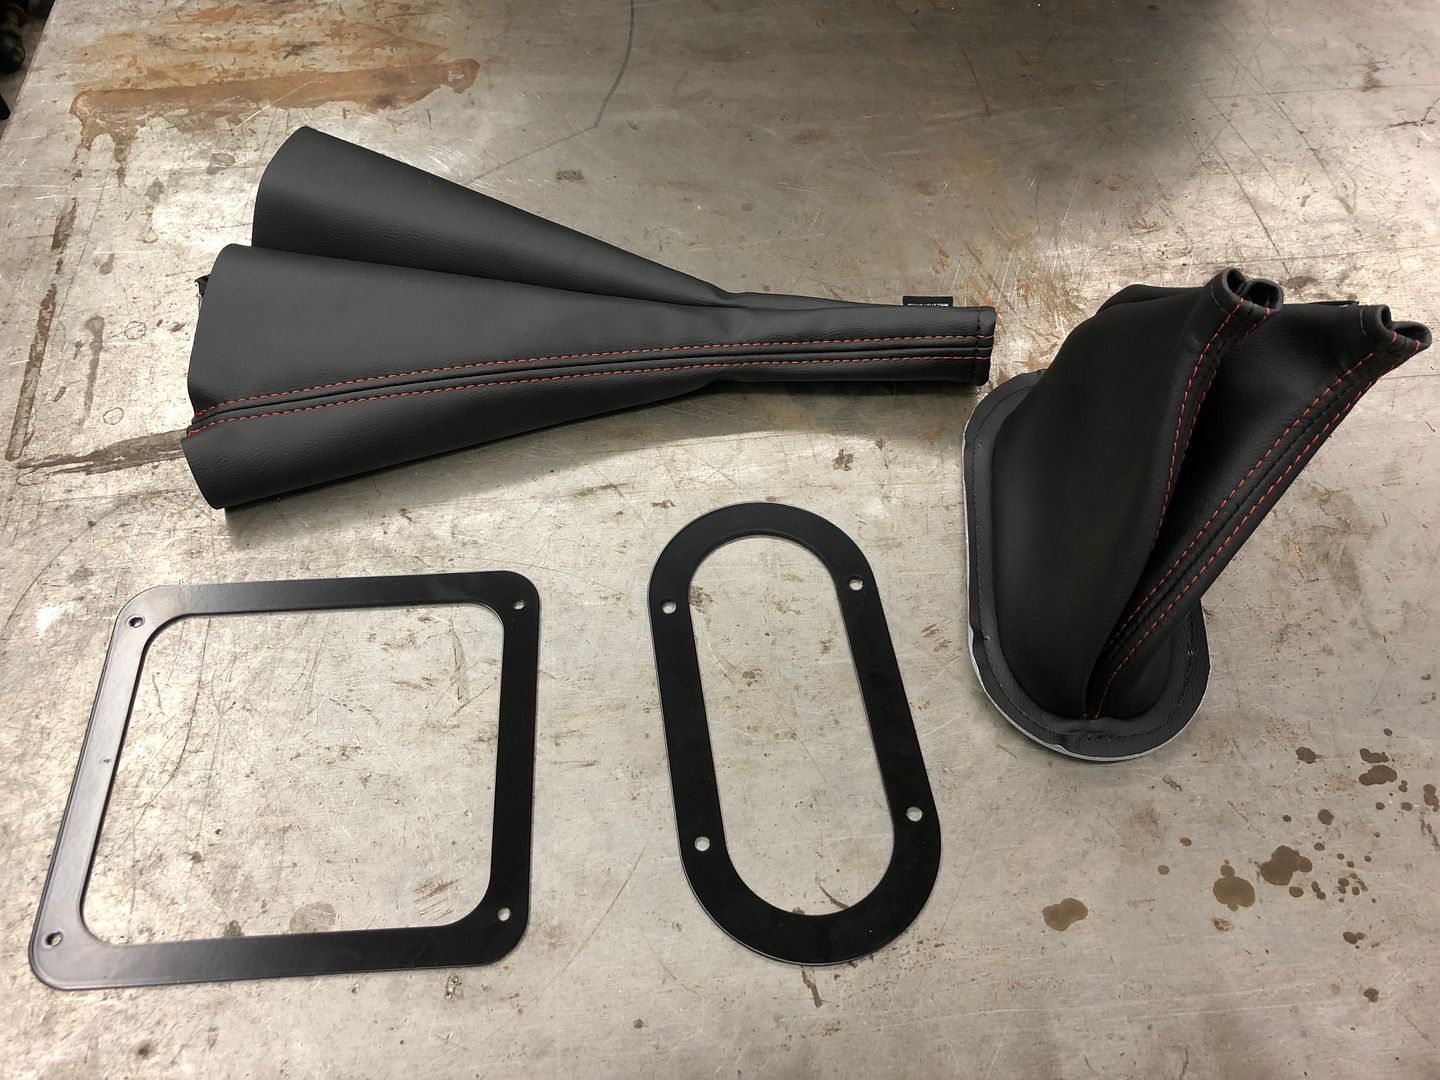
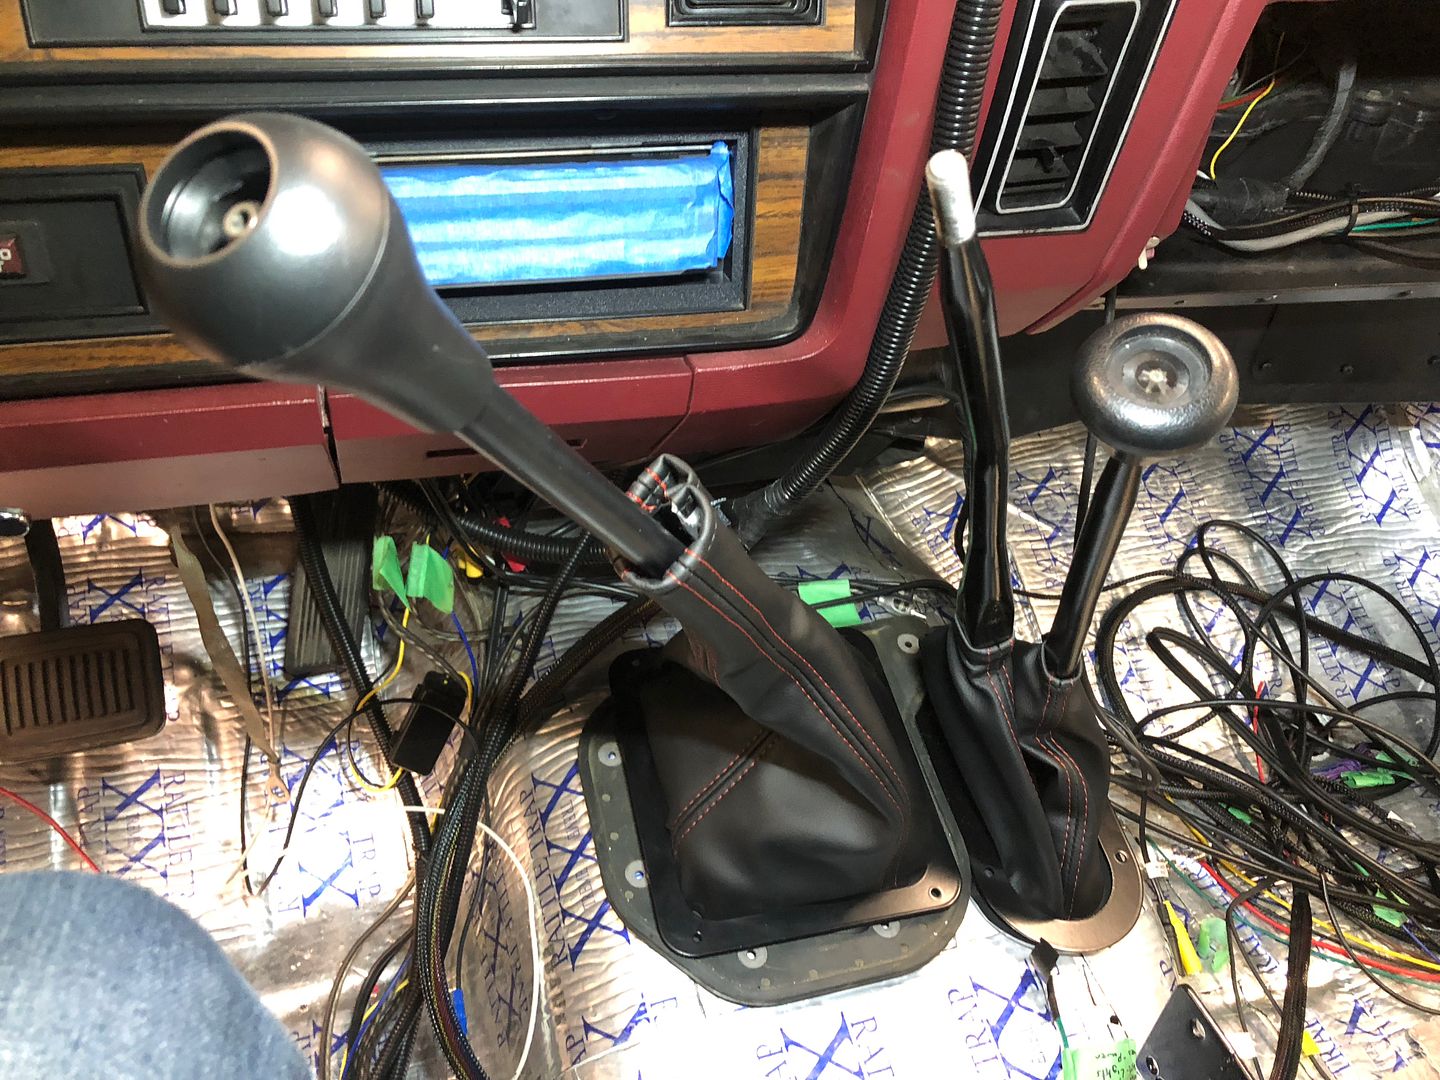
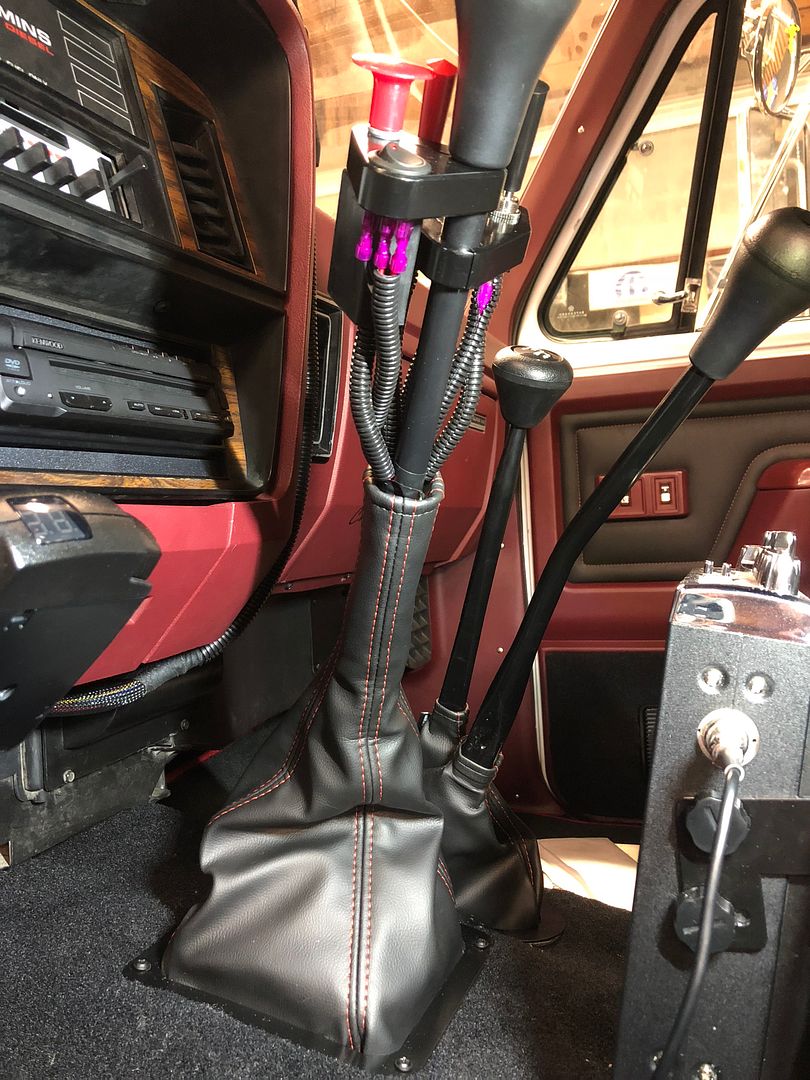
So the final install on the shifter, needed the shifter boots on. Haven’t shown these yet, but I had these custom boots made to match the red/black color theme.
 '
'
 '
'
 '
'
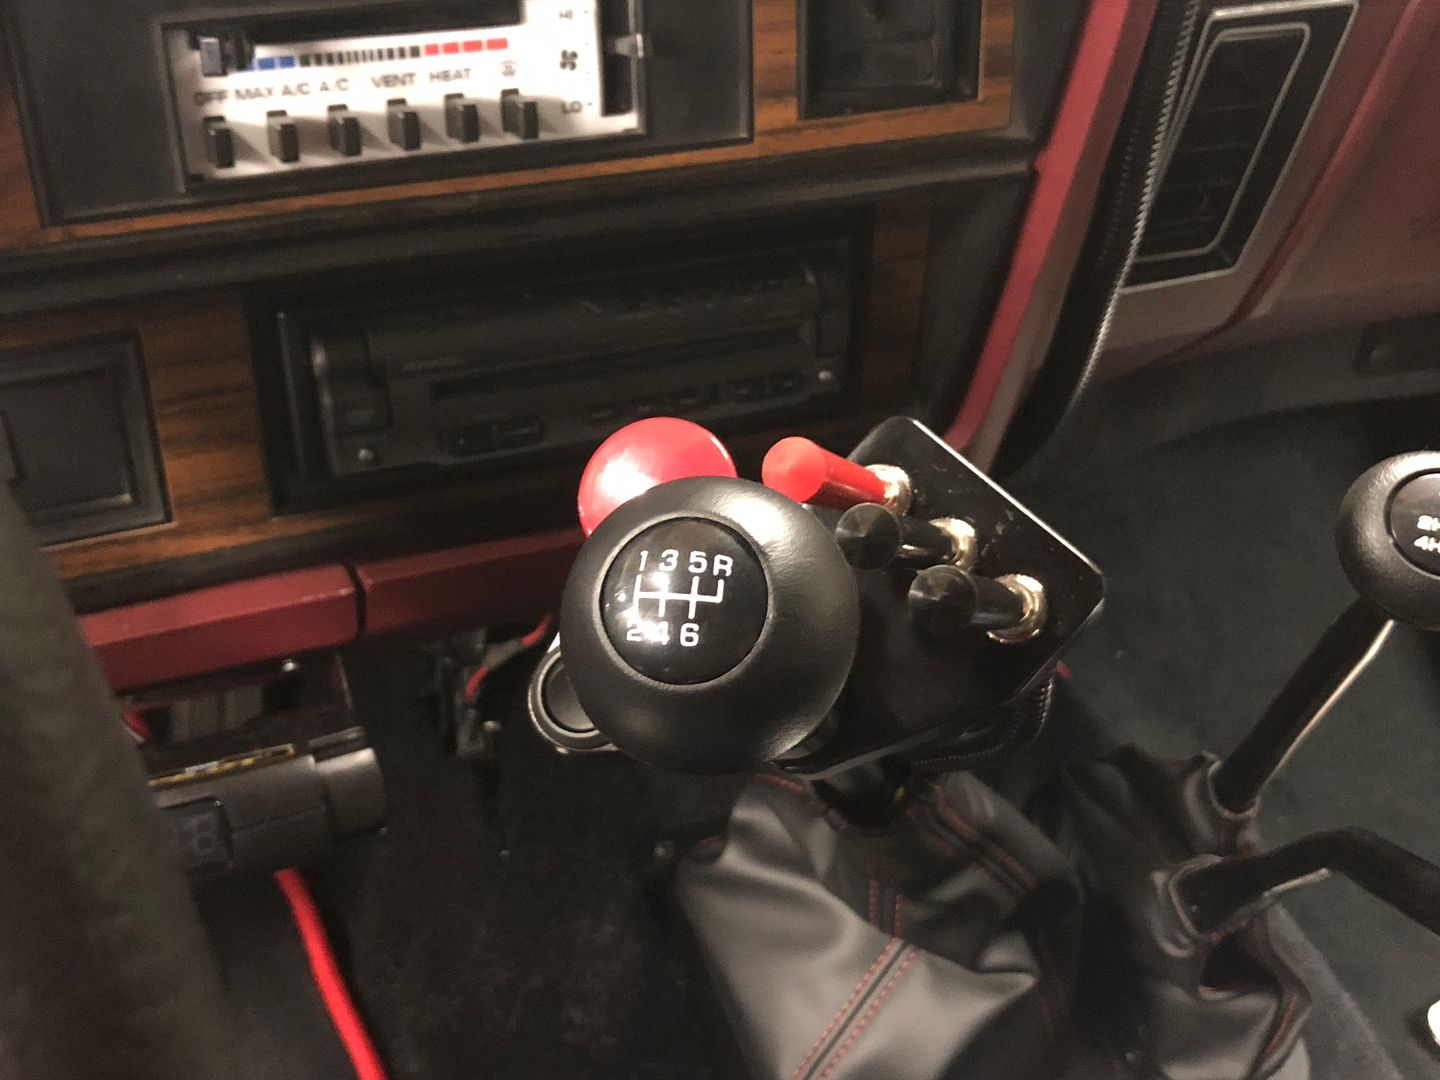
Now with the freshly made switch holders in place:
 '
'
 '
'
And the final clean up leaves this!
 '
'
The next steps of the truck were a lot less uniform. This time period is called the final touches. I had a deadline now for the launch of this truck, and it was whatever could be done in whatever order, was the way. I was literally down to a few days prior to departure for the 100th Anniversary of Cummins event that the truck was going to be making its big unveiling at. Sooo, it was get it done.
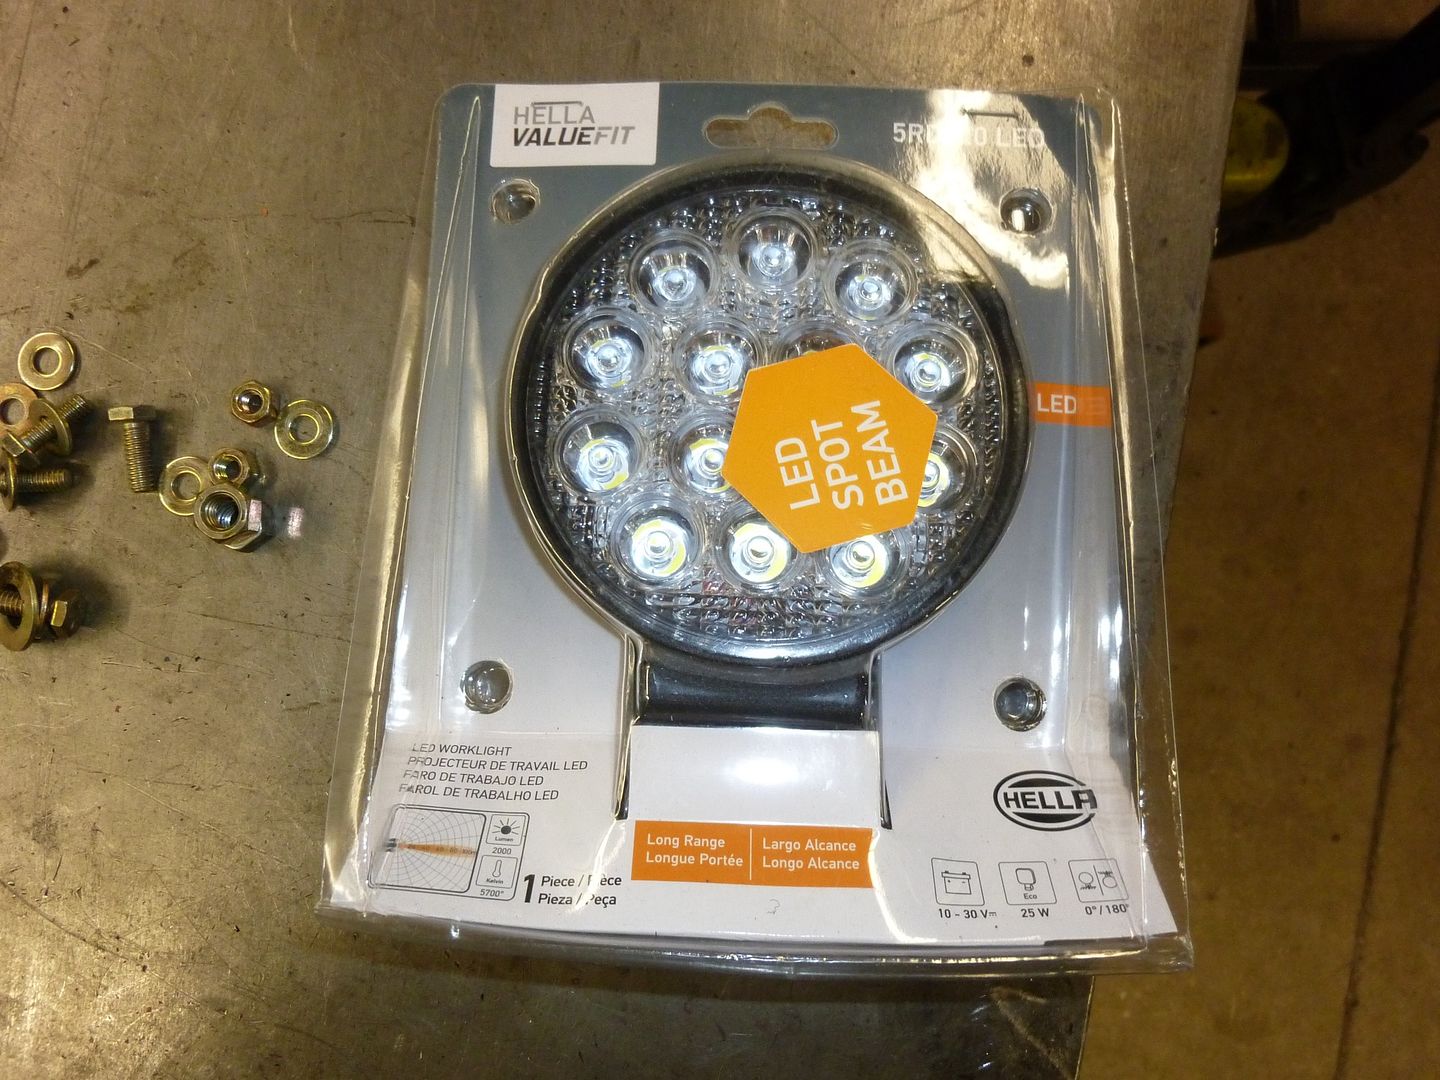
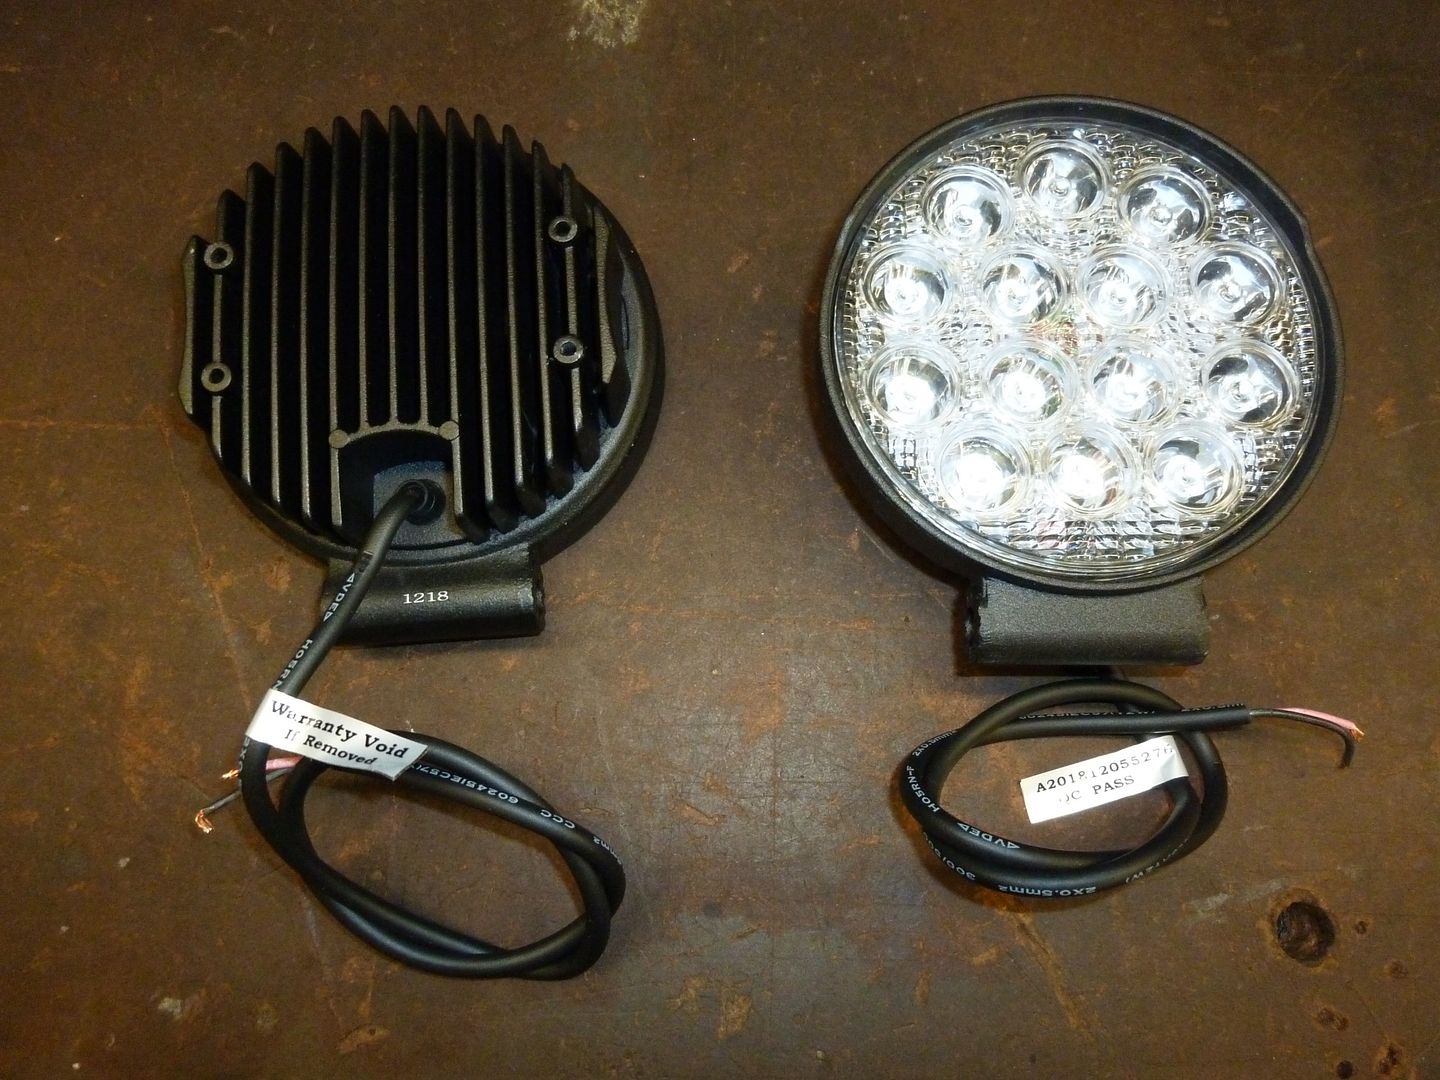
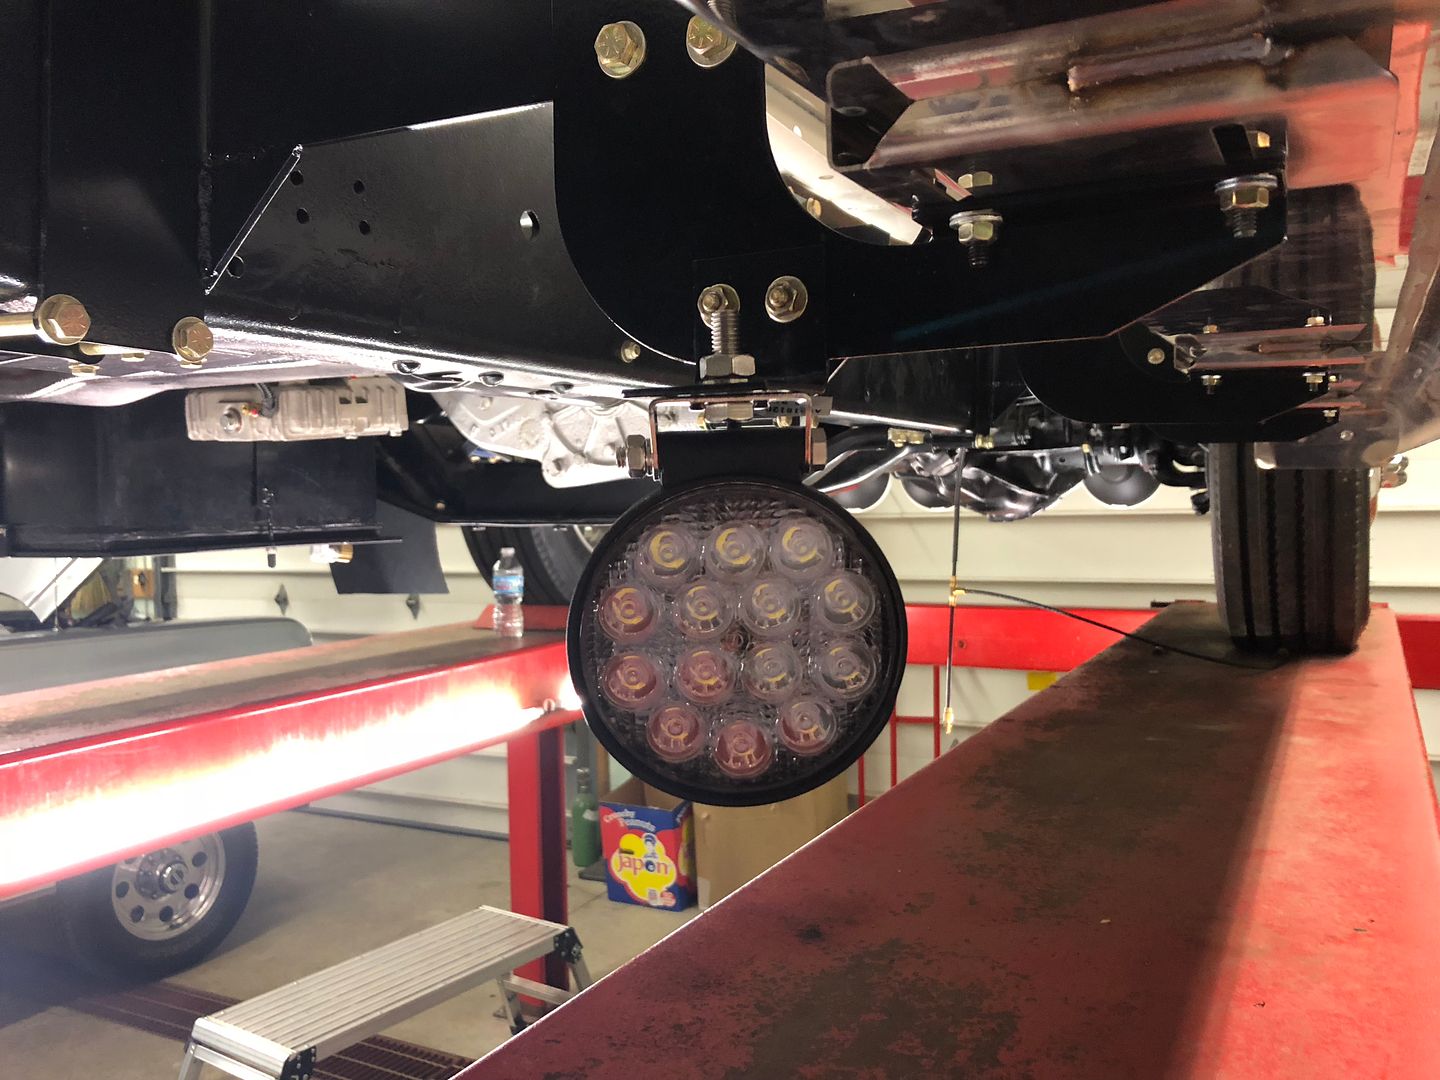
1st off was the under body back up lights for backing trailers up at night. I originally had incandescent lights installed 10 years ago but LEDs have come a long way. So they were swapped for some good lights:
 '
'
 '
'
 '
'
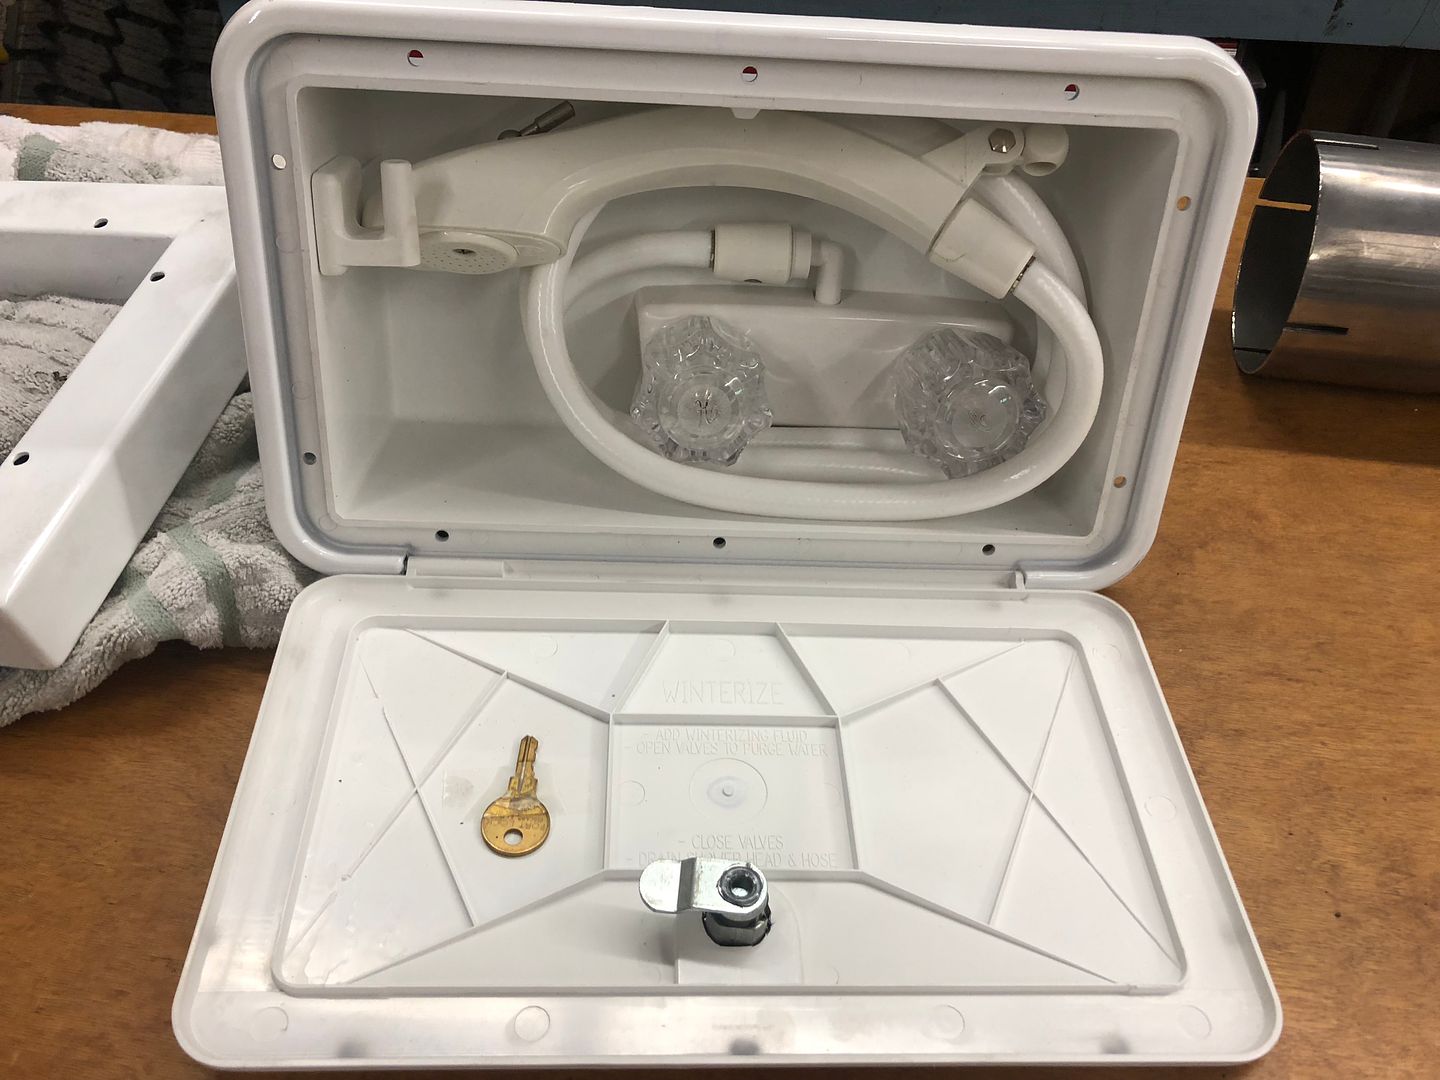
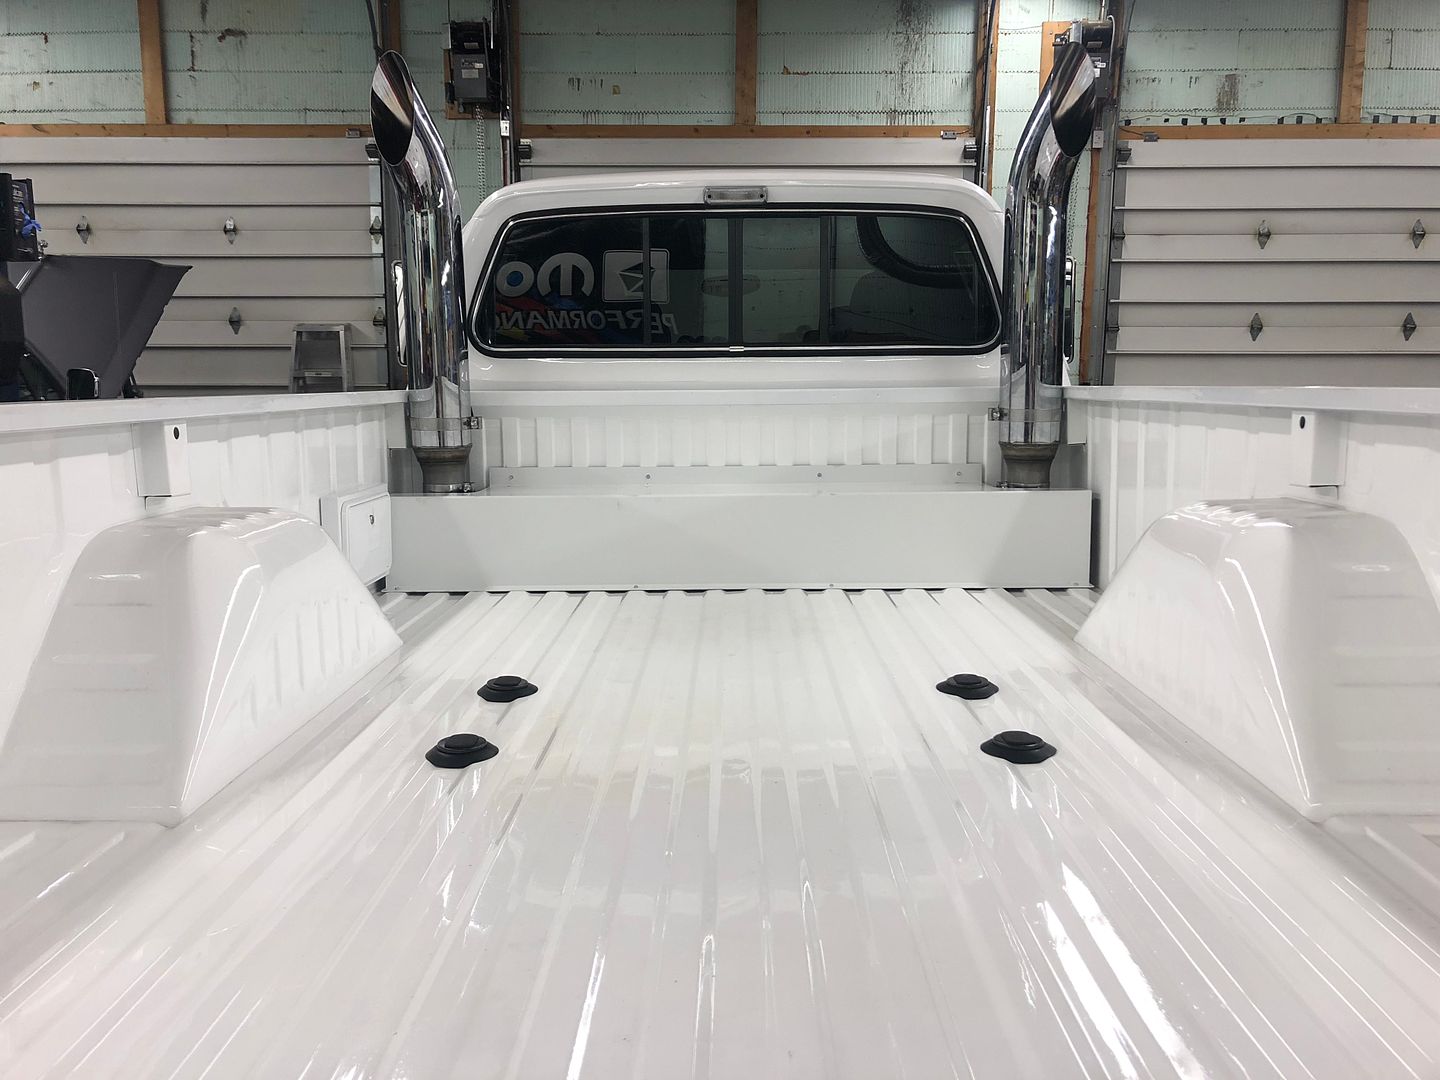
The Shower:
Another item that was in and our multiple times was the shower. This was originally intended to be a water station for rinsing off after mountain biking. So with the hole already in the bed, in it went:
 '
'
 '
'
 '
'
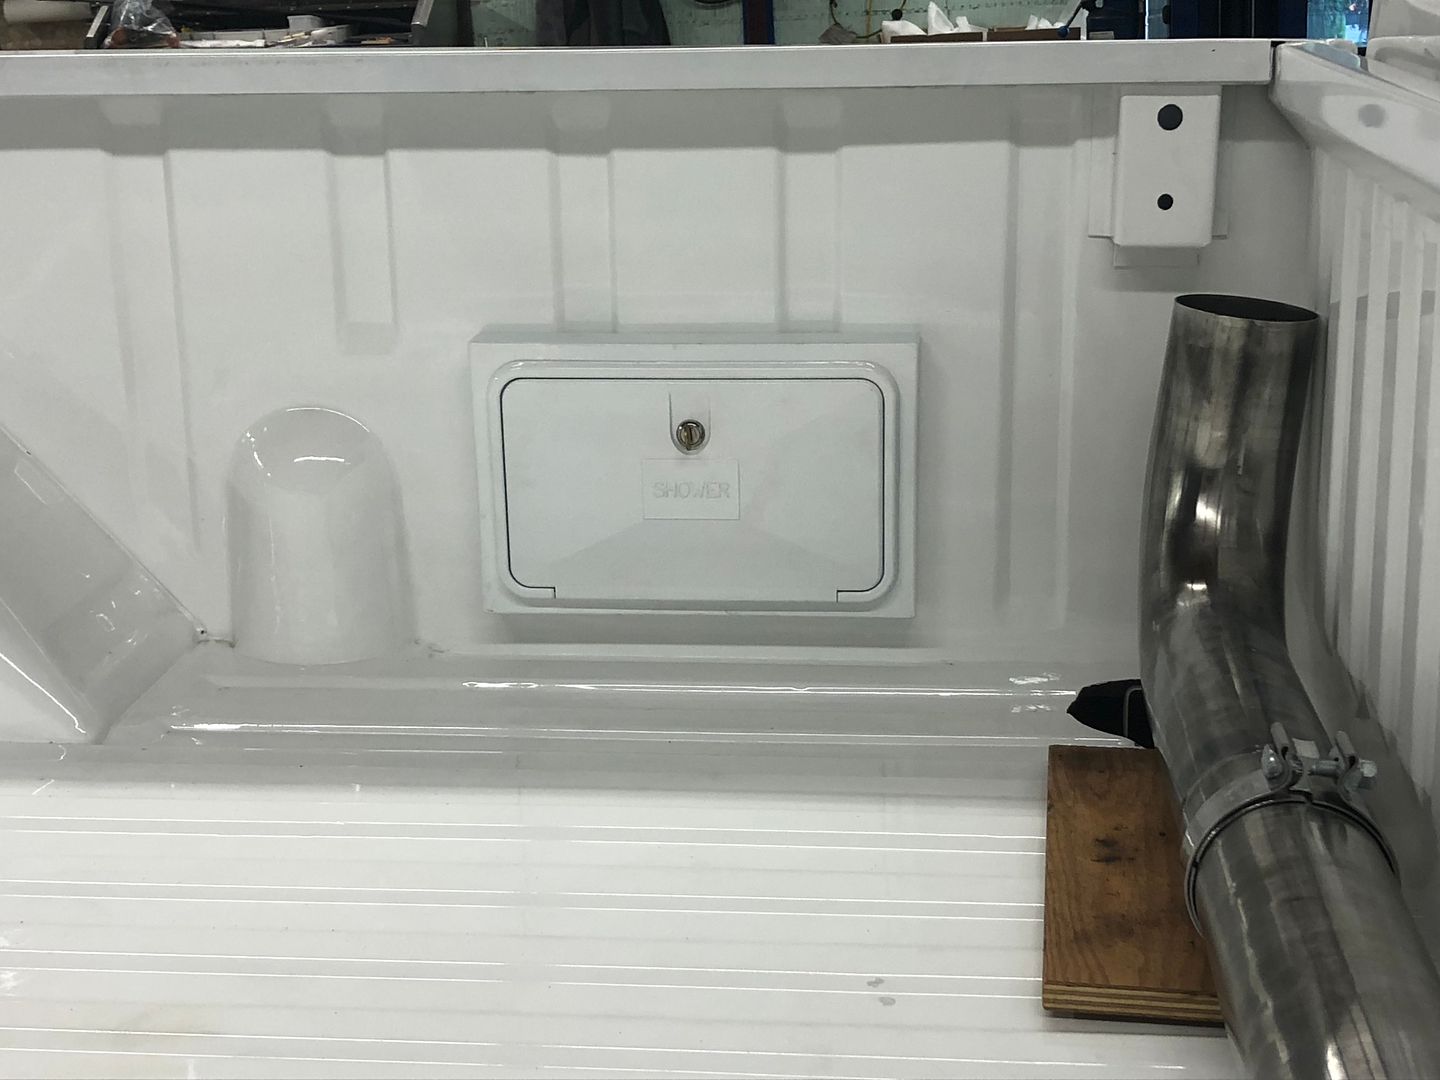
You can see where it sits in this shot.
 '
'
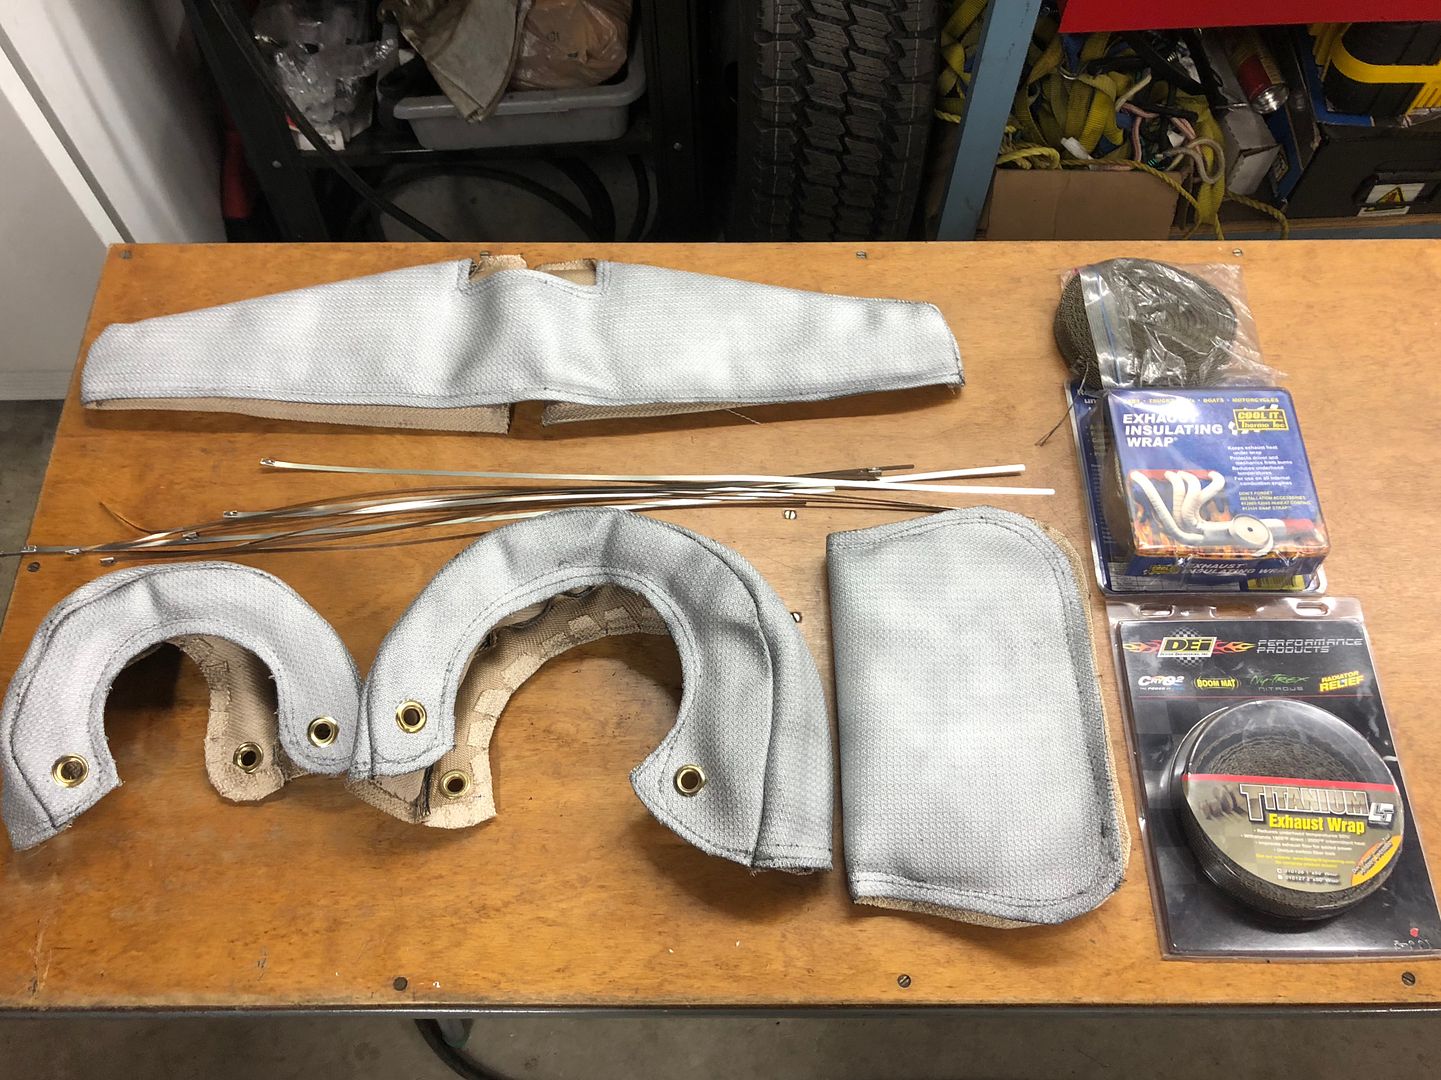
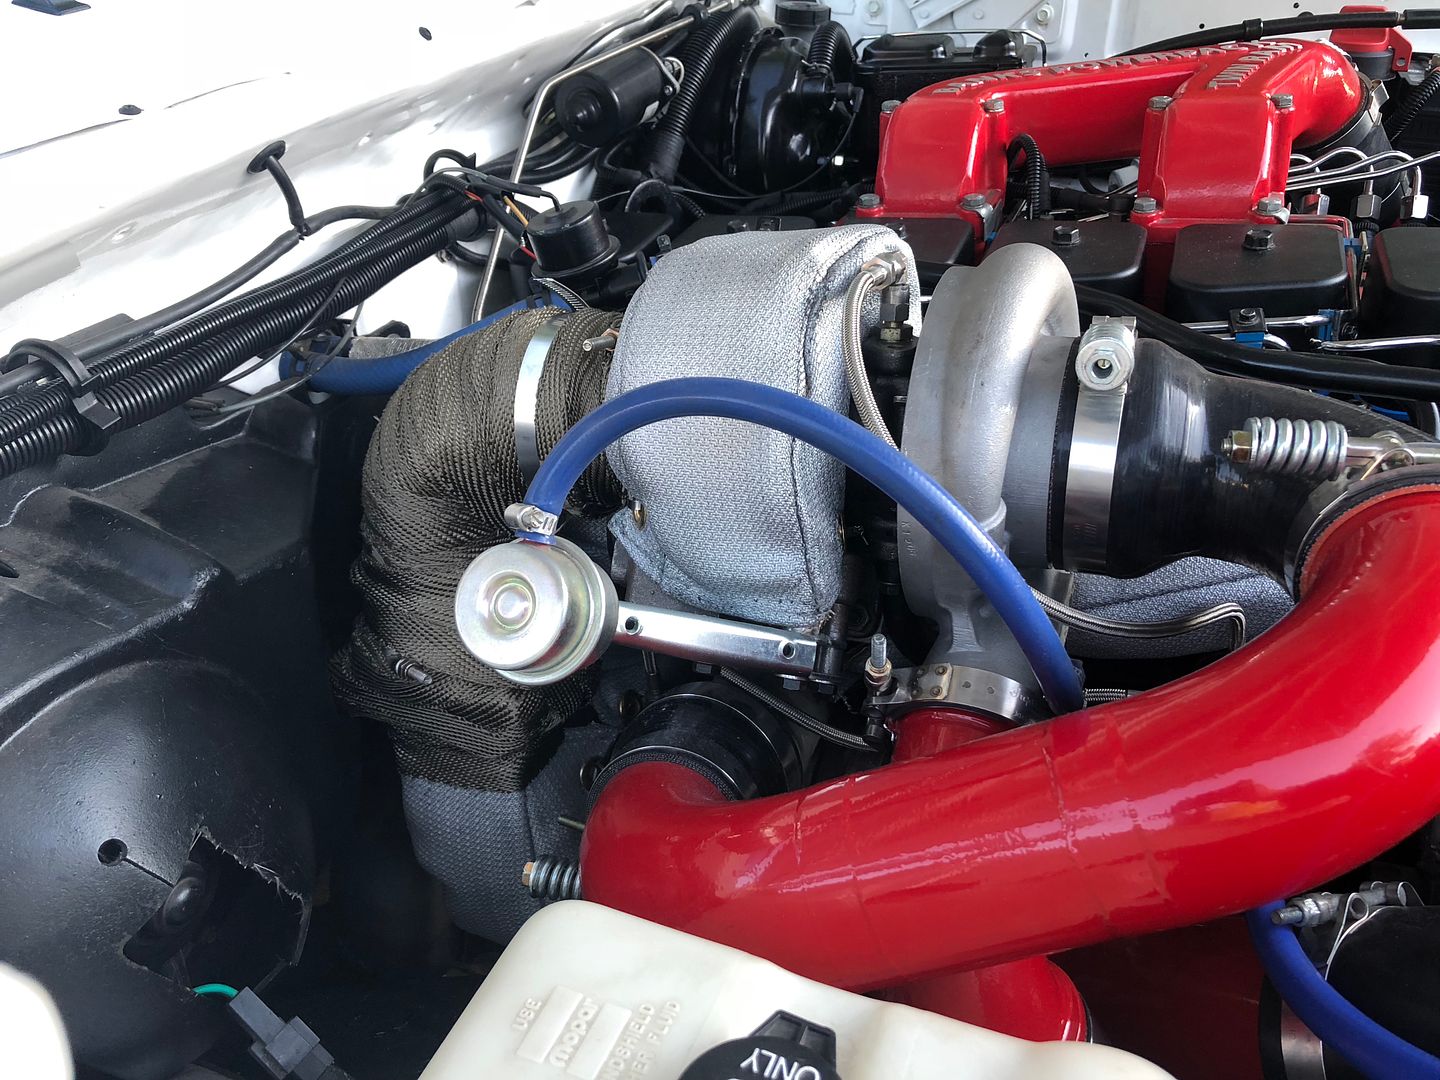
Next up was the heat wrap. I use these thermal blankets on The 90 as well. These are fantastic for preventing excess under hood heat, as well as from melting wiring and anything else close to the exhaust when laying WOT for minutes on end.
 '
'
 '
'
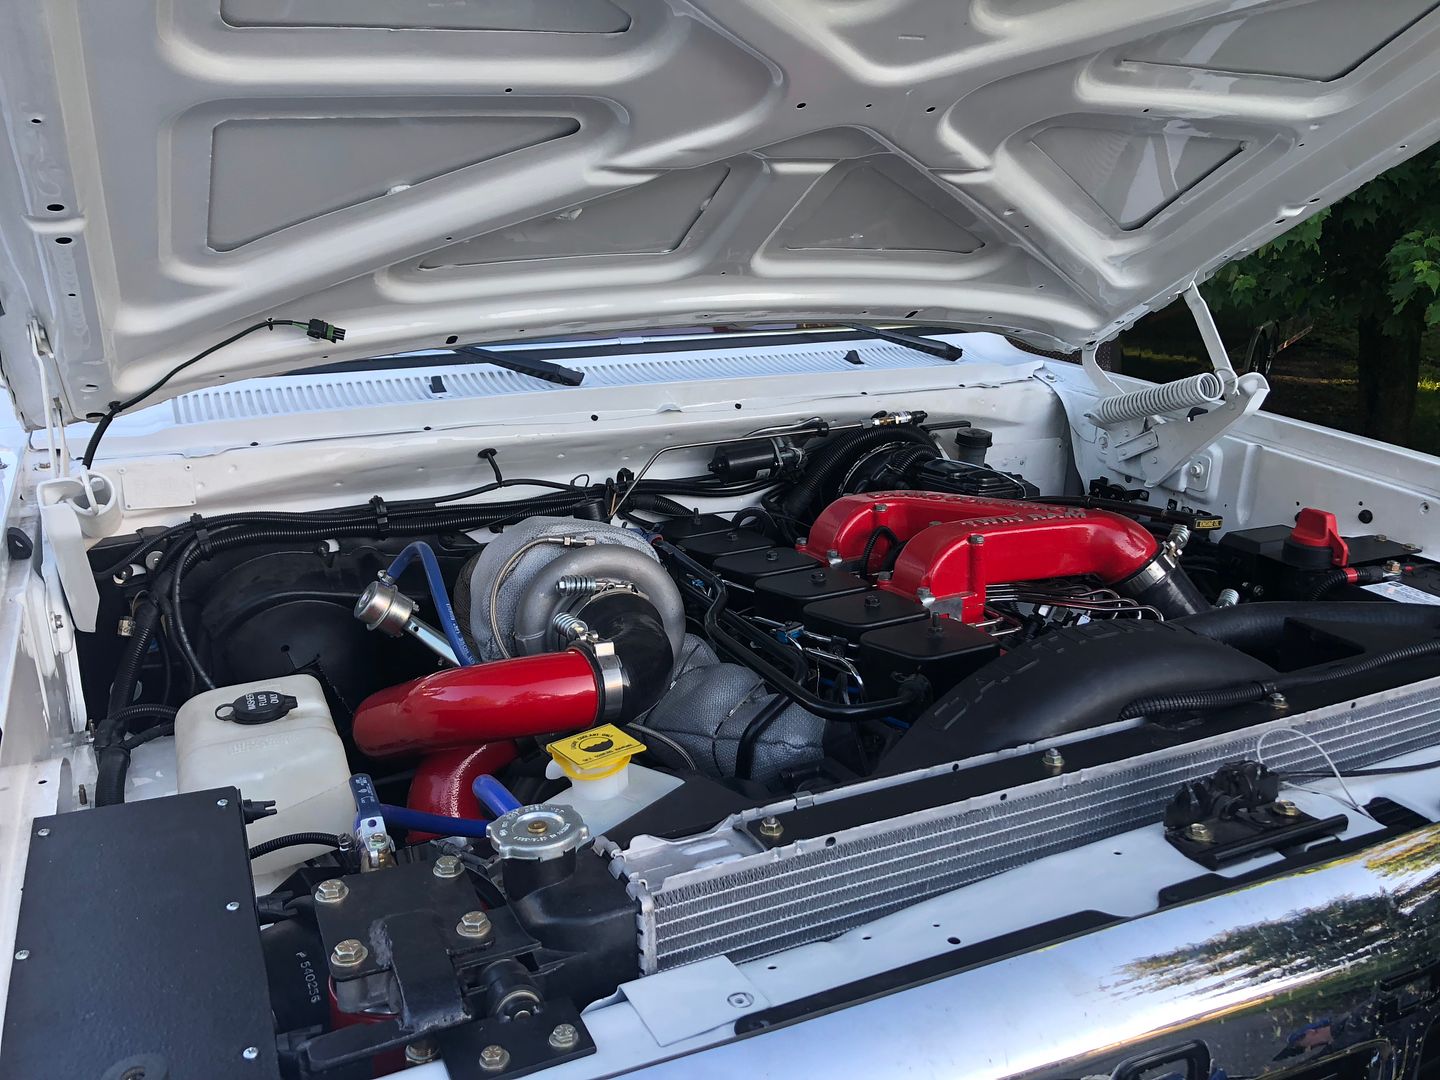
A back view of the engine bay:
 '
'
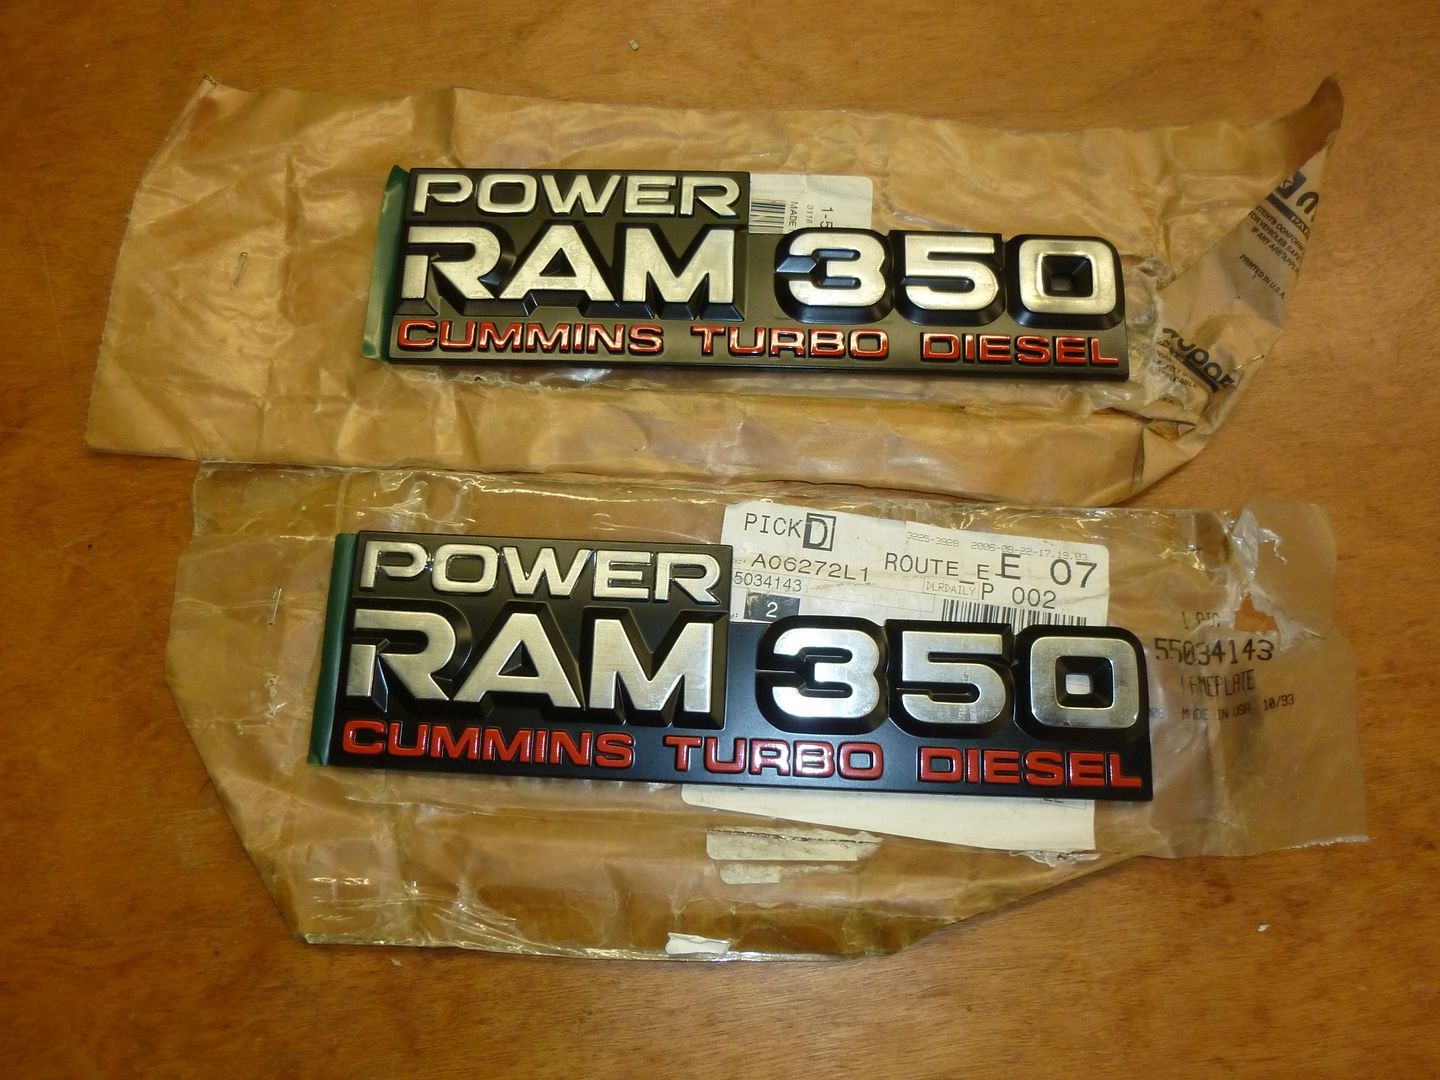
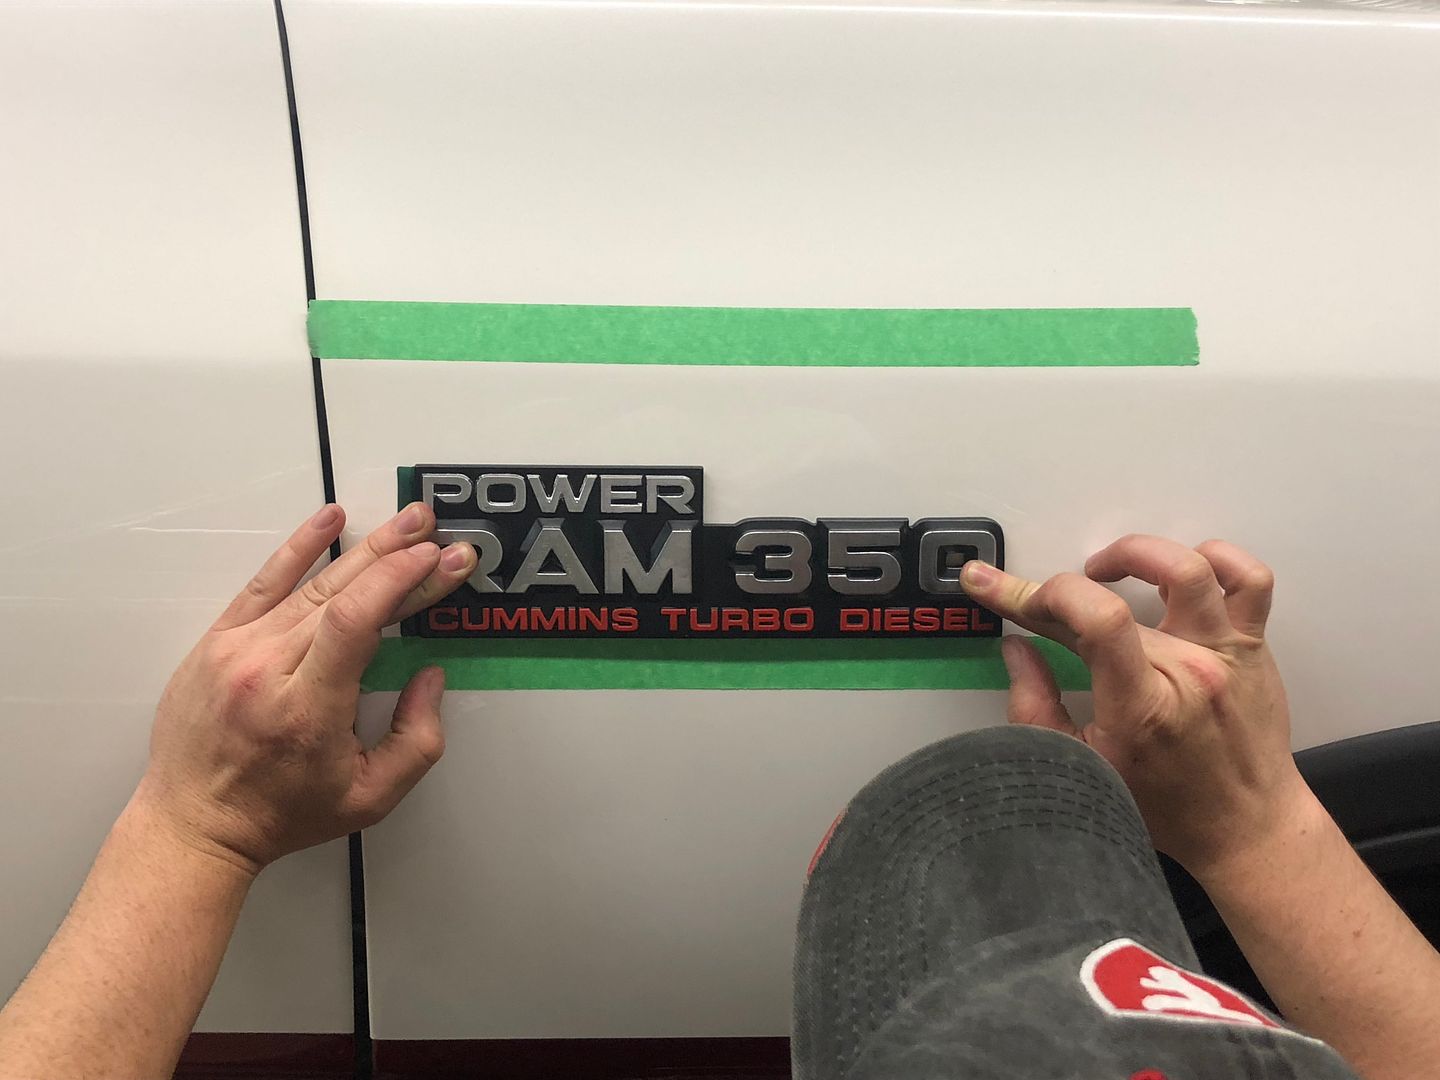
On went the fender badge. Measure 3x stick once. 😀
 '
'
 '
'
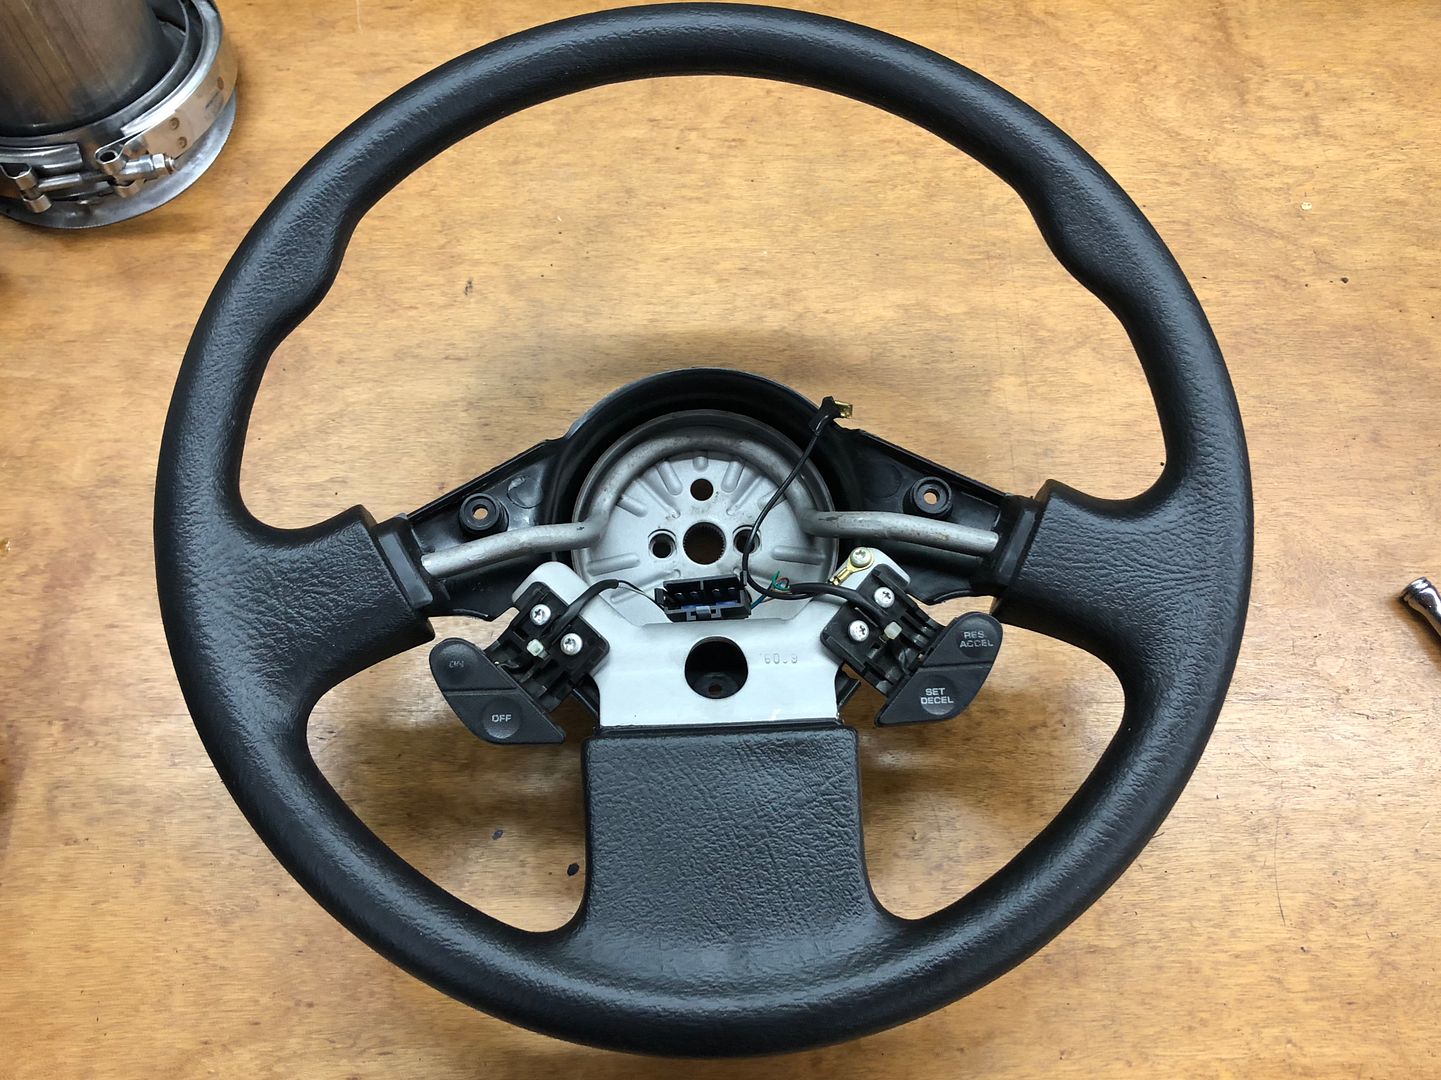
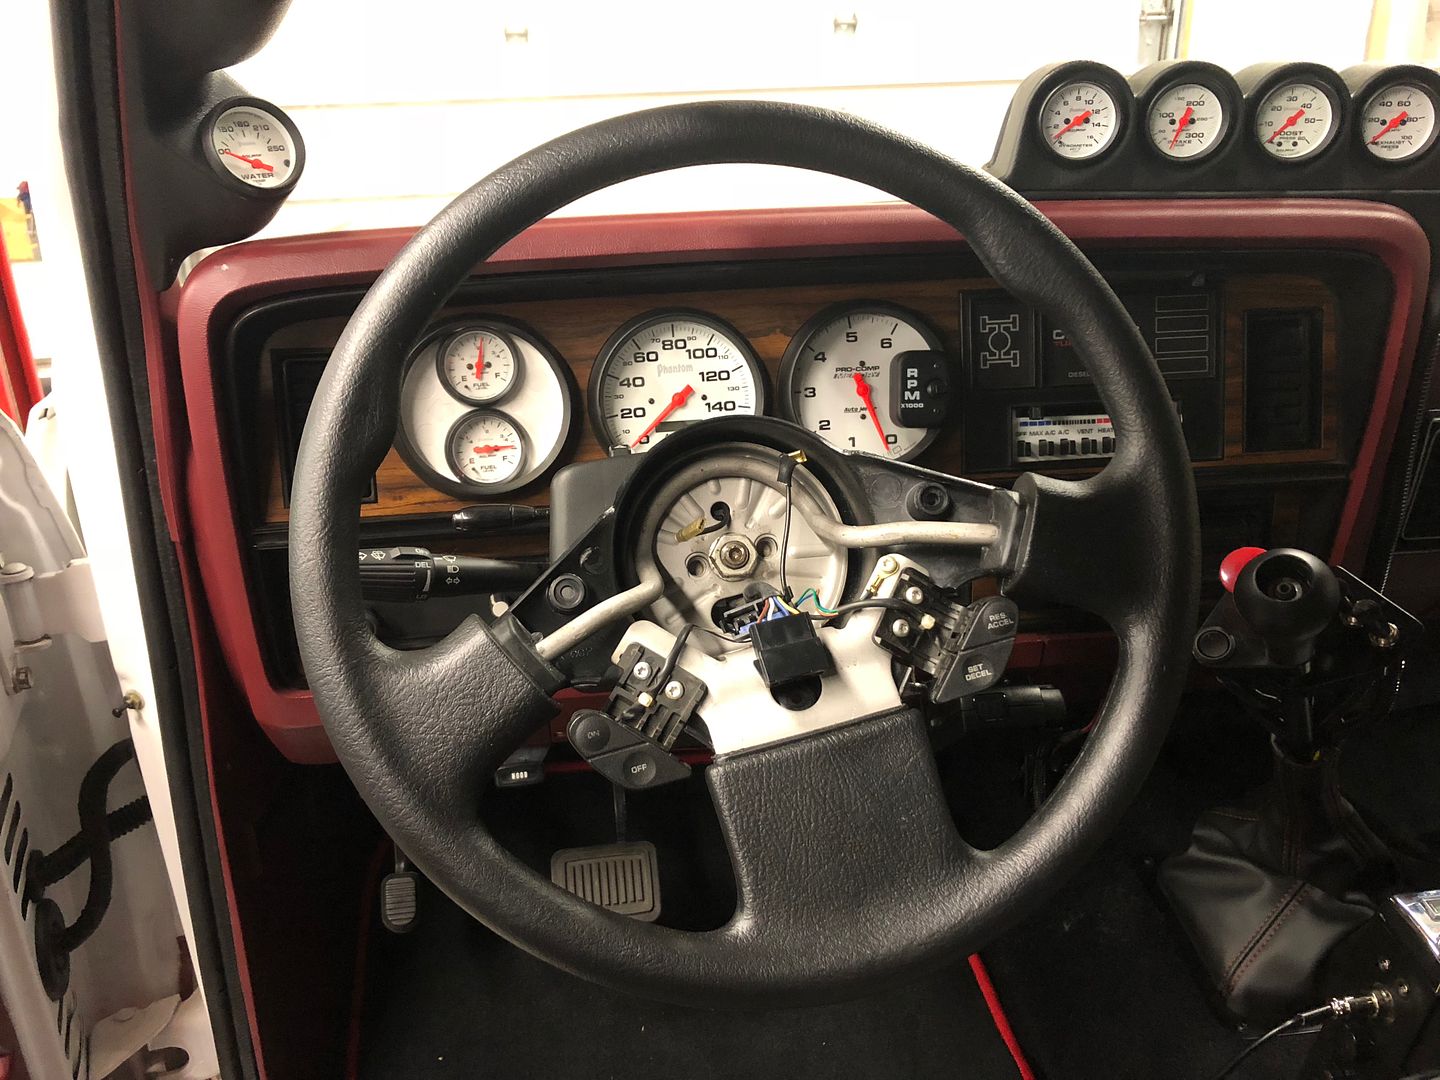
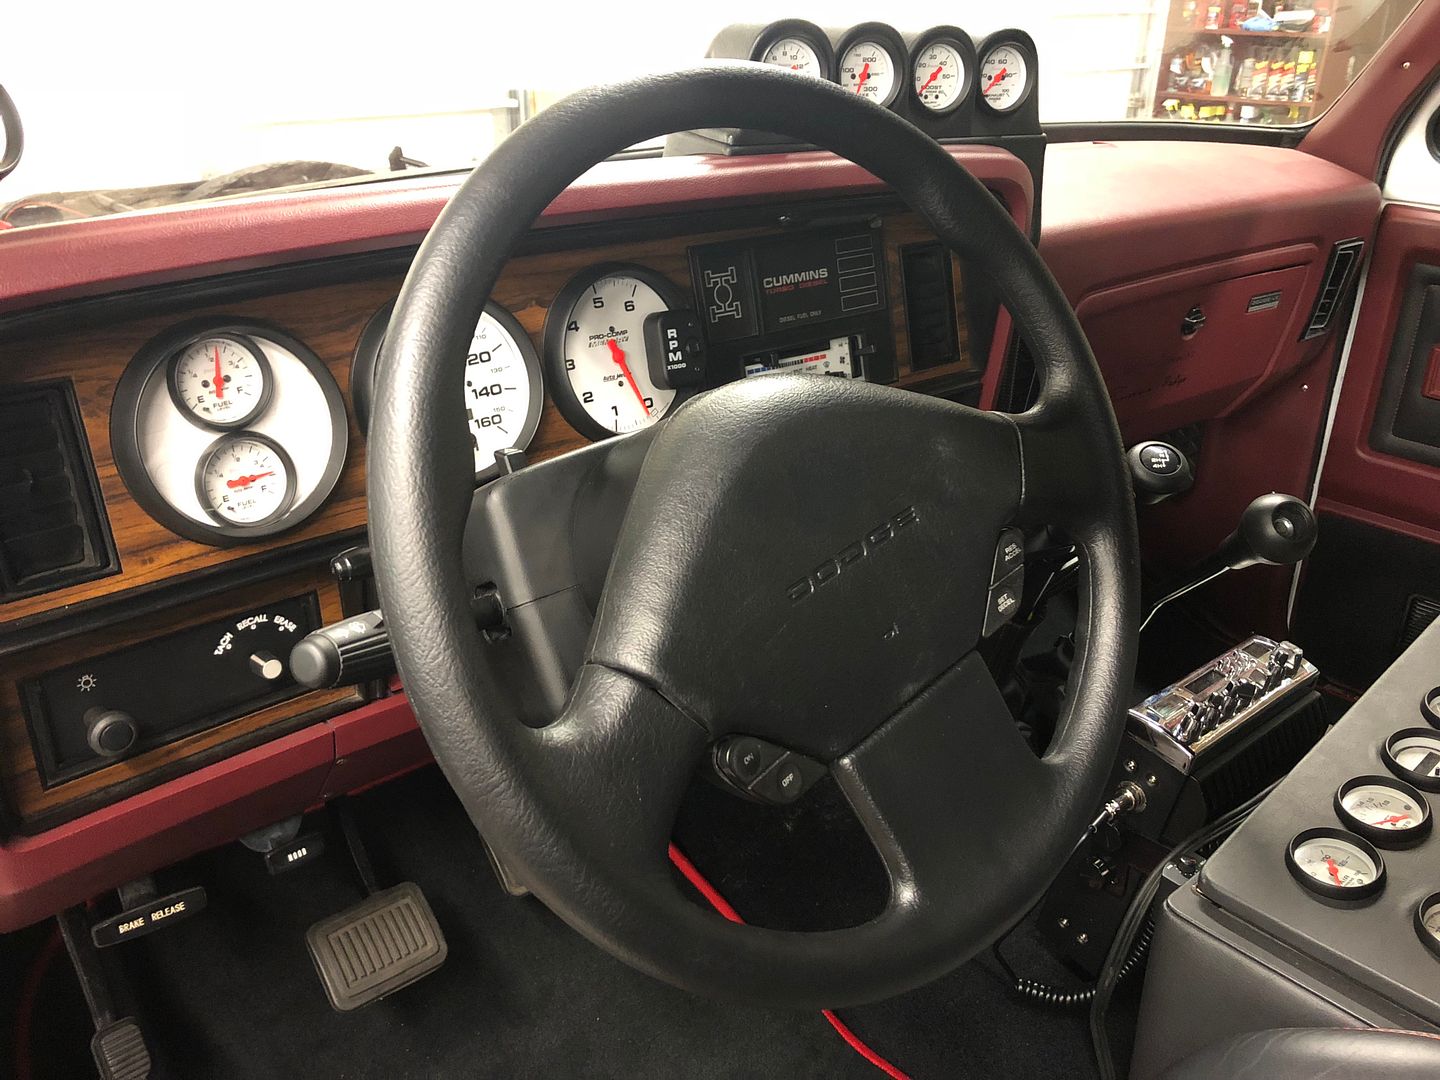
Another item that was a long time waiting on, was the new steering wheel that I had bought new back in 2006 from my dealer! Was so excited to be able to install this!
 '
'
 '
'
 '
'
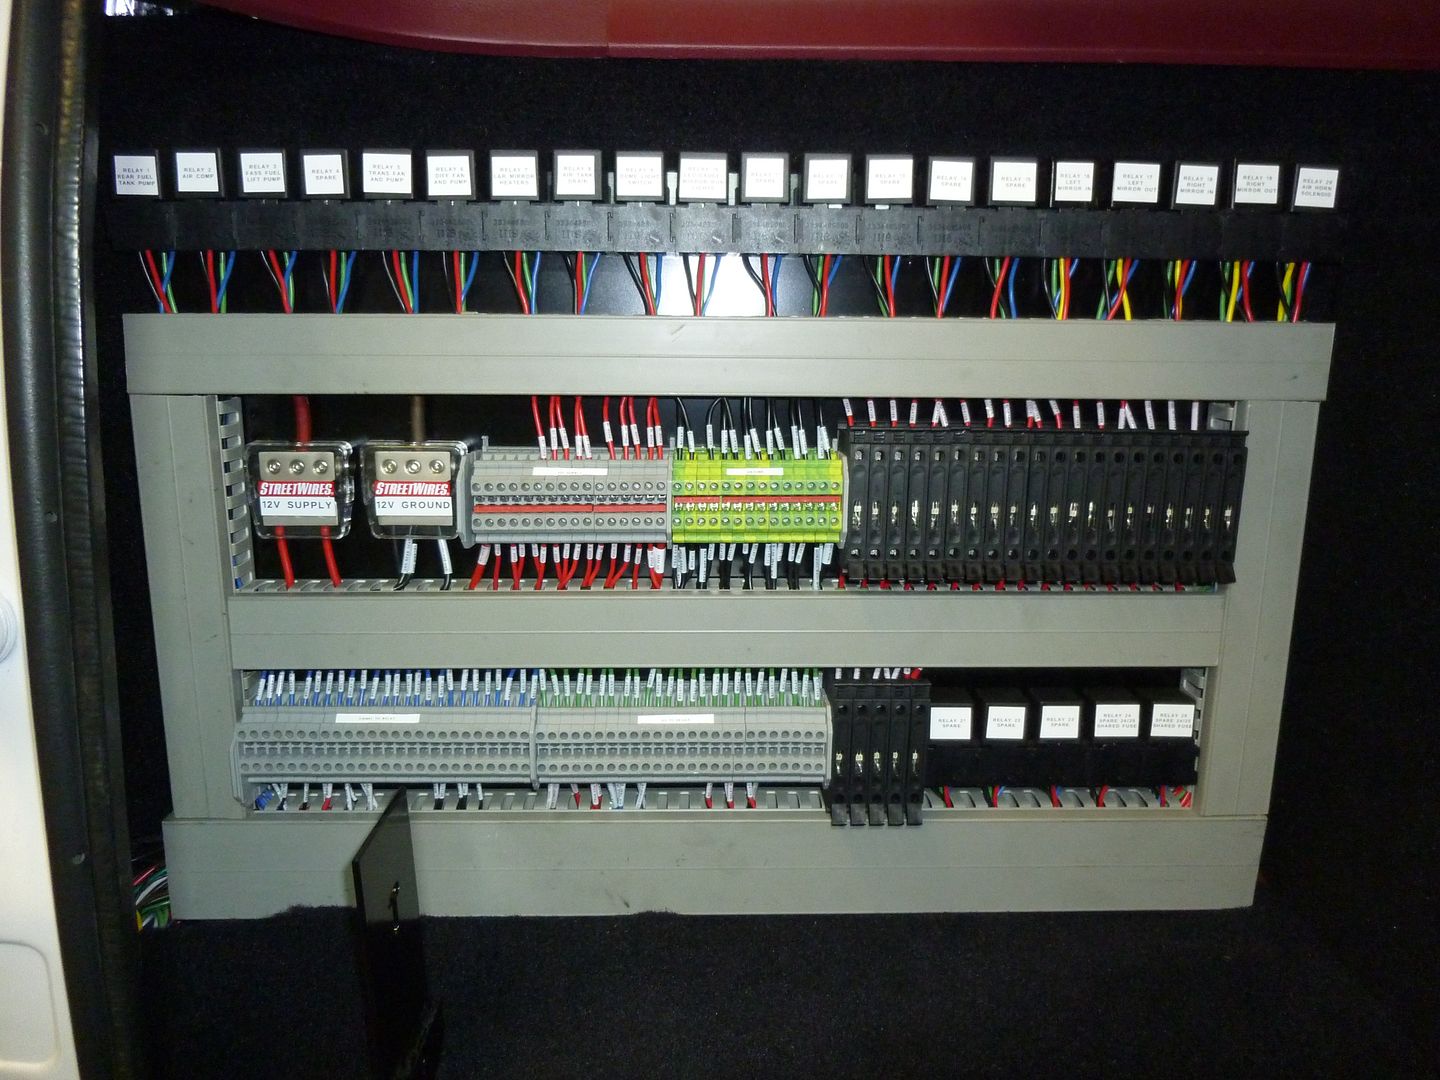
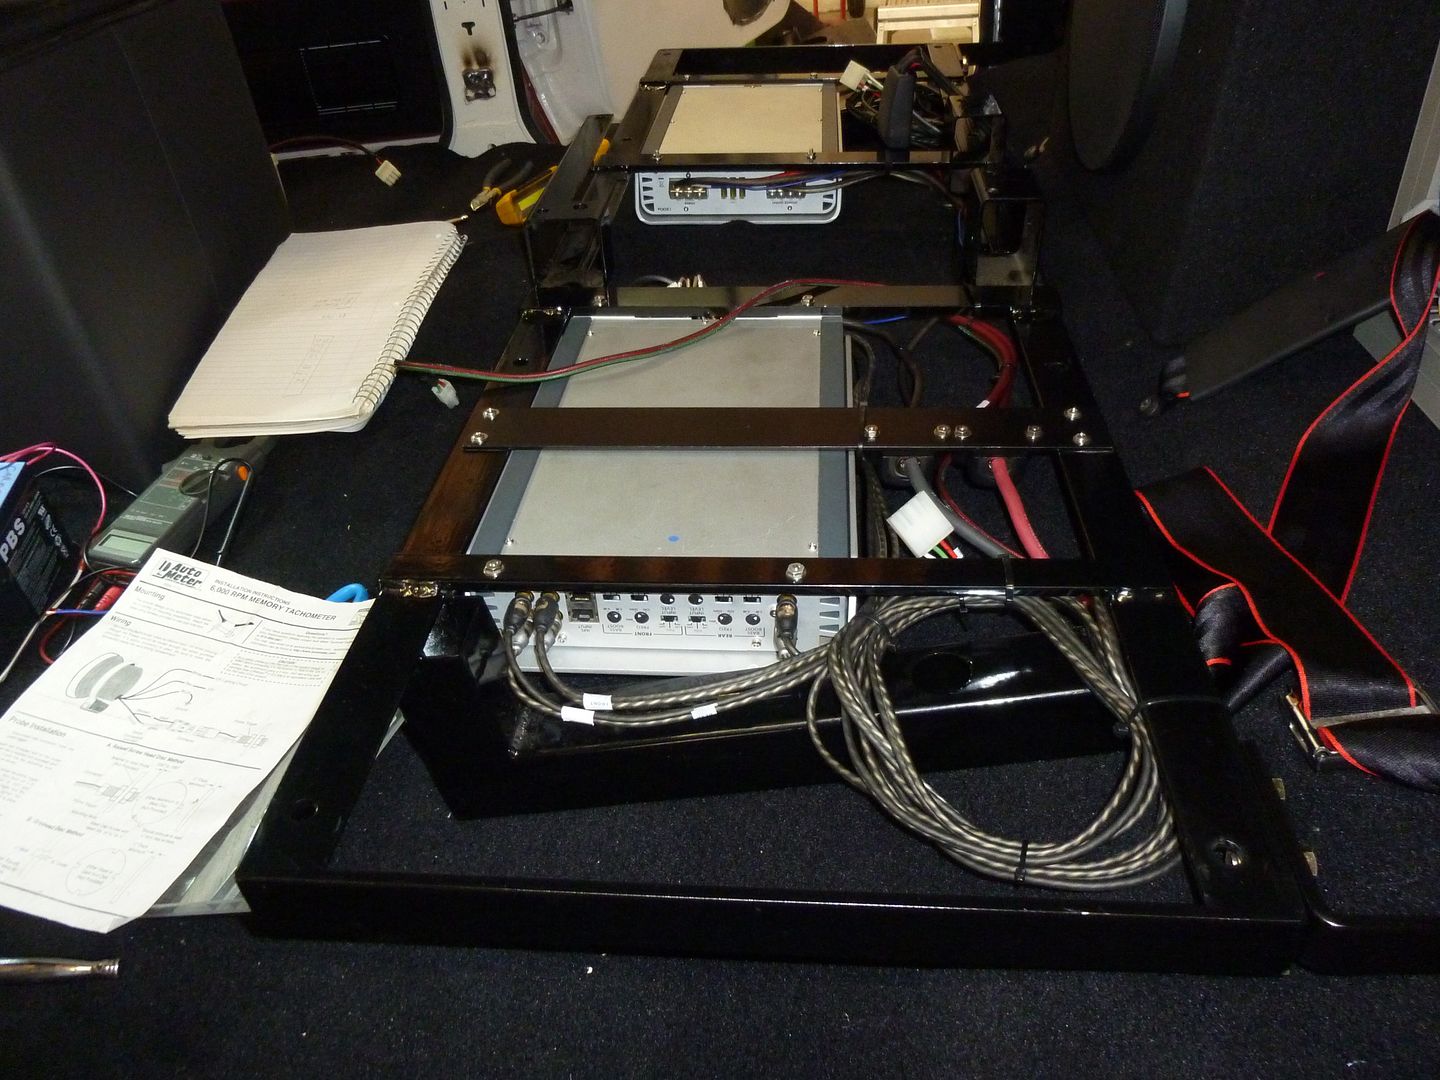
Final labels were also completed on the relays and wiring finished in the center console. Also had a wiring issue to the amps so that was dealt with too.
 '
'
.jpg?width=1920&height=1080&fit=bounds) '
'
.jpg?width=1920&height=1080&fit=bounds) '
'
 '
'
.jpg?width=1920&height=1080&fit=bounds) '
'
Now, I know this seems like quick progress reading here, but this has taken us to 5 hours before departure for the Cummins event. The final parts were put on the truck at 2am by Andy, dad, and myself. Not bad, but we leave at 6am for Indiana…. And we haven’t slept in 2 weeks trying to get this done. And the truck hasn’t yet driven a accumulated 1/4 mile yet. But without options, she was loaded onto the float and at 6am, we were rolling south.